

EP. 35 build your first cutting board
Cutting Boards aren't just a great project to get comfortable with your tools, it's a great way to use up scrap woods and an easy project to sell and show off. Today, I'll show you how to build a simple designed cutting board that I hope will make you comfortable enough to try and make your first.
MATERIALS AND SUPPLIES:
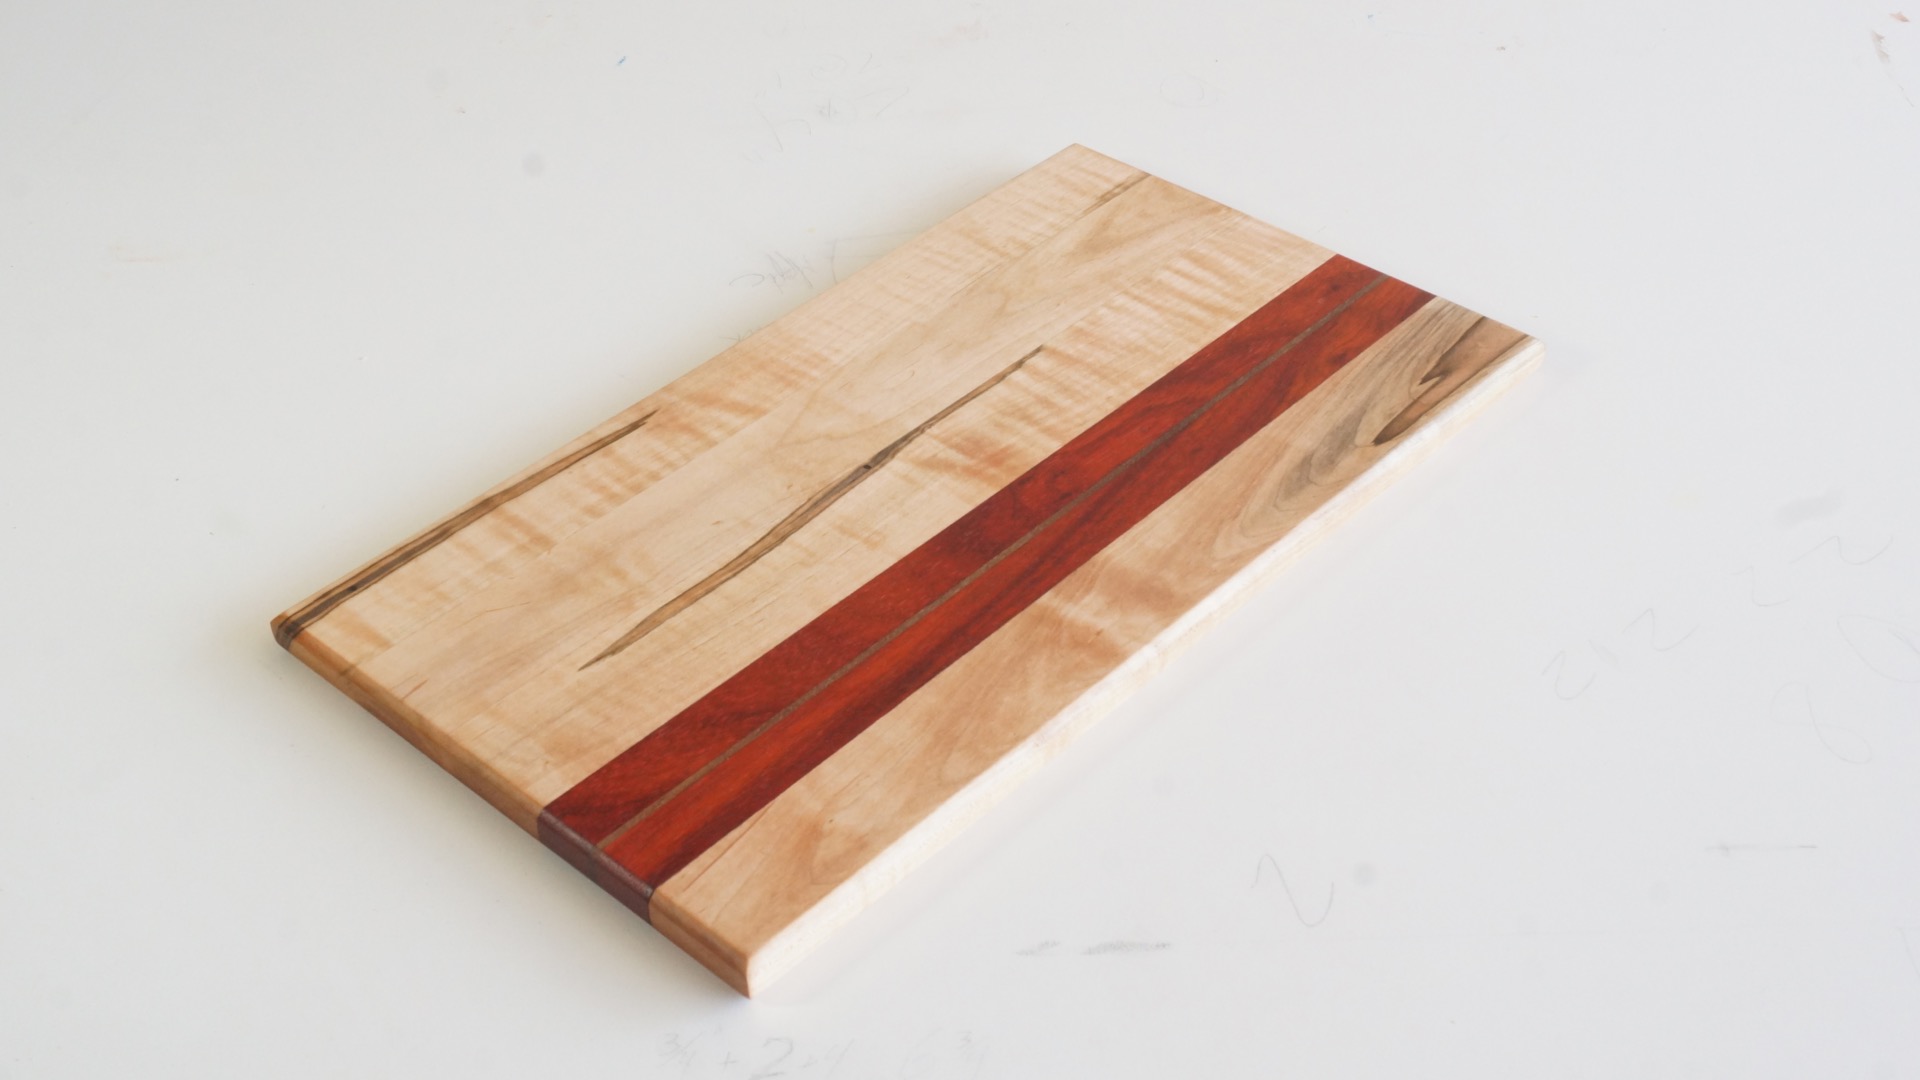
Wood I used: Ambrosia Maple, Padauk, Dark Walnut
Cutting Board Oil: http://amzn.to/22yKOc4
Wood Glue: http://amzn.to/1ROoeEA
STEP ONE: PICK YOUR WOOD
I'm going to be using scrap hardwood for my cutting board. Make sure and use a hardwood. Softwoods are not dense enough and will not stand up to use. Here's a chart of some common Hardwoods and Softwoods.

STEP TWO: CUT YOUR STRIPS
On the table saw, I cut all my strips of maple for the cutting board.

STEP THREE: CUT STRIPS TO LENGTH
I cut my maple, padauk, and walnut pieces to length. Make sure and cut your pieces a bit longer than you intend your final cutting board to be, because we'll trim it later.
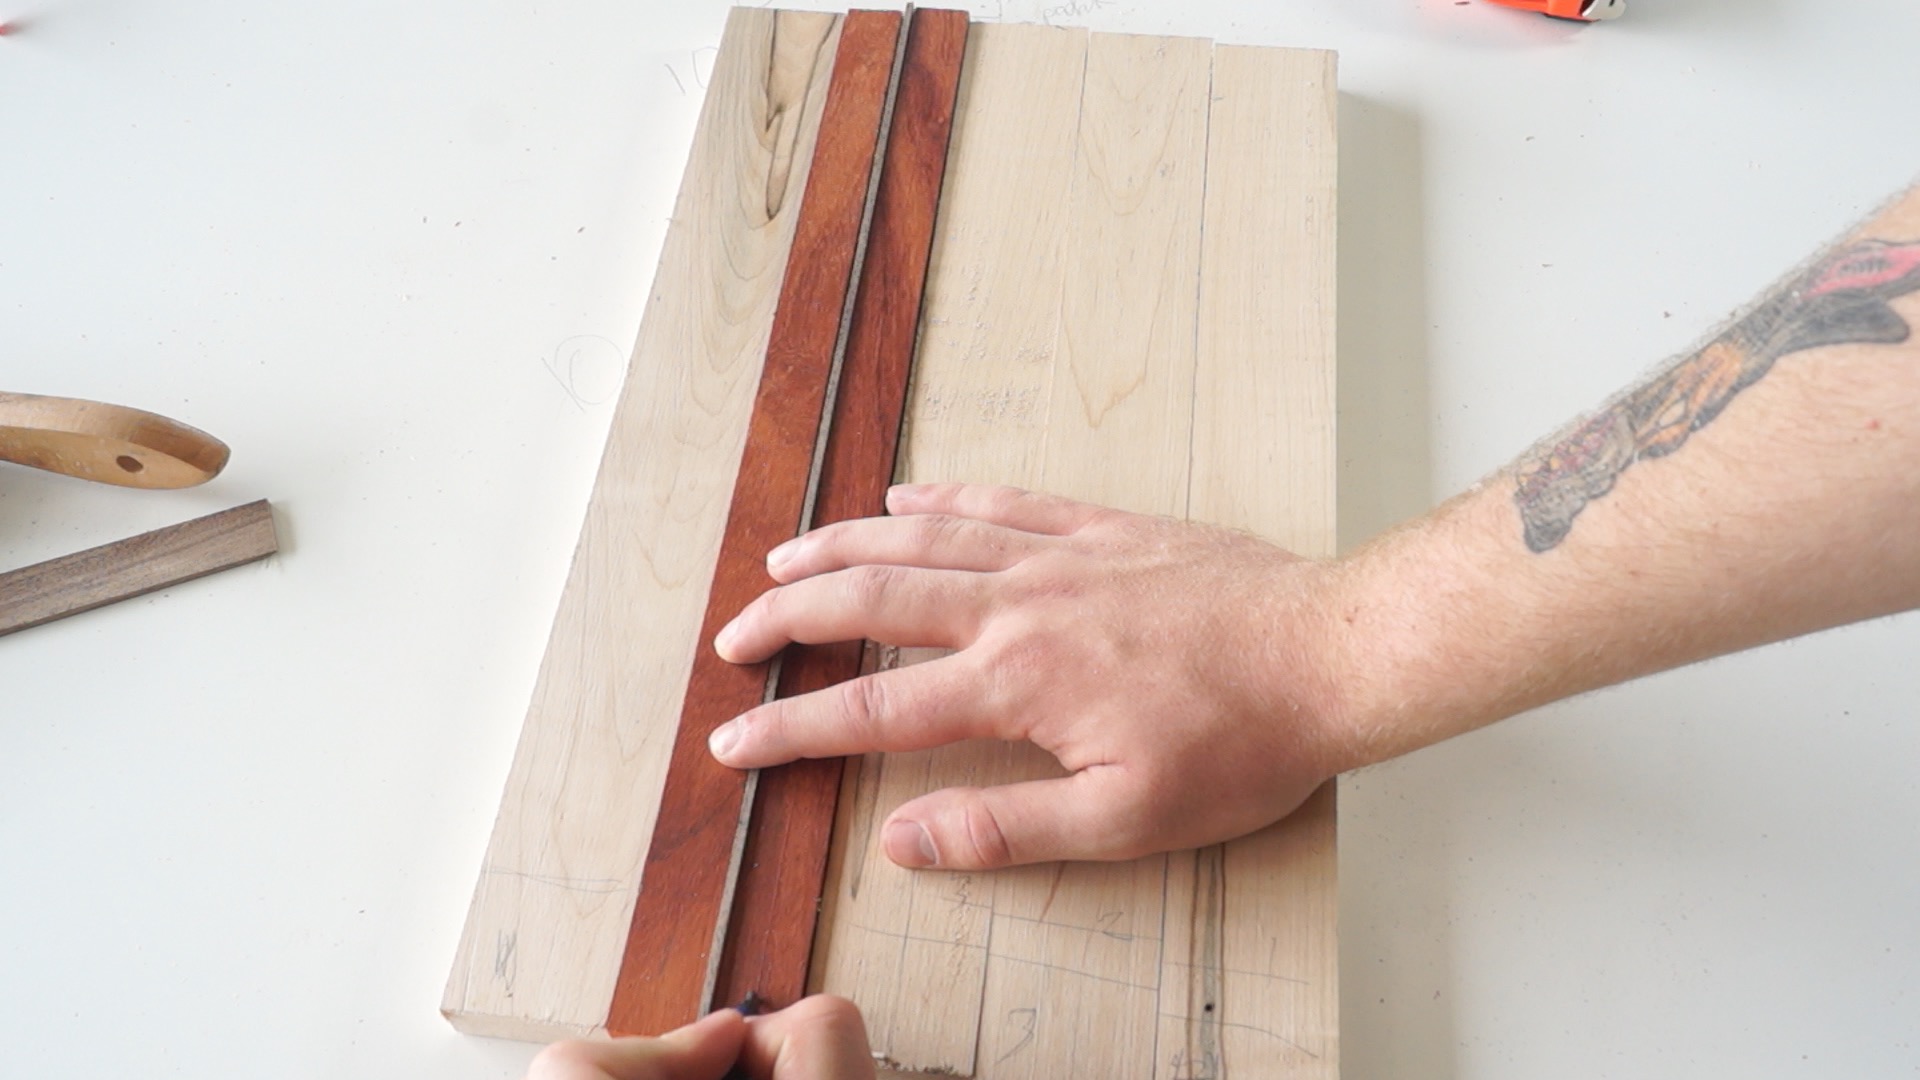
STEP FOUR: MARK AND ARRANGE PIECES
Next, I arranged all my pieces how I wanted them, then I numbered them to make sure I kept them in that order when I glued everything up.
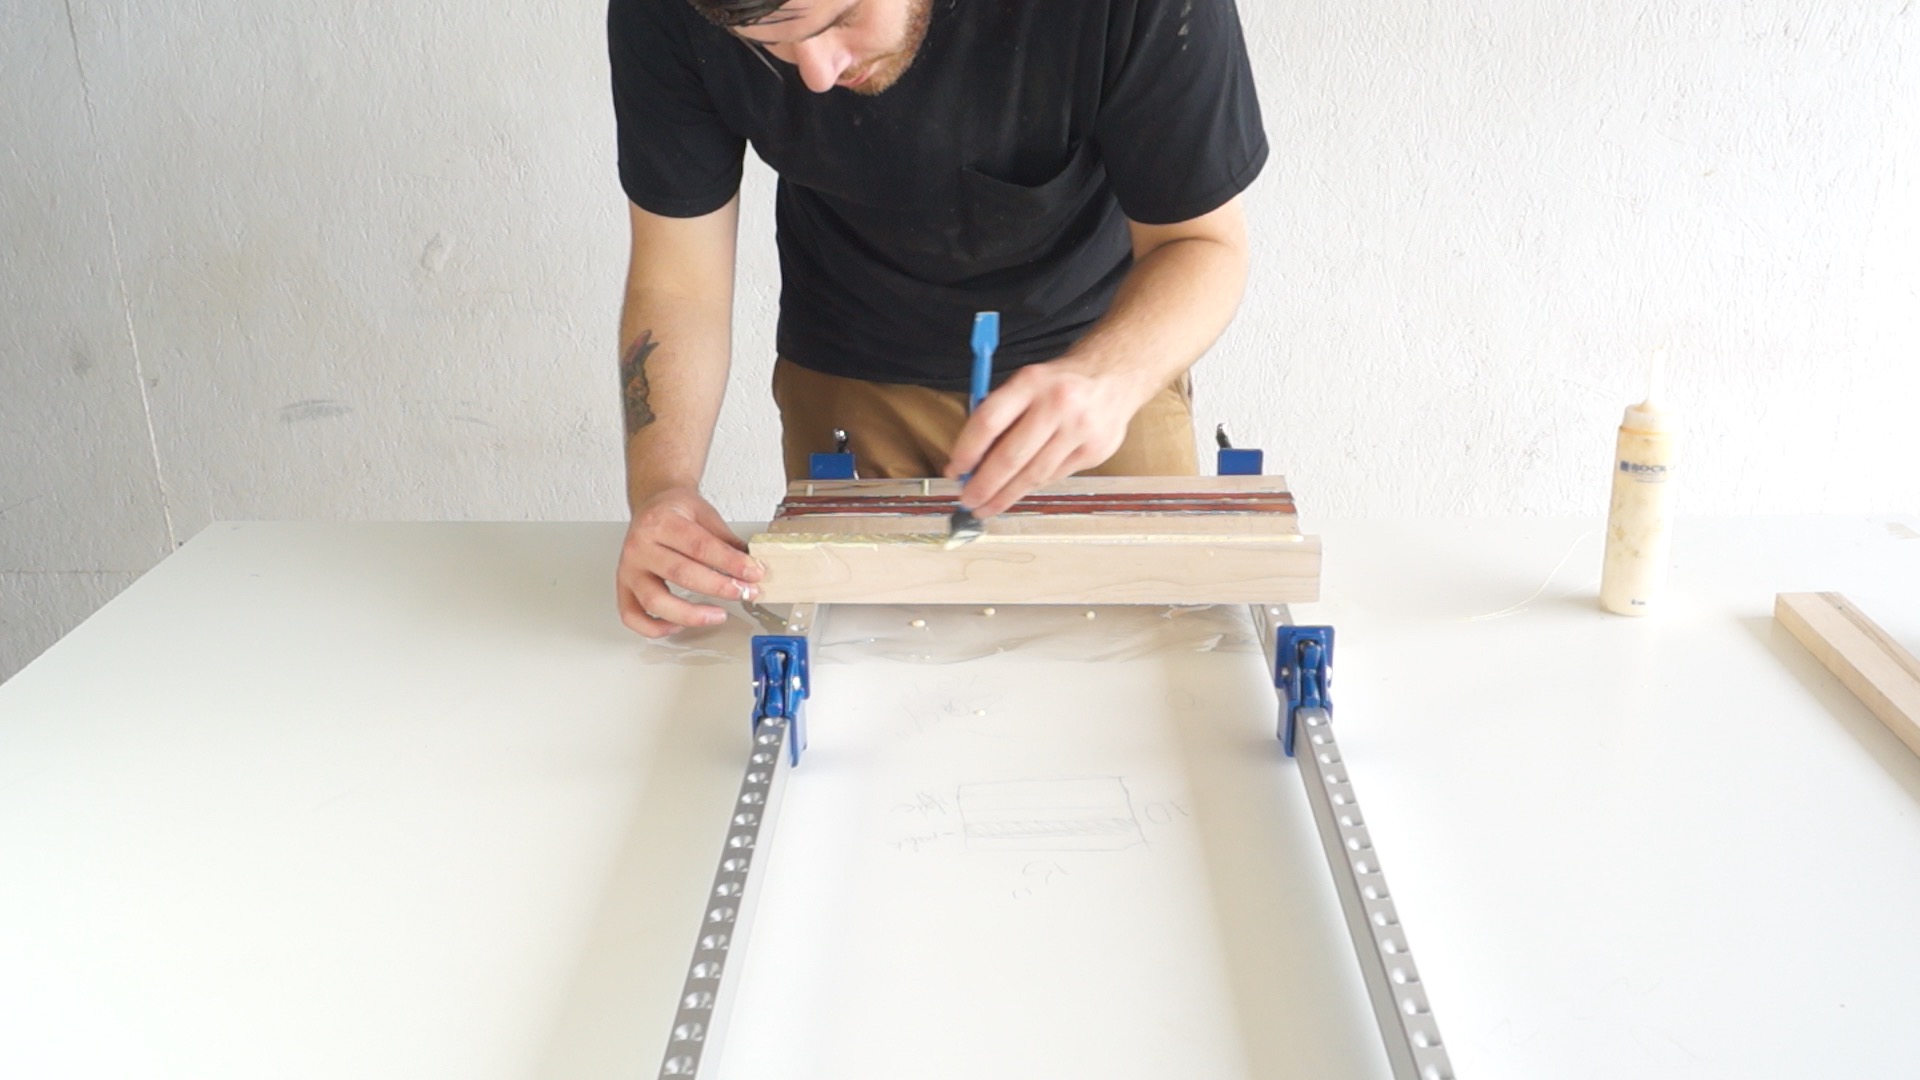
STEP FIVE: GLUE IT UP
I used Titebond II, a waterproof wood glue. Be sure to use a liberal amount to ensure a lot of glue squeeze-out.


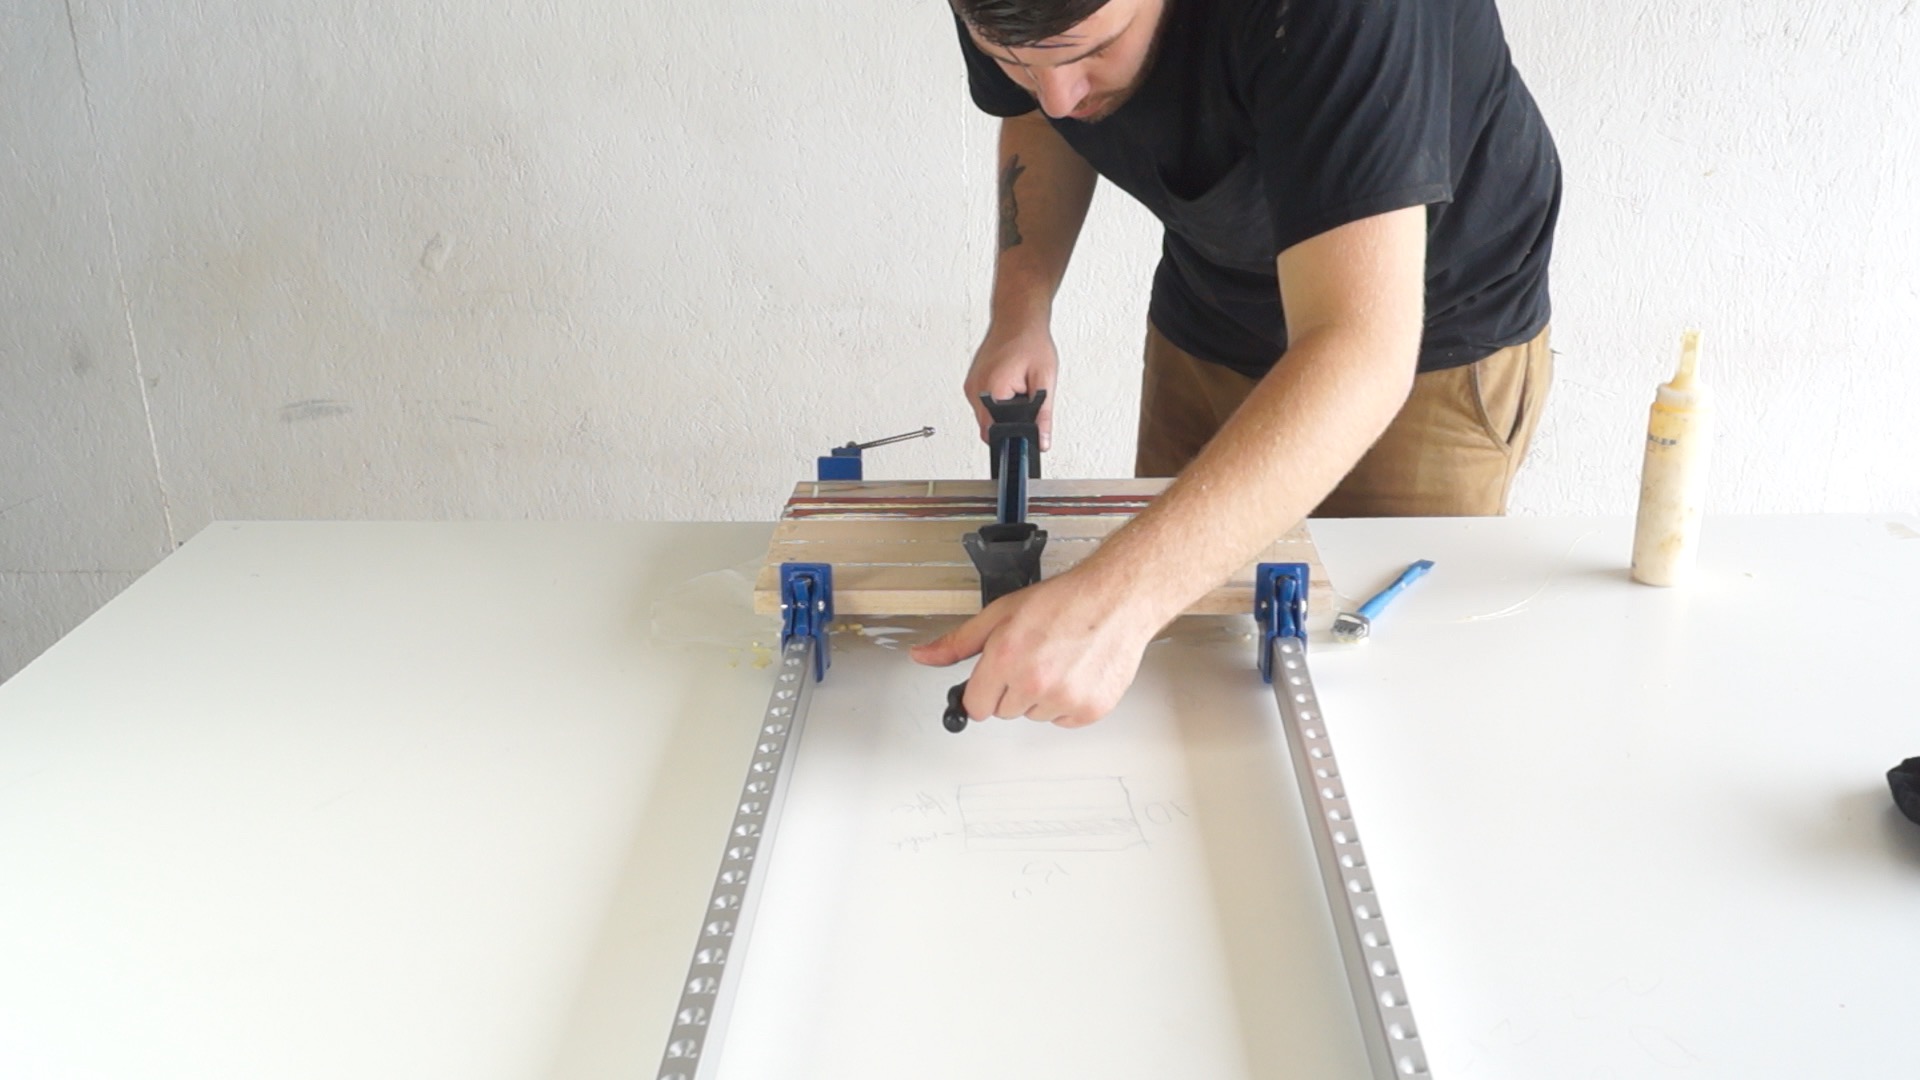
Clamping from the top and the bottom helps keep the board flat in the clamps.
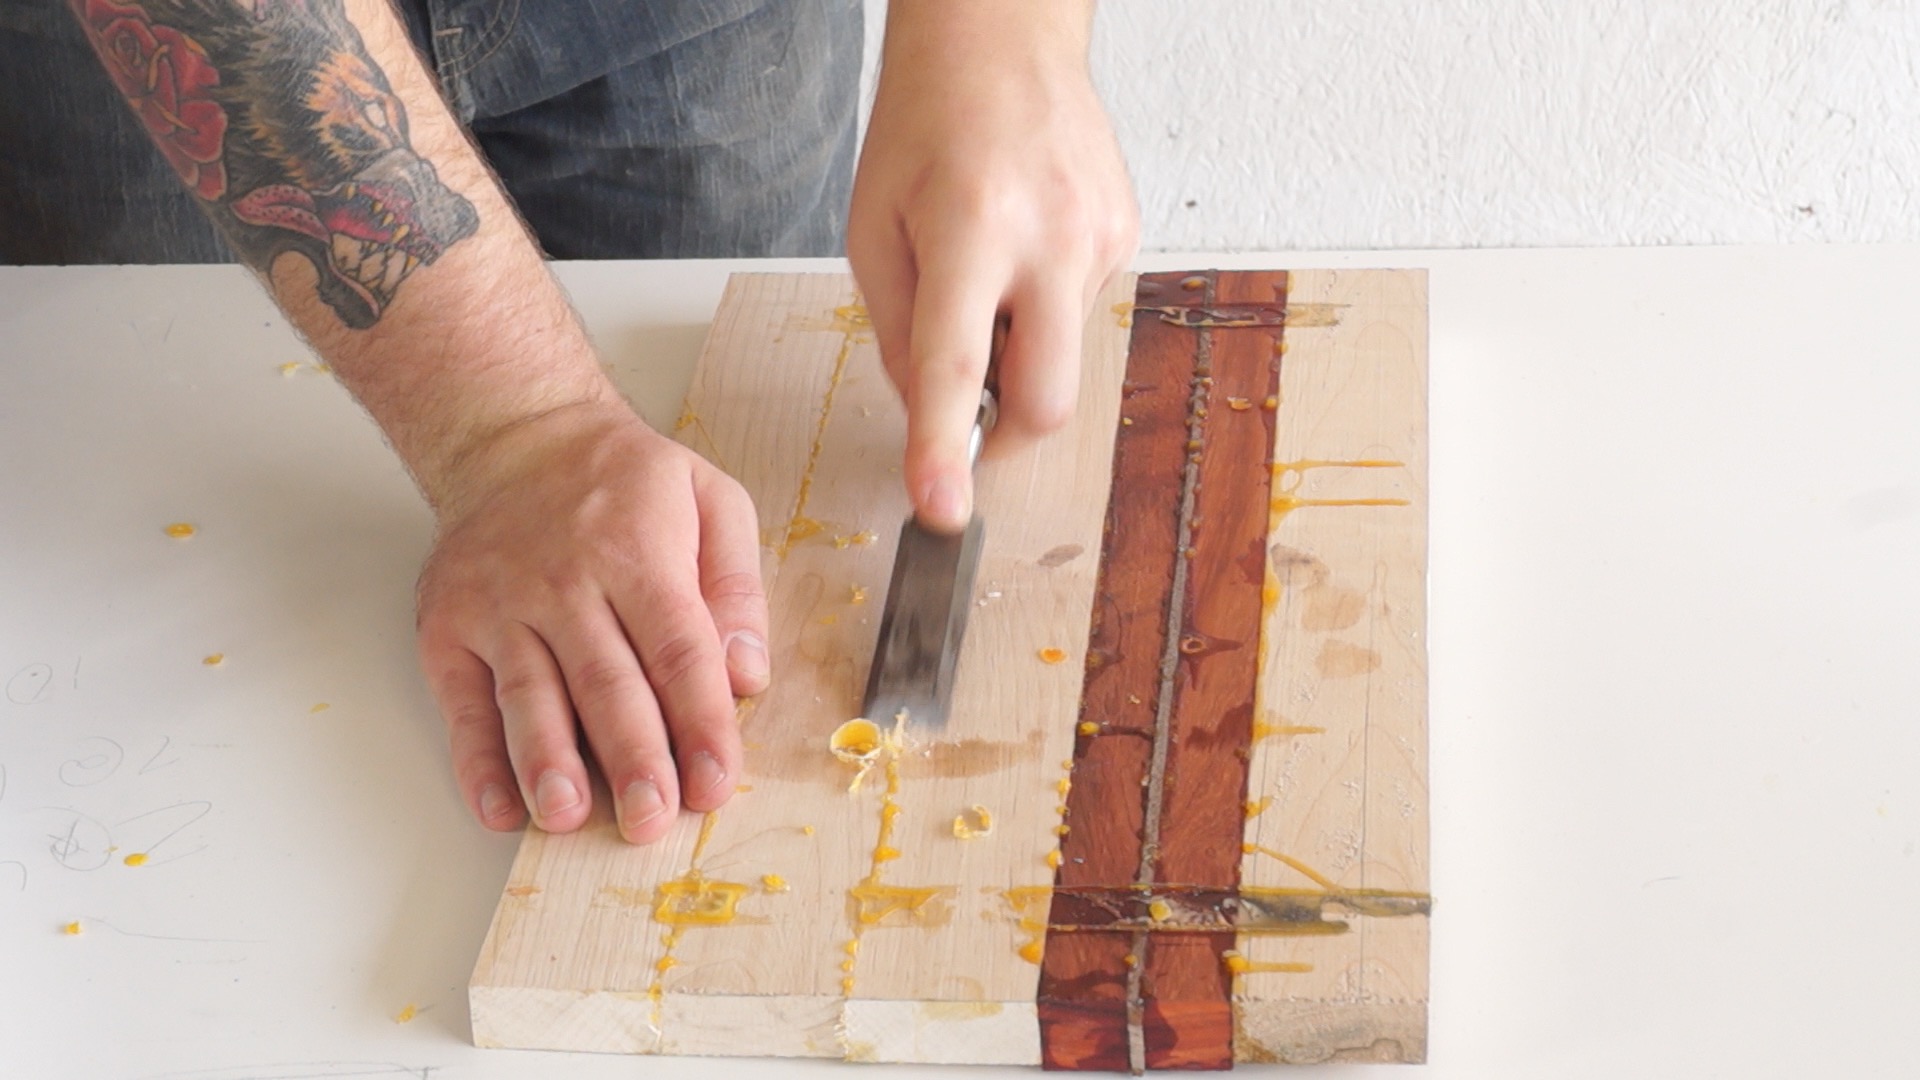
STEP SIX: EPOXY THE IMPERFECTIONS
If your wood has any knots with voids, or in my case, holes from beetles, you'll want to fill it with epoxy.

STEP SEVEN: FLATTEN THE BOARD
Most likely your board isn't perfectly flat, but if you hot glue it to a piece of MDF or plywood, it will give the planer a perfectly flat reference to surface one face. then you can flip it and run it through the other side.

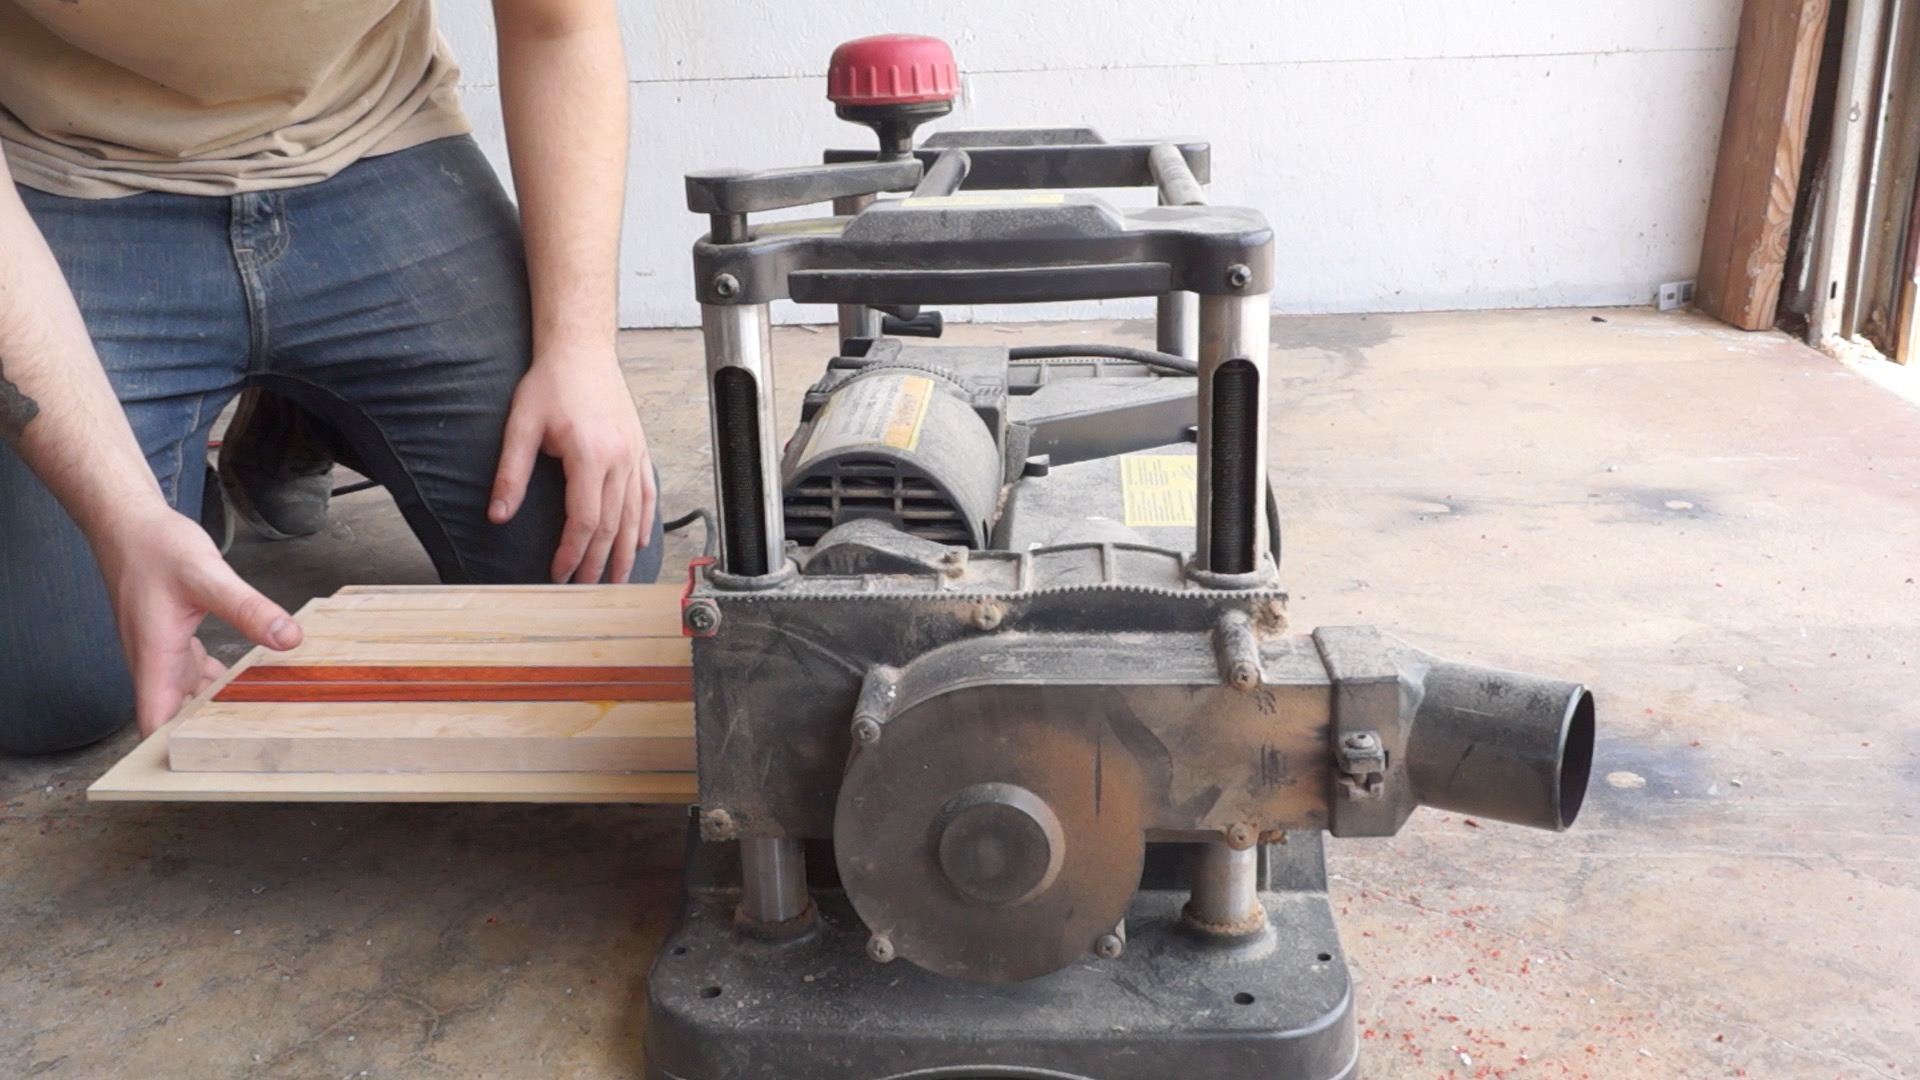
After removing the MDF you can surface the other side without attaching the MDF again, because you already have a flat reference surface.


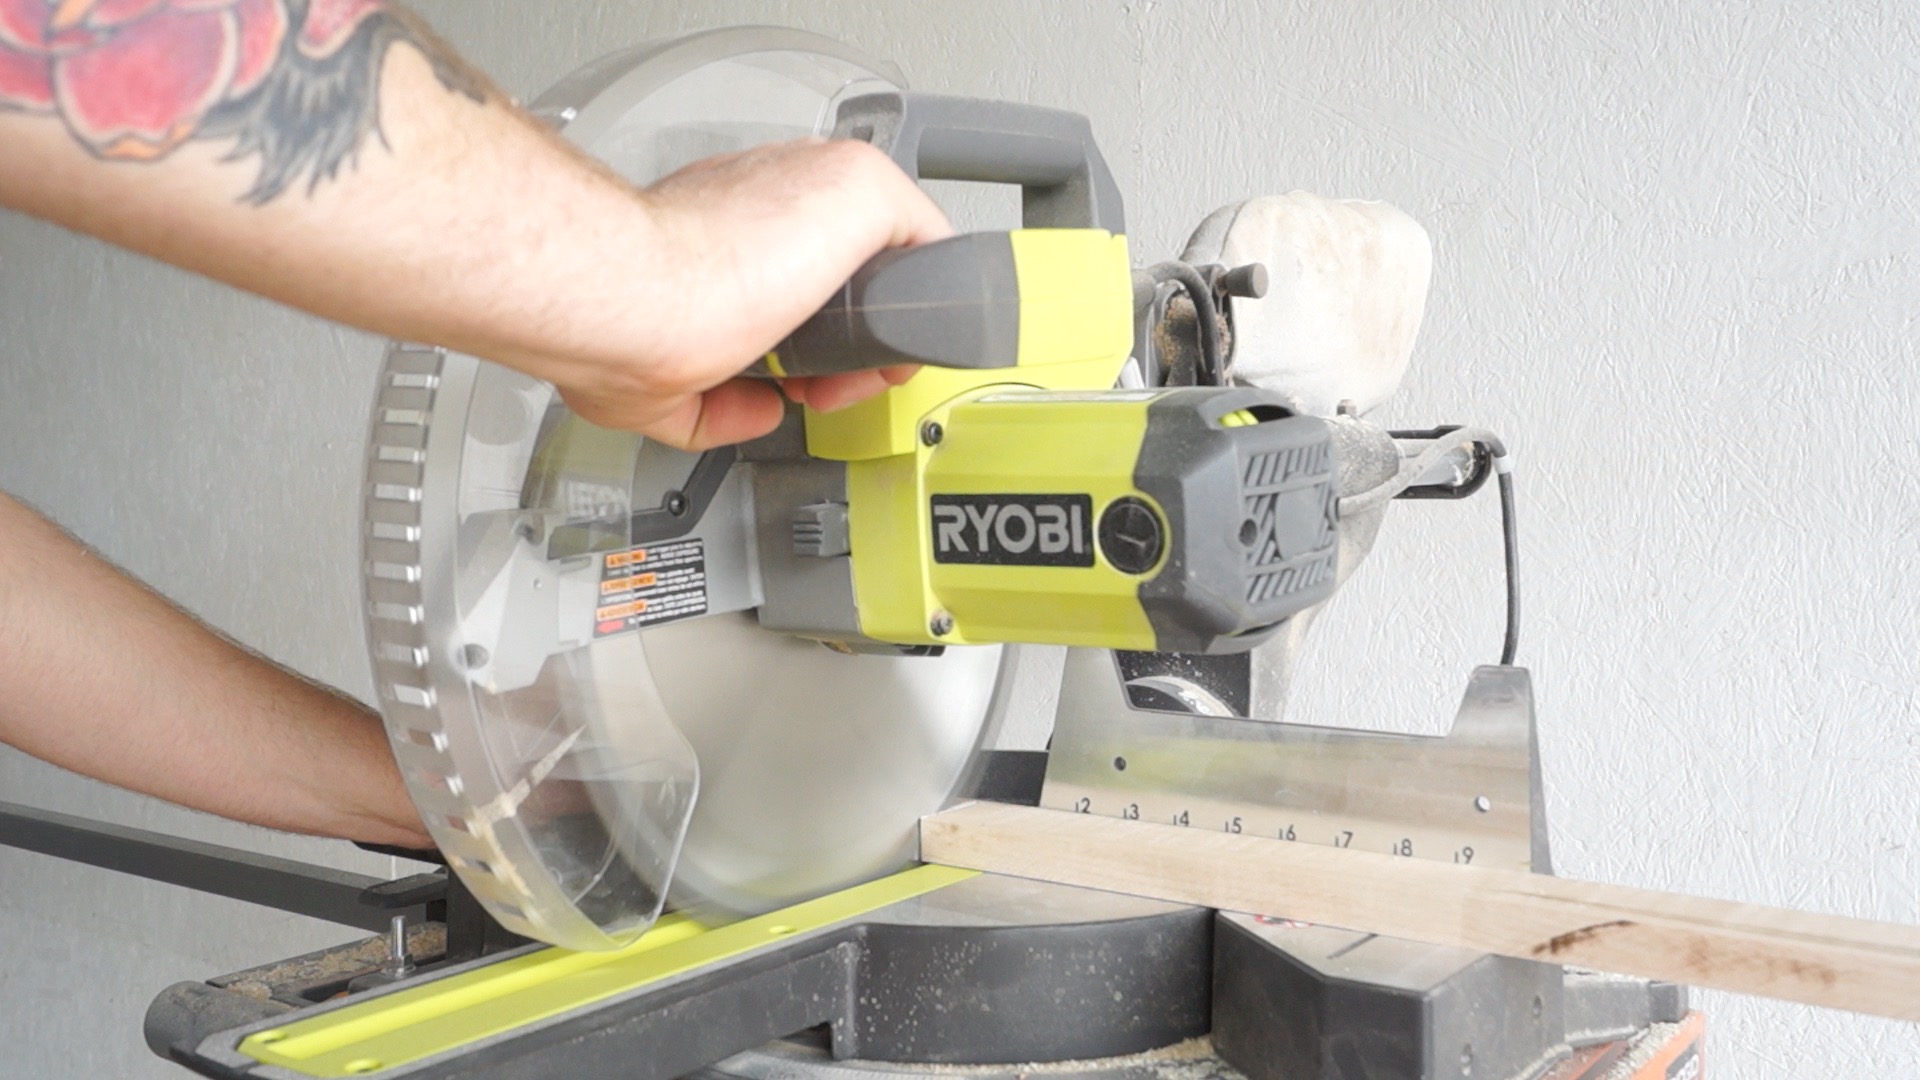
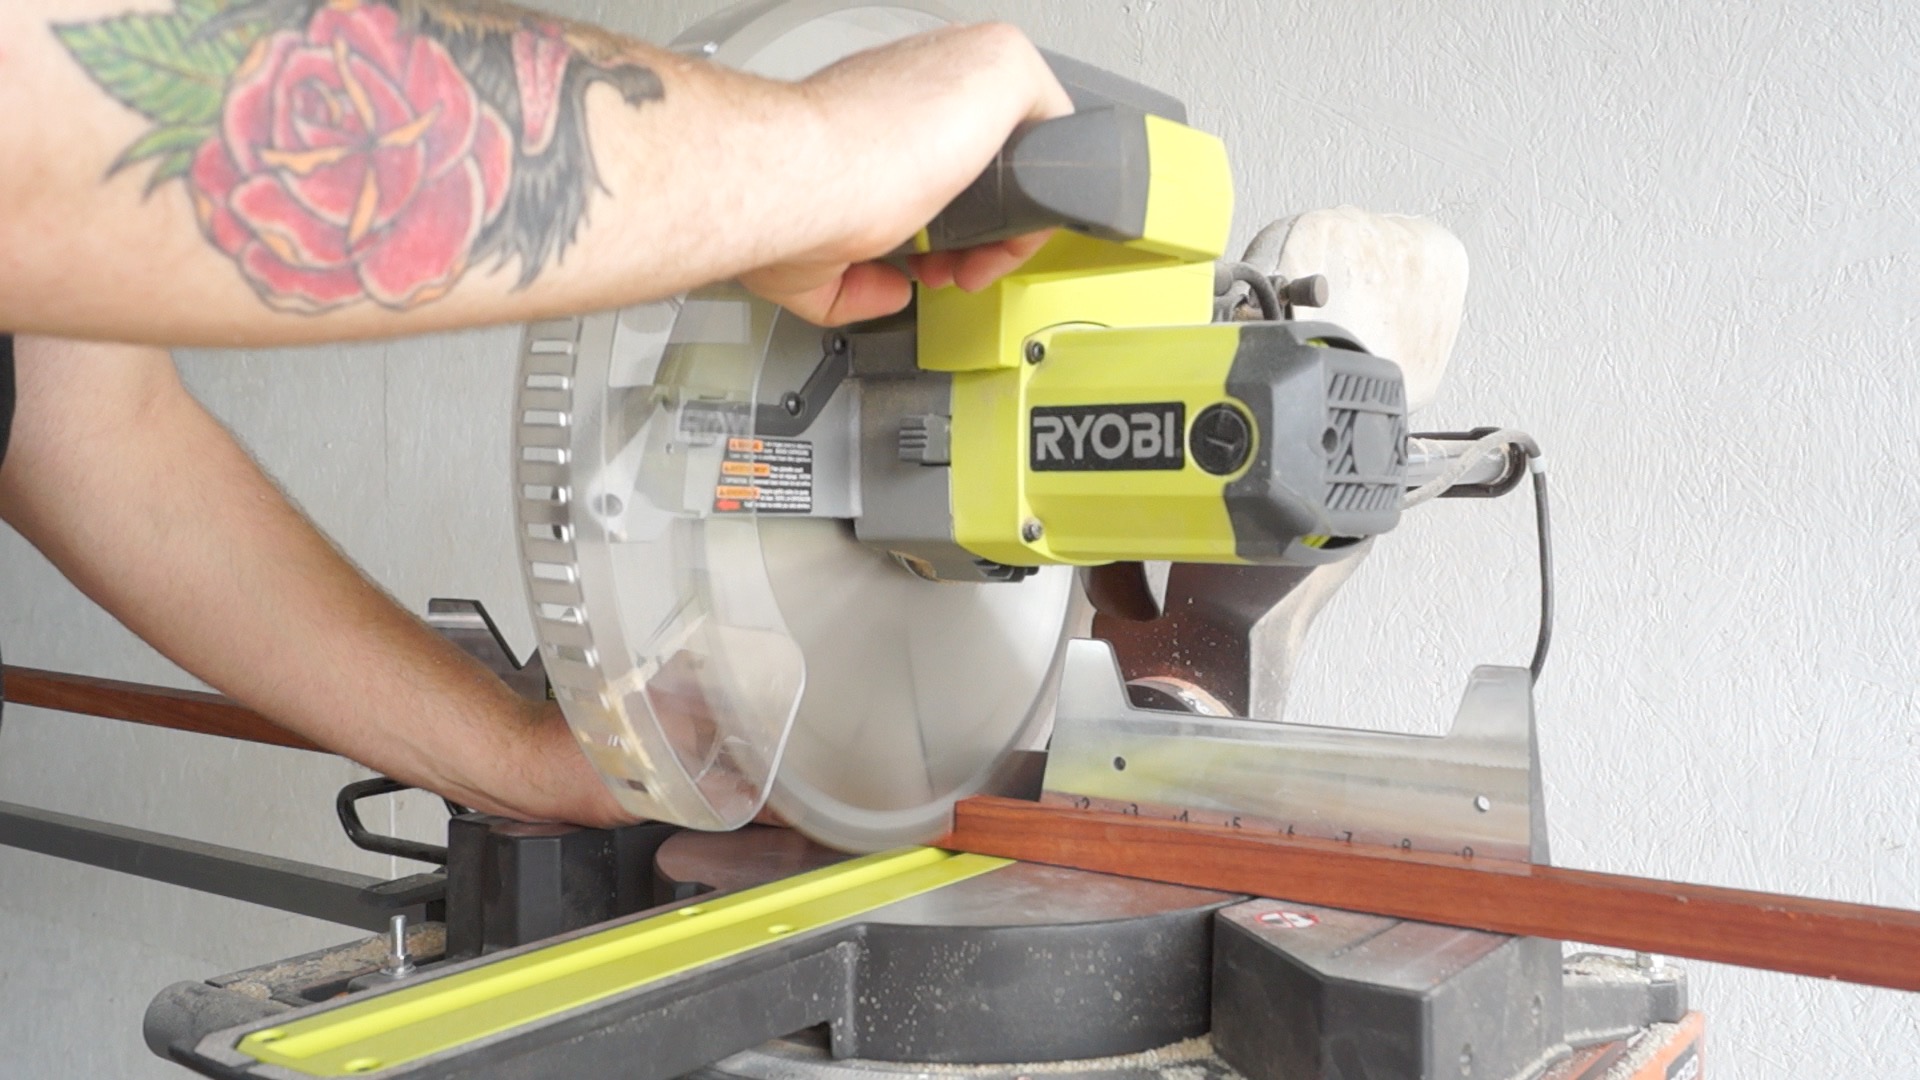
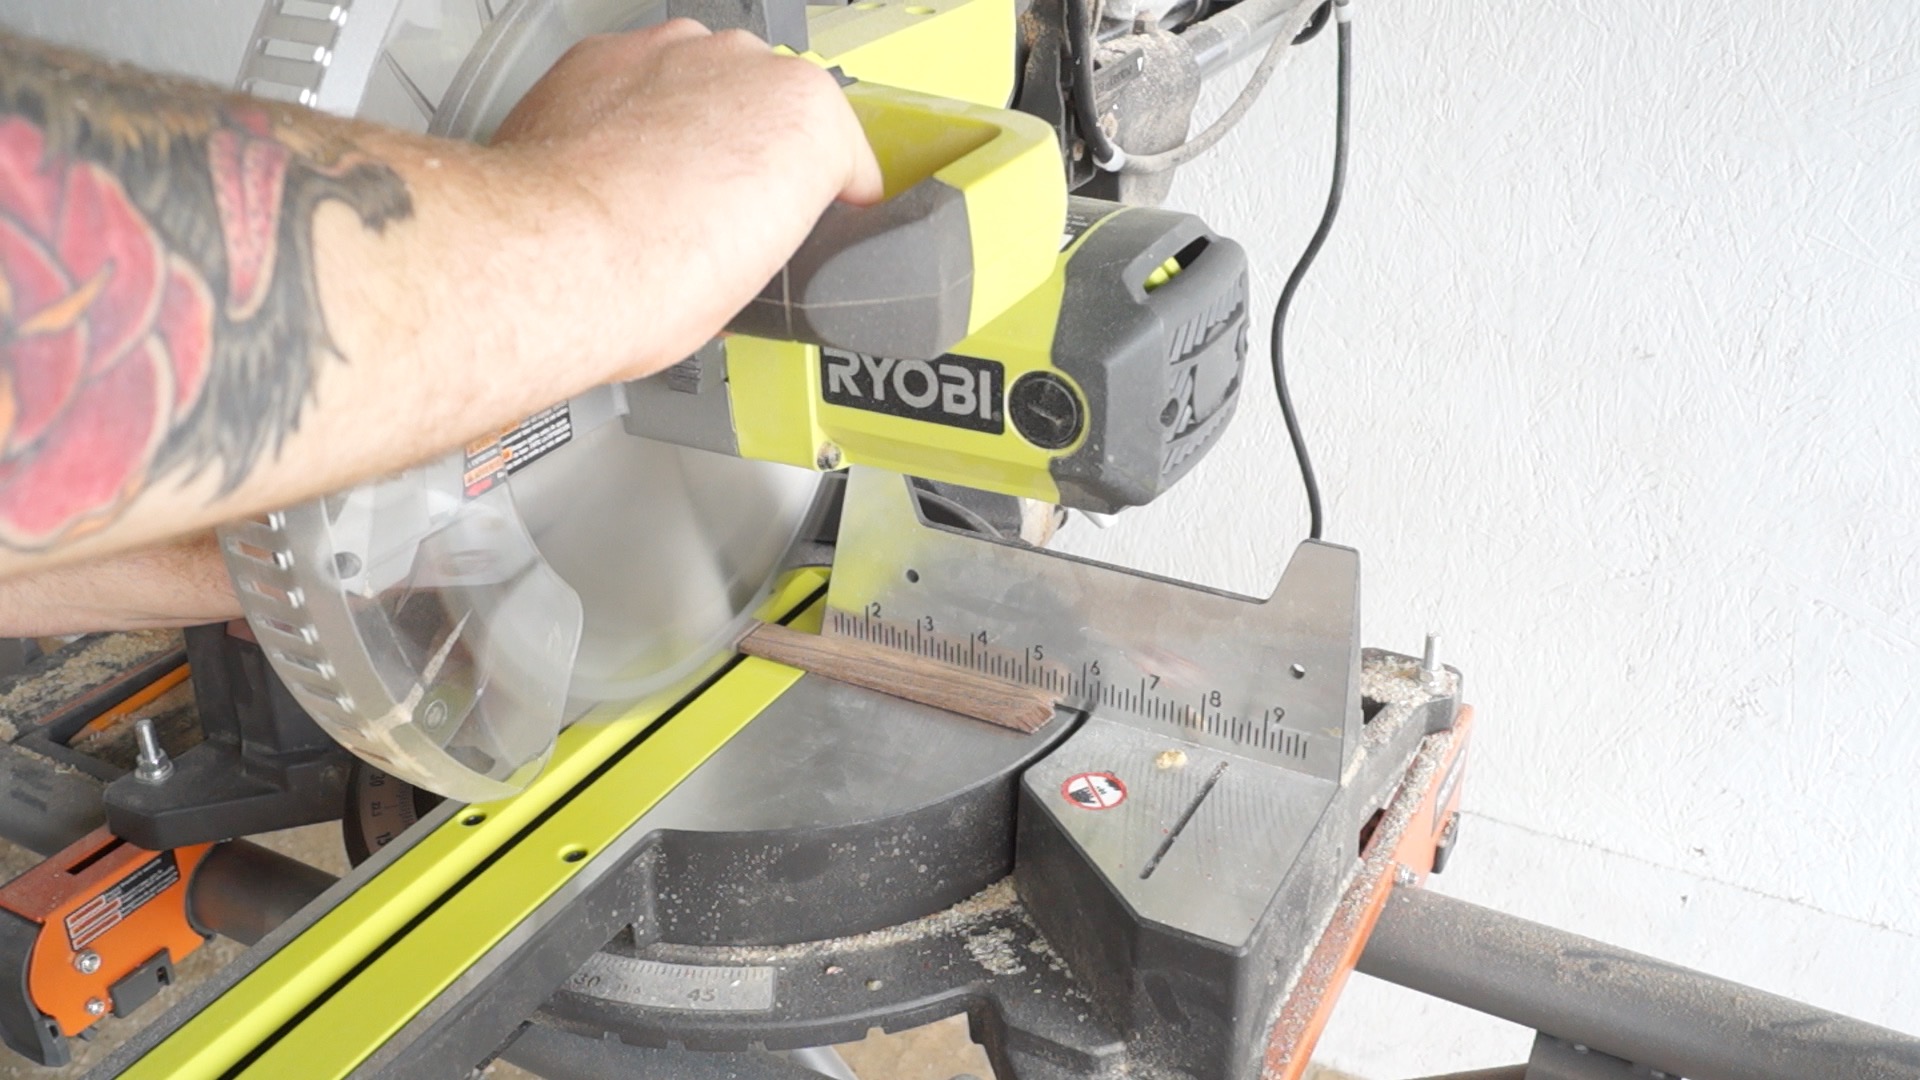
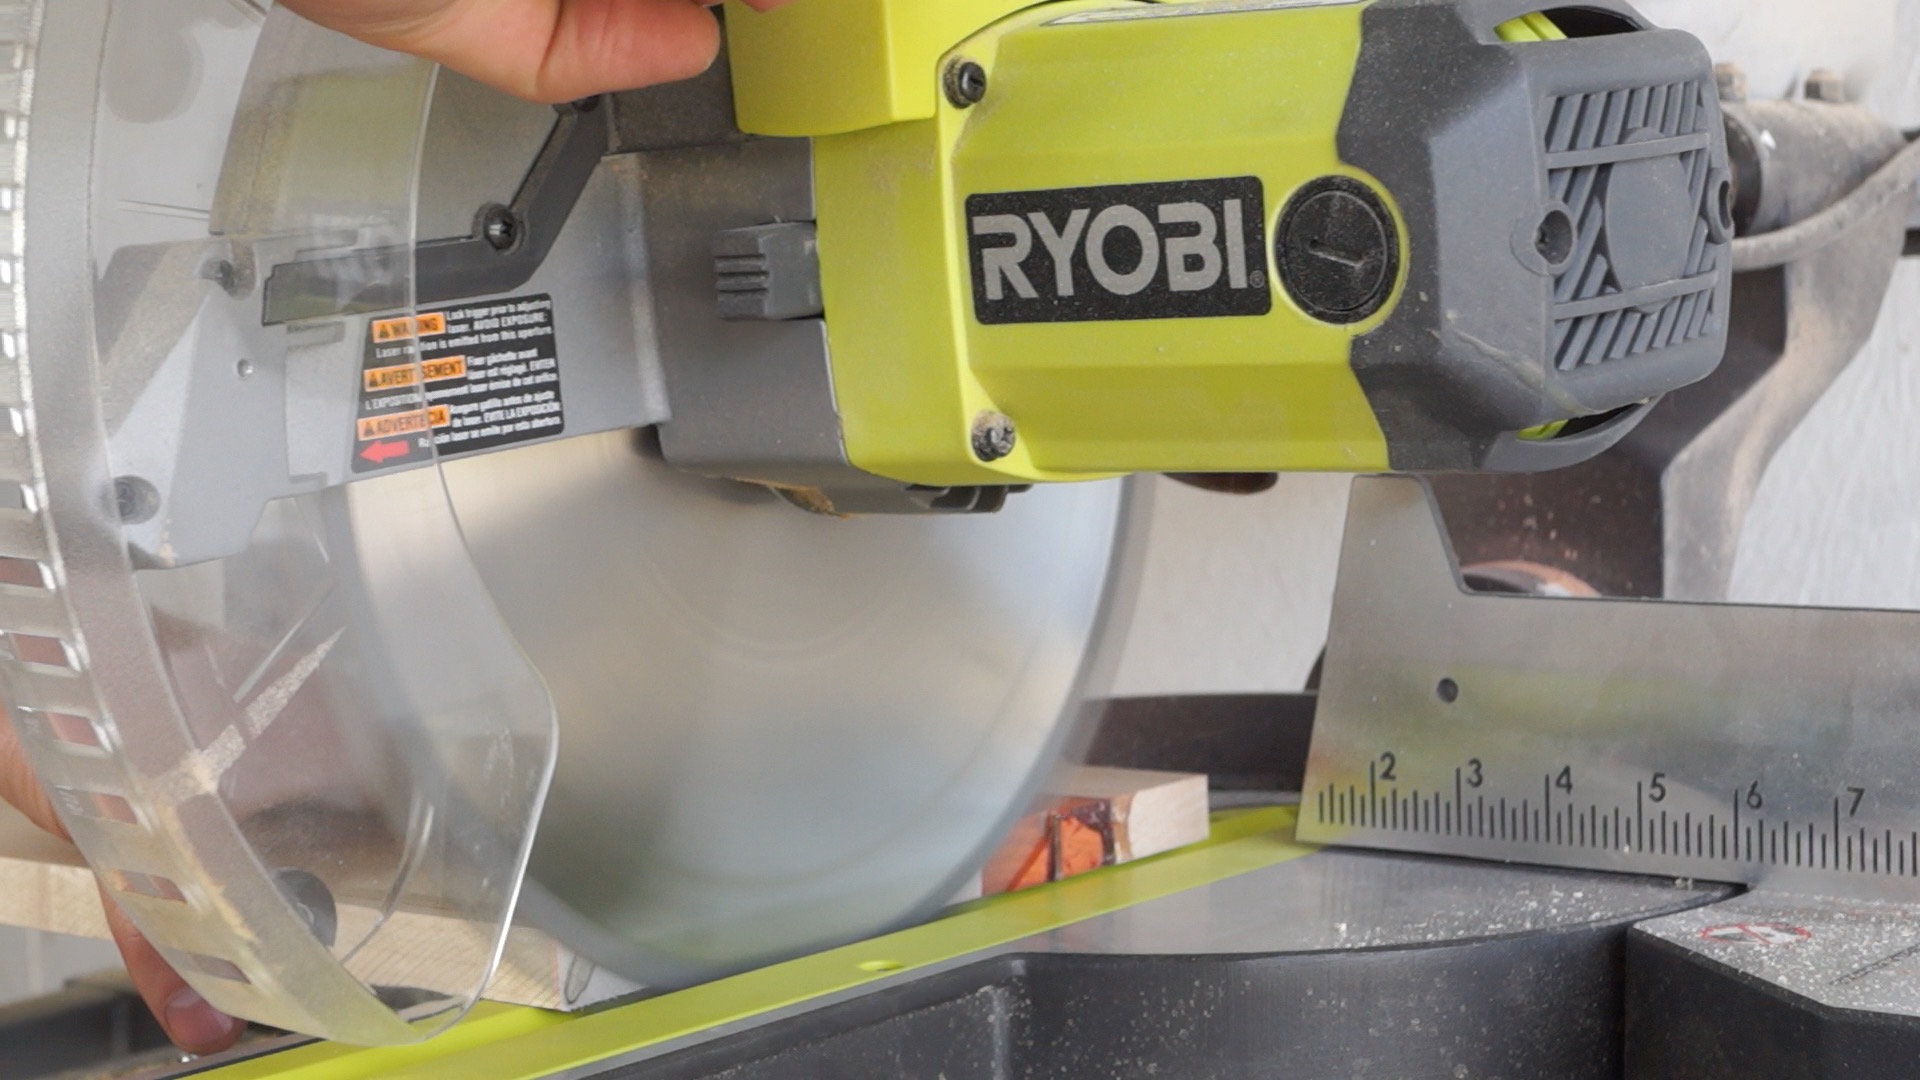
STEP EIGHT: TRIM THE ENDS
I used the chop saw to square the ends of my cutting board
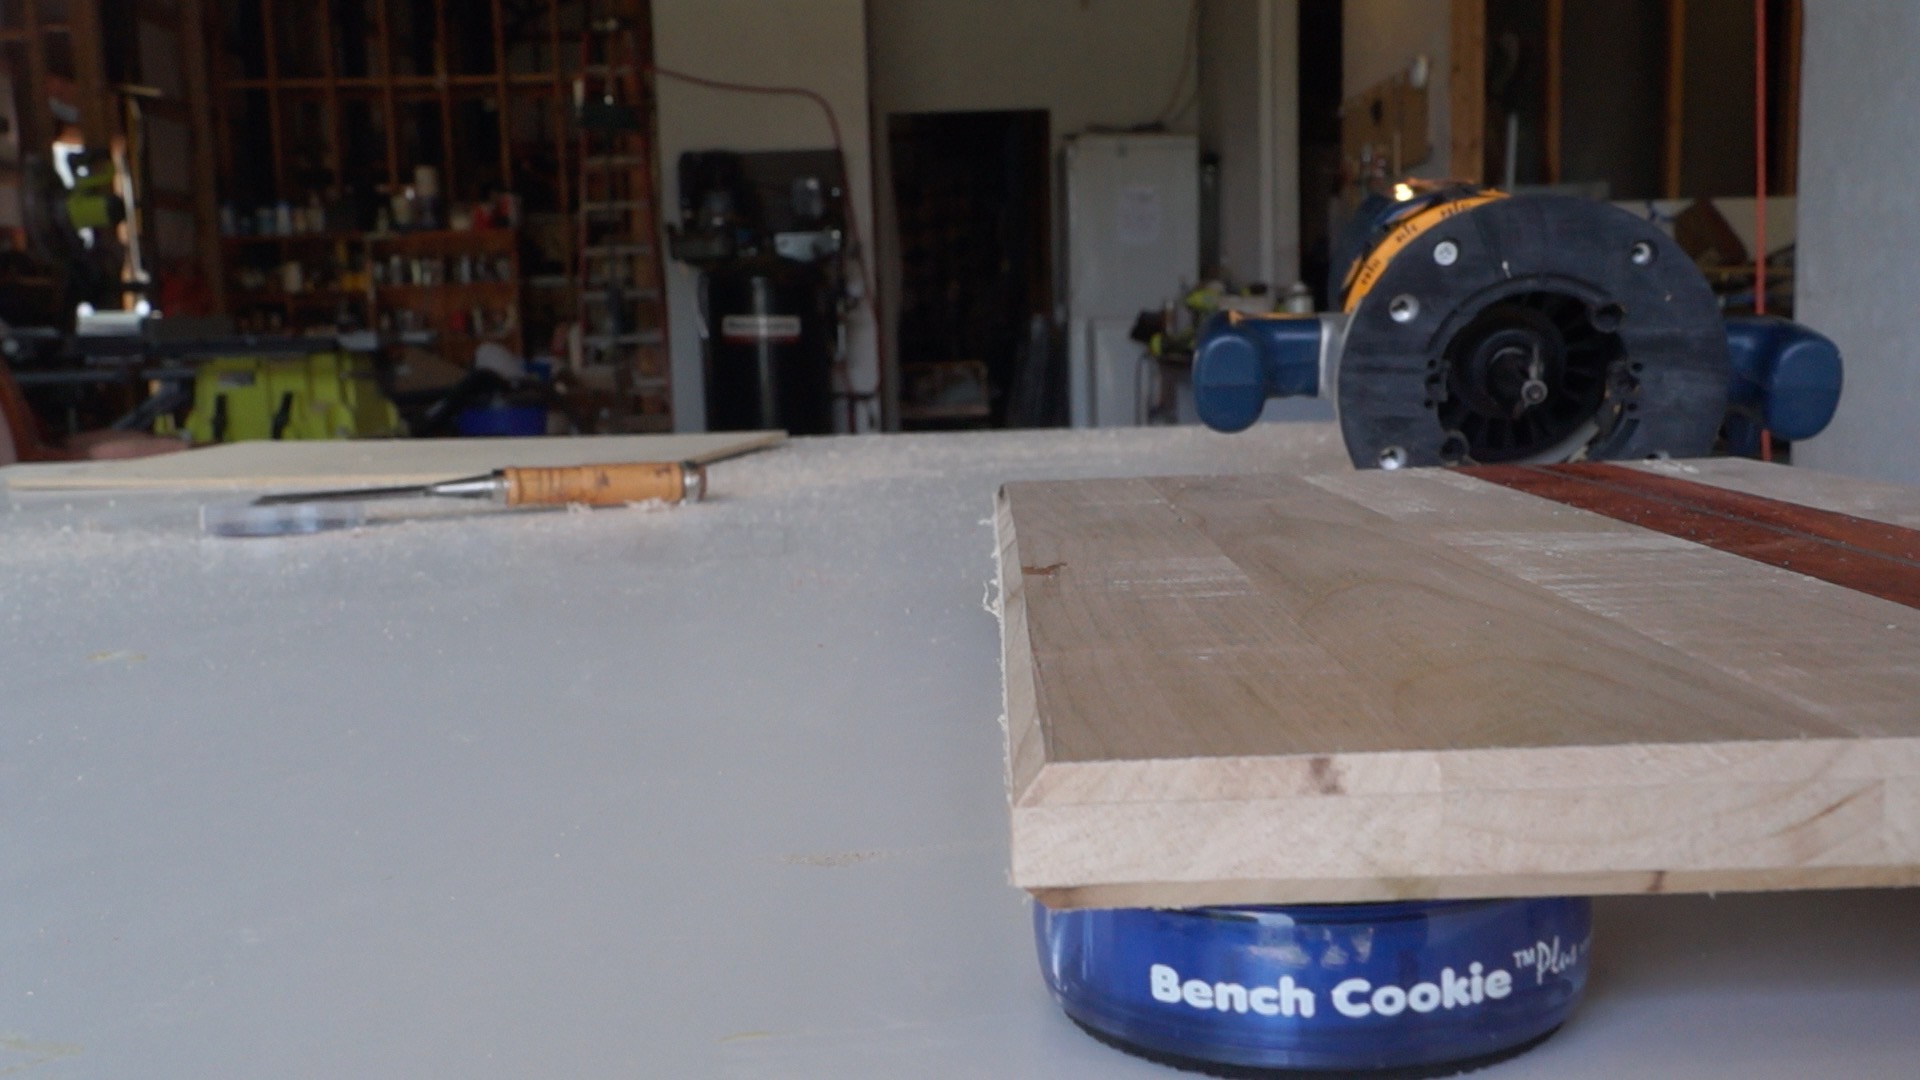
STEP NINE: ROUT THE CORNERS
There are multiple router tips you can choose to shape the corners and edges. I used a chamfer bit, which makes a 45 degree corner.

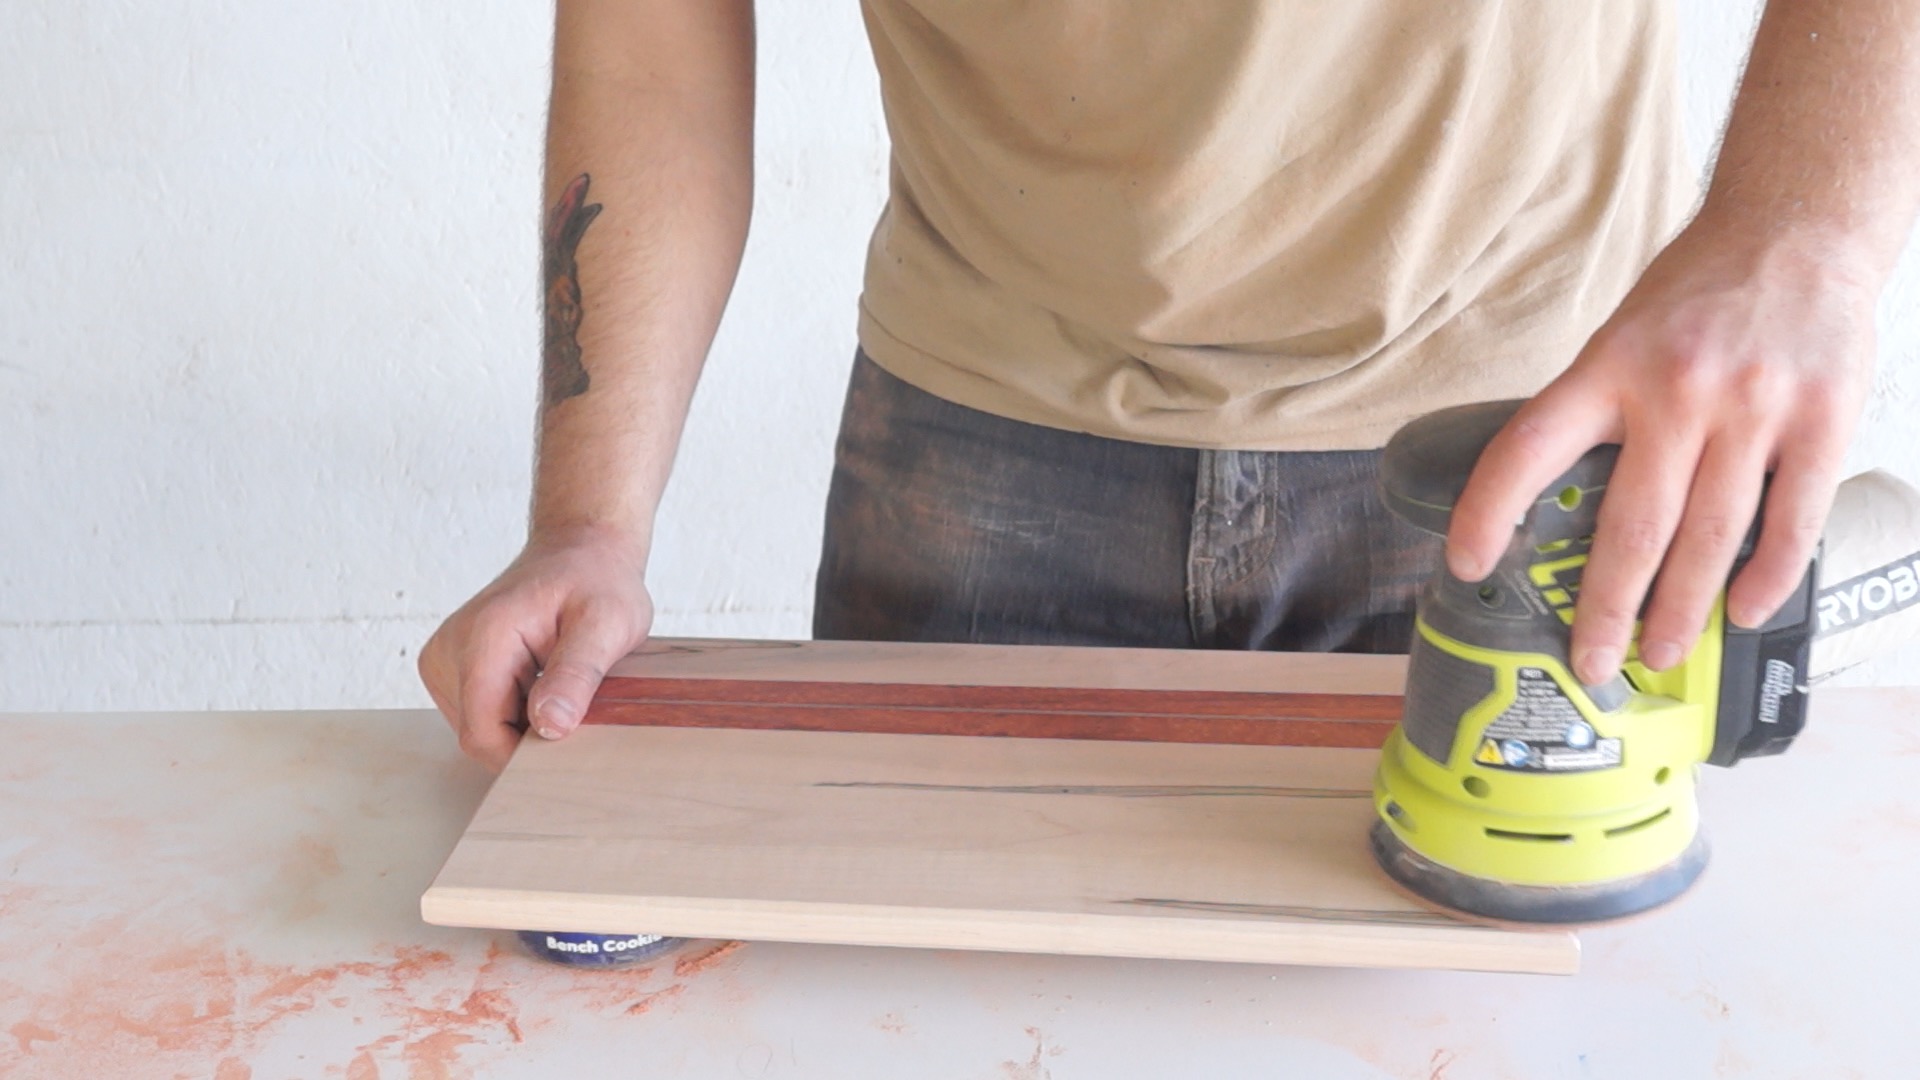
STEP TEN: SAND, SAND, SAND
I sanded starting at 80 grit, to 120, to 220. I did two wet sands. Wet sanding raises the grain, so that you can knock it down.


STEP ELEVEN: FINISH
I used mineral oil to finish my board. To condition the board, I apply three thick coats.


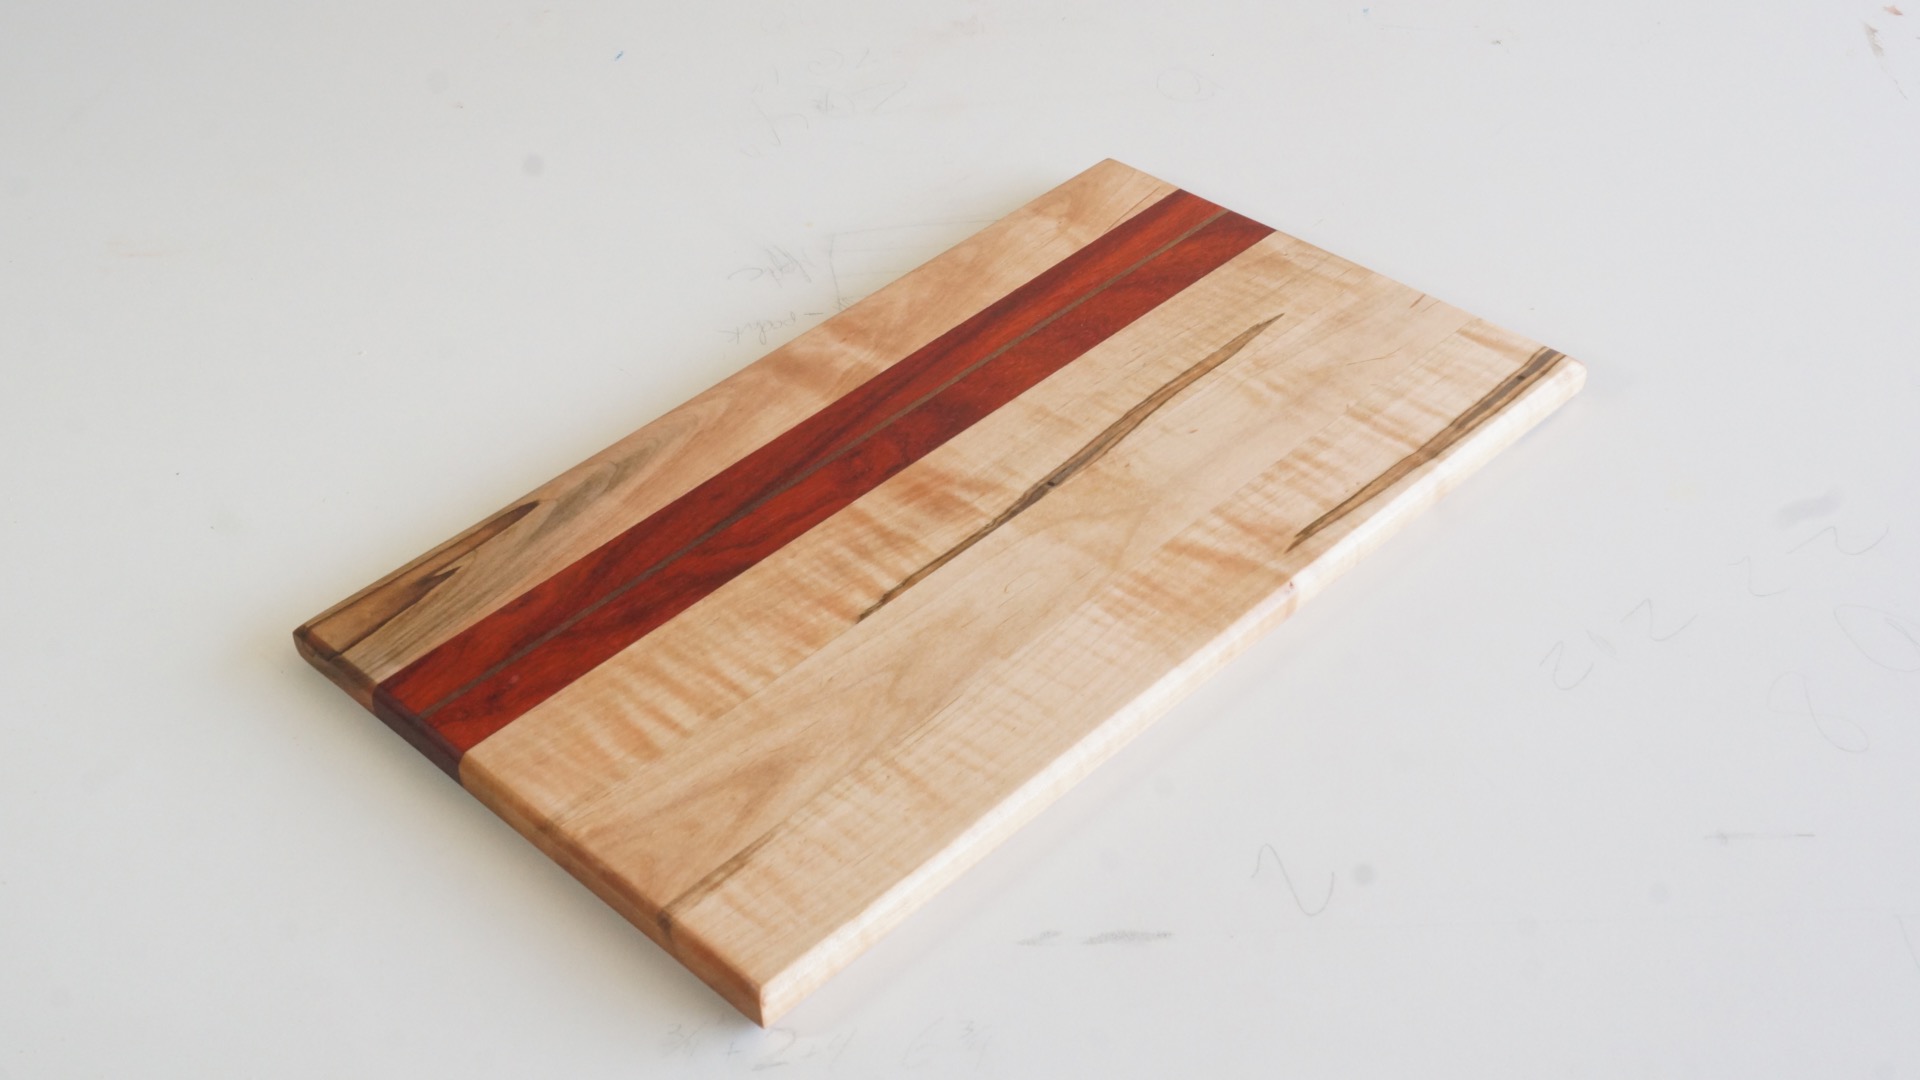


That's all there is to it! I hope you enjoyed it and go out and make your own. If you do, don't forget to tag me in a picture of it!
MORE COOL PROJECTS


GET IN TOUCH