

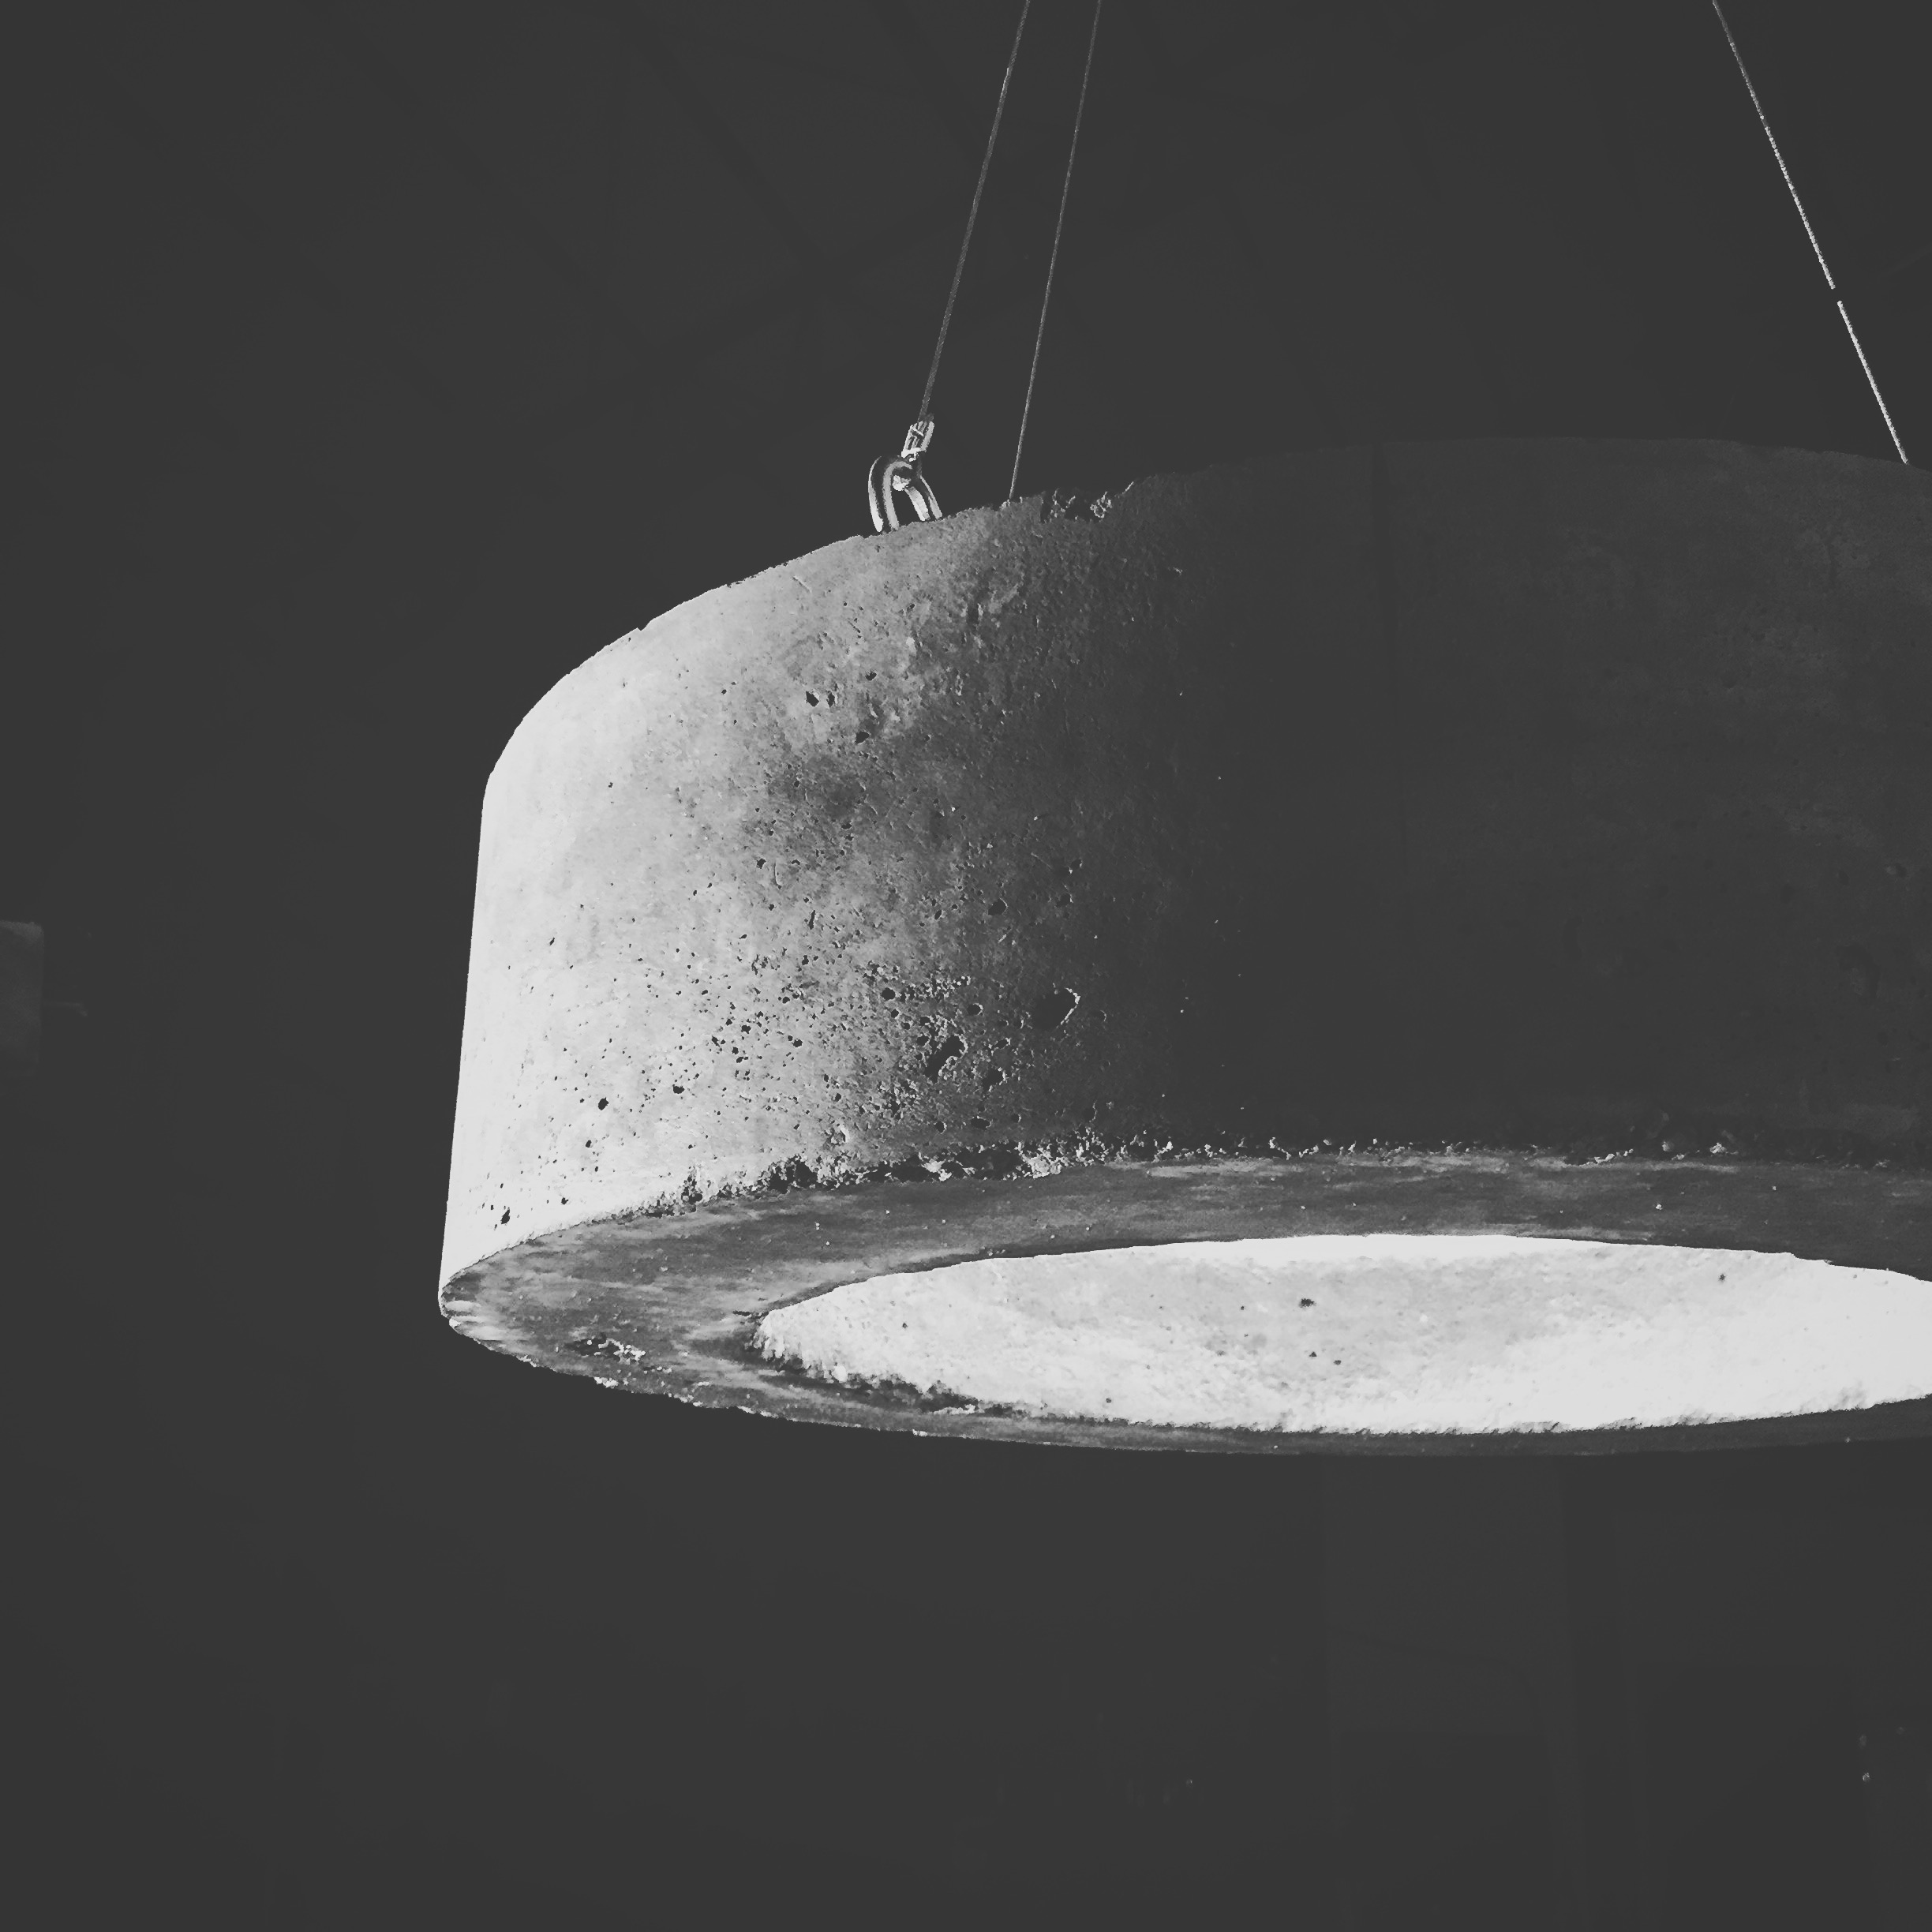
EP. 43 DIY CONCRETE PENDANT LAMP
This is a project I found inspiration for on pinterest. I saw something similar and had to try it. If you choose to build this project keep in mind that its a roughly 75 pound chunk of concrete suspended in the air. Be safe and make sure everything is secure and strong. With that being said, let's get started.
MATERIALS AND SUPPLIES:
1 - 80lbs Bag of Quickrete Concrete
Charcoal Concrete Pigment: http://amzn.to/2boXMrr
LED Light Kit W/white function: http://amzn.to/2b8Zhw0
Plexiglass Jigsaw Blade: http://amzn.to/2bFSvcB
Loctite Epoxy: http://amzn.to/2b8YLye
Silicone Caulk: http://amzn.to/2b8ZdfF
4 - Screw Hooks
150lbs Wire to Hang Lamp
1/16" Cable Ferrules.
Seal-Krete Low Gloss Concrete Sealer

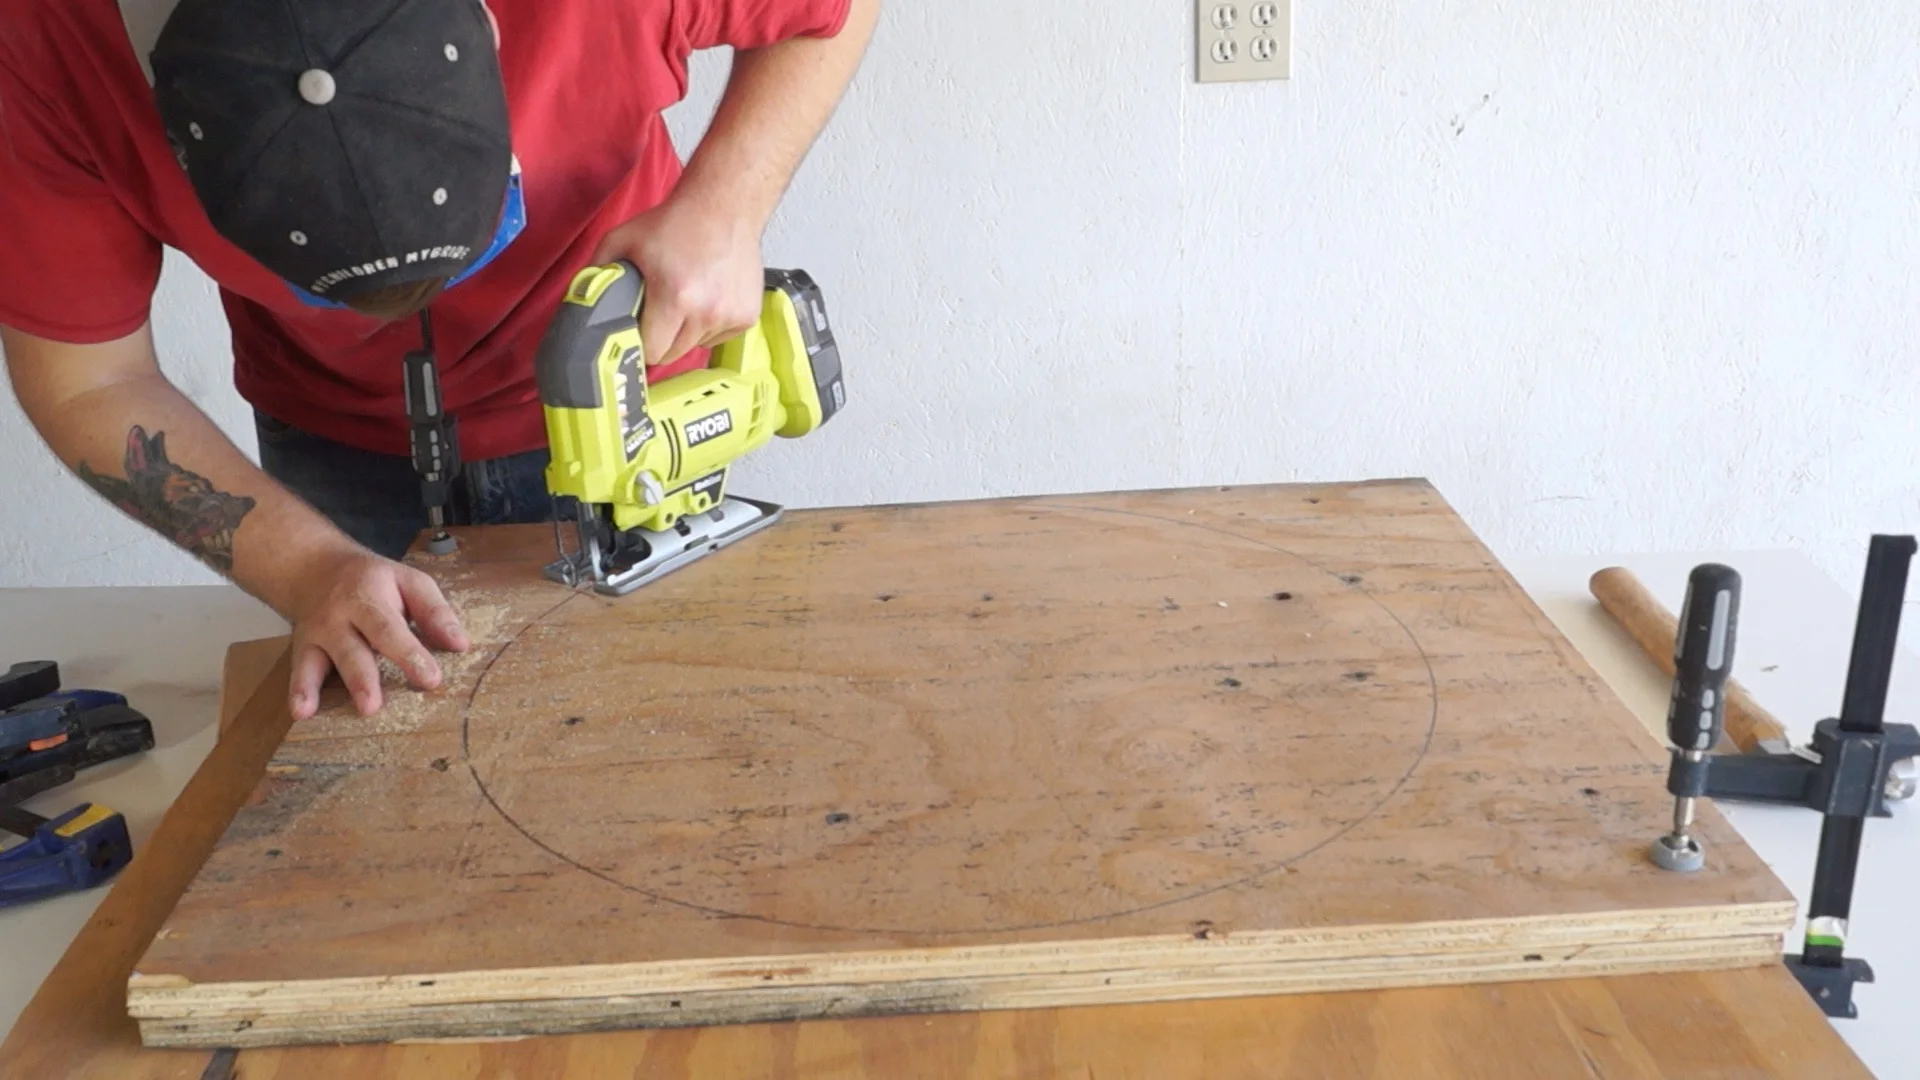
STEP ONE: CUT CIRCLES
I used a jigsaw to cut all the circles from scrap plywood for the form. I clamped the pieces together to cut them all at the same time.

STEP TWO: BUILD FORMS
I simply attached my forms together with screw and scrap wood. Some 2x4's, 1x4's and 4x4's

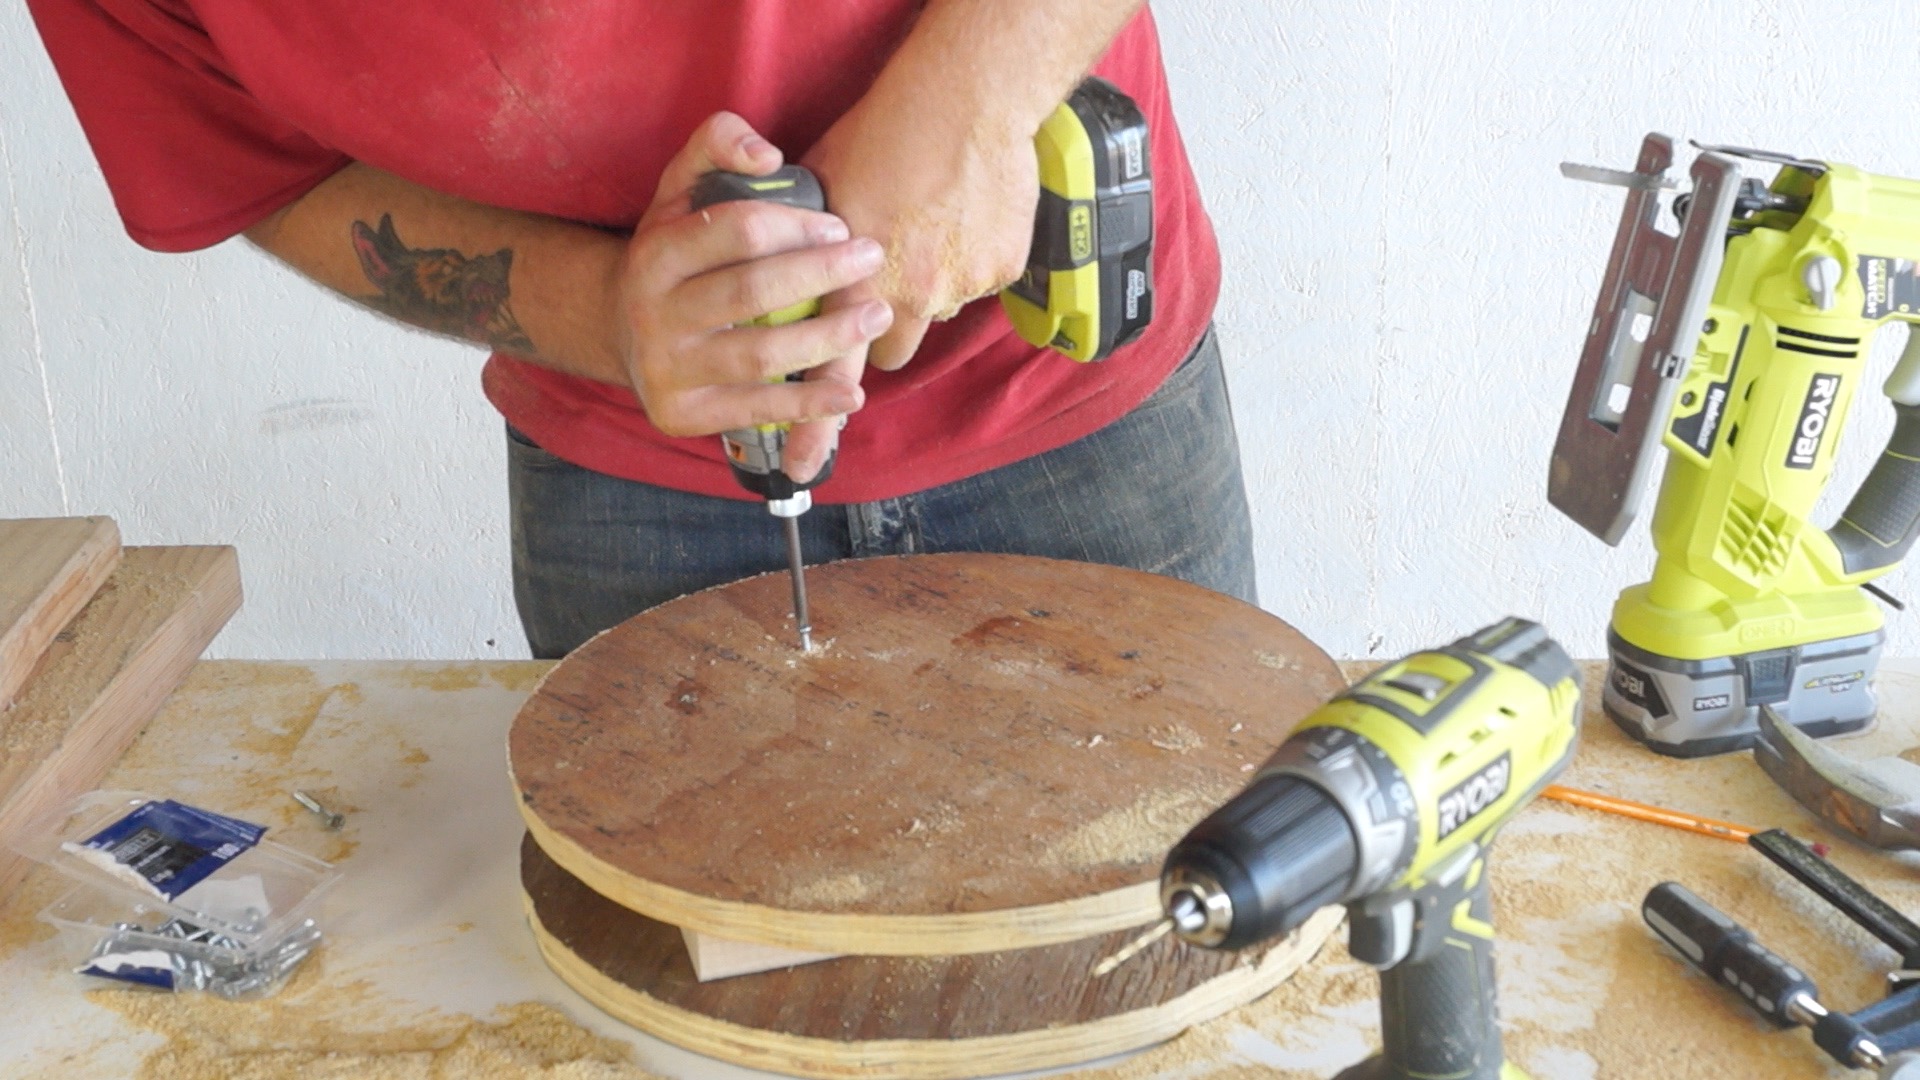
I used a disk sander as an optional step to kelp square everything up.


STEP THREE: WRAP THE FORMS
I needed a product to wrap the forms with, and I found this: wall paneling. It's flexible and quite inexpensive.


I used a brad nailer to attach the panel to the forms.

I used silicone caulk to fill any nail holes or gaps.

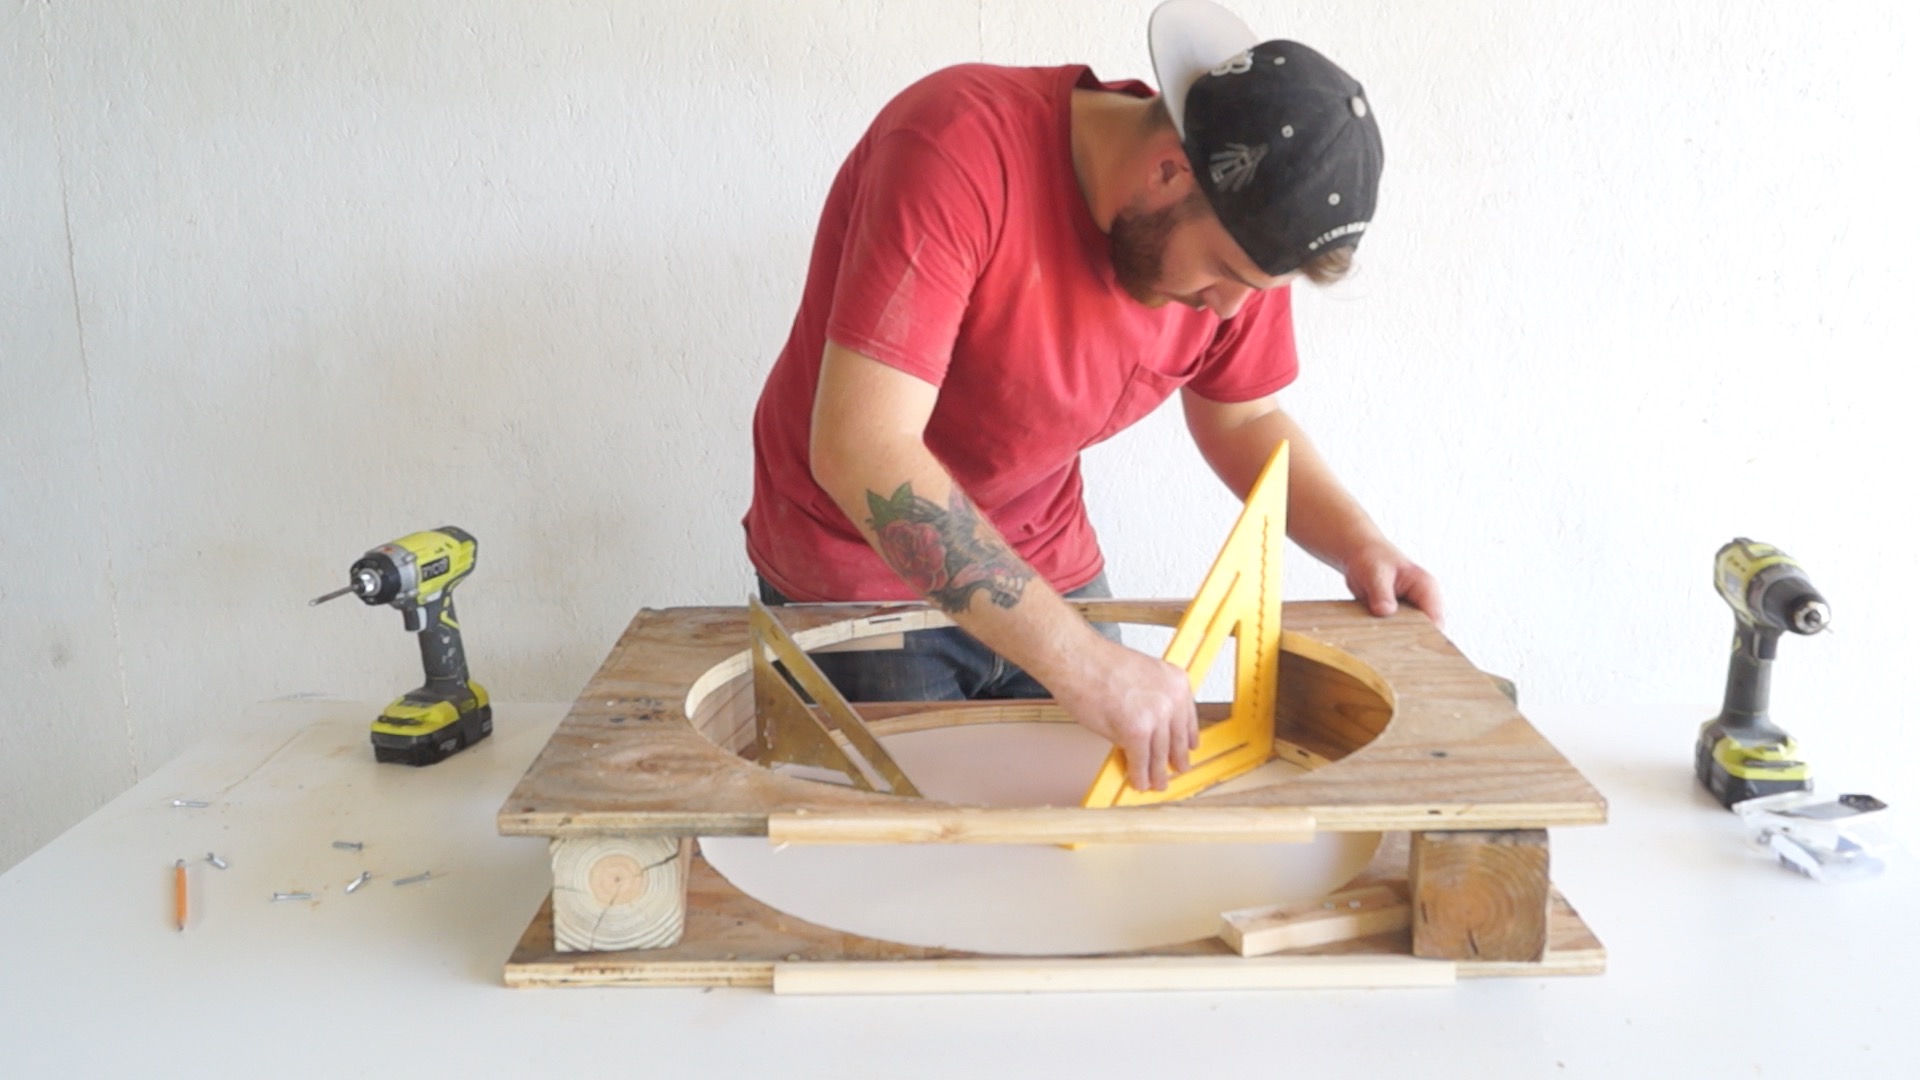
STEP FOUR: PUT IT ALL TOGETHER
Next I just had to join my three pieces of the form and attach it to the melamine bottom.


STEP FIVE: POUR THE CONCRETE
I used one bag of quikrete and added a 1/4 portion of charcoal concrete pigment to darken it up a bit.


I made sure to knock out as many air bubbles as possible by mixing the concrete in the mold and vibrating the table.

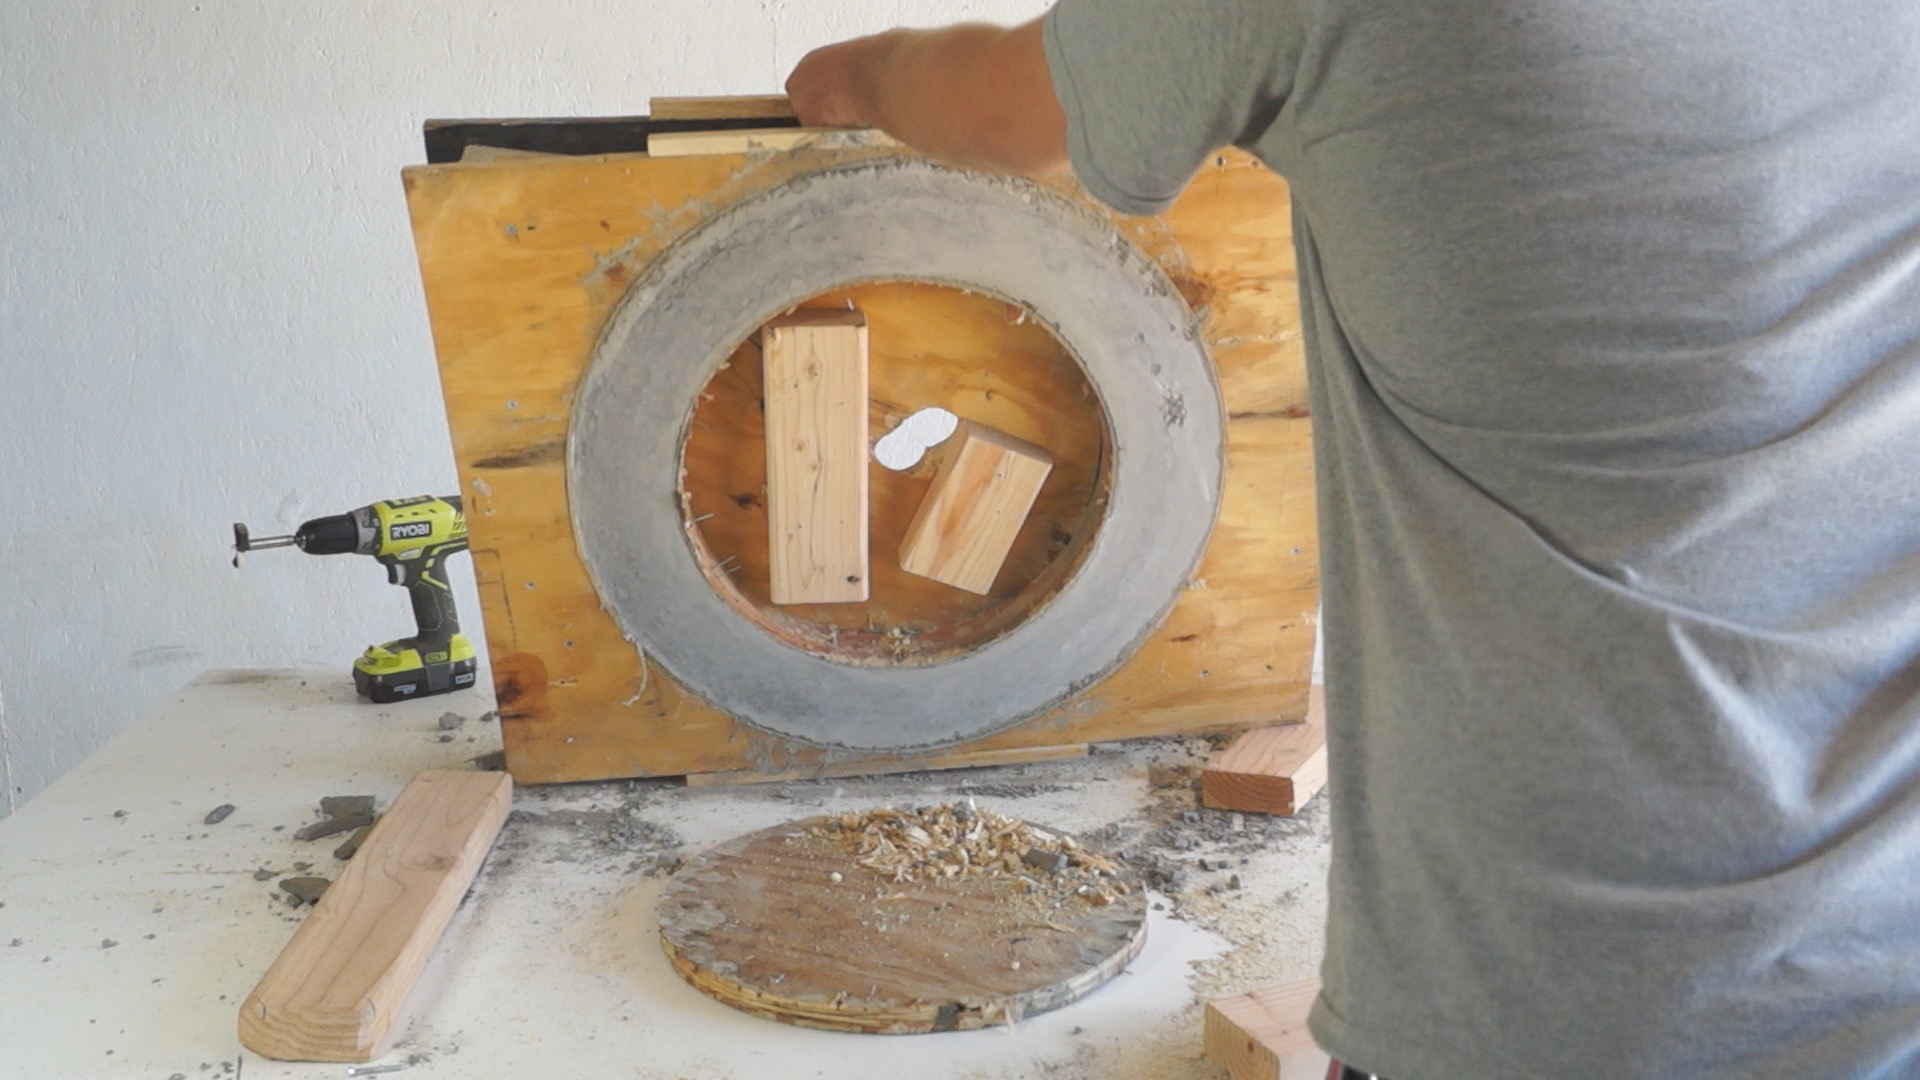
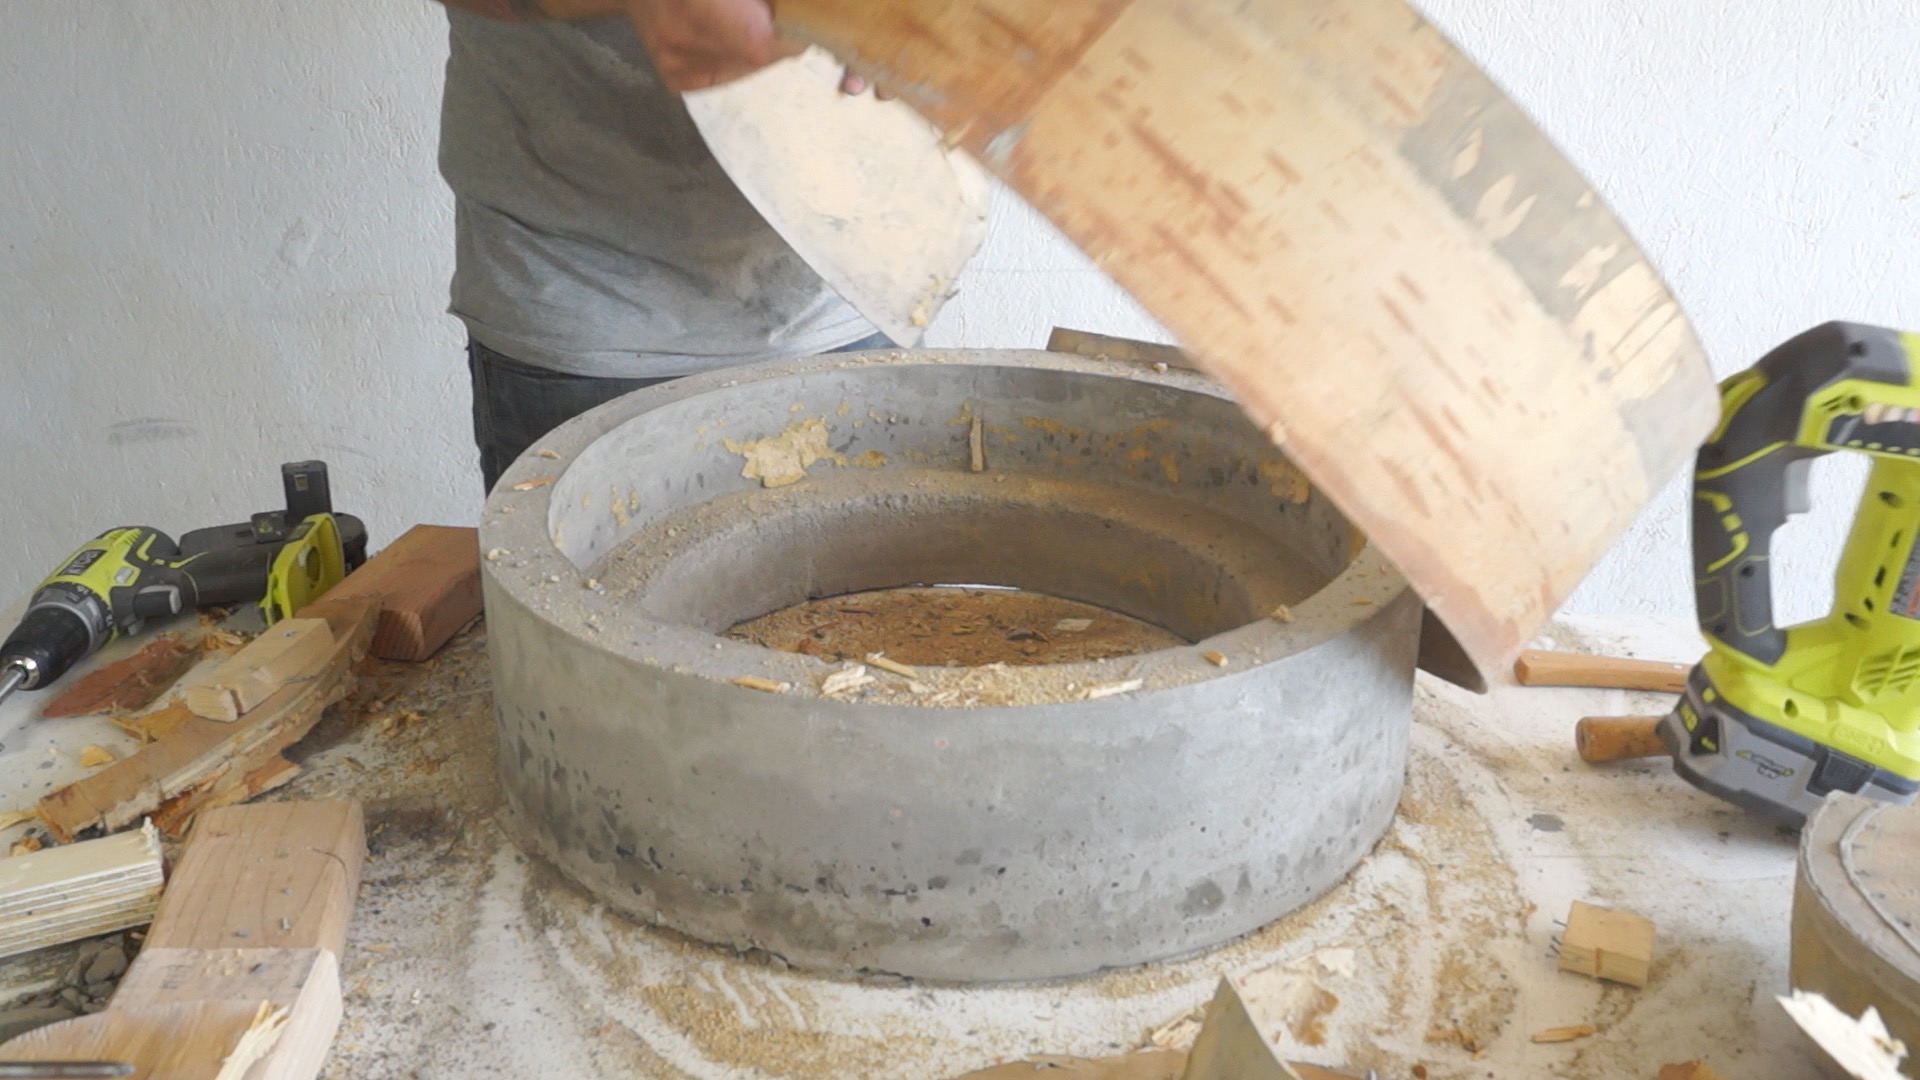
STEP SIX: BREAK THE MOLD
The mold was pretty tough to remove, but with some persistence, it came out.


STEP SEVEN: ATTACH HOOKS
My original intentions were to put the hooks to hang the light in the concrete when it was wet, letting it set in place. I forgot to, so I used a masonry drill bit and epoxy to set it in.


STEP EIGHT: INSTALL LED'S
The LED strip I used had a self adhesive back. Anywhere it had trouble sticking, I used more epoxy.

STEP NINE: INSTALL ACRYLIC
I started by cutting the sheet of acrylic with a plexiglass jigsaw blade. then I sanded it with light pressure with 220 grit sandpaper to diffuse the light.


I also cut another piece of scrap plywood as a "cap" for the light to block the light for escaping from the top. It also let me attach the electronics to the top.

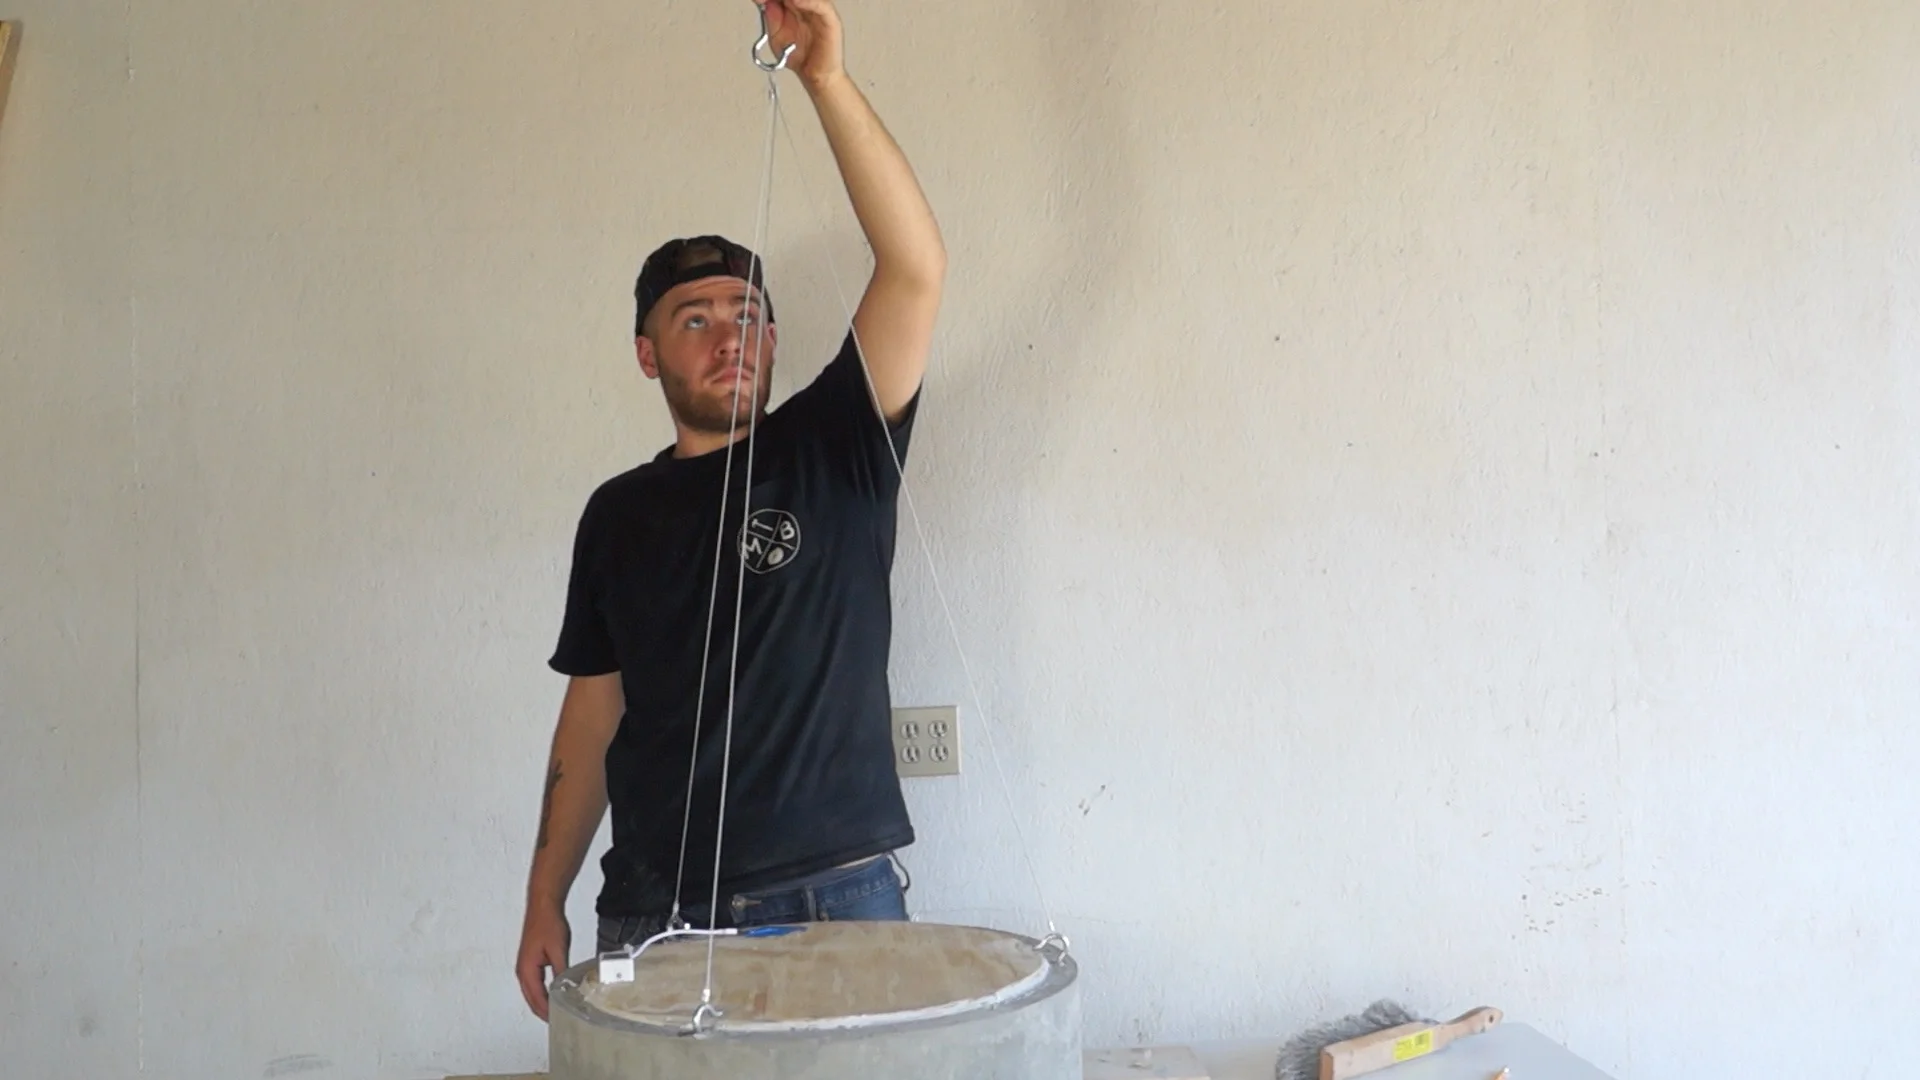
STEP TEN: CUT THE CABLE
The cable I'm using from home depot is rated at 150lbs. With three pieces holding the light, it should be strong.


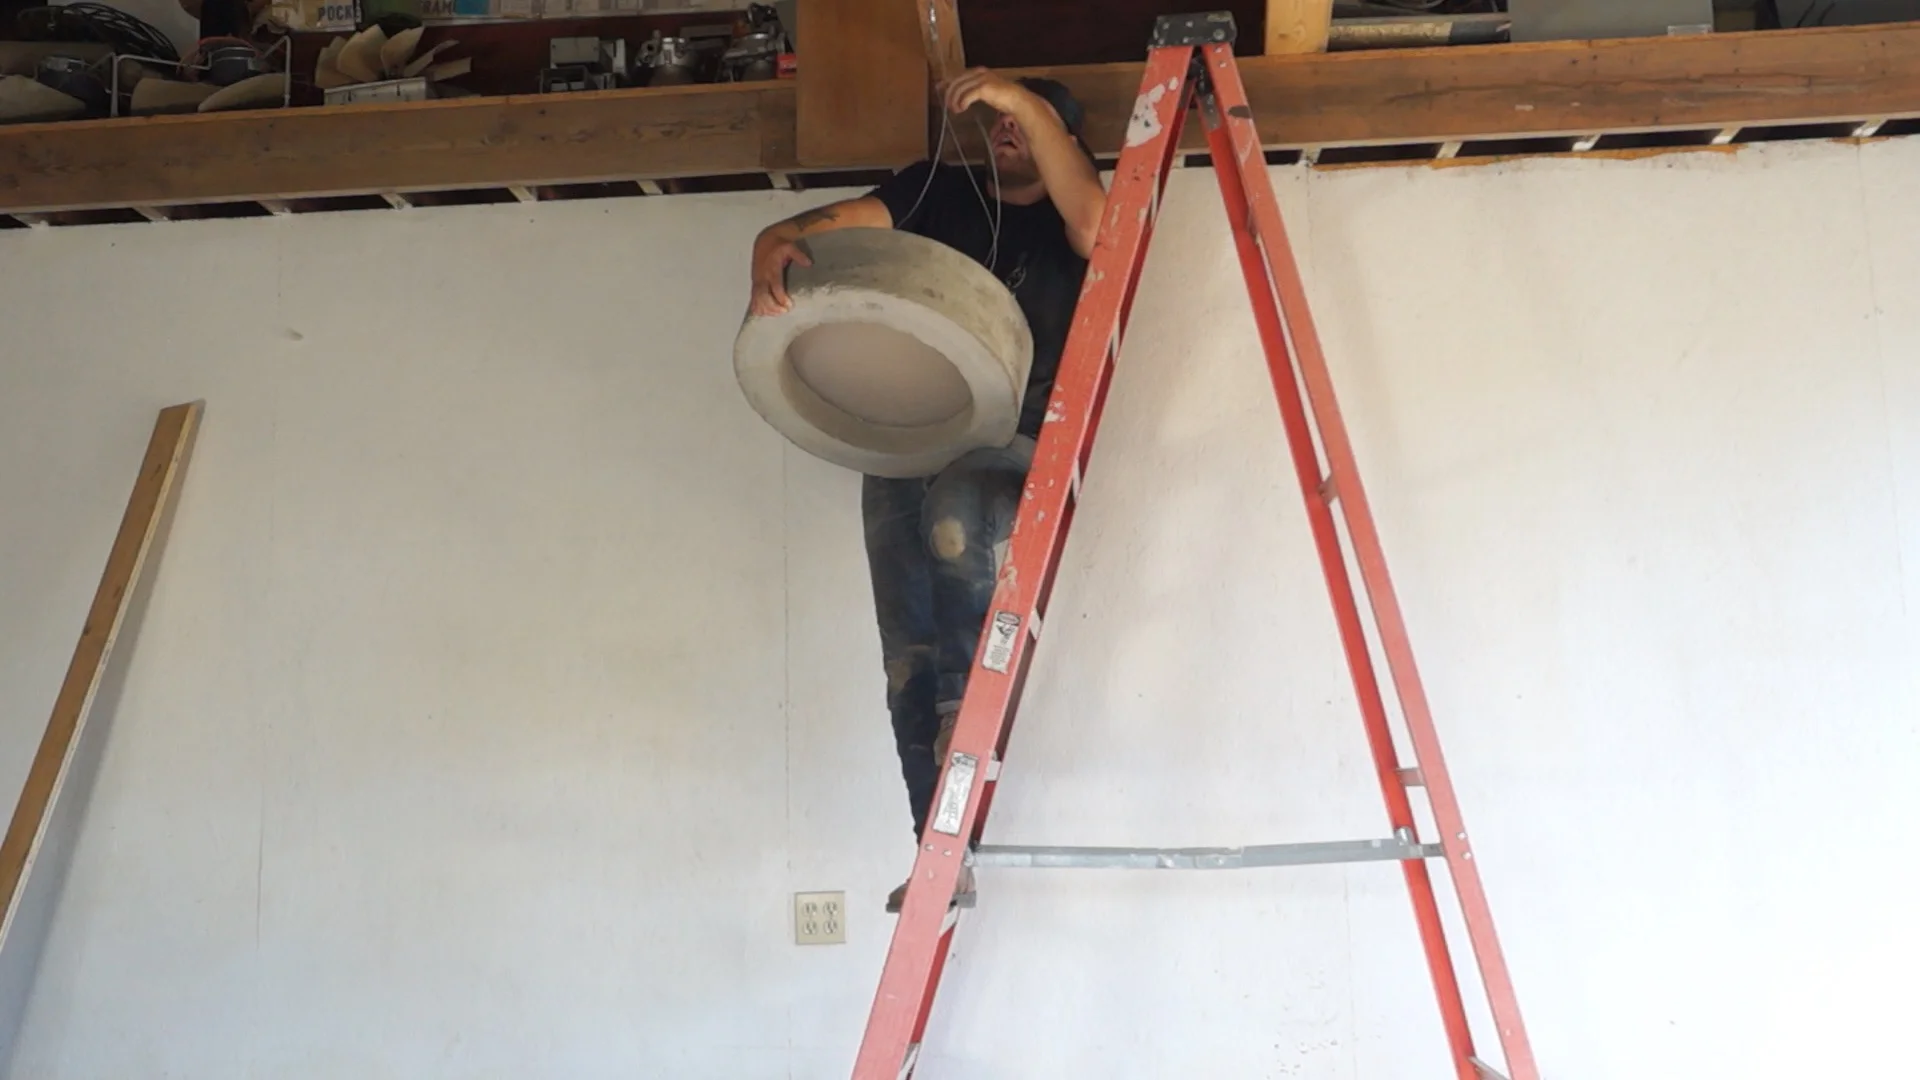
STEP ELEVEN: HANG THE LIGHT
Be sure to have help hanging the light. It is heavy, and dangerous. Also, be sure to screw your hook into the framing of your ceiling, not drywall.
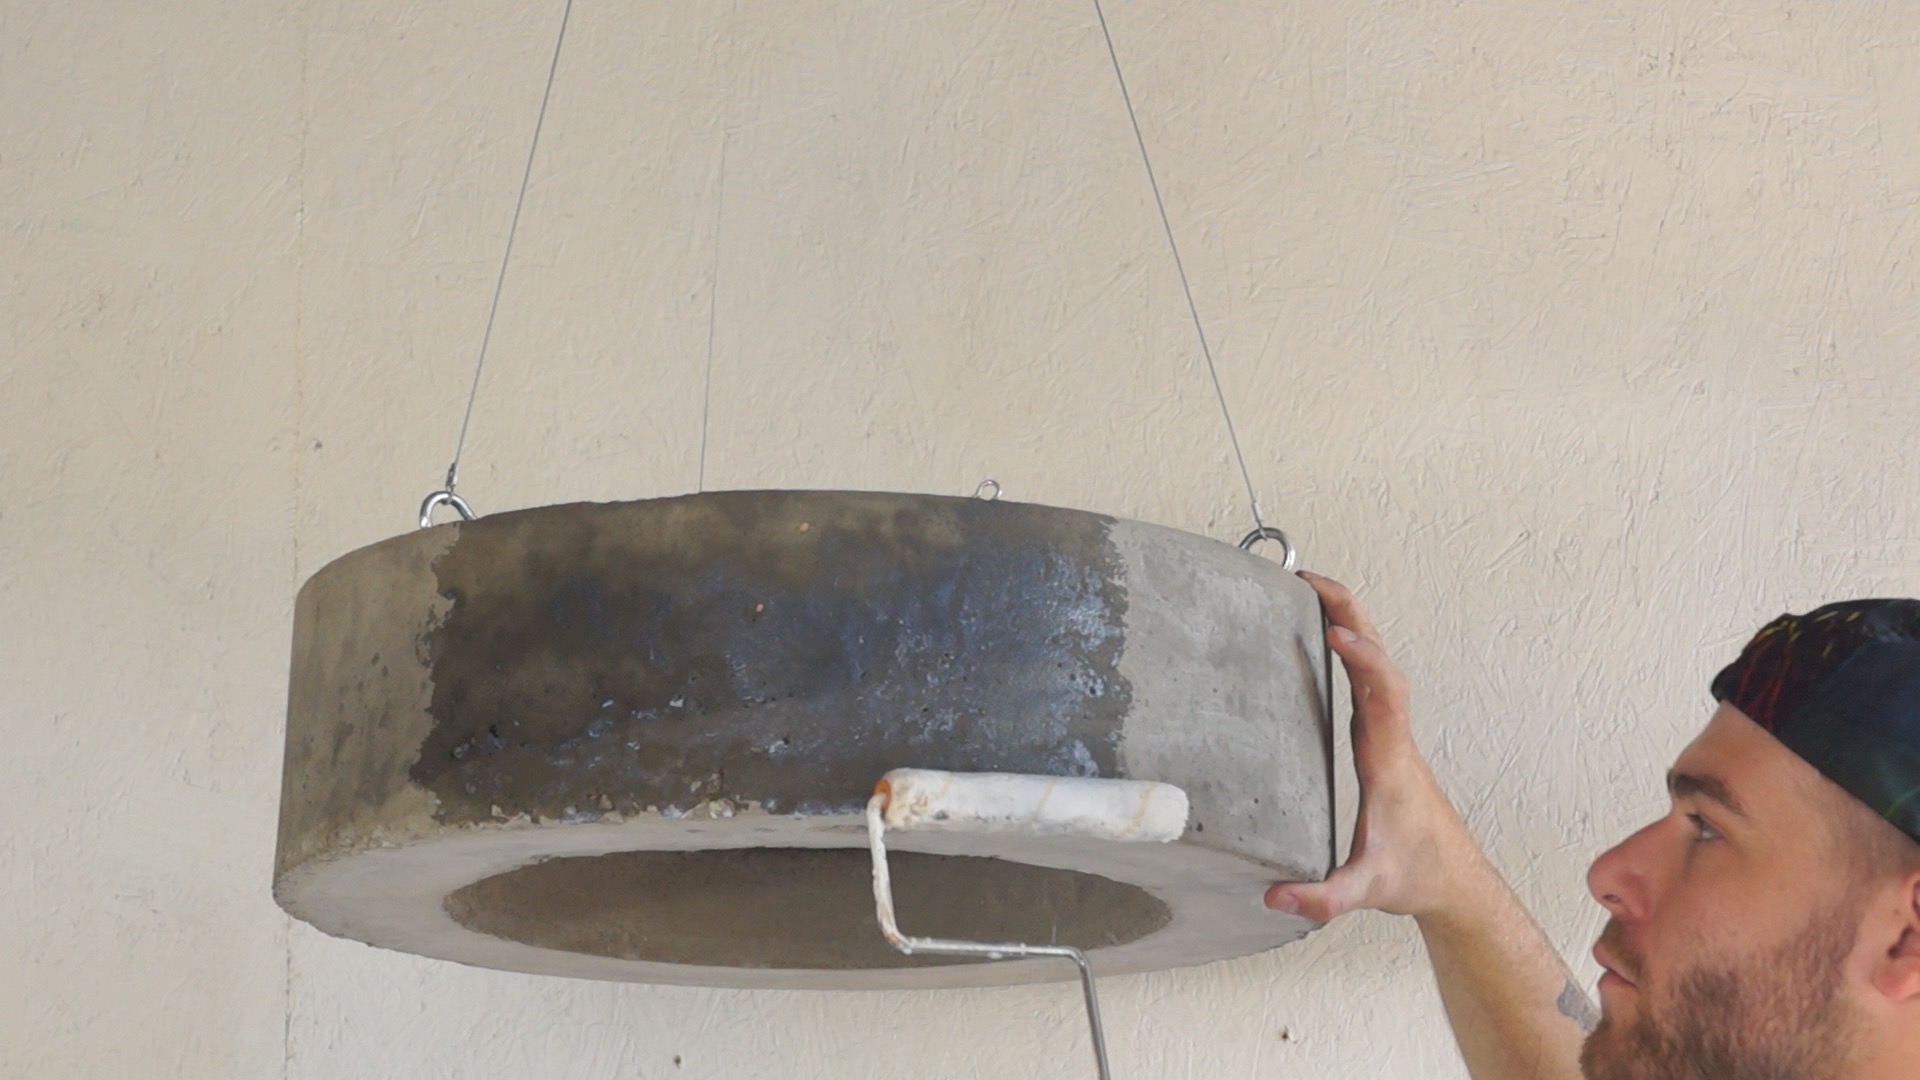
STEP TWELVE: FINISH IT
I used a low gloss concrete sealer to help protect the light. It's not totally necessary.


That's all there is to it! I hope you enjoyed it and go out and make your own. If you do, don't forget to tag me in a picture of it!
MORE COOL PROJECTS

GET IN TOUCH