

EP. 49 DIY mid-century modern credenza / console table
Today on Modern Builds I'm building a Mid-Century inspired credenza /console table that I'll use as a TV and media console. This is an awesome limited tools project because all you need to cut the pieces are a circular saw and a handheld miter box.
MATERIALS AND SUPPLIES:
2 - 4'x8' 3/4" Maple Plywood
1 - 8' 1"x6" Poplar (or iron on edge banding.)
2 - Soft Close European Hinges (similar): http://amzn.to/2gok7cL
1 - Soft Close Drawer Pull: http://amzn.to/2f9SdP6
Natural Danish Oil: http://amzn.to/2g14UsO
Wood Glue: http://amzn.to/2g15HKD
Pocket Hole Jig (Not Necessary): http://amzn.to/2g17sHD
Circular Saw: http://amzn.to/2g10a6C
Miter Box: http://amzn.to/2g1nuCJ
Rockler Corner Clamps: https://goo.gl/S6ahd9
Here's the measurements I used, feel free to switch it up to fit your space.
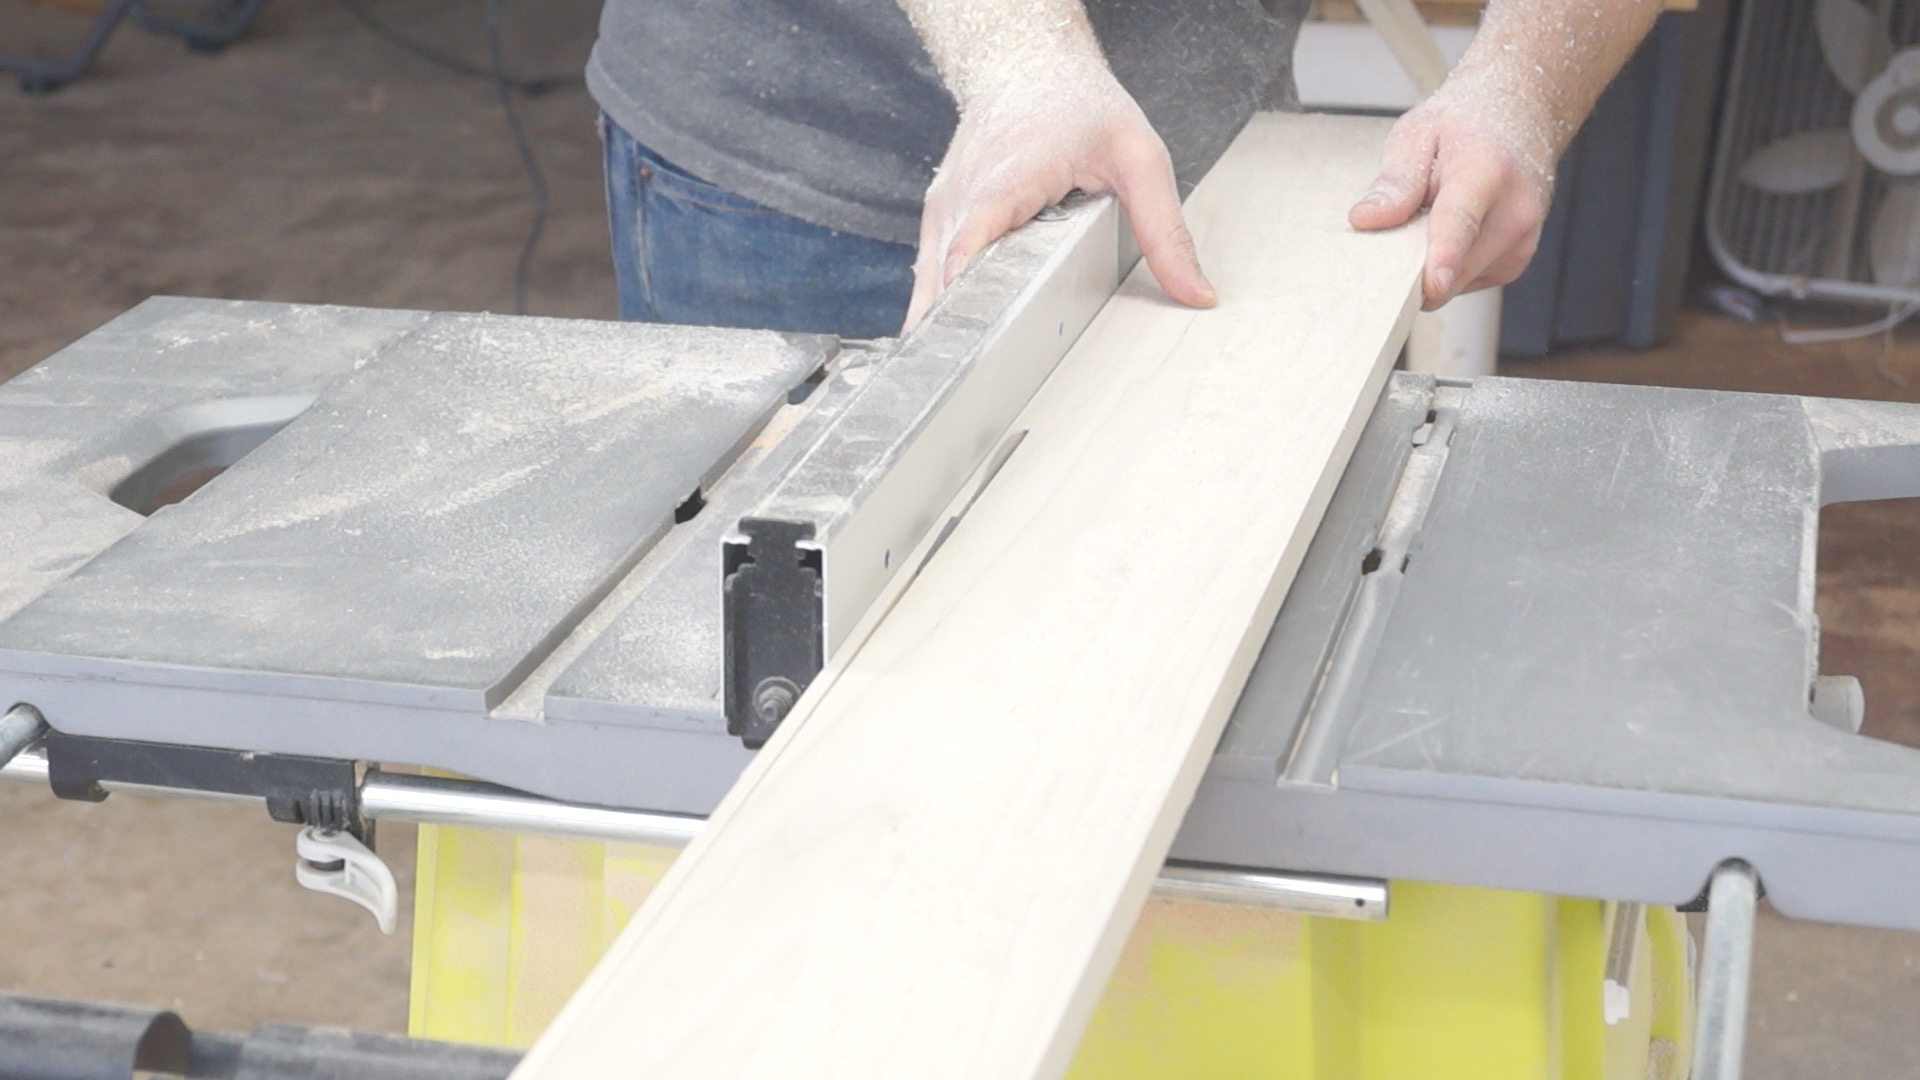
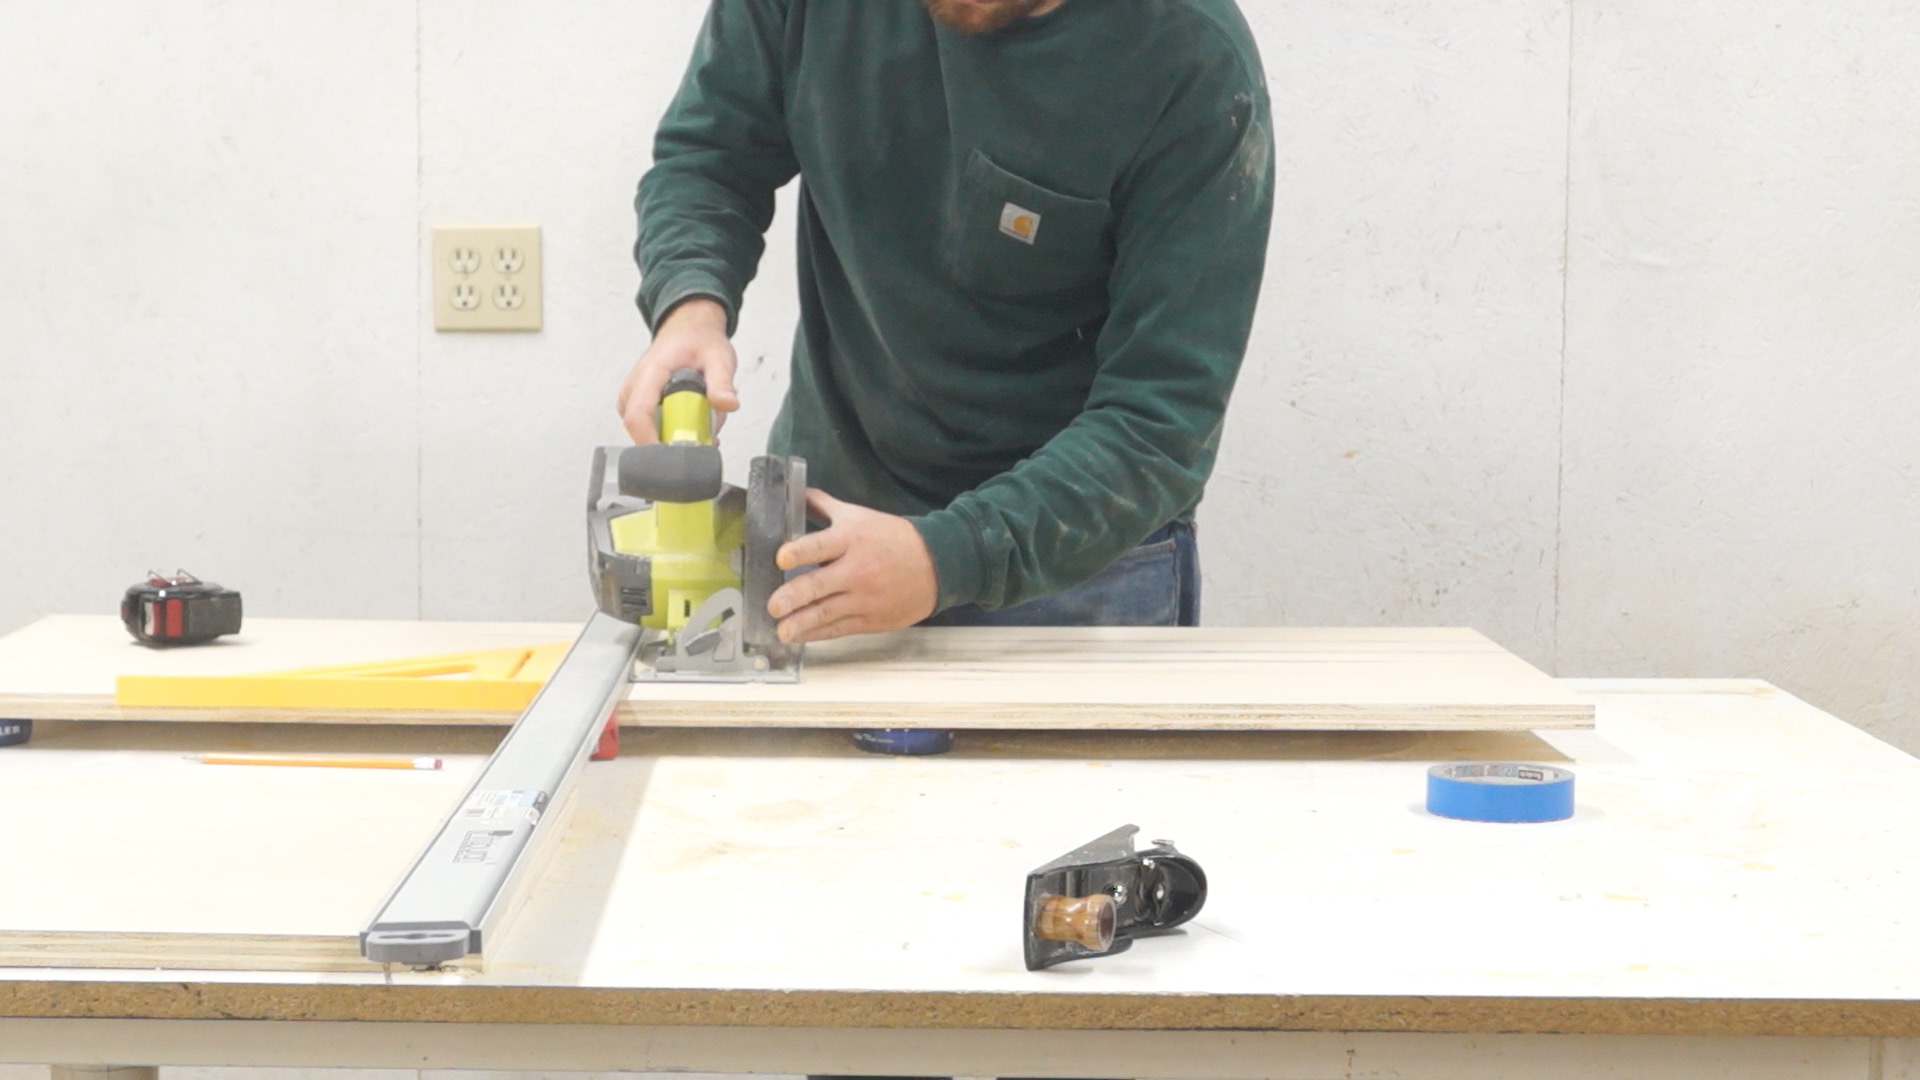
STEP ONE: CUT THE PLYWOOD
I got all of my plywood cut on the panel saw at Home Depot to the dimensions above. Then I cut the pieces to length with the circular saw. Whenever you cut plywood with the circular, make sure it's face down, you use masking tape and a straight edge.

STEP TWO: EDGE BAND
I cut poplar to 3/16" strips and then planed it to 1/8" to use as edge banding. If you don't want to go through the hassle of making your own edge banding you can use iron on veneer.


I cut all the edge banding in the miter box.

STEP THREE: CLEAN IT UP
Next I used a block plane to clean up the edge banding. You could always sand it too.

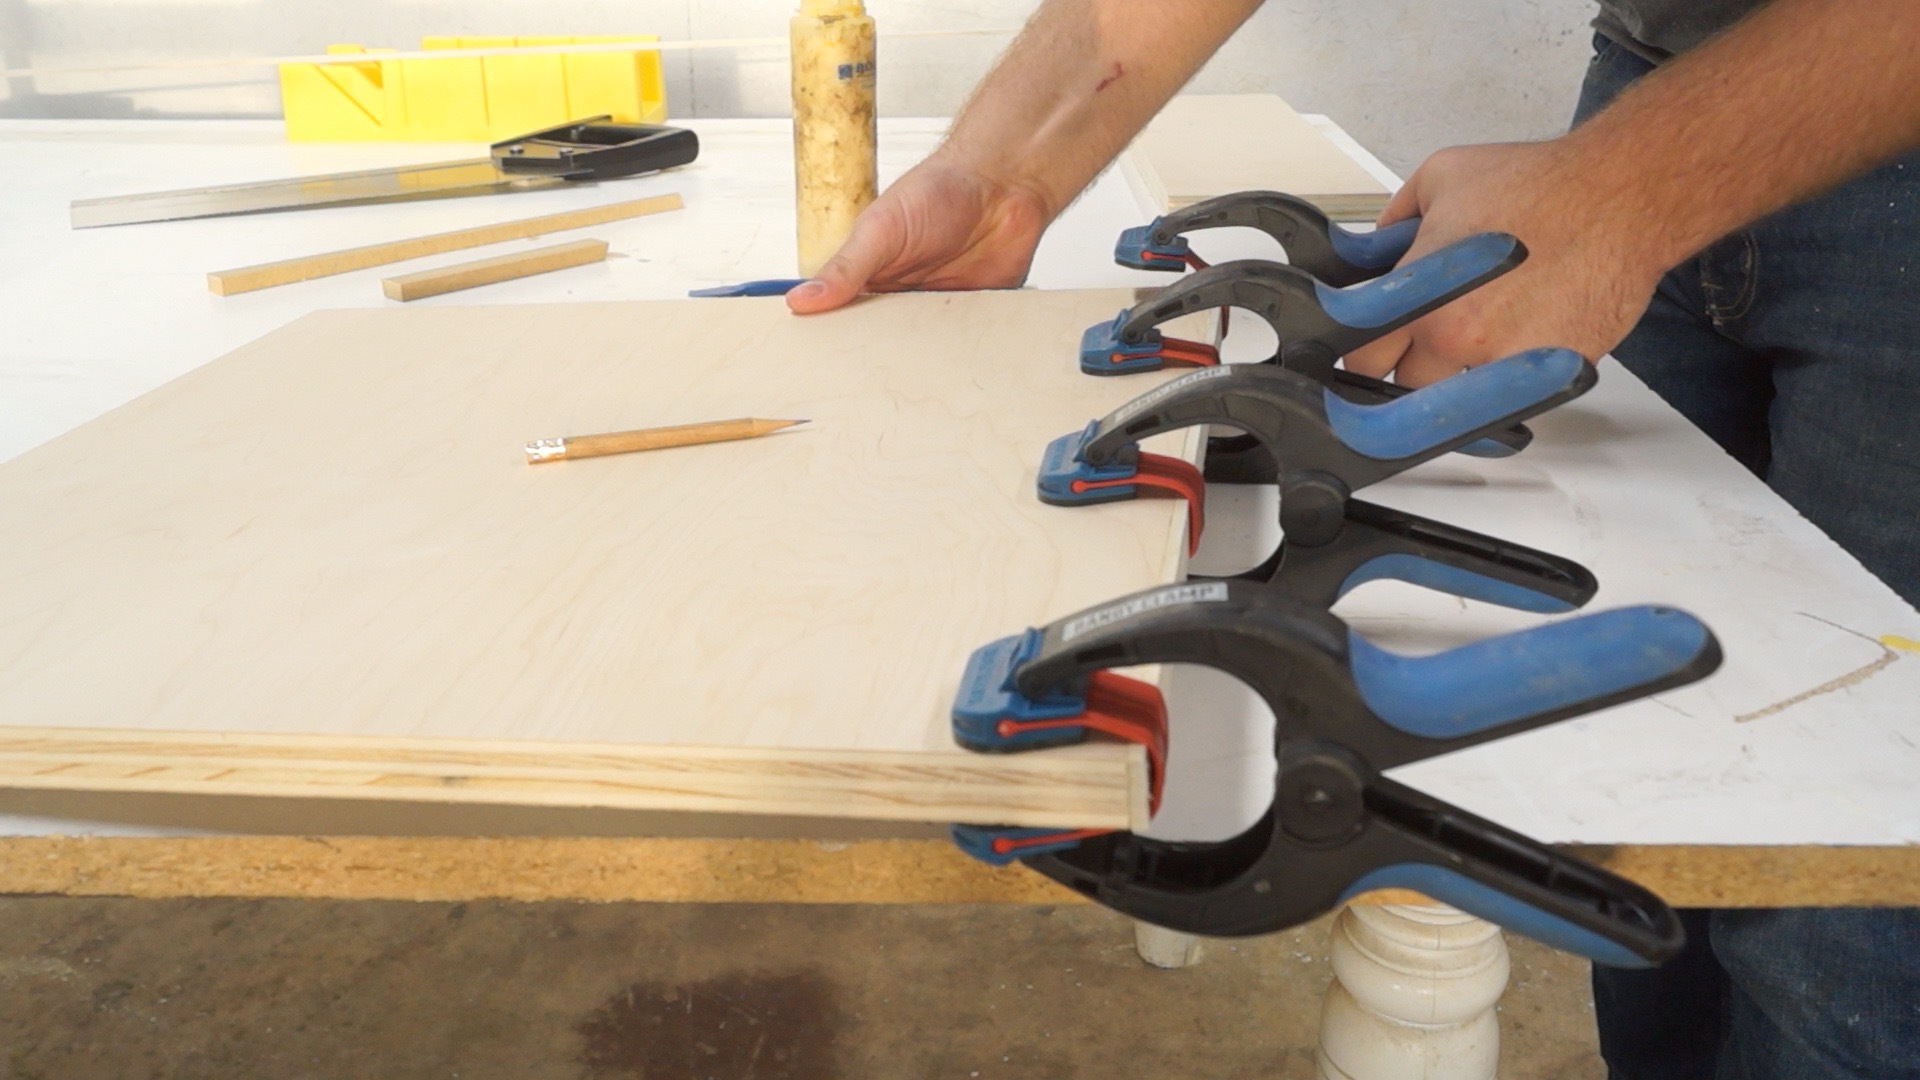
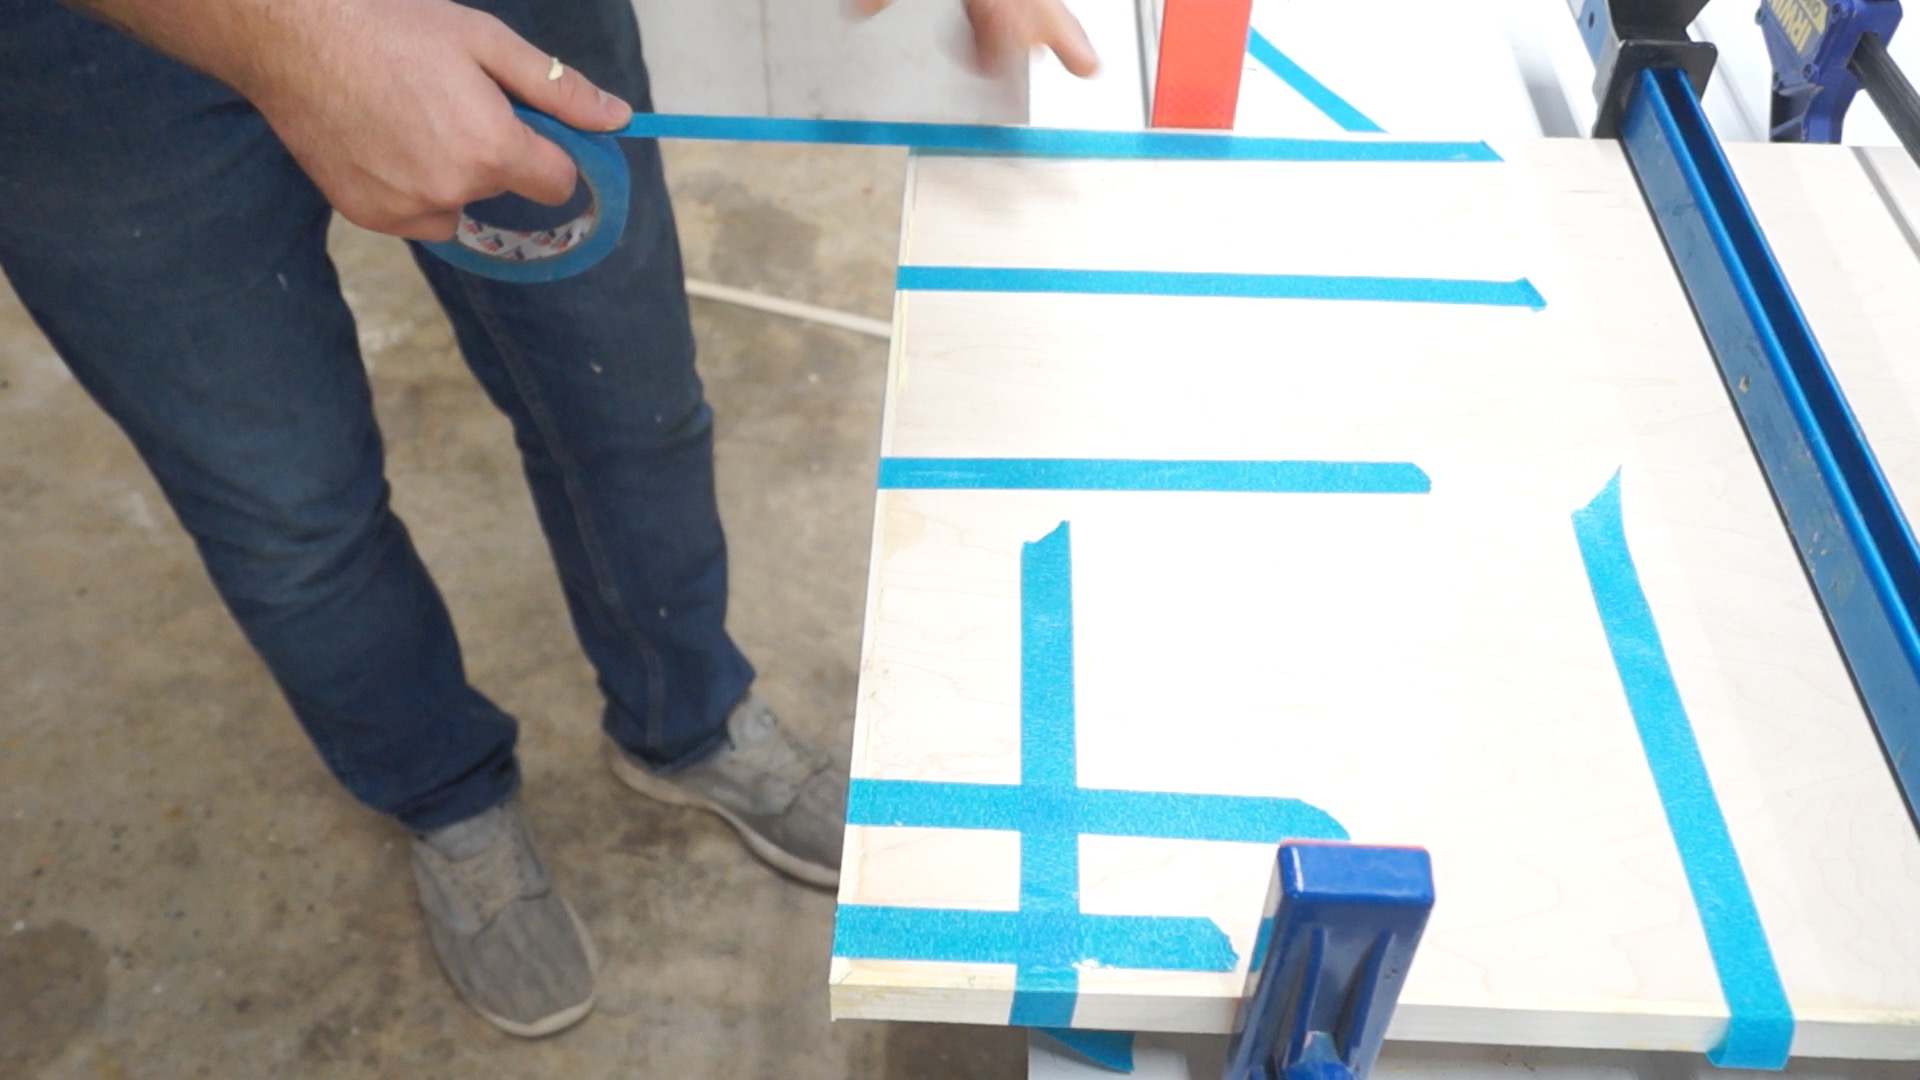
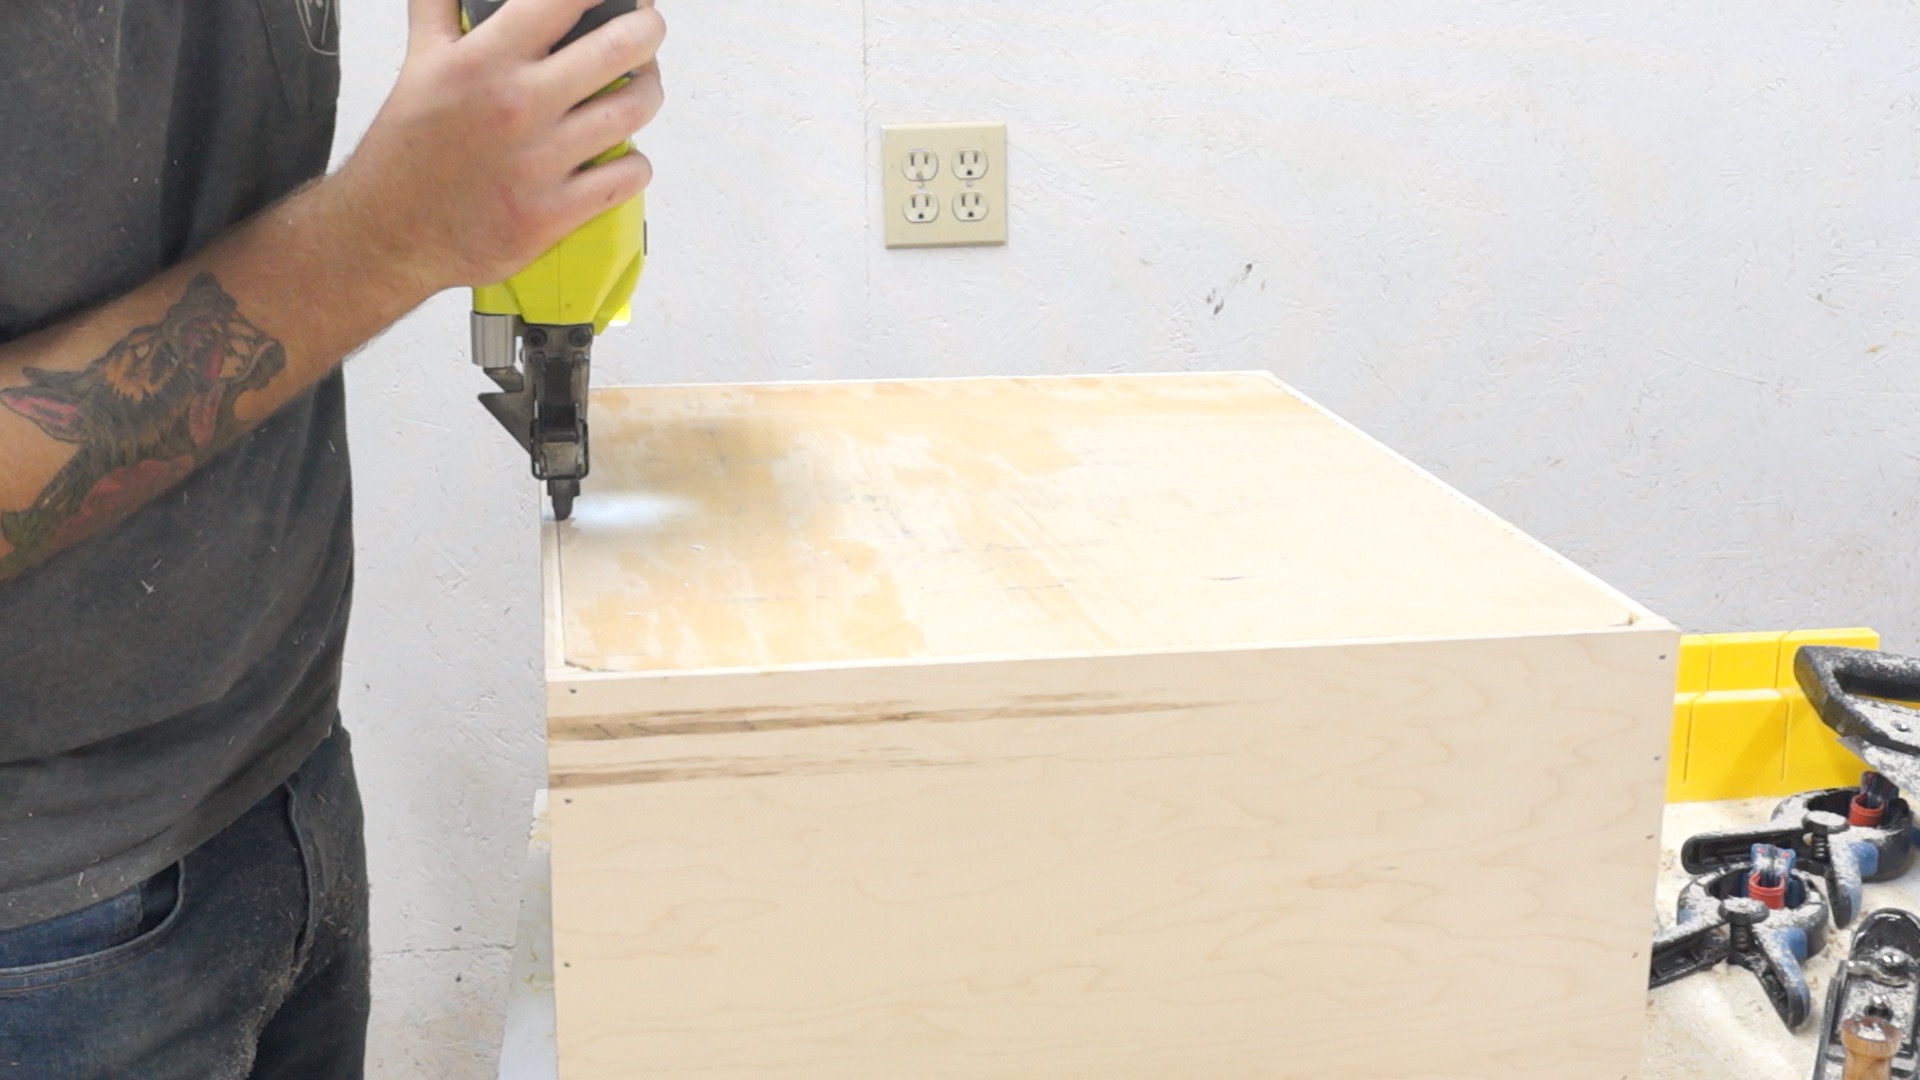
STEP FOUR: GLUE IT UP
With all the pieces cut and edge banded, I glued all the pieces together.


STEP FIVE: MAKE THE APRON
From the 3" wide pieces of plywood, I cut the apron so that it was 6" from the edge on each side.


Masking tape is a quick way to clamp it during the glue up.

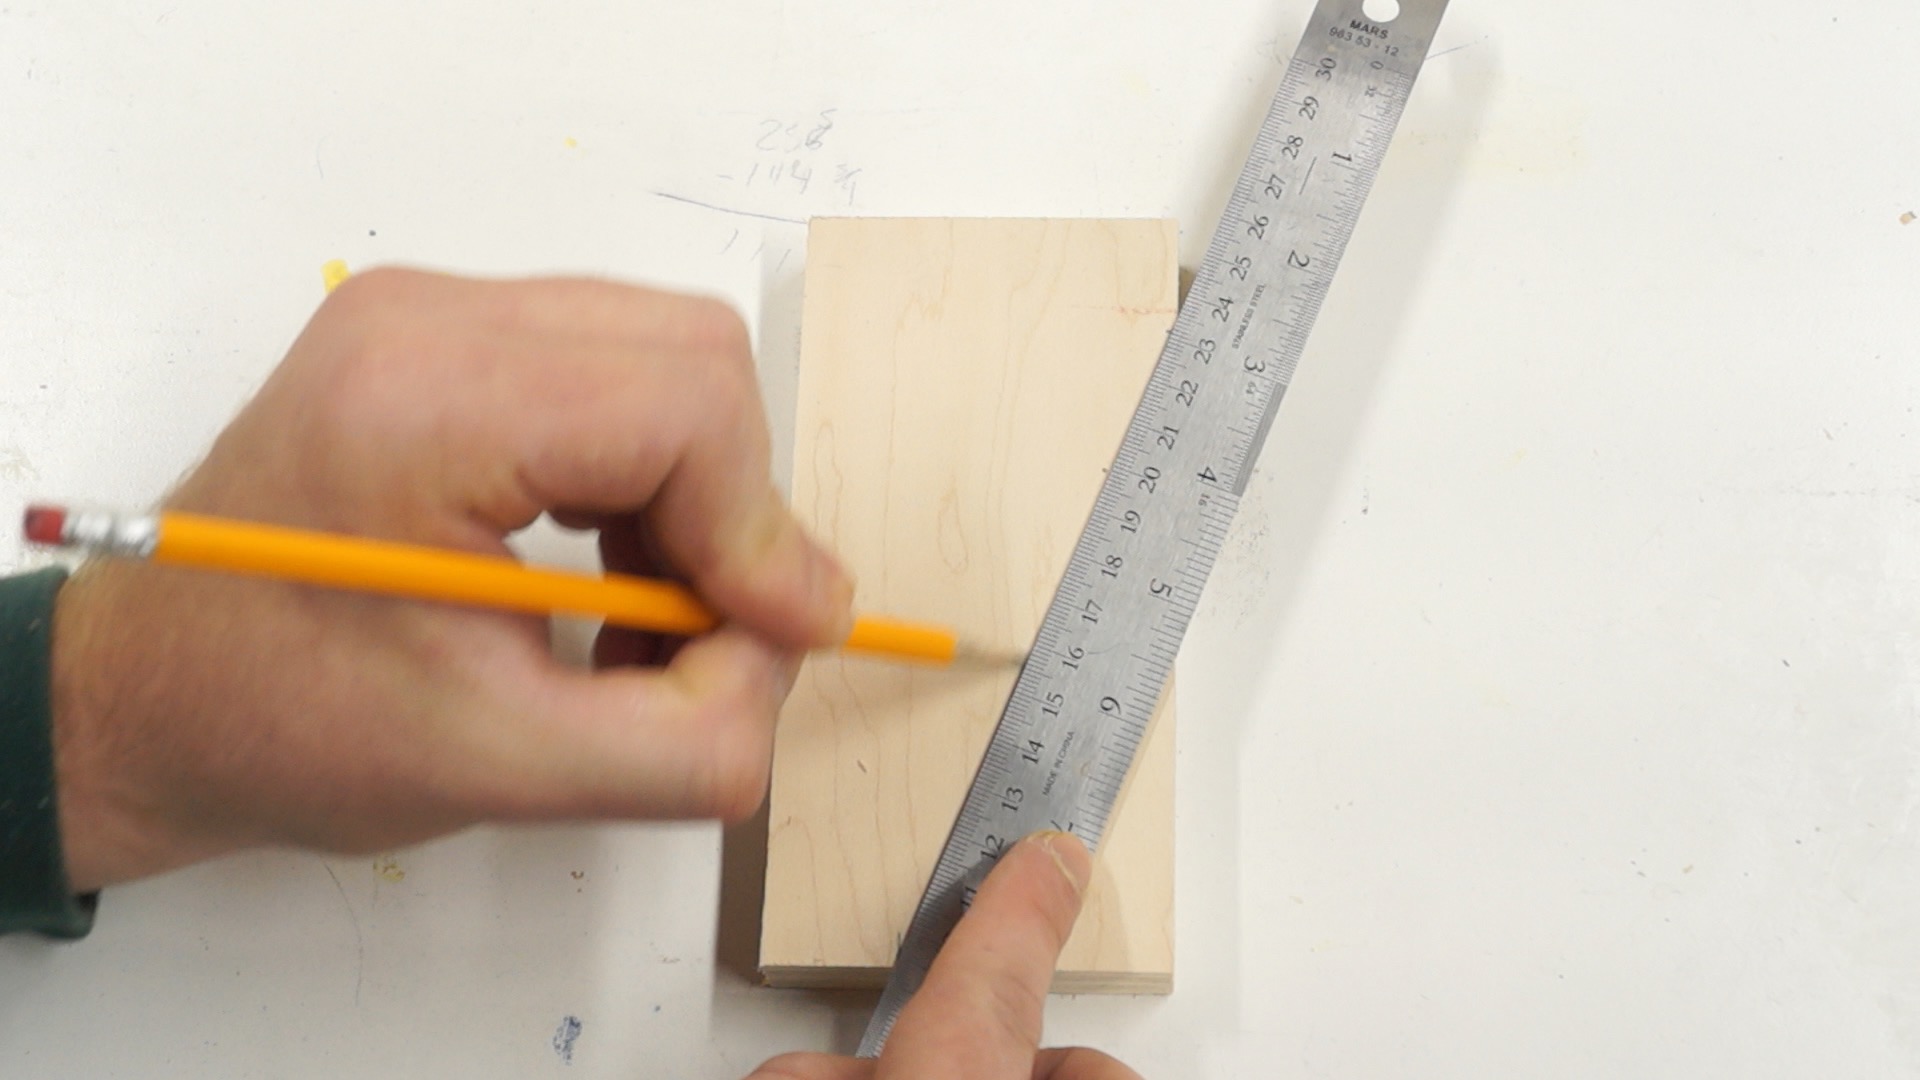
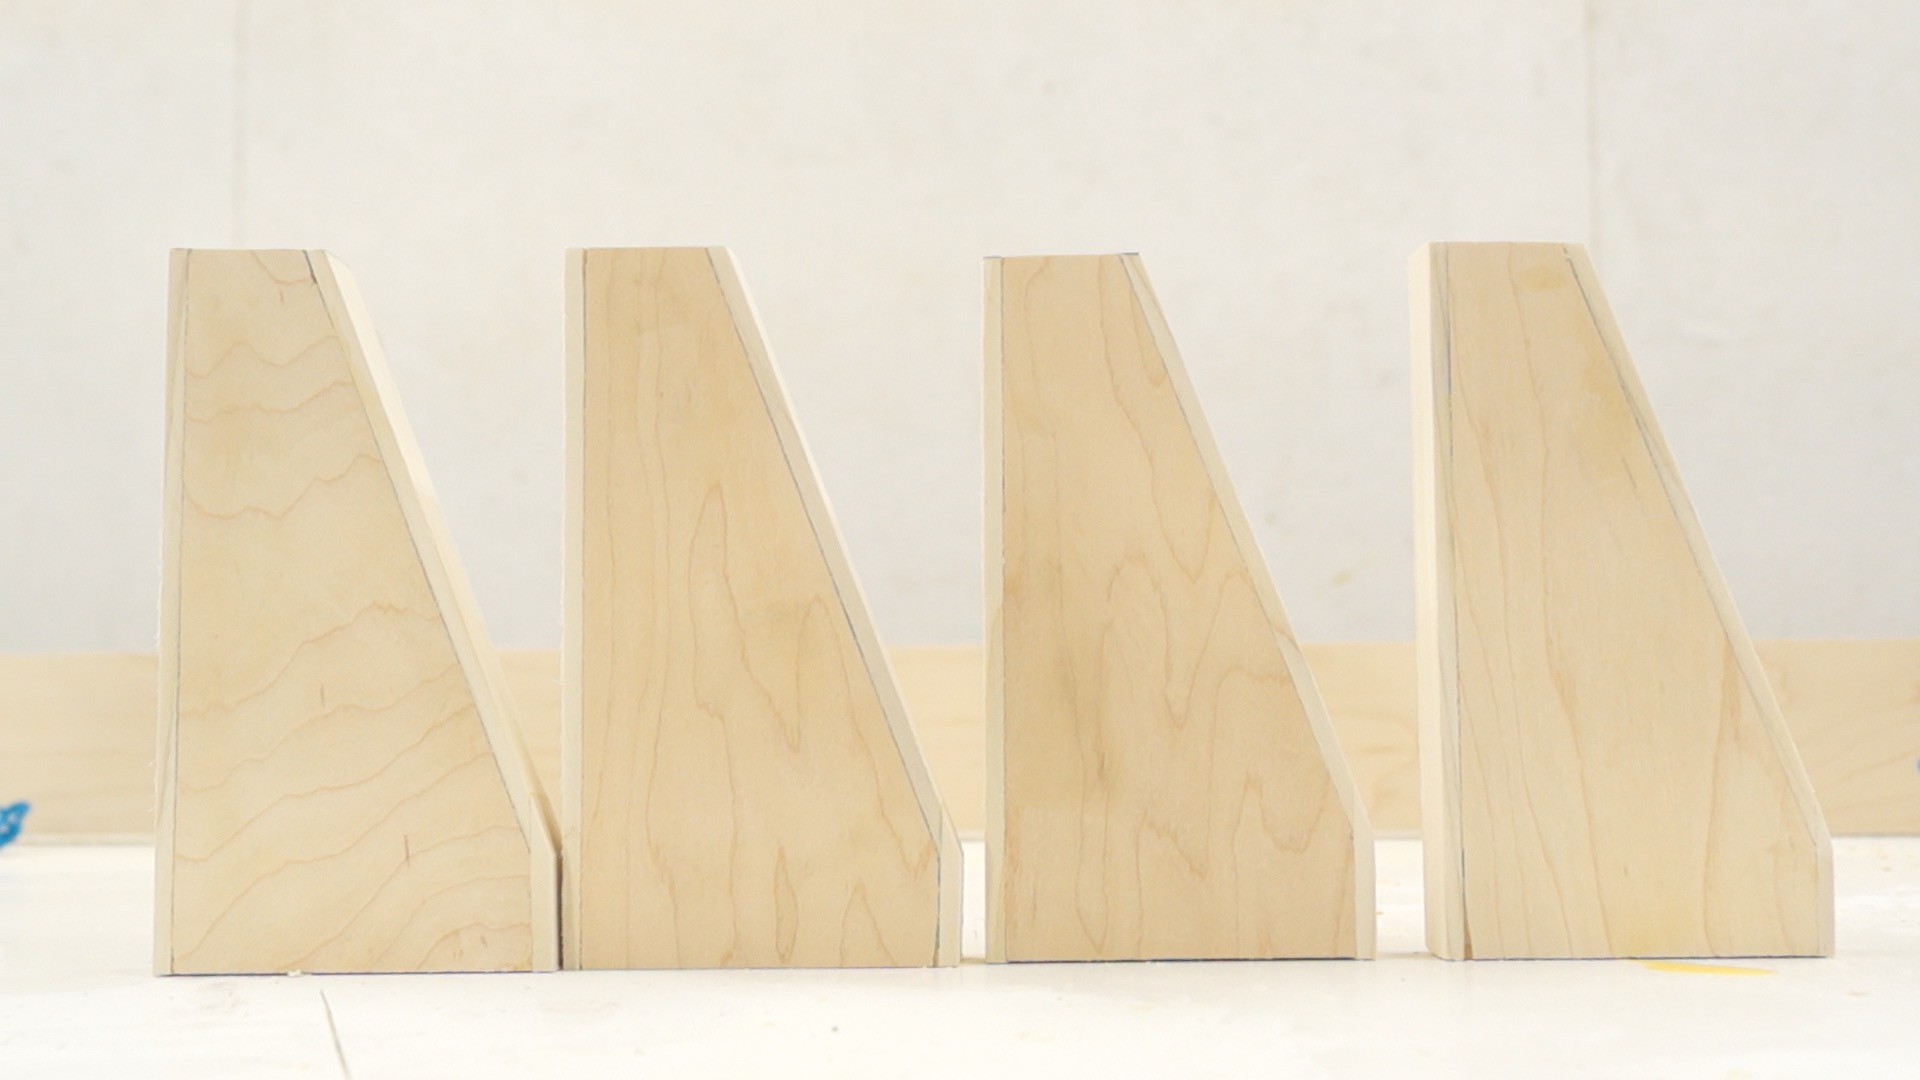
STEP SIX: MAKE THE FEET
I made the feet out of more of the 3" pieces. I measured 1" from opposite corners and drew a line between them. I cut them with a hand saw.

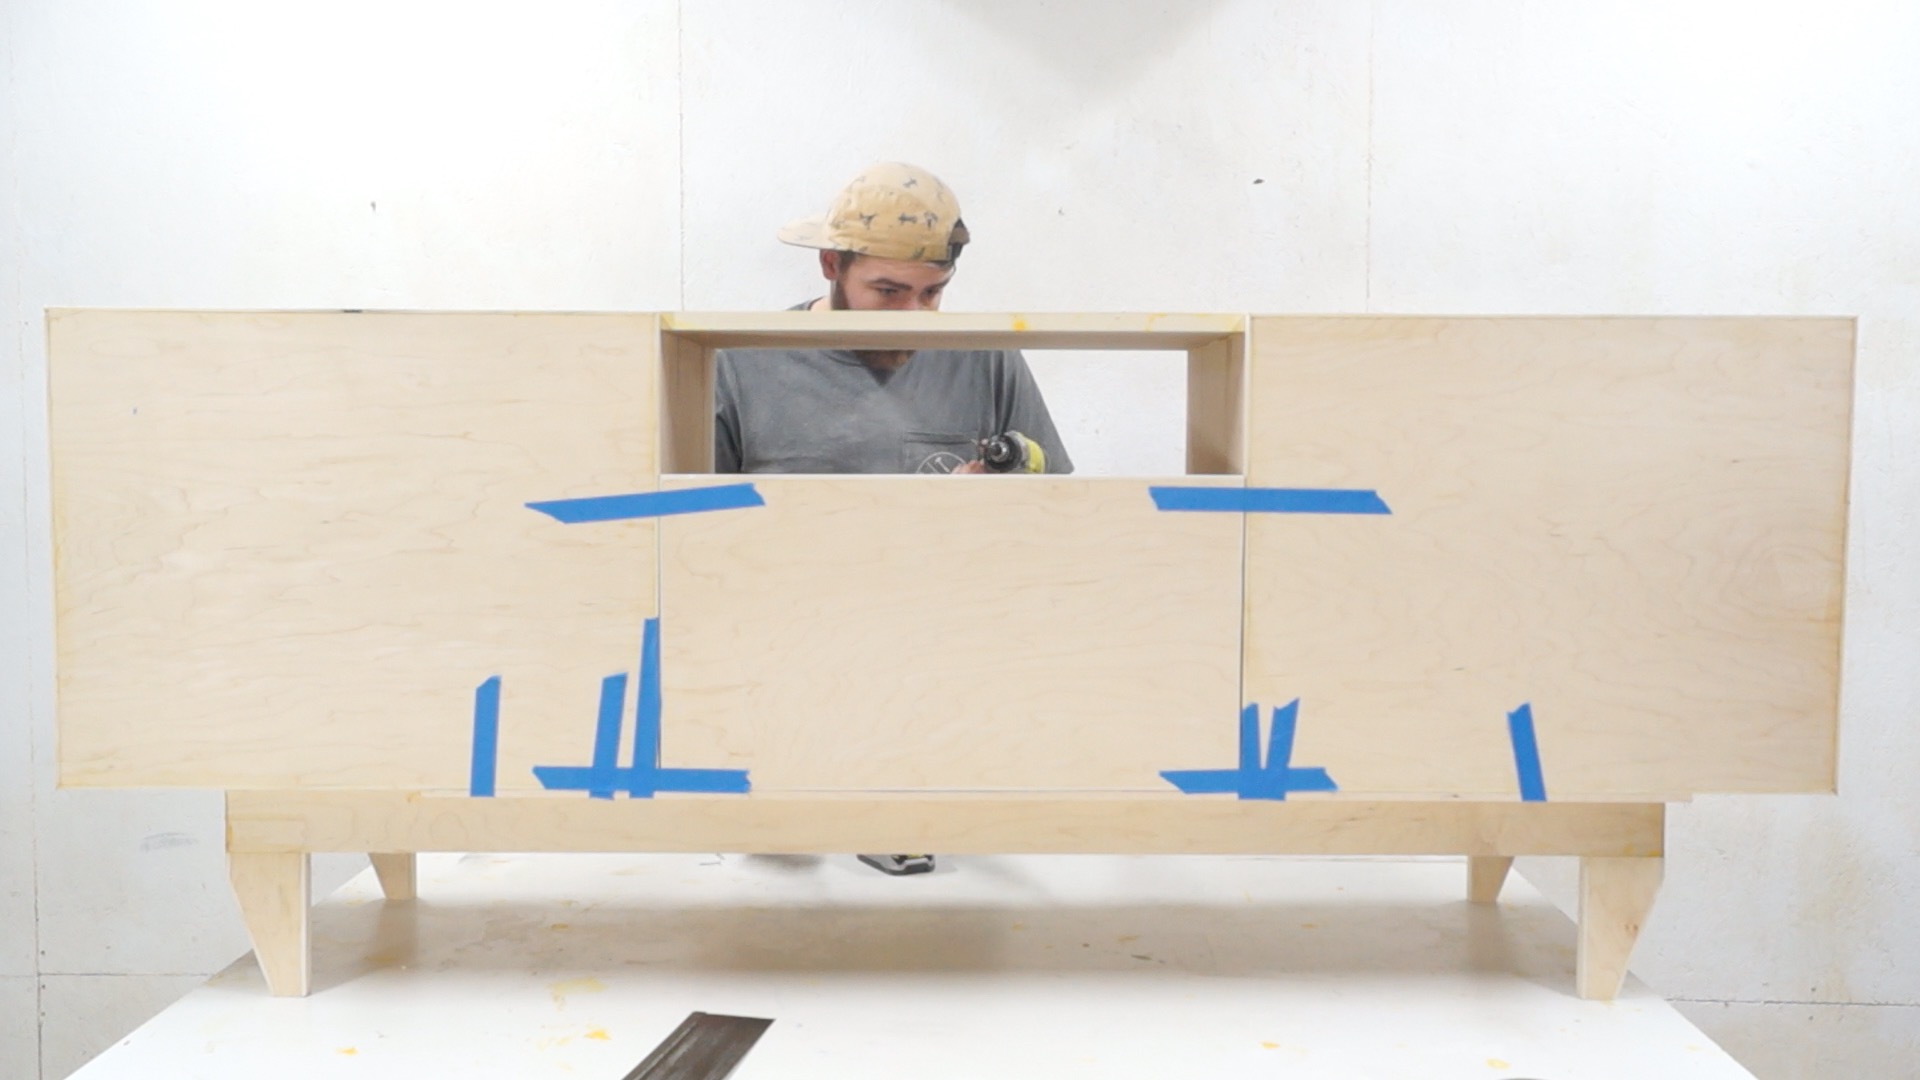
STEP SEVEN: ATTACH THE LEGS AND APRON
I screwed the feet in and glued them onto the apron, then I attached the apron to the cabinet.


There's a 6" overhang on each side of the apron.

STEP EIGHT: CUT THE DOORS
Next I cut the doors to fit.

STEP NINE: HANG THE DOORS
Next I installed the hinges and hung the door. They come with great instructions and templates to make installation really easy.


STEP TEN: MAKE THE DRAWER
Out of more plywood, I made a simple drawer is a 1/2" inset bottom.

STEP ELEVEN: INSTALL DRAWER FACE
Next I held the drawer face in place and screwed it in from the back.

STEP TWELVE: FIT THE SHELF
I cut the shelf to fit and installed it with pocket holes.


STEP THIRTEEN: SAND IT UP!
Next, I sanded everything up to 220 grit.

STEP FOURTEEN: FINISH IT UP!
I used two coats of natural danish oil to protect and finish the console.


That's all there is to it! I hope you enjoyed it and go out and make your own. If you do, don't forget to tag me in a picture of it!
MORE COOL PROJECTS
GET IN TOUCH