

EP. 46 diy modern concrete clock
Today on Modern Builds I'm making a modern wall clock out of concrete. This is a pretty simple process and is a good beginner-intermediate concrete project. My first attempt at this broke. I didn't use any mesh reinforcement and it was just too thin and brittle. With the mesh, this thing is rock solid.
MATERIALS AND SUPPLIES:
Clock Kit: http://amzn.to/2e0eeQQ
Quikrete Original Concrete Mix: http://amzn.to/2dIvETn (Cheaper at Home Center)
12" Concrete Form Tube: http://amzn.to/2dPY0L9 (Also Cheaper at Home Center)
3/4" Melamine: (I Used Leftovers From Other Projects)
Wooden Dowel (Same size as clock shaft).
1/4" Wire Mesh
STEP ONE: MAKE THE CUTOUT
I started by cutting a piece of scrap melamine that will be used to create the recess for the clock motor.
I cut the piece oversize at a 10 degree angle. the angle will help the piece be removed easily.


STEP TWO: FIT THE DOWEL
I used a 1/4" drill bit to fit a 1/4" dowel in the center of the piece of melamine. the dowel is used to provide a hole for the shaft of the clock movement.


STEP THREE: MAKE THE FORM
Next, I cut a 4" piece of the concrete tube form on the table saw.

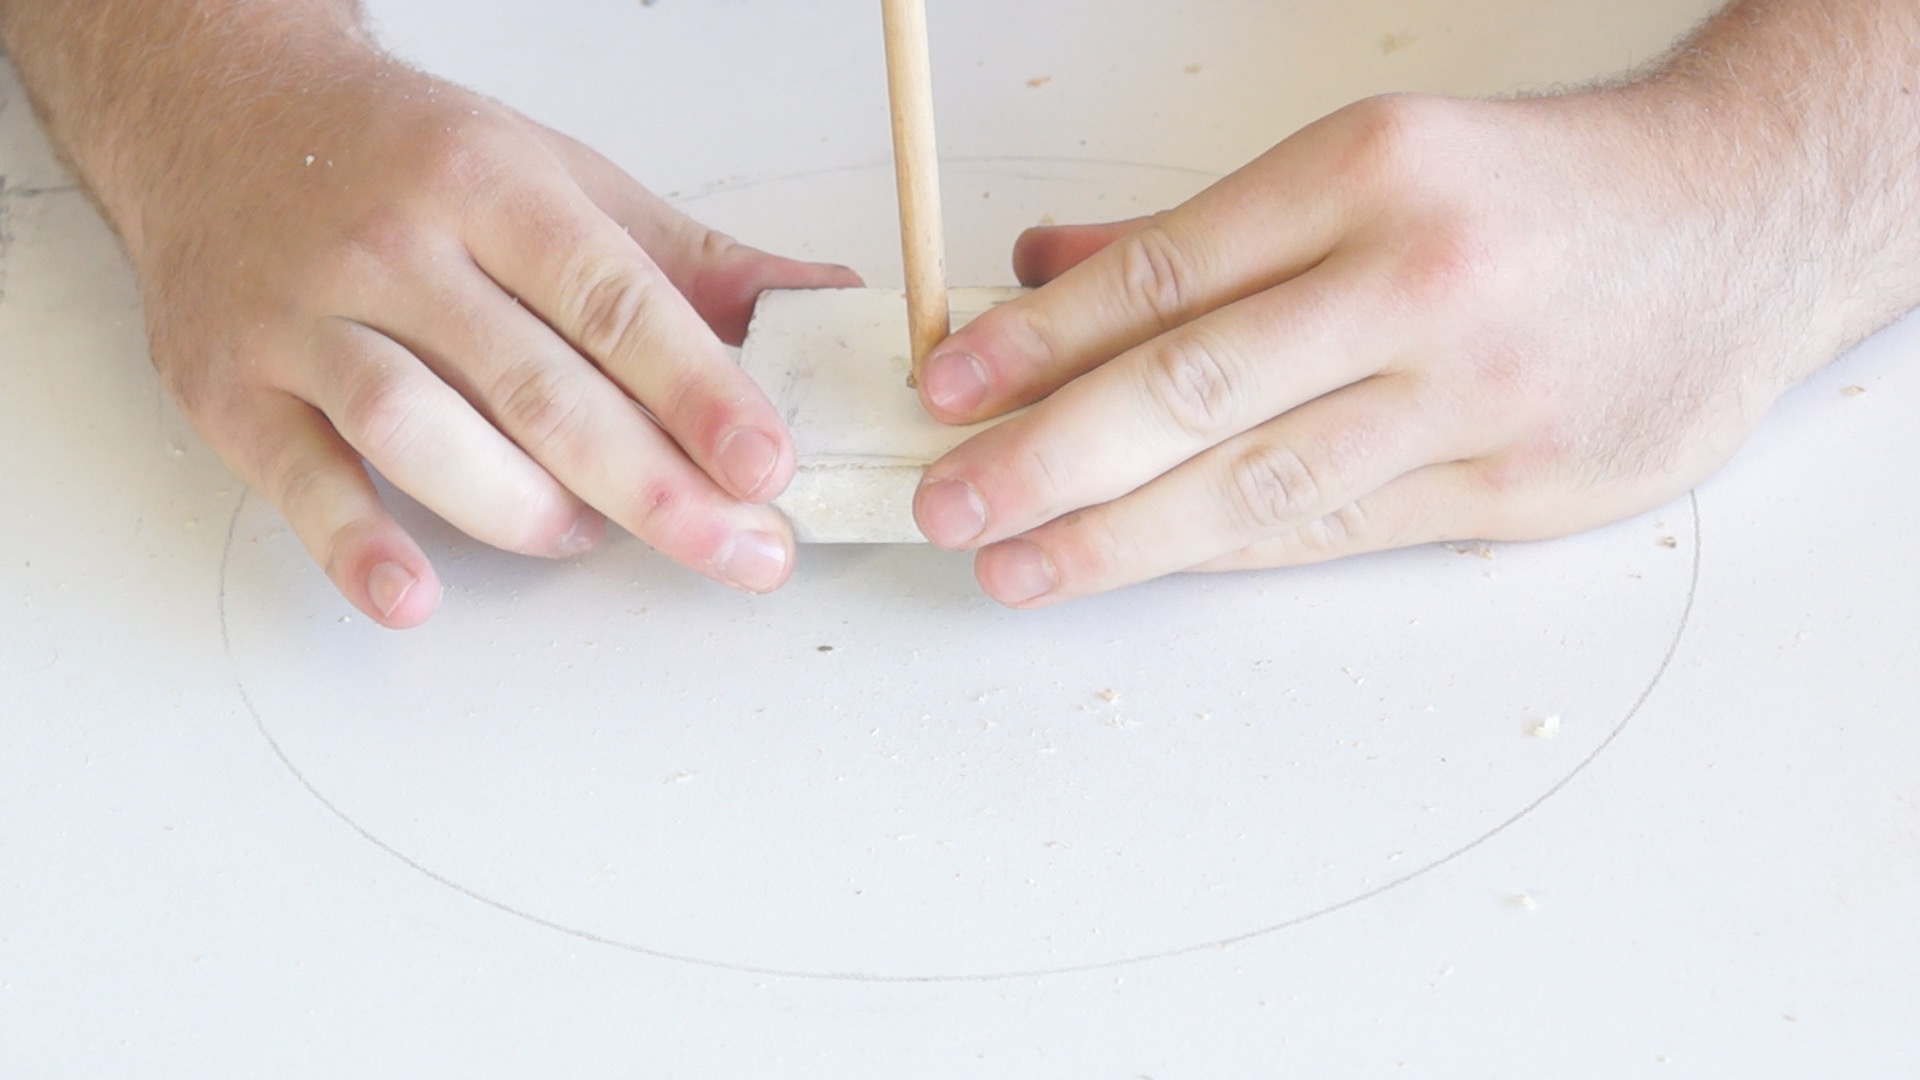
Because these forms are never perfect circles, I used a compass to make a guide line that I'd use to line the form up round.

The compass point also left a mark in the center of the circle that I used as a guide to drill a 1/4" hole in the center of where the form will be.


I used Hot glue to hold the dowel in place
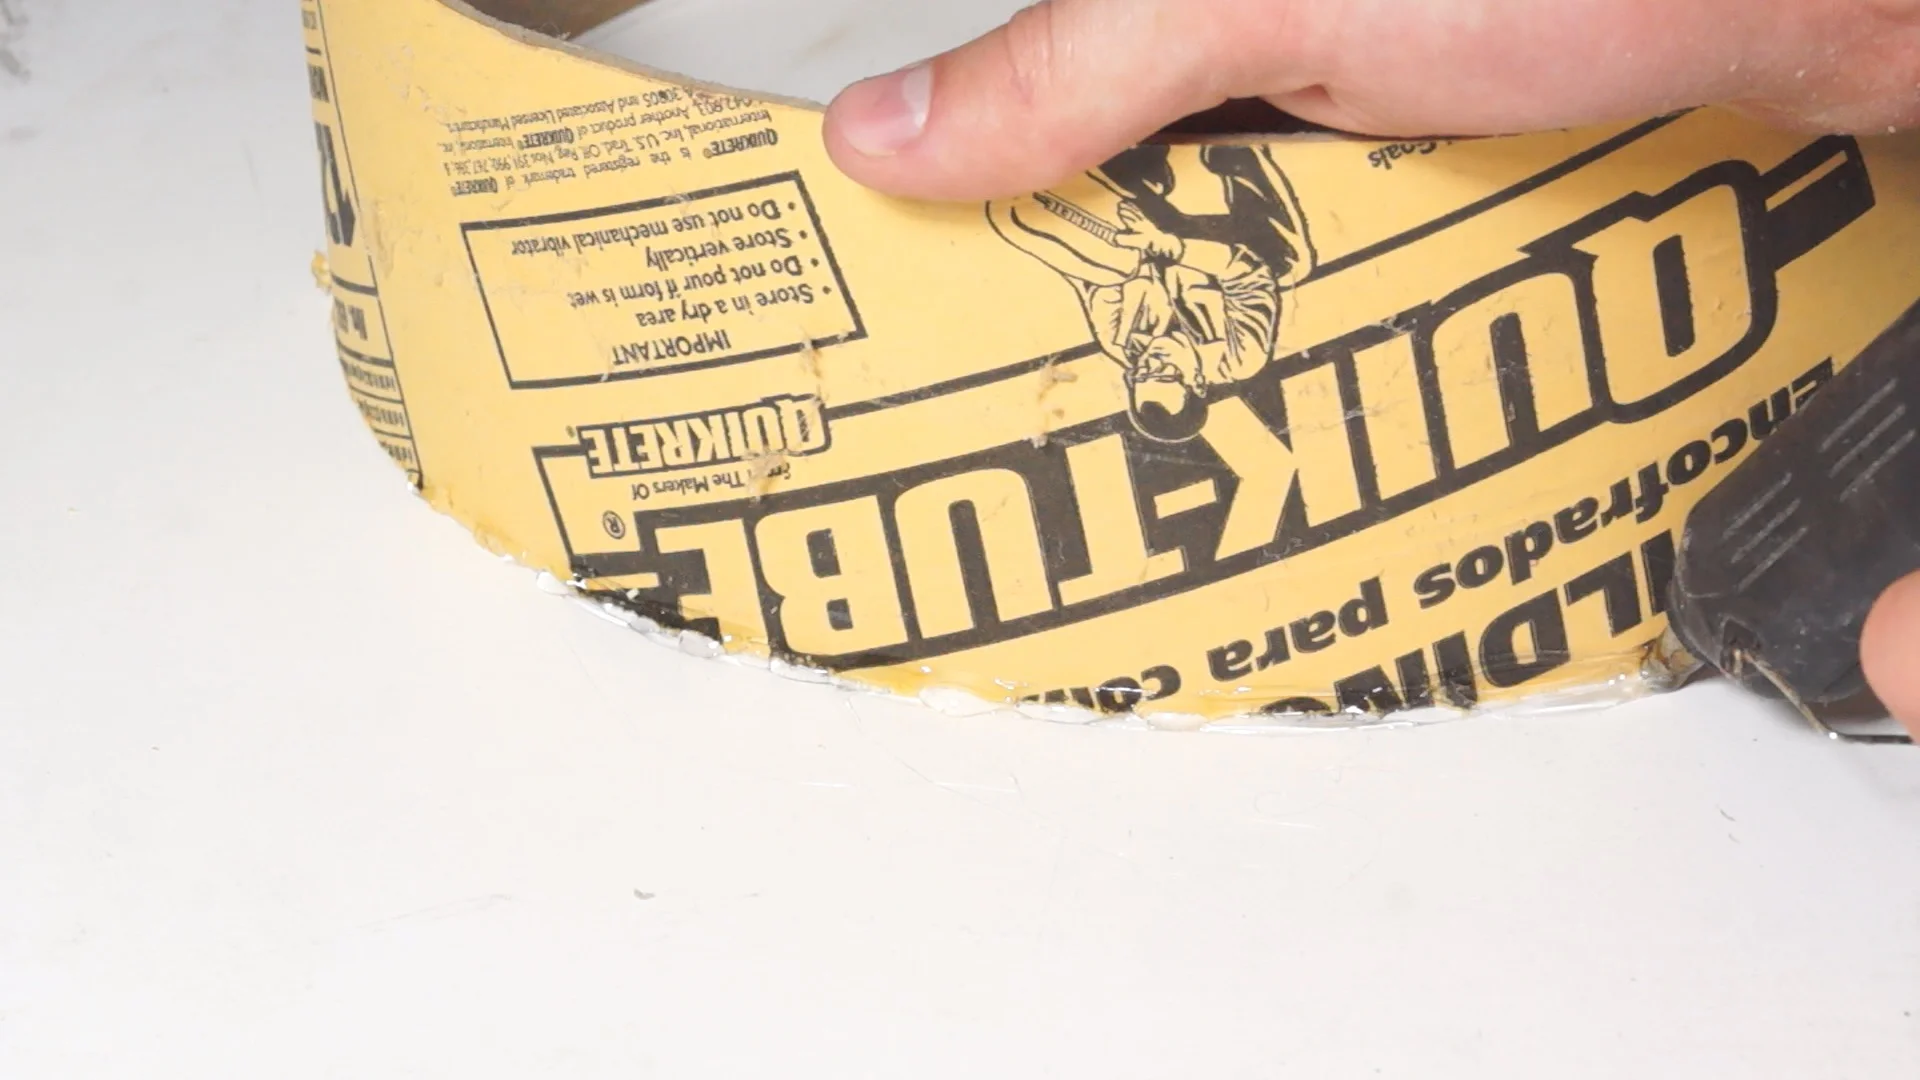
STEP FOUR: GLUE THE TUBE DOWN
I used hot glue to adhere the tube to the melamine.

STEP FIVE: CUT MESH REINFORCEMENT
This is a thin pour, so for extra reinforcement, I used 1/4: wire mesh to strengthen everything up.


STEP SIX: POUR THE CONCRETE
Next, It's time to pour up the concrete. I did half of my pour, then put my mesh down, and poured the rest.


A rubber mallet or a vibrating sander are great ways to get air bubbles out.

STEP SEVEN: PULL IT OUT OF THE MOLD
I let the concrete dry two days to cure fully. Then I took it out of the mold.
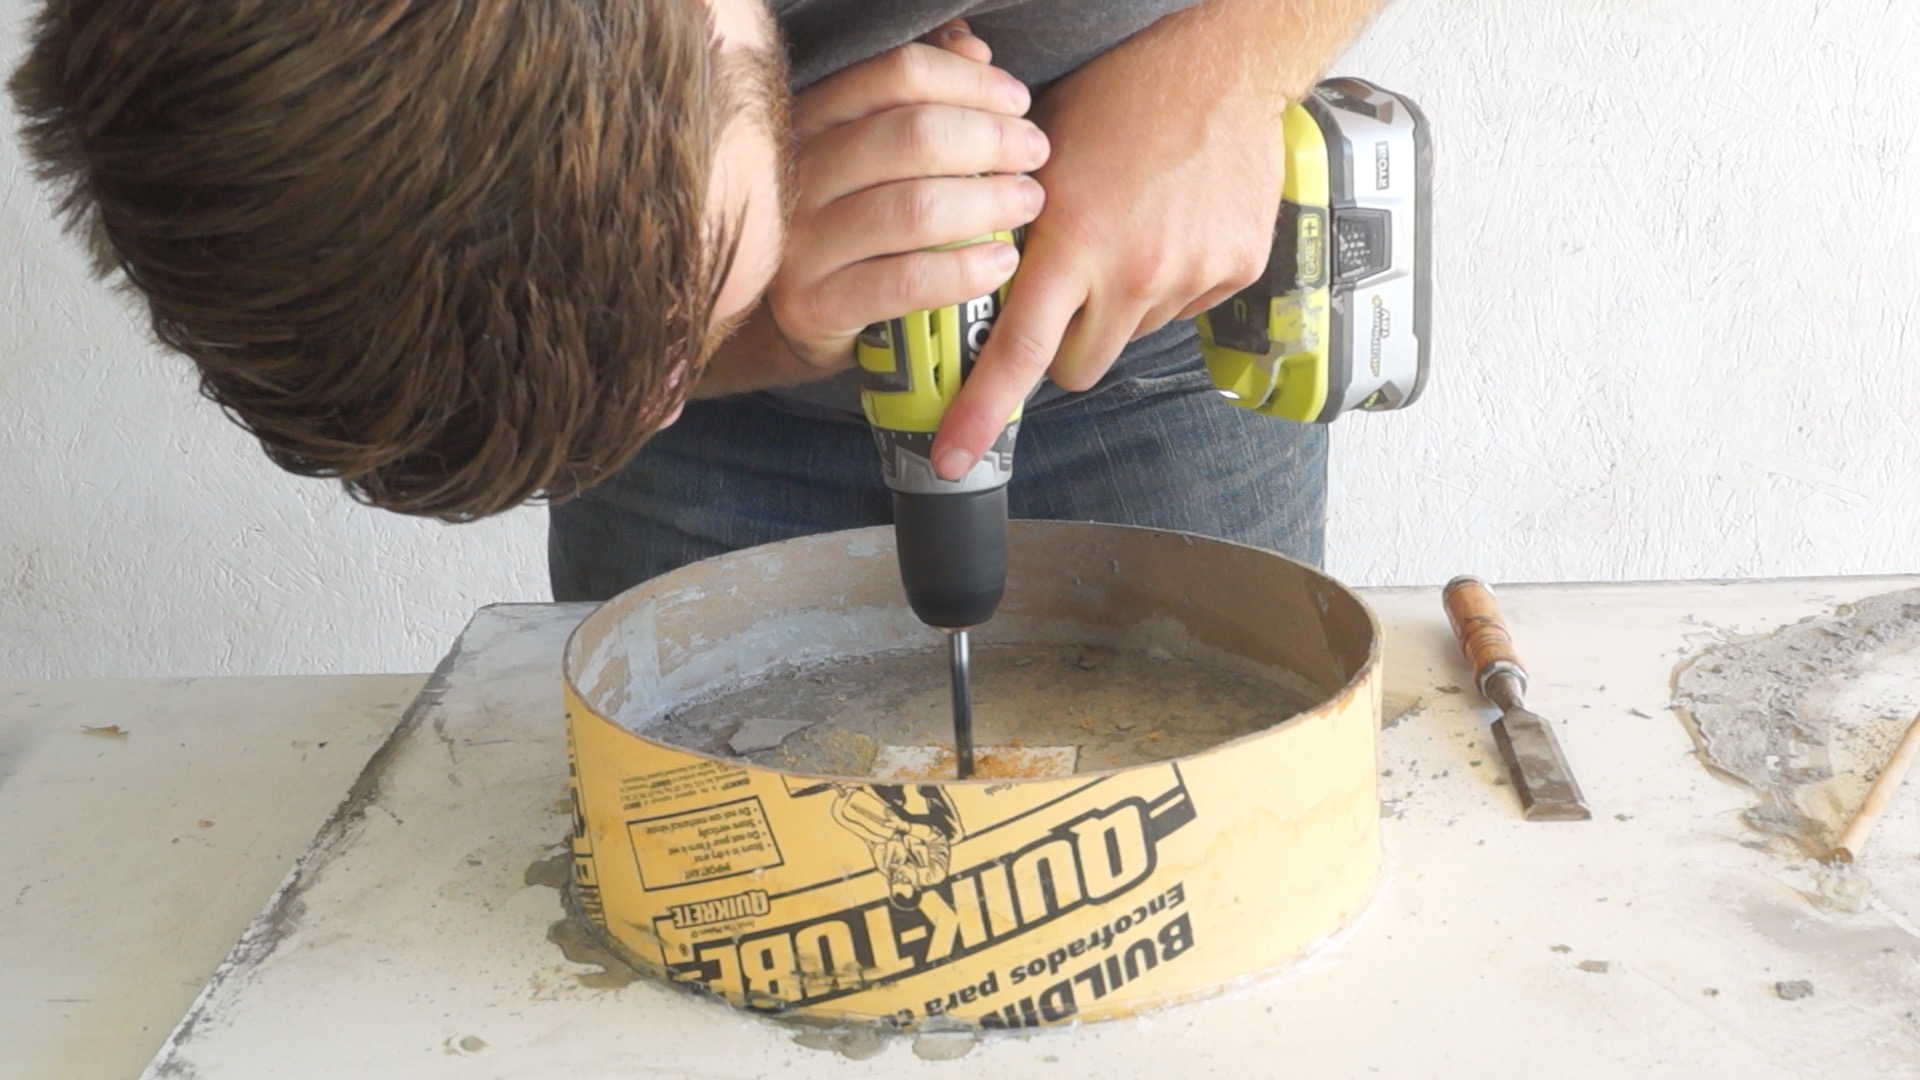
First, I drilled out the dowel, then I popped the melamine out.

STEP EIGHT: INSTALL THE HANGER
I used a cheap hanger I stole off of an old picture frame I had laying around to hang the clock. I used epoxy to ensure it would stay.

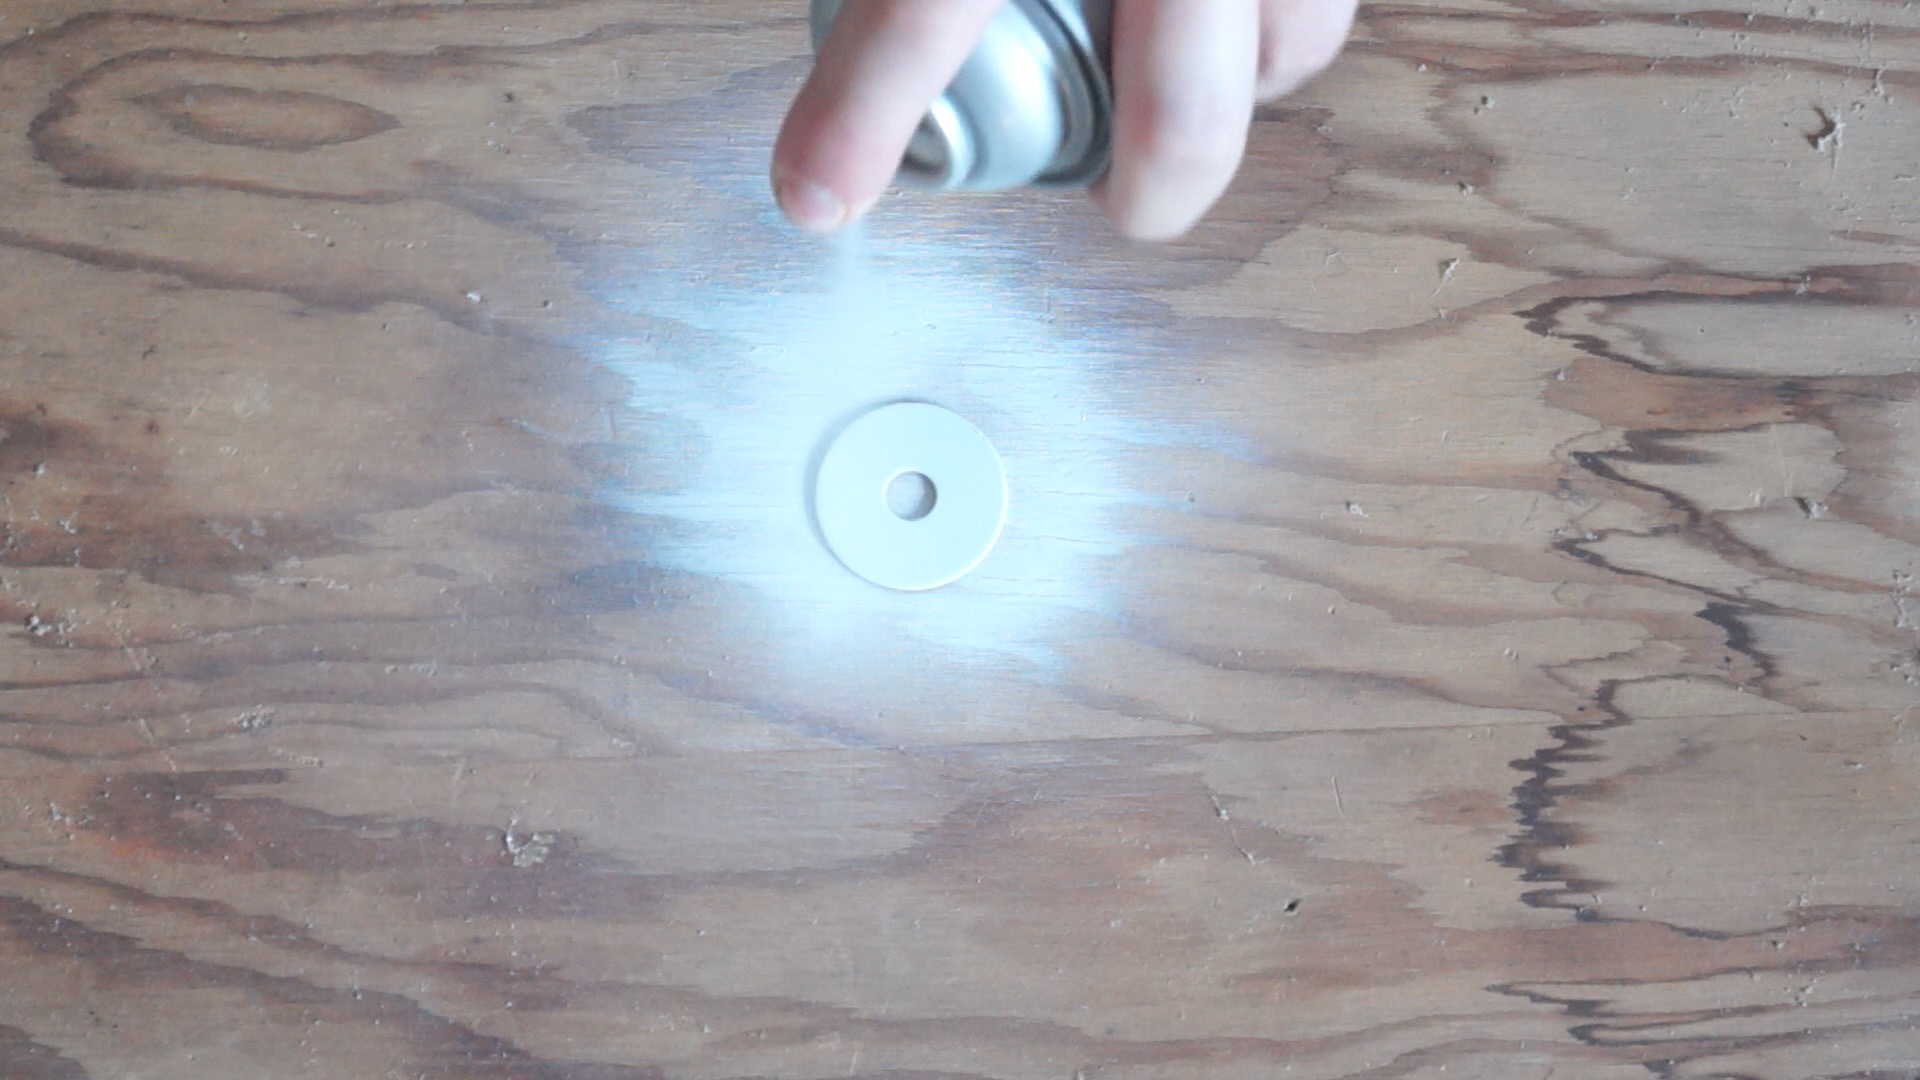
Also, since the hole for the clock wasn't perfect, I used a fender washer spray painted white to cover the hole.
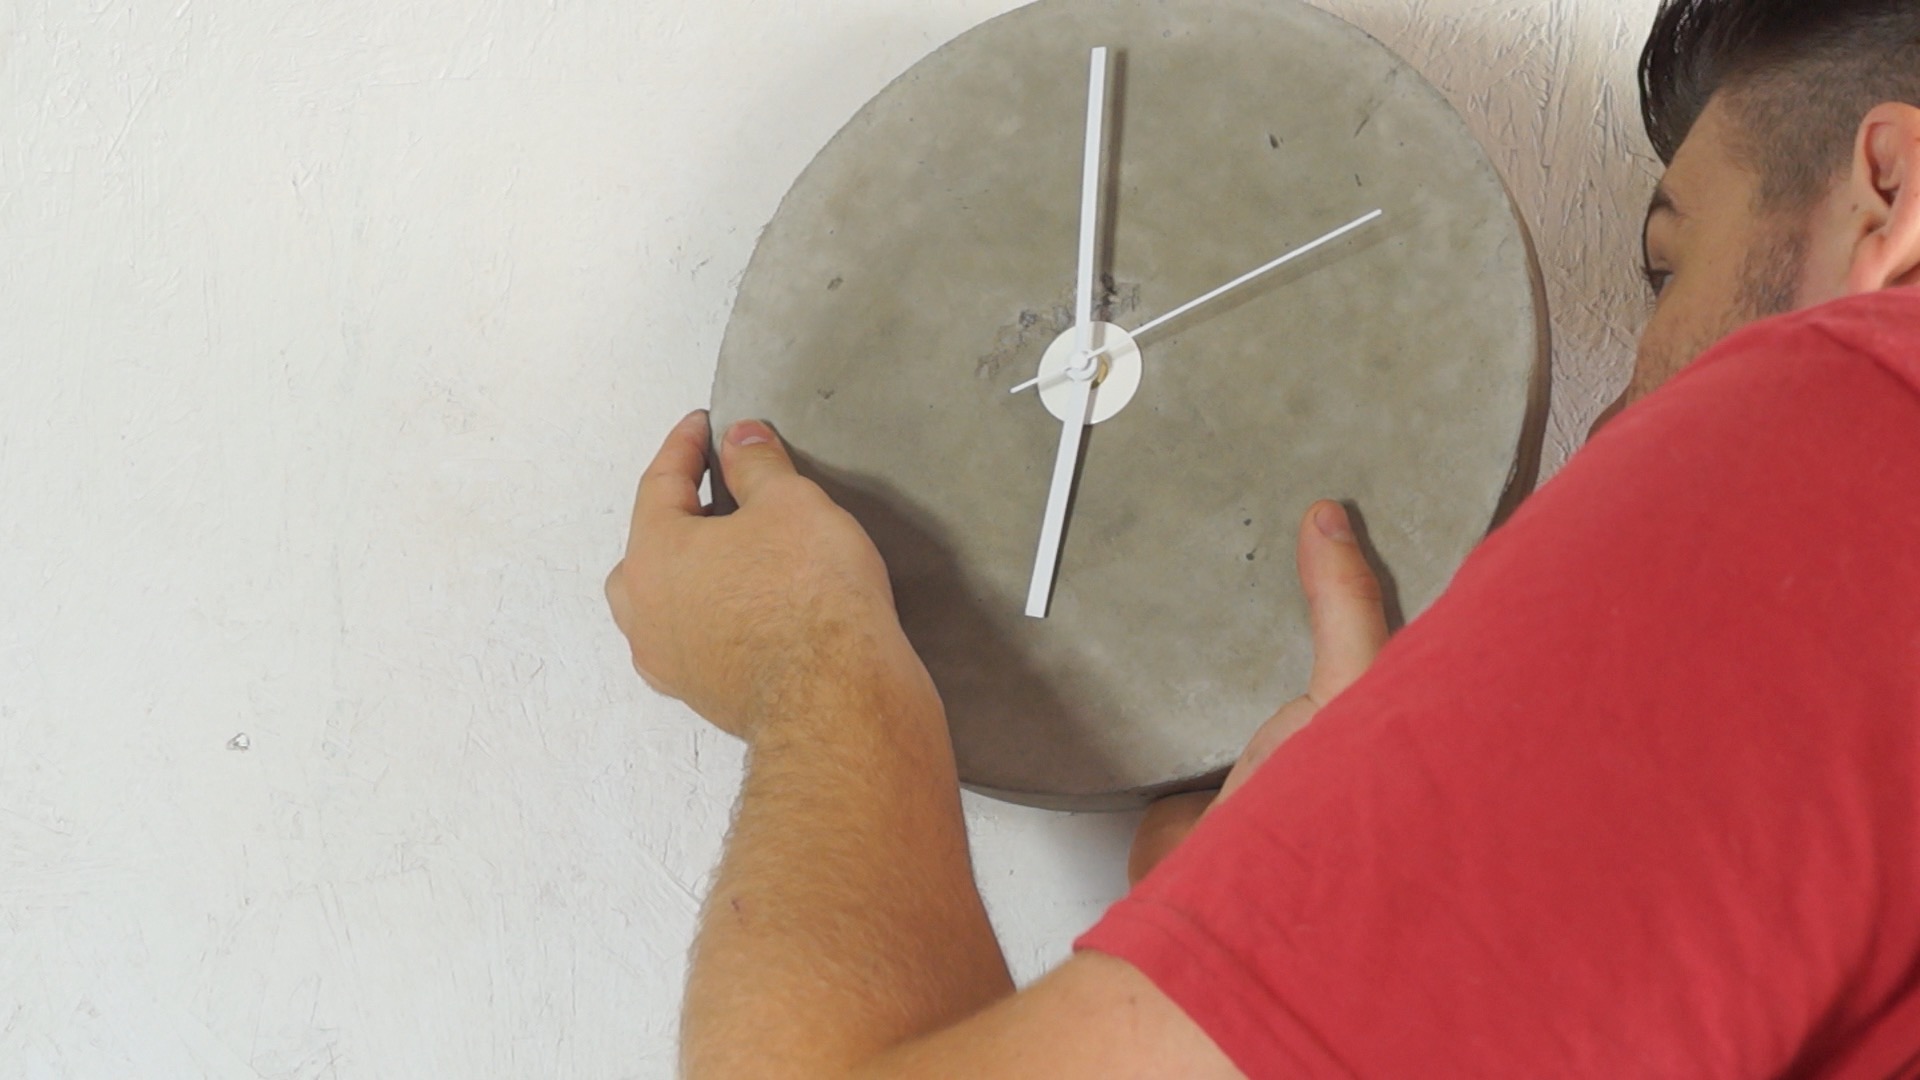
STEP NINE: PUT IT TOGETHER
My final step was to just put the clock motor in and hang it!

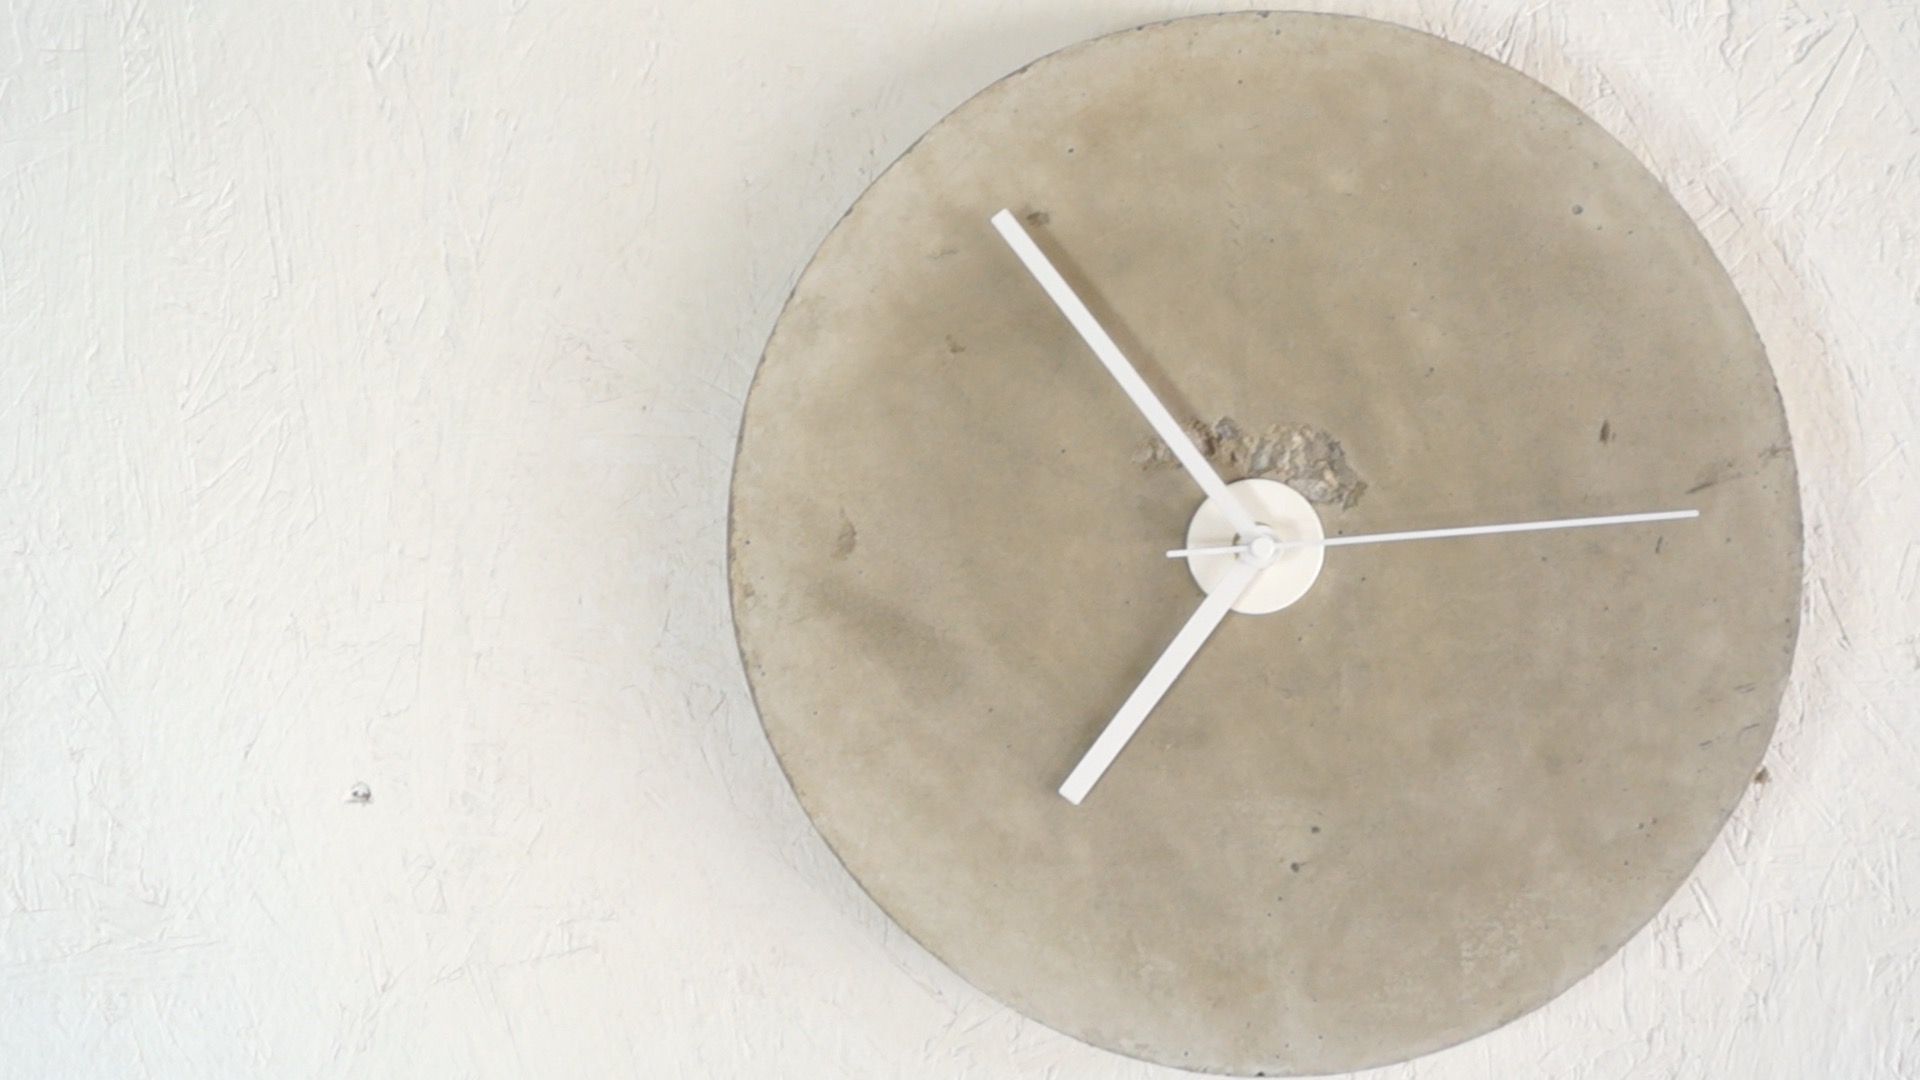


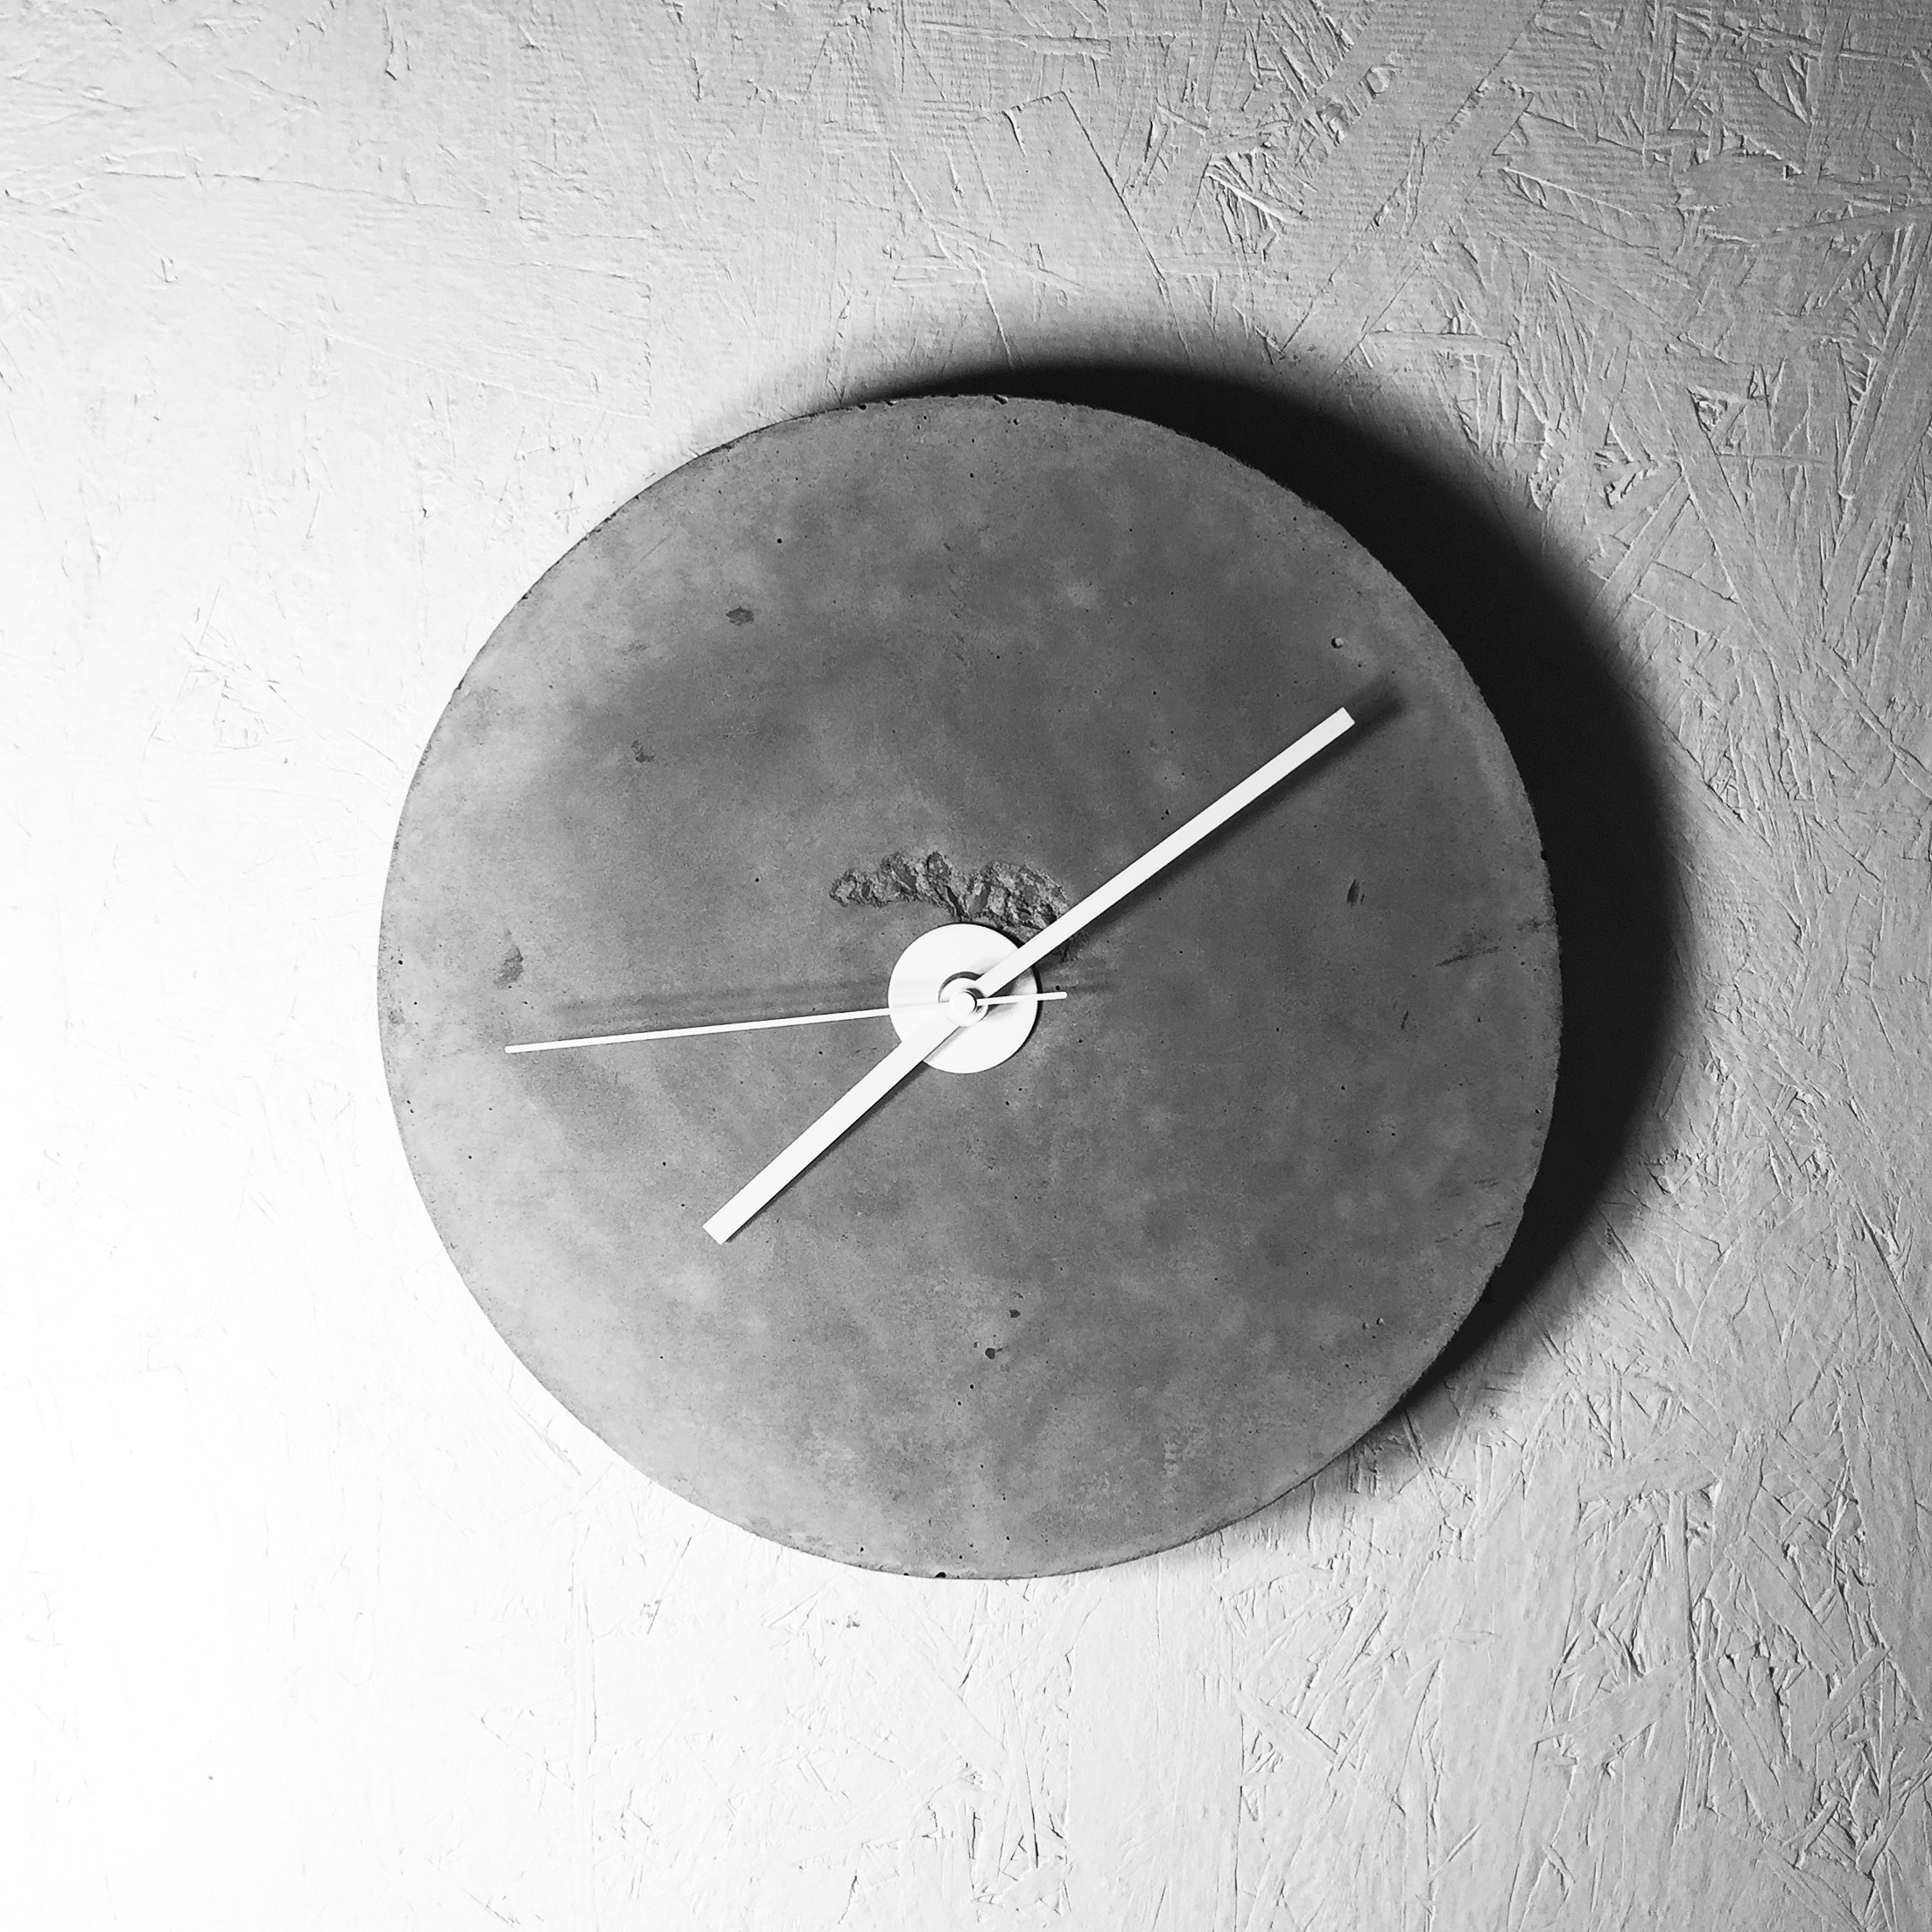

That's all there is to it! I hope you enjoyed it and go out and make your own. If you do, don't forget to tag me in a picture of it!
MORE COOL PROJECTS


GET IN TOUCH