

EP. 45 diy modern OUTDOOR LOUNGE CHAIR
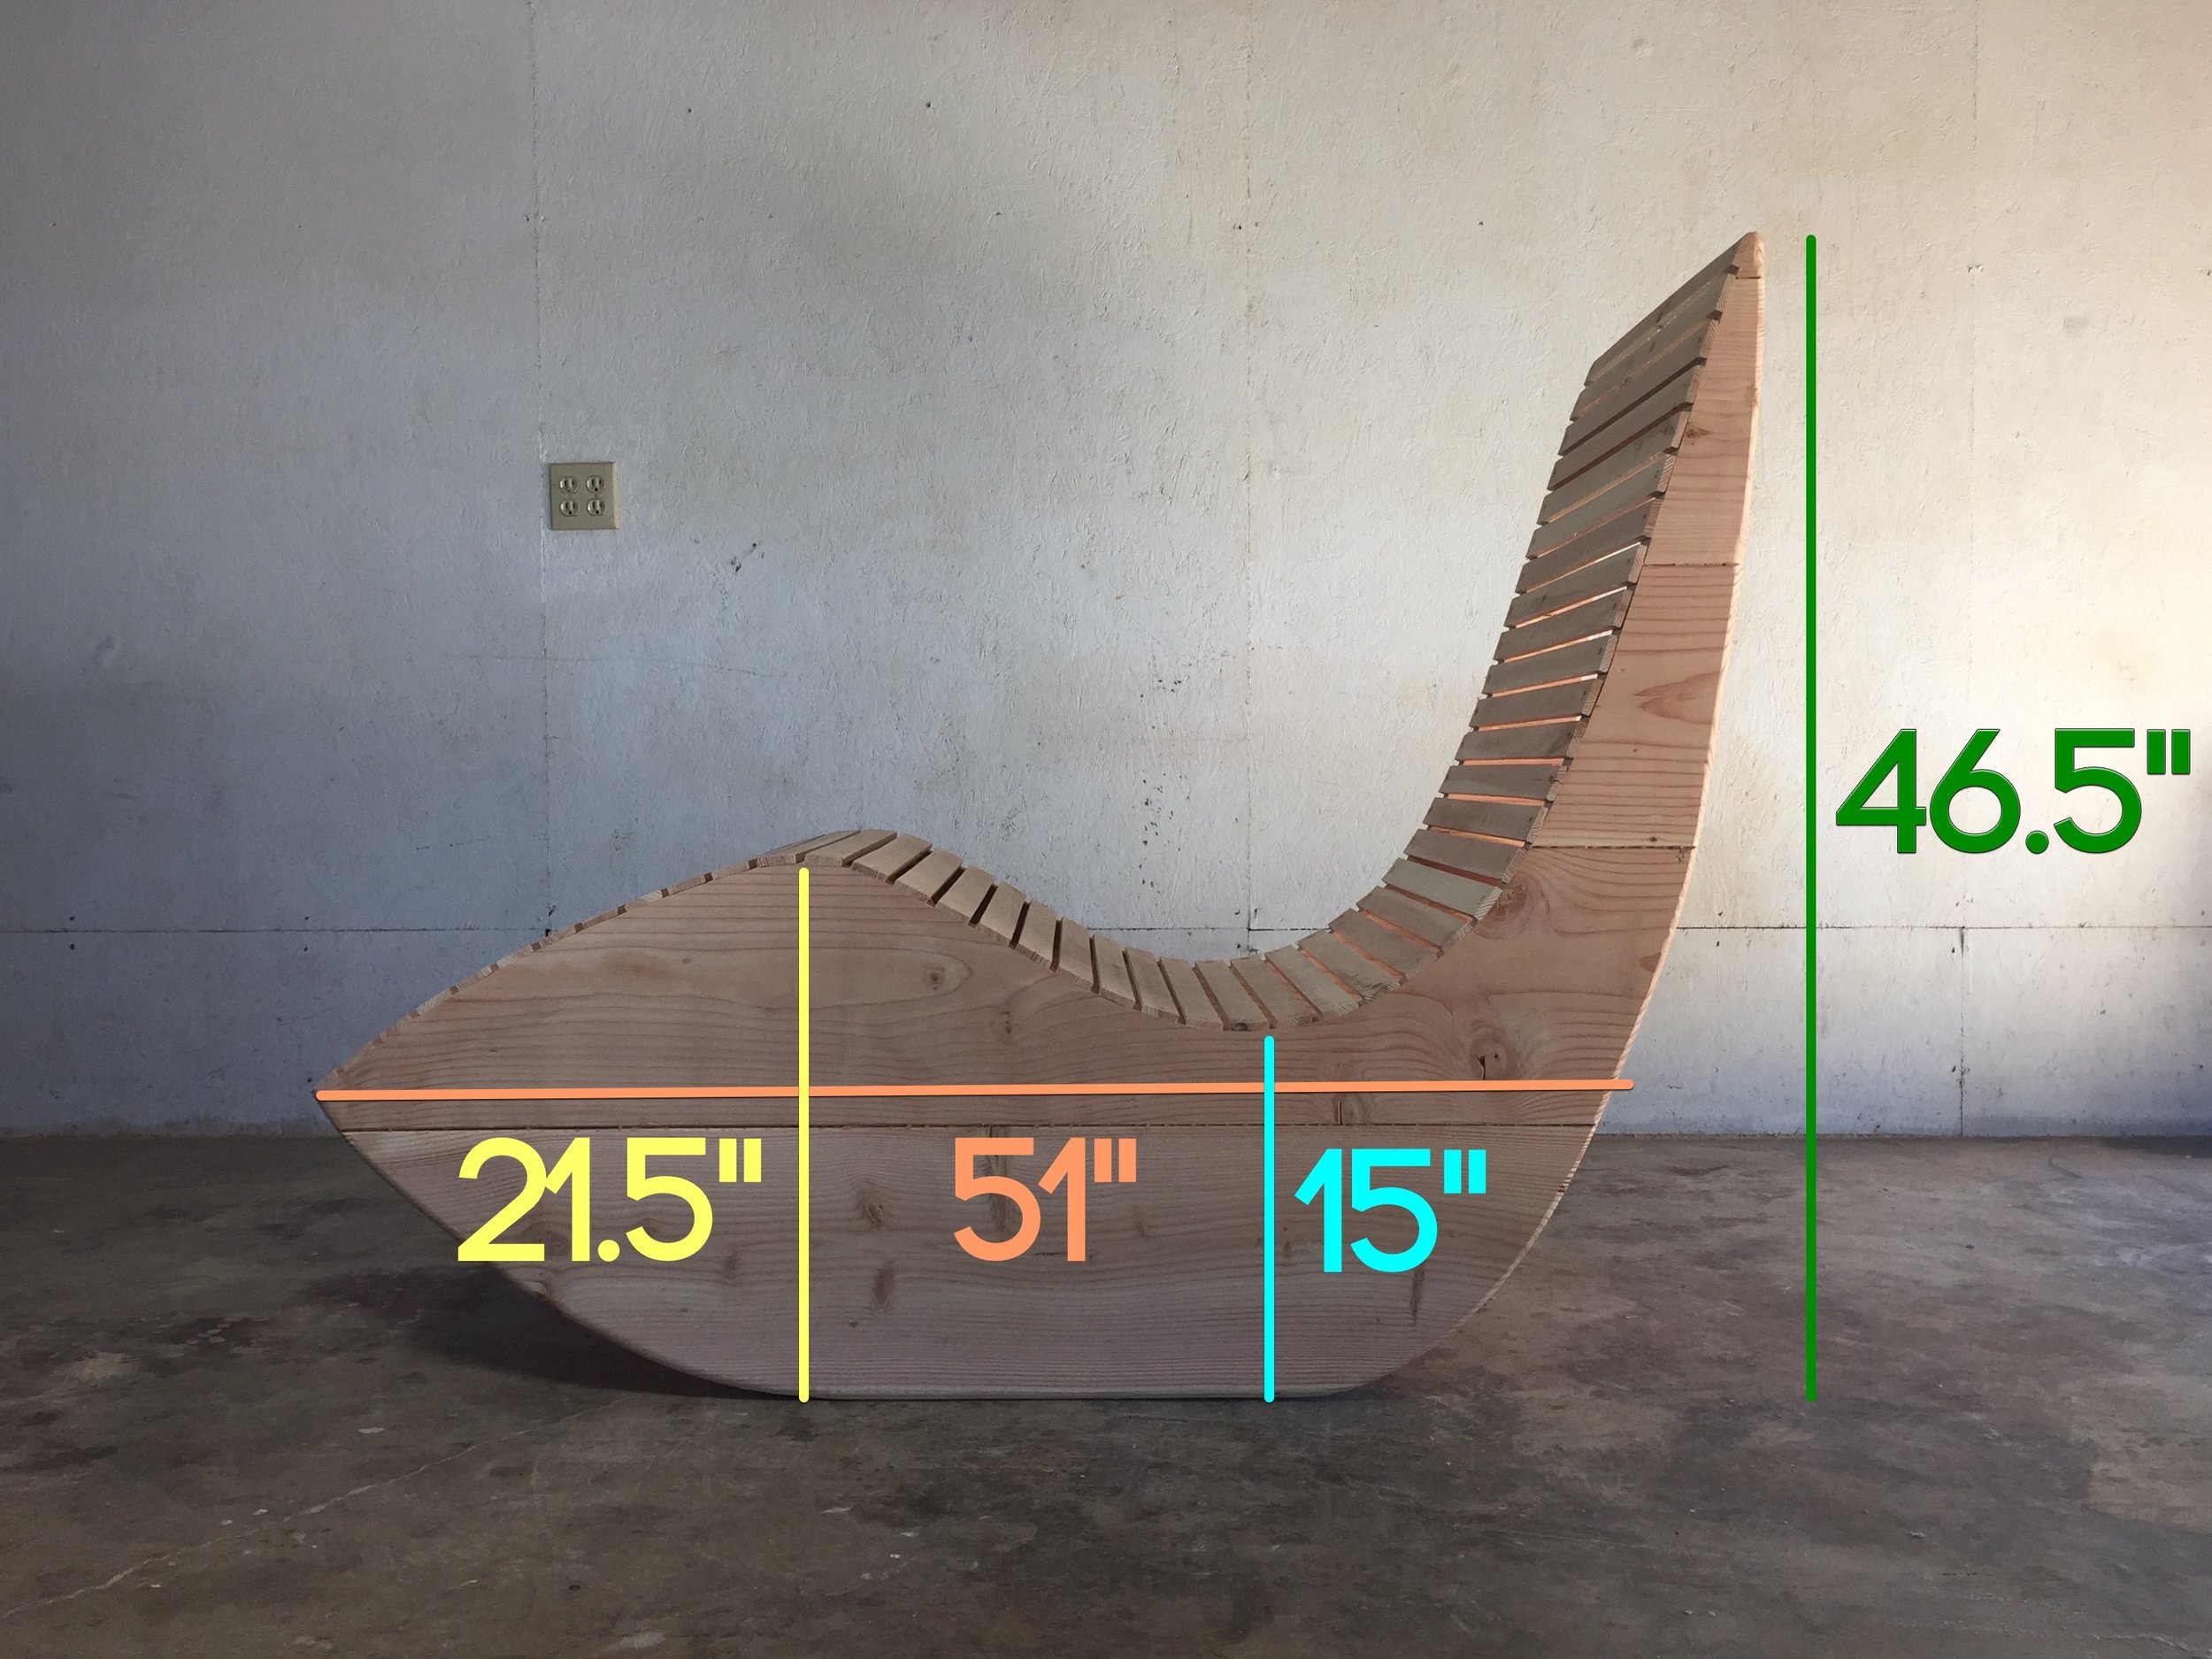
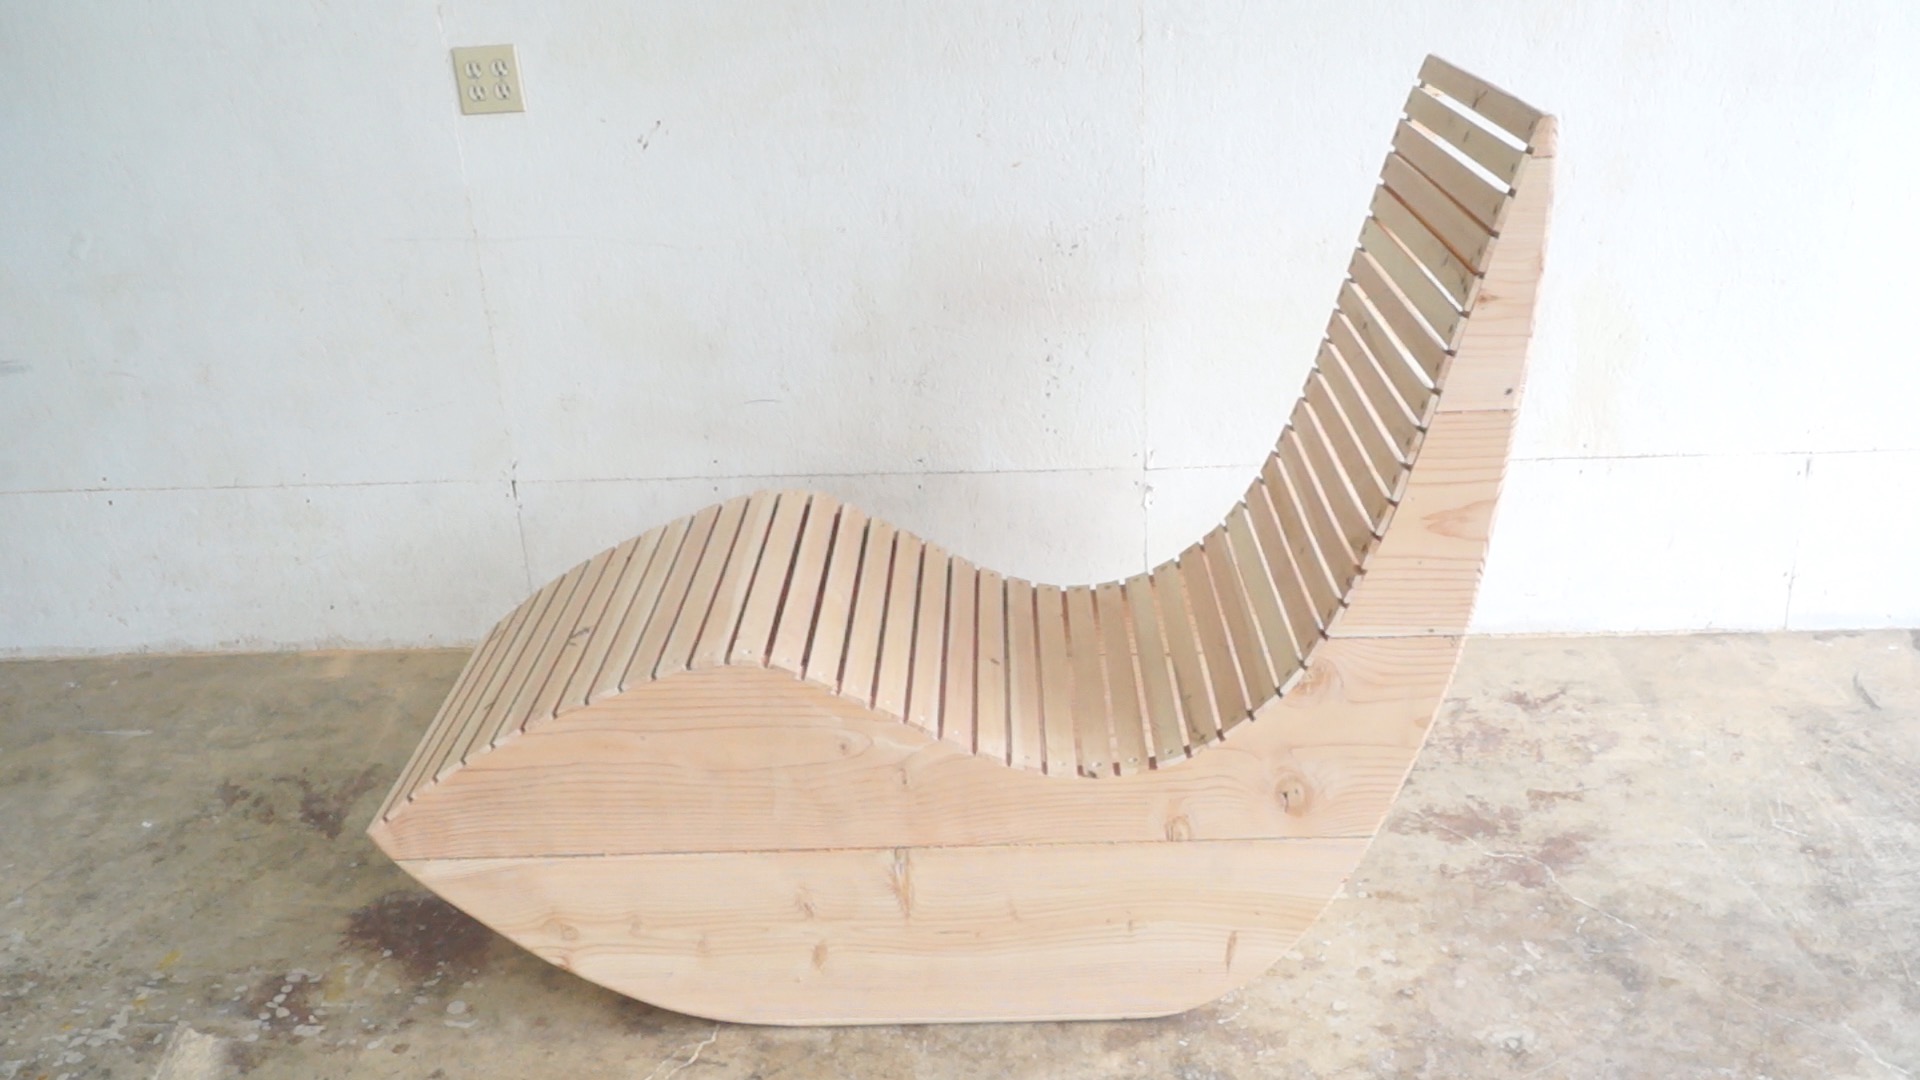
I wanted to build an outdoor lounge chair that would be really comfortable to sit in, but also have a really smooth, clean profile. After sketching for a night, this is the shape I came up with.
MATERIALS AND SUPPLIES:
4 - 8 Foot 2x12's
5 - 2x4's (3 for Slats & 2 For Stretchers)
100 Pack of 1" Wood Screws: http://amzn.to/2d5z0NP
Doweling Jig: http://goo.gl/xgrQyE
Pocket Hole Jig: http://amzn.to/2dob0mB
STEP ONE: SKETCH IT OUT
I started by simply sketching out the shape of the chair on the floor of my shop with a piece of chalk. No sketch-up or templates, just going for it. I provided some important measurements in the picture above to help with the proportion and overall dimensions.
STEP TWO: CUT THE 2x12's
After the outline is done, I cut the 2x12's to length. I made sure and cut them a bit oversize to make sure I'd have enough space to cut the chair out of it.


STEP THREE: GLUE UP
I used dowels to join the boards. With the grain orientation running parallel to the ground on the back of the chair, the dowels should help keep anything from splitting.


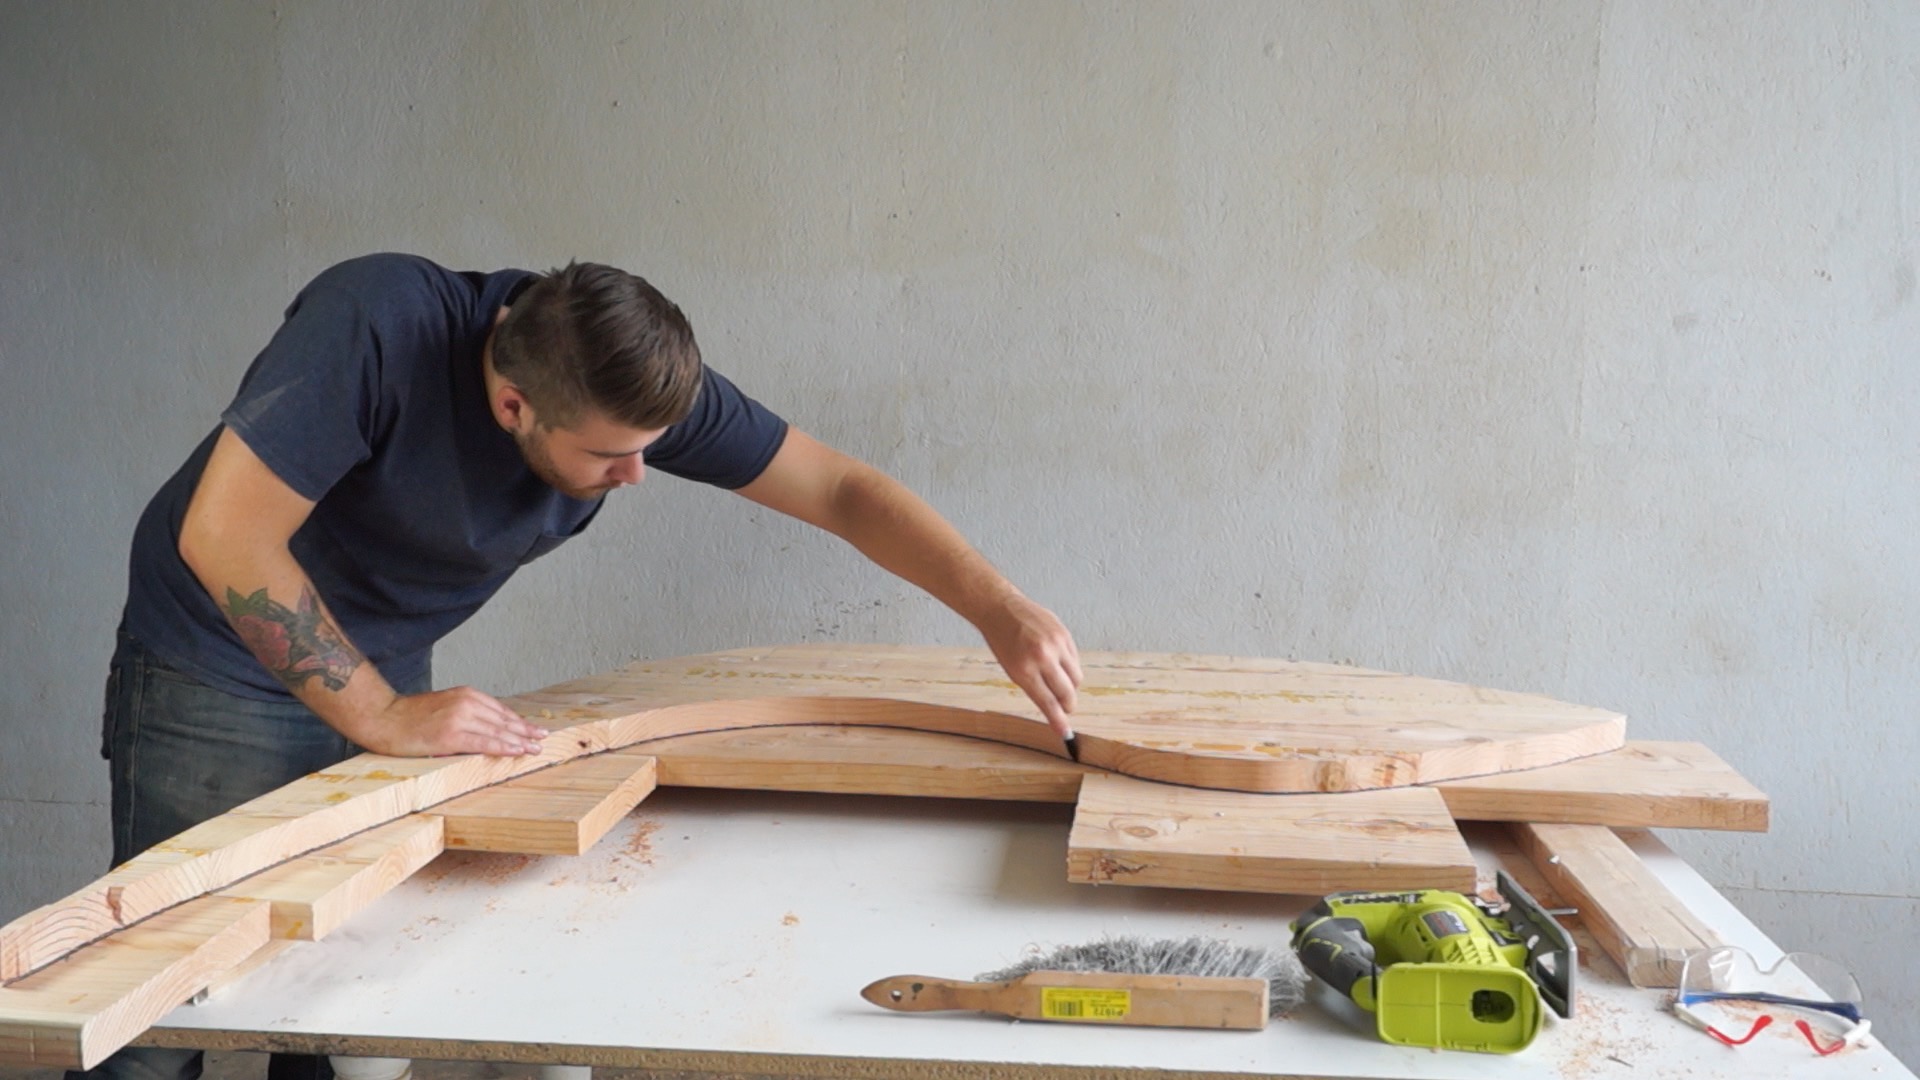
STEP FOUR: CUT OUT THE SHAPE
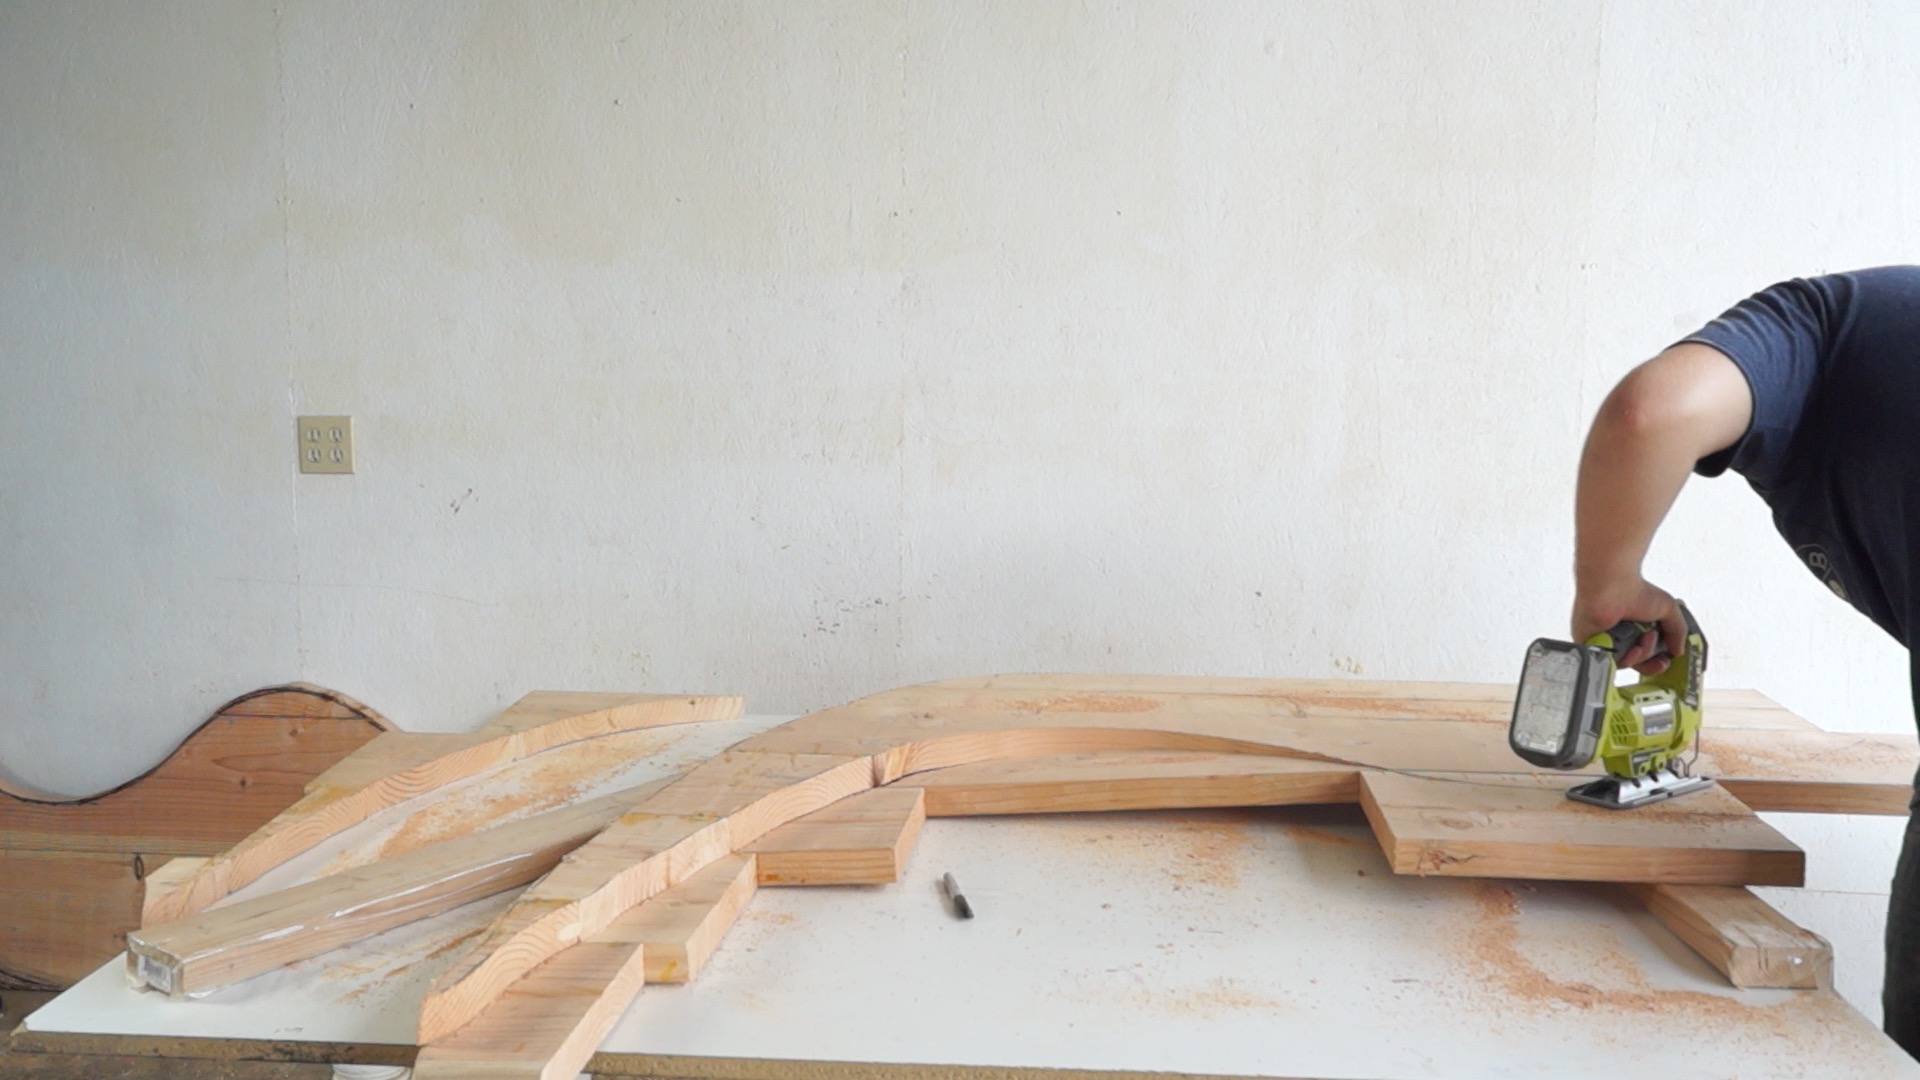
After sketching out the shape of the chair, I used the jigsaw to cut it out. It's not incredibly precise, but I'll clean the cut up later.


After cutting out one side, I used it as a stencil to cut out the second.
STEP FIVE: SAND AND SHAPE
I used the belt sander to get the two sides symmetrical as well and to smooth out the shape.
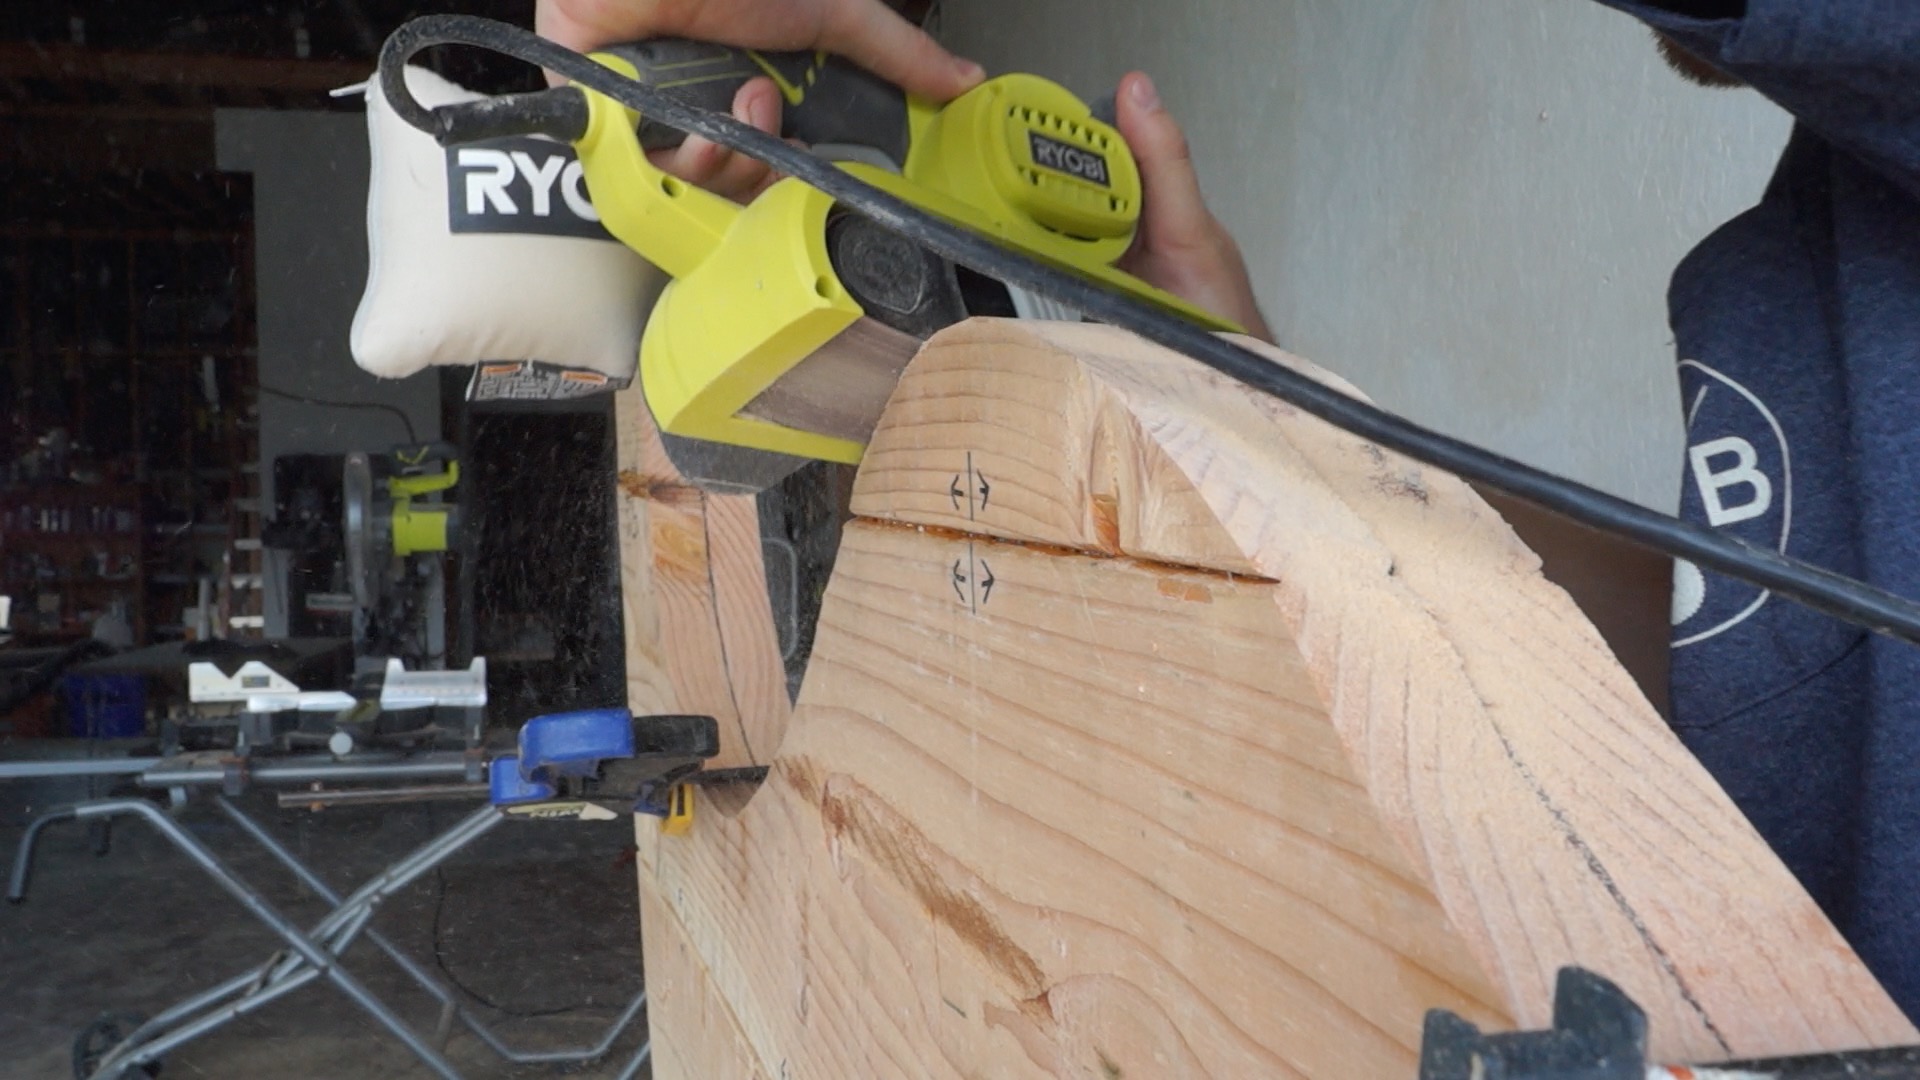
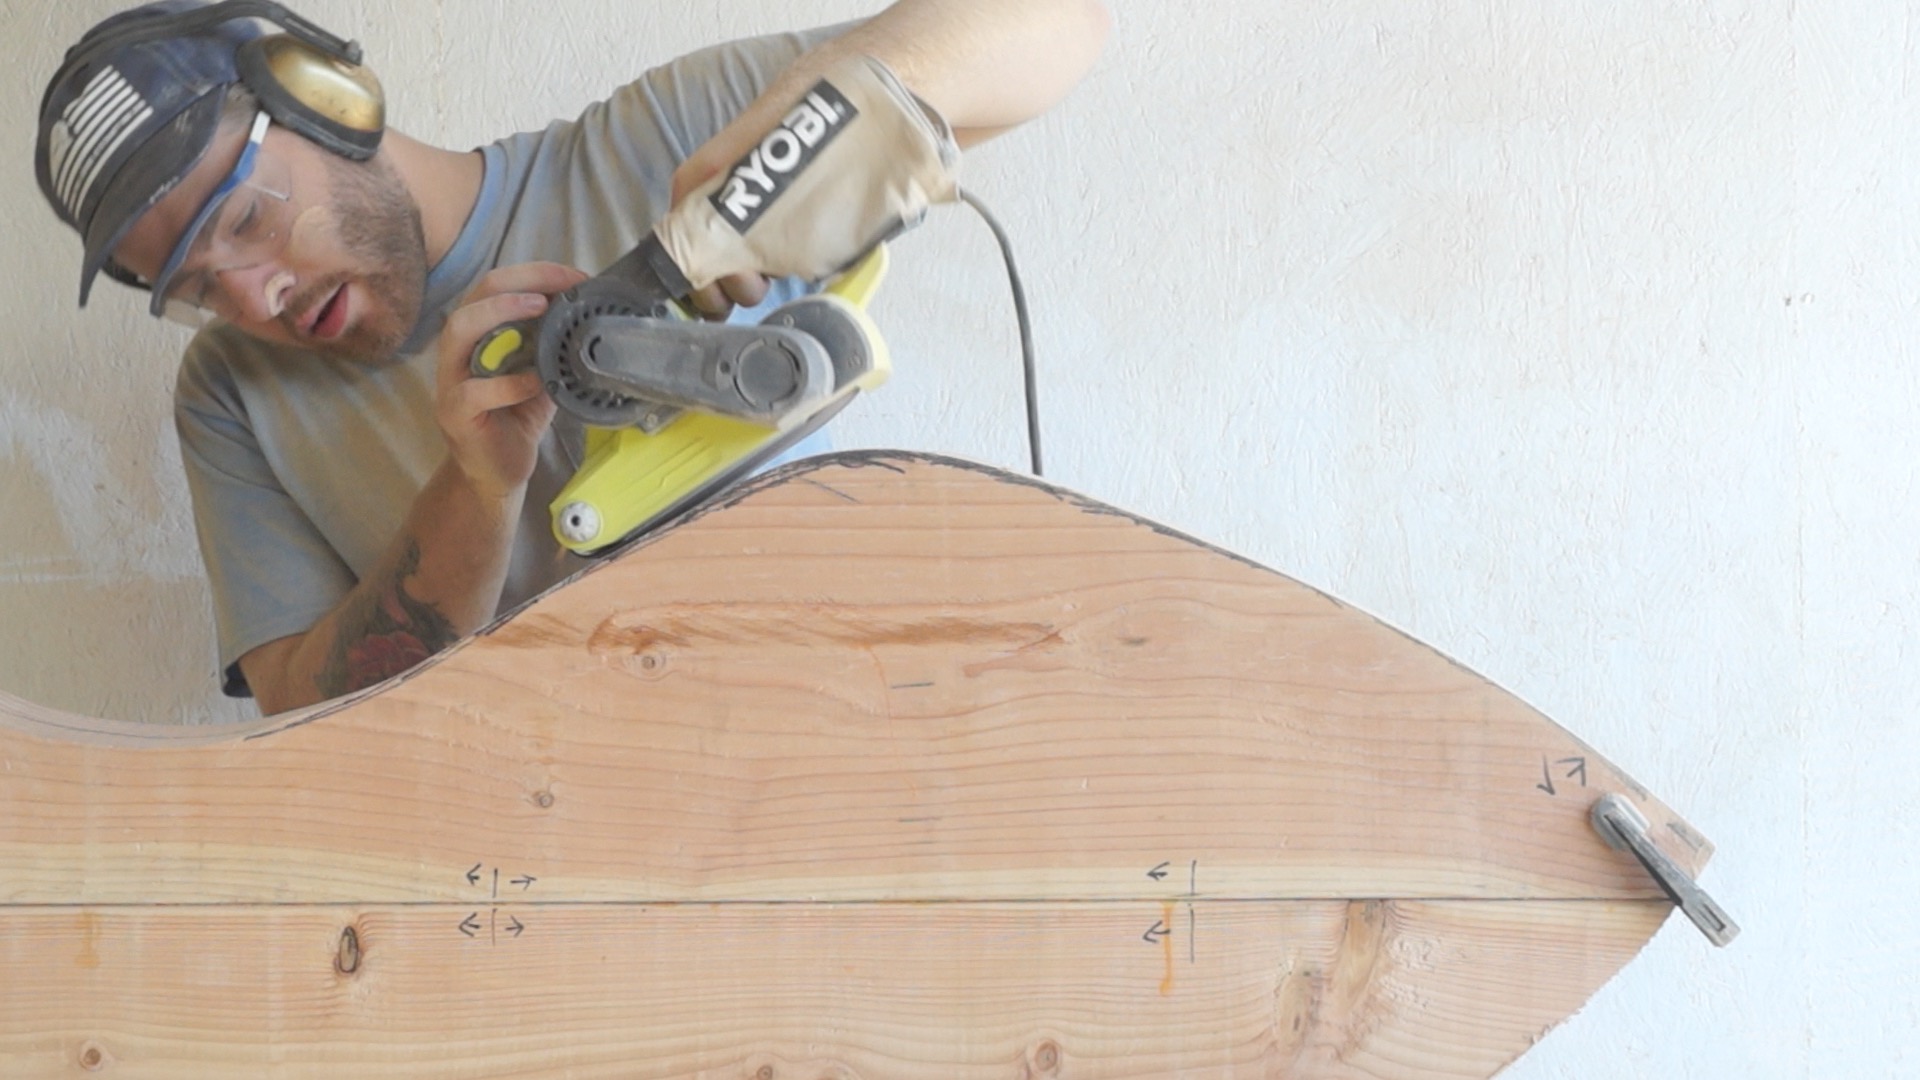

After sanding the faces of the two sides, I used a router with a round-over bit to round the sides to keep the corners from splintering.

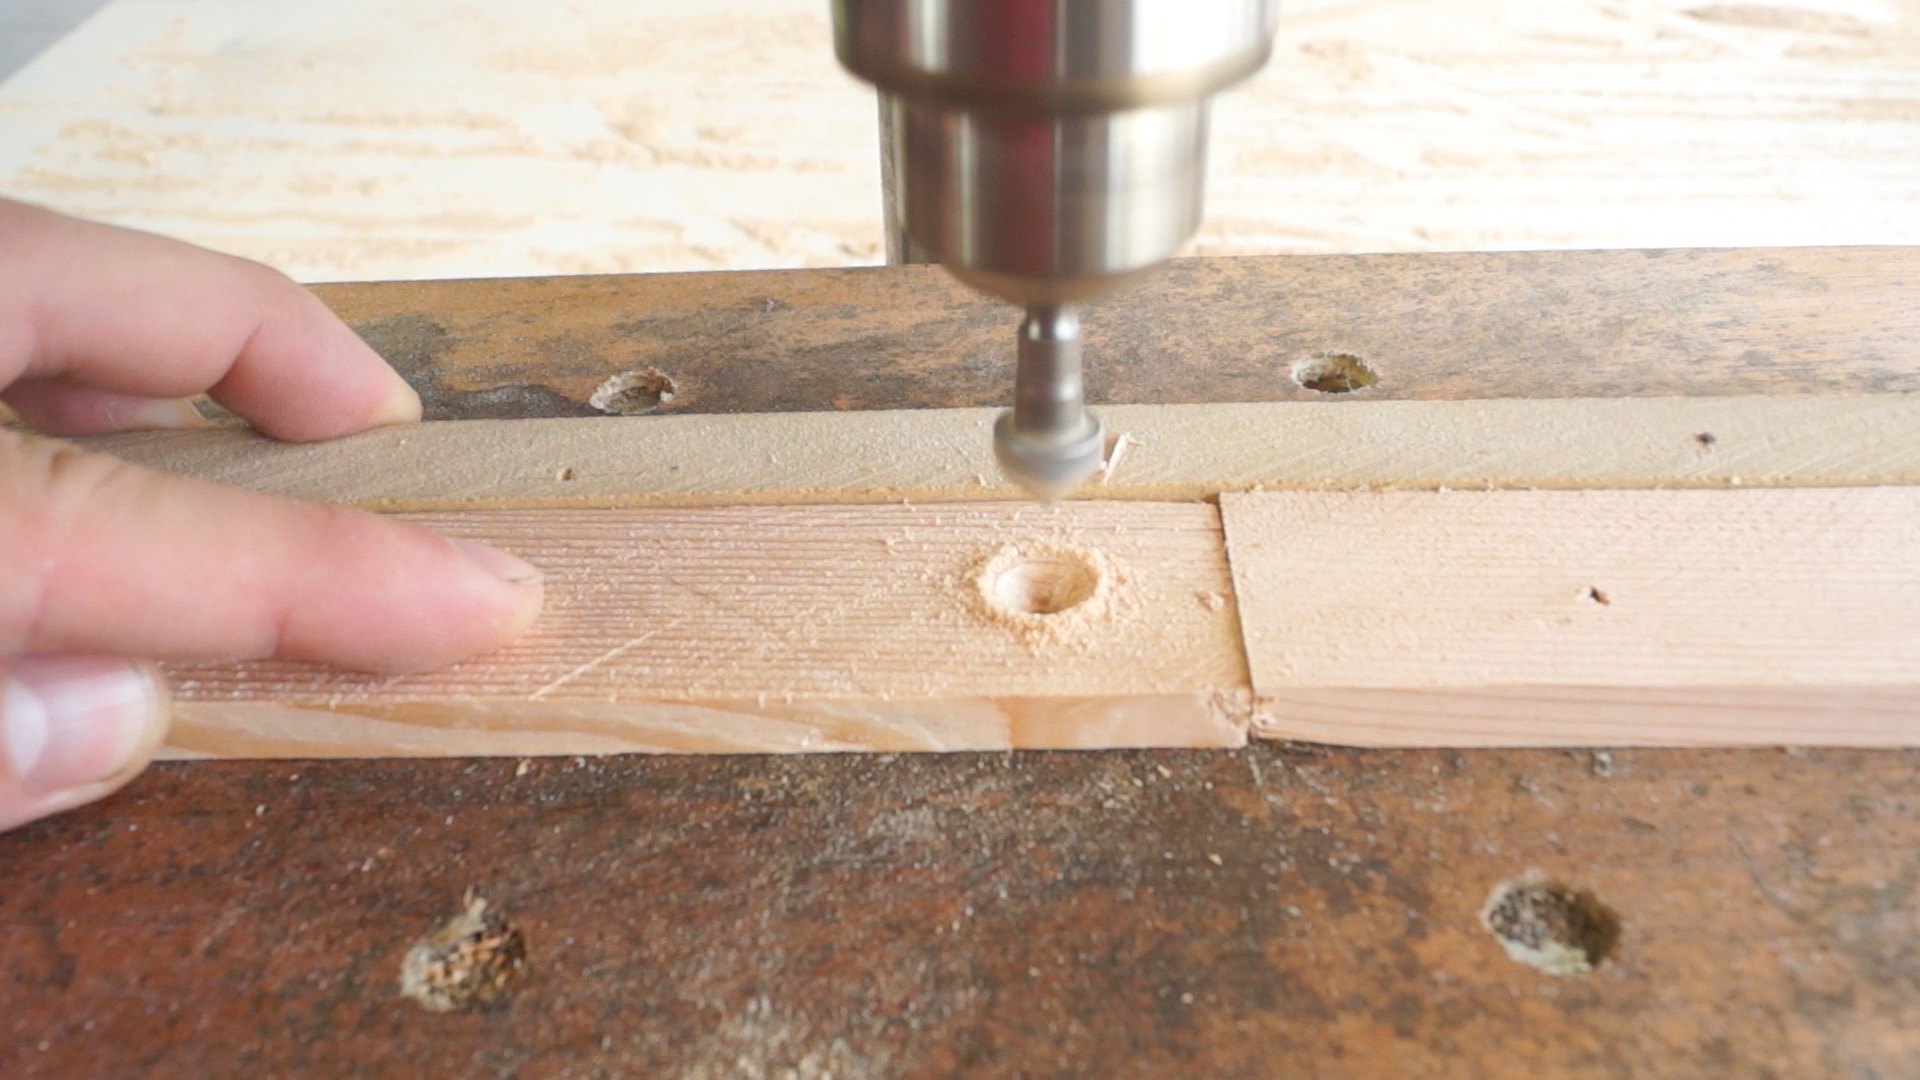
STEP SIX: MAKE THE SLATS
I cut the 2x4's into 3/8" slats and cut them into 24" pieces trying to avoid knots as much as possible.


I used the drill press with a stop block and fence to make quick repeatable holes. After the holes were drilled, I countersunk all the holes.

STEP SEVEN: ATTACH THE SLATS
With the slats prepared, I predrilled holes into the sides and attached the slats. As a spacer, I just used another slat on its side.


Next, I just sanded everything to 220 grit.

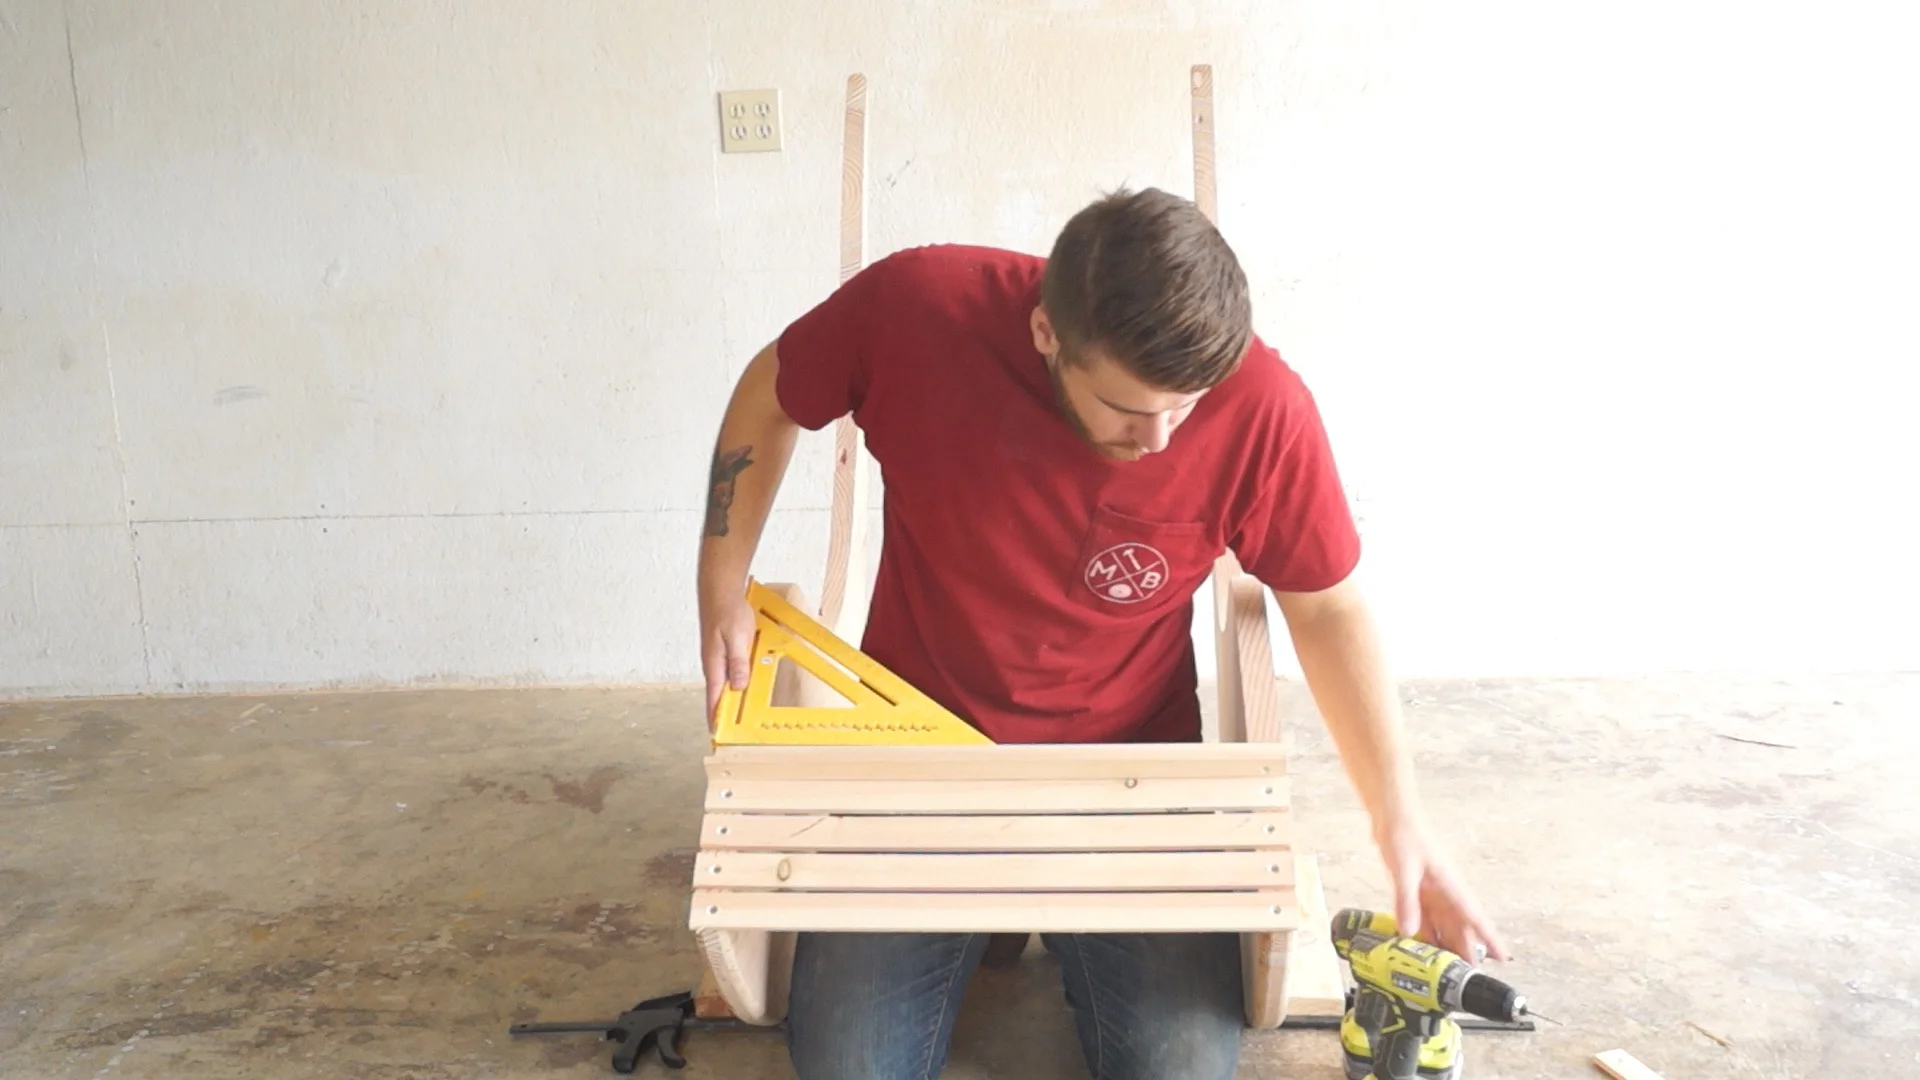
STEP EIGHT: INSTALL THE 2X4 BRACES
I used 2x4 supports across the bottom and back of the chair to keep everything strong. I chose to use pocket holes so that screws wont be visible. If you don't have a pocket hole jig, no worries, you can always screw into the 2x4's from the outside of the chair.


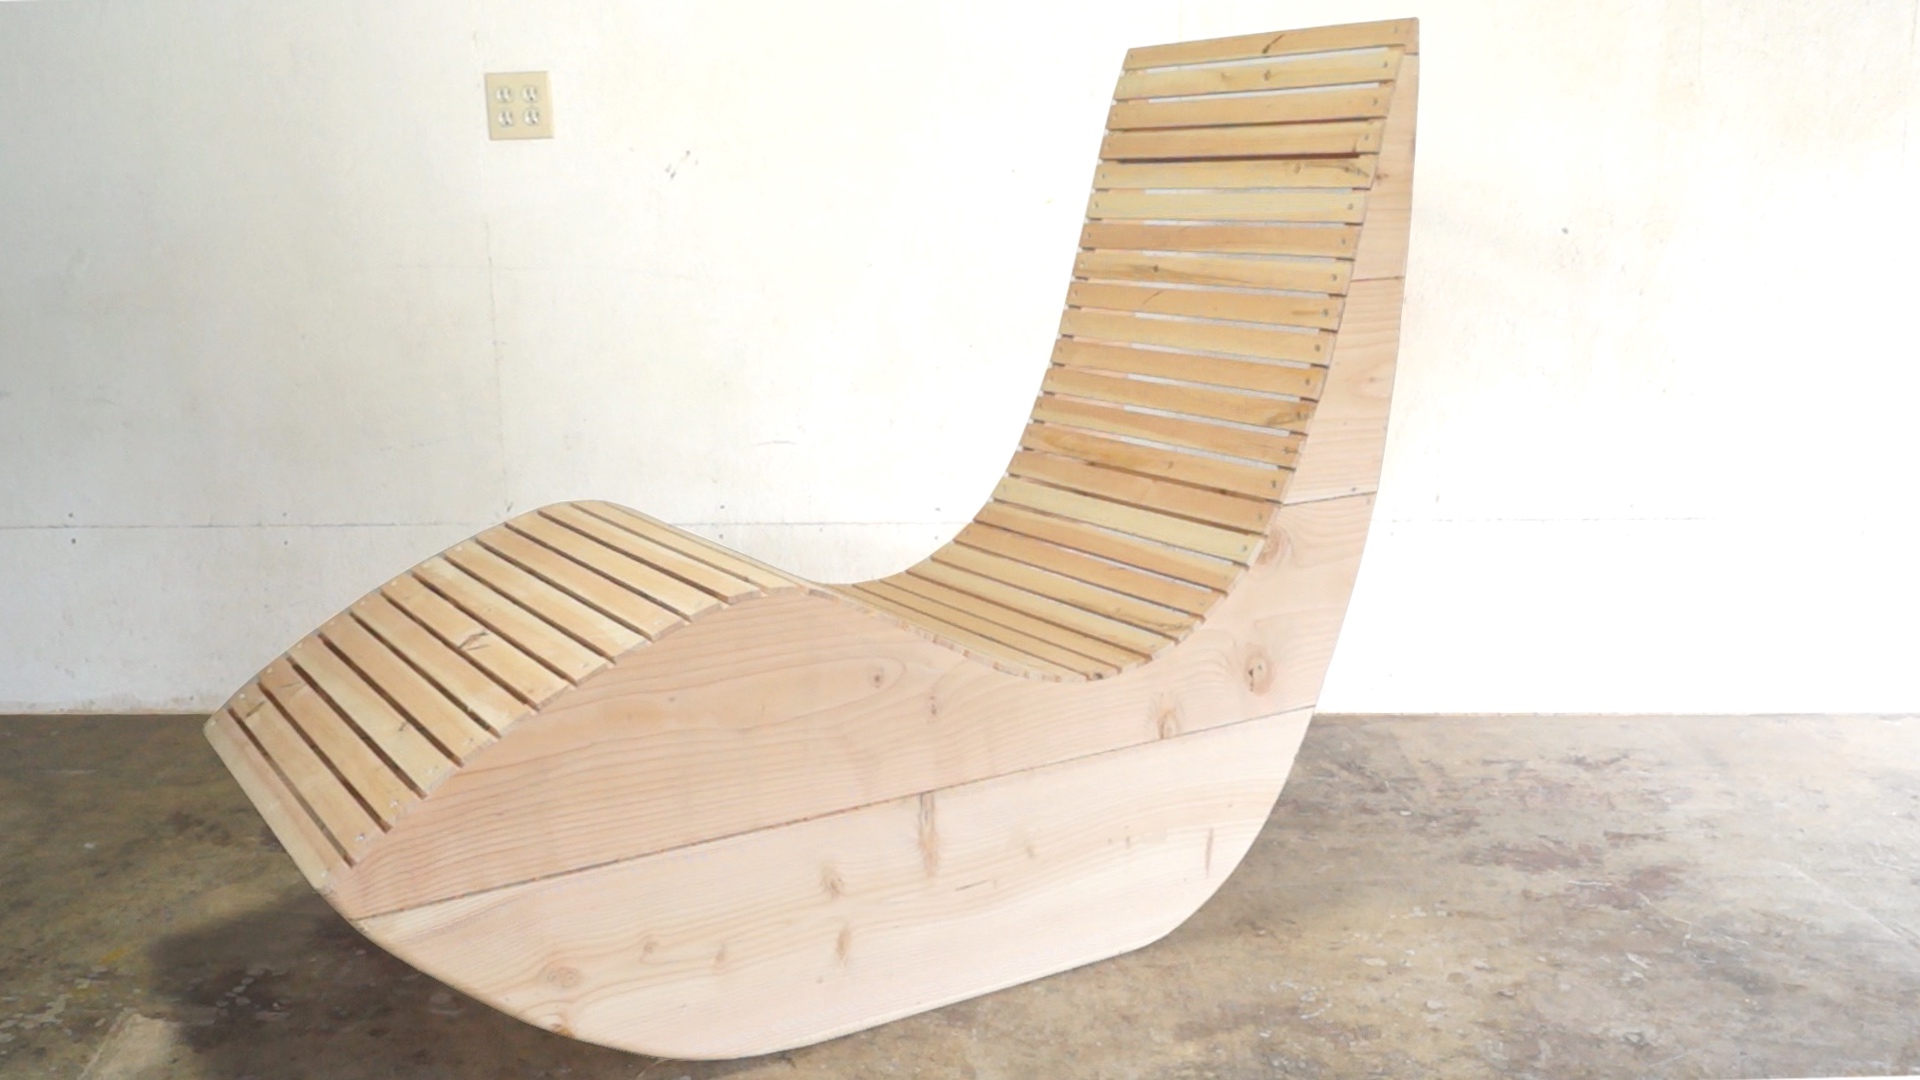

That's all there is to it! I hope you enjoyed it and go out and make your own. If you do, don't forget to tag me in a picture of it!
MORE COOL PROJECTS


GET IN TOUCH