

EP. 40 DIY MODERN SLATTED BENCH
Today on Modern Builds, I'm making a mid-century modern inspired slatted bench constructed with half-lap joinery. The bench can be resized longer to fit more people or can be made wider to be used as a coffee table.
Industrial By Design: https://www.industrialbydesignco.com/
MATERIALS AND SUPPLIES:
16" Trapezoid Steel Legs: http://amzn.to/29VI2If
All of the wood I used in this project is Select Pine from Home Depot
6 - 8 foot 1x2's
1 - 6 foot 1x2
1 - 6 foot 2x2
Wood Glue: http://amzn.to/2a88AJK
Wipe On Polyurethane (satin): http://amzn.to/2a5AfrQ

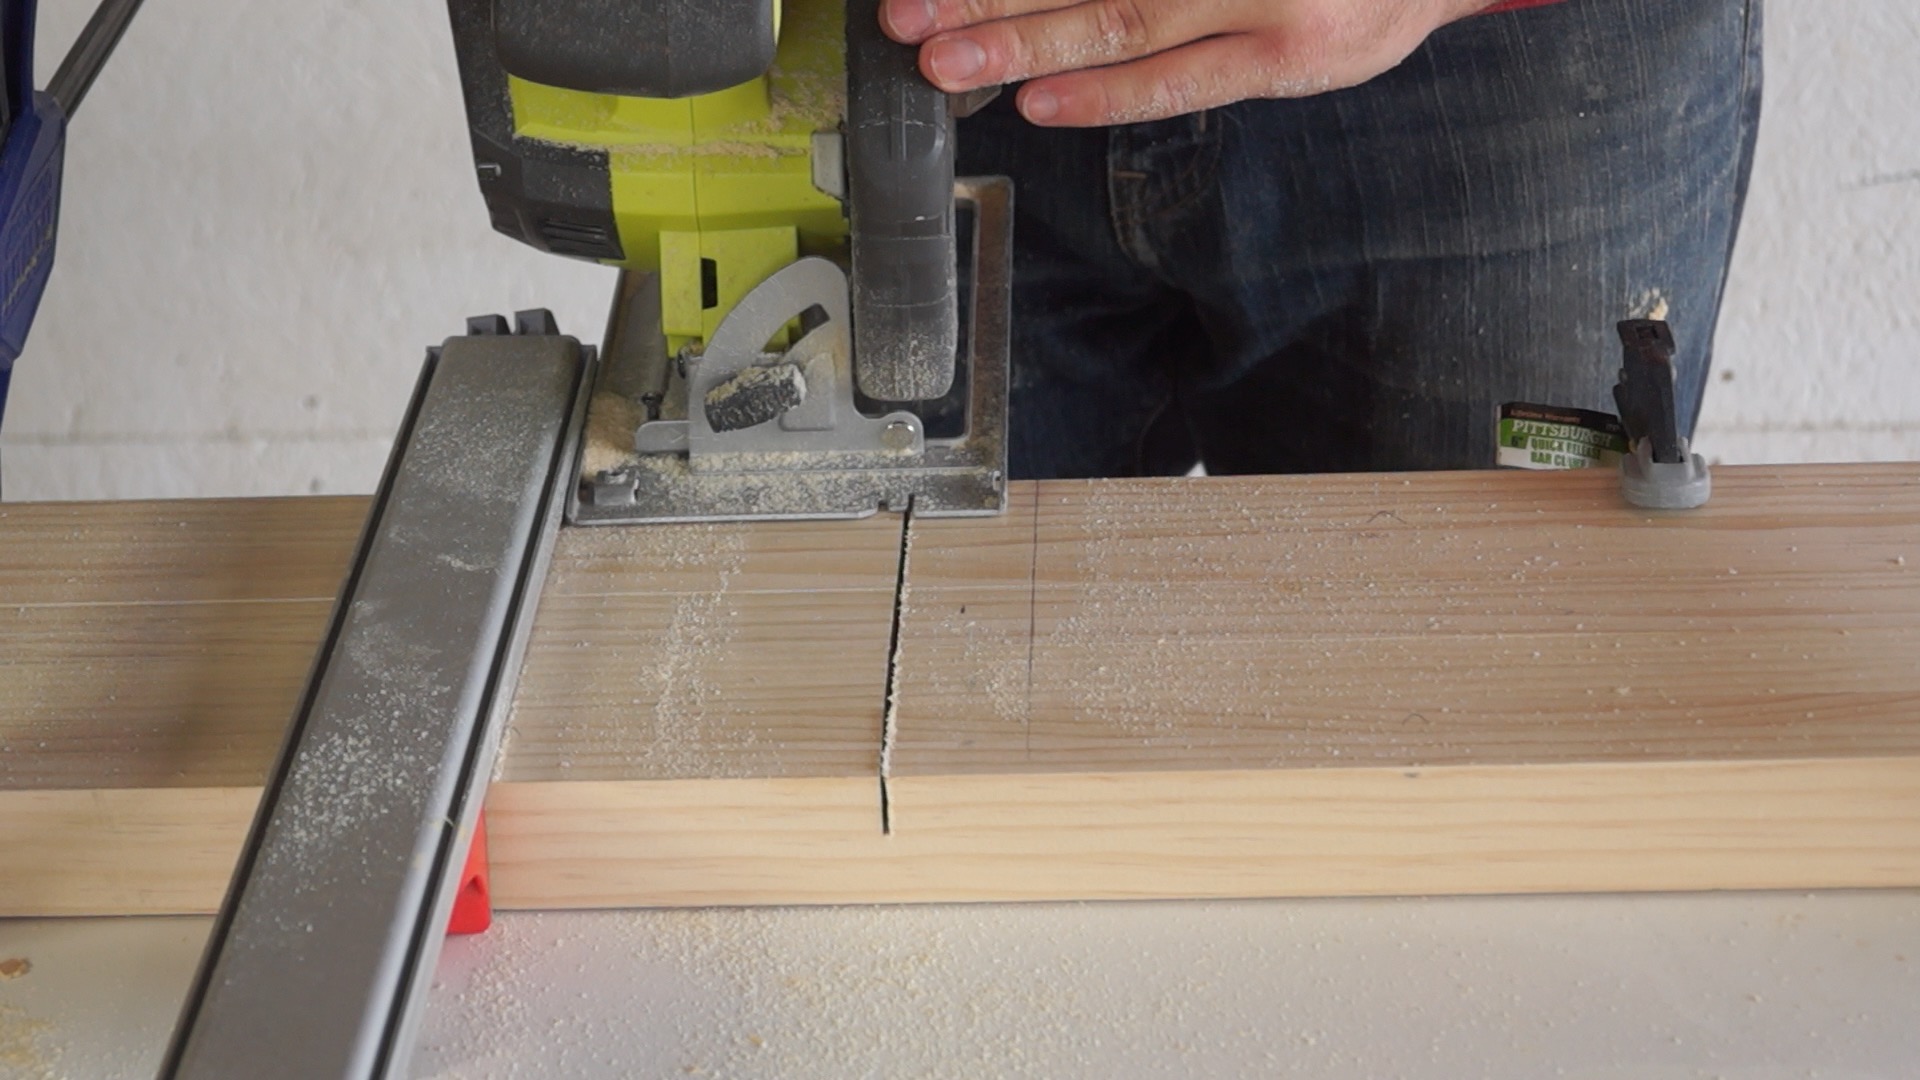
I started by gathering my 1x2's and cut them to length. My design calls for 12 slats cut at 47"
I cut half-lap joints with my circular saw on the ends of each slat as on in the middle of the board. Here's an in depth video (not from me) that explains half-lap joints in depth if you're interested: https://www.youtube.com/watch?v=65Qf7YG_RGw

Using a straight edge for the 1st cut helps to make clean joints

Use repeating cuts to remove the bulk of the material. Then use a chisel to clean everything up.


Cutting the half lap for the center 2x2 uses the same technique, it's just 1.5" instead of .75"


For the cross pieces, I decided to use the miter saw with the depth stop to make the joints. It's a simple technique, just mark as you go using a spare piece of 1x2. A faster method would be to use masking tape and attach all three cross pieces together, that way you can cut them at the same time, as well as have them be perfectly symmetrical.


With everything cut, I just needed to glue everything together. I used the glue sparingly to minimize cleanup, since it would be tough to get between the slats.


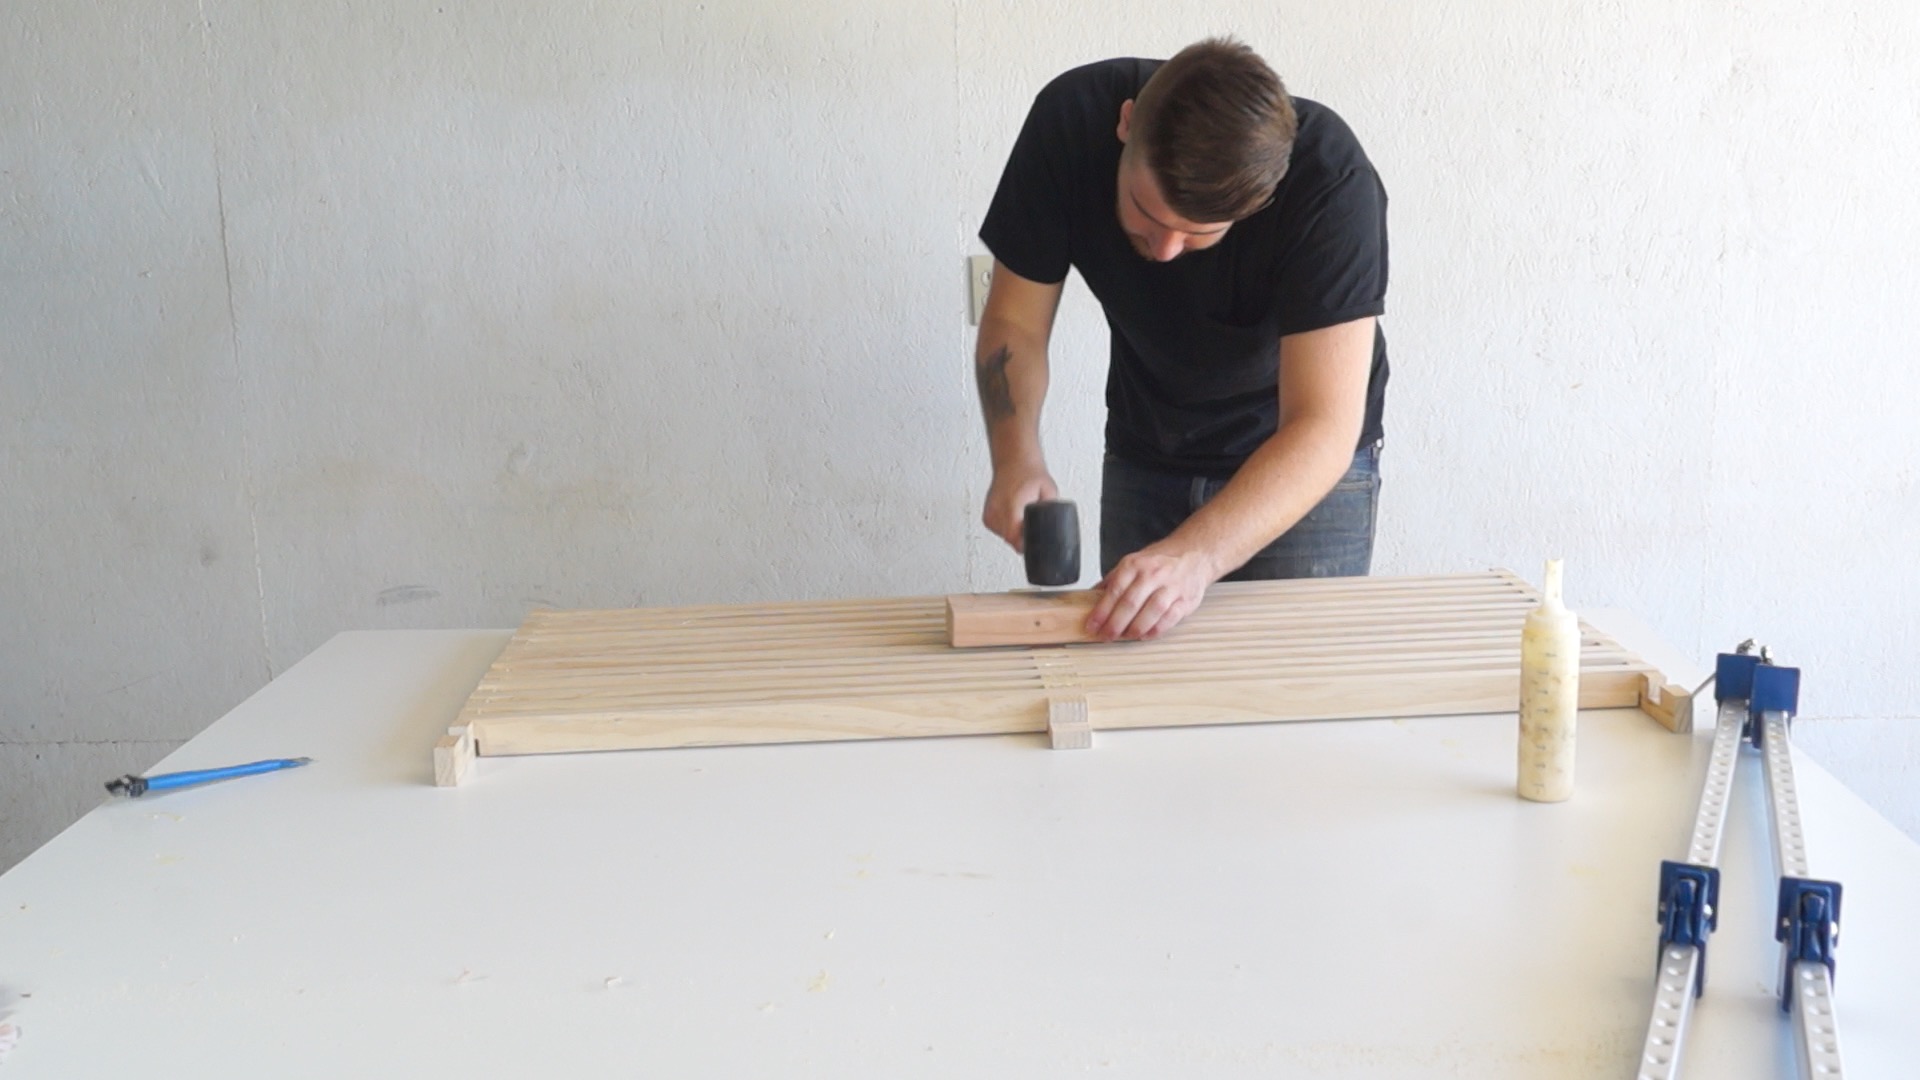
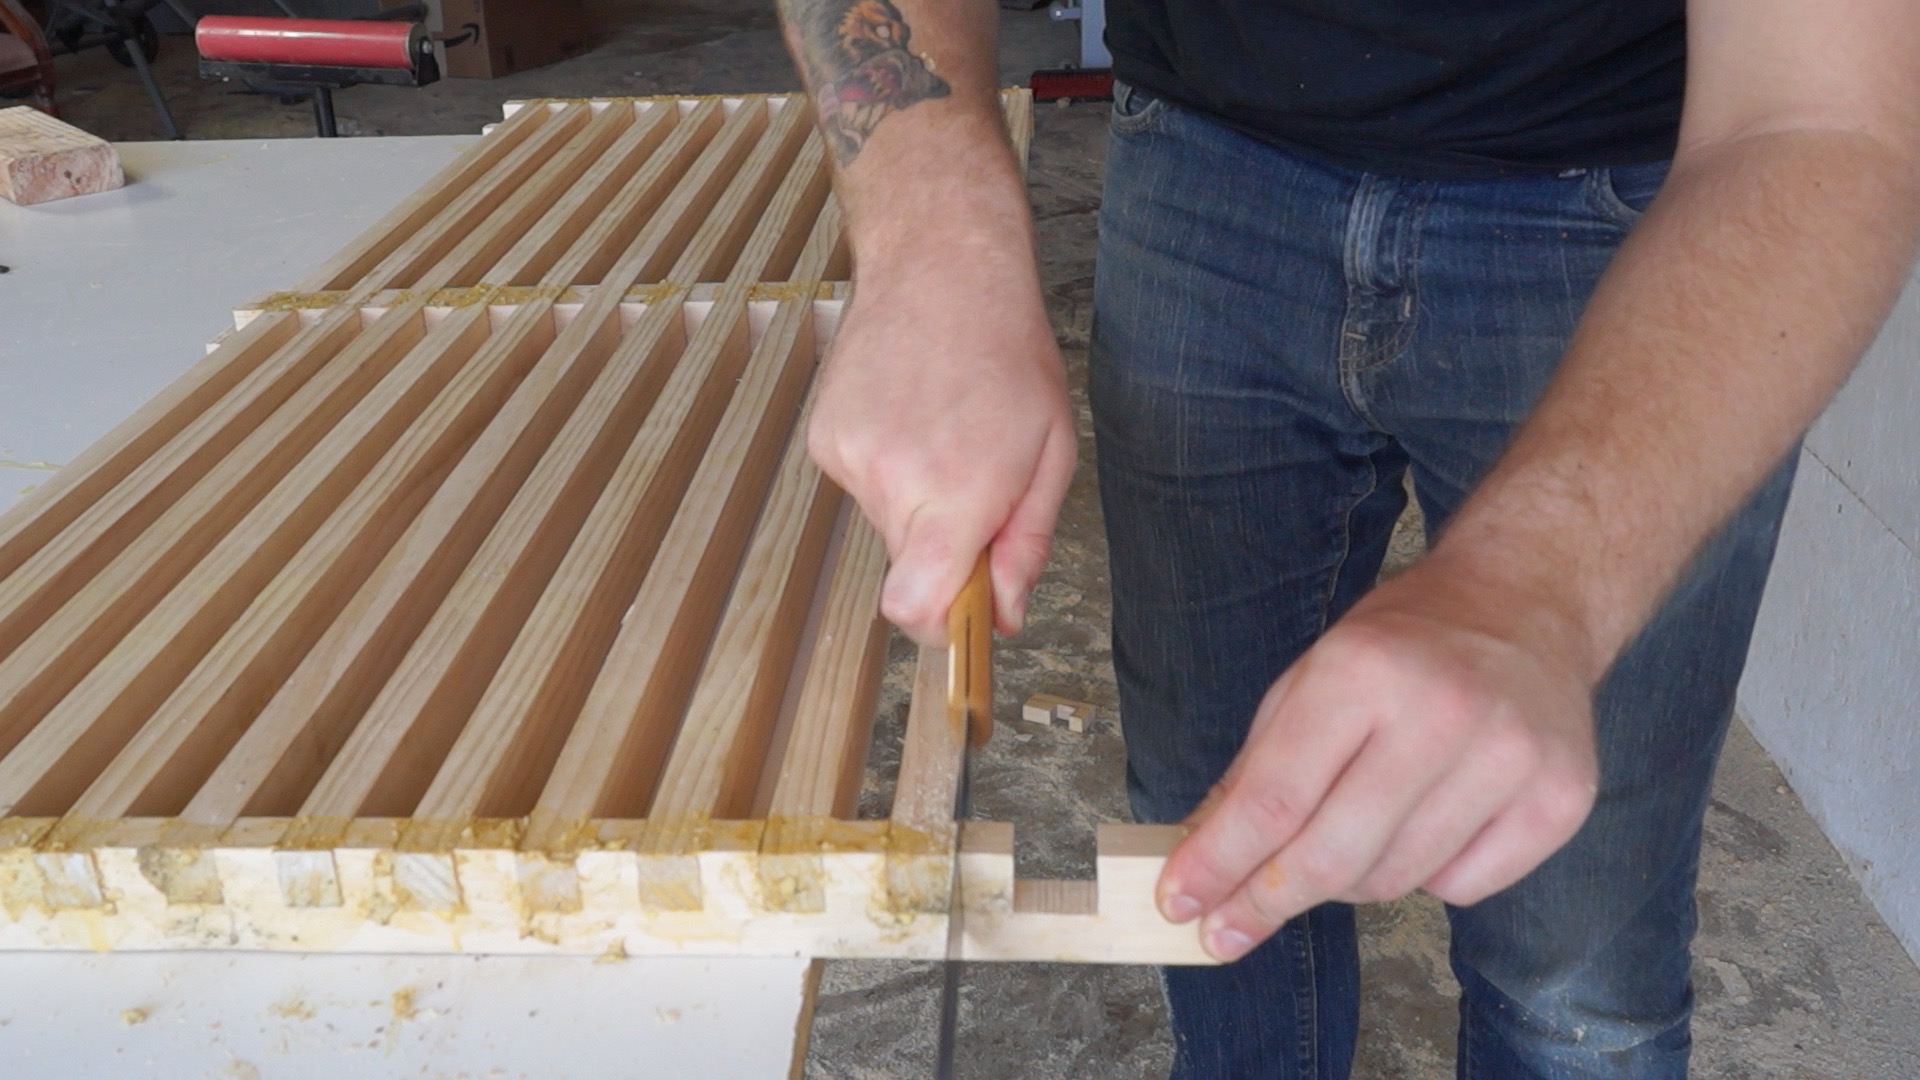
I made my cross pieces longer than they needed to be, In case one of the boards didn't fit or if anything broke. Thankfully, nothing did, but I did need to cut the excess off.
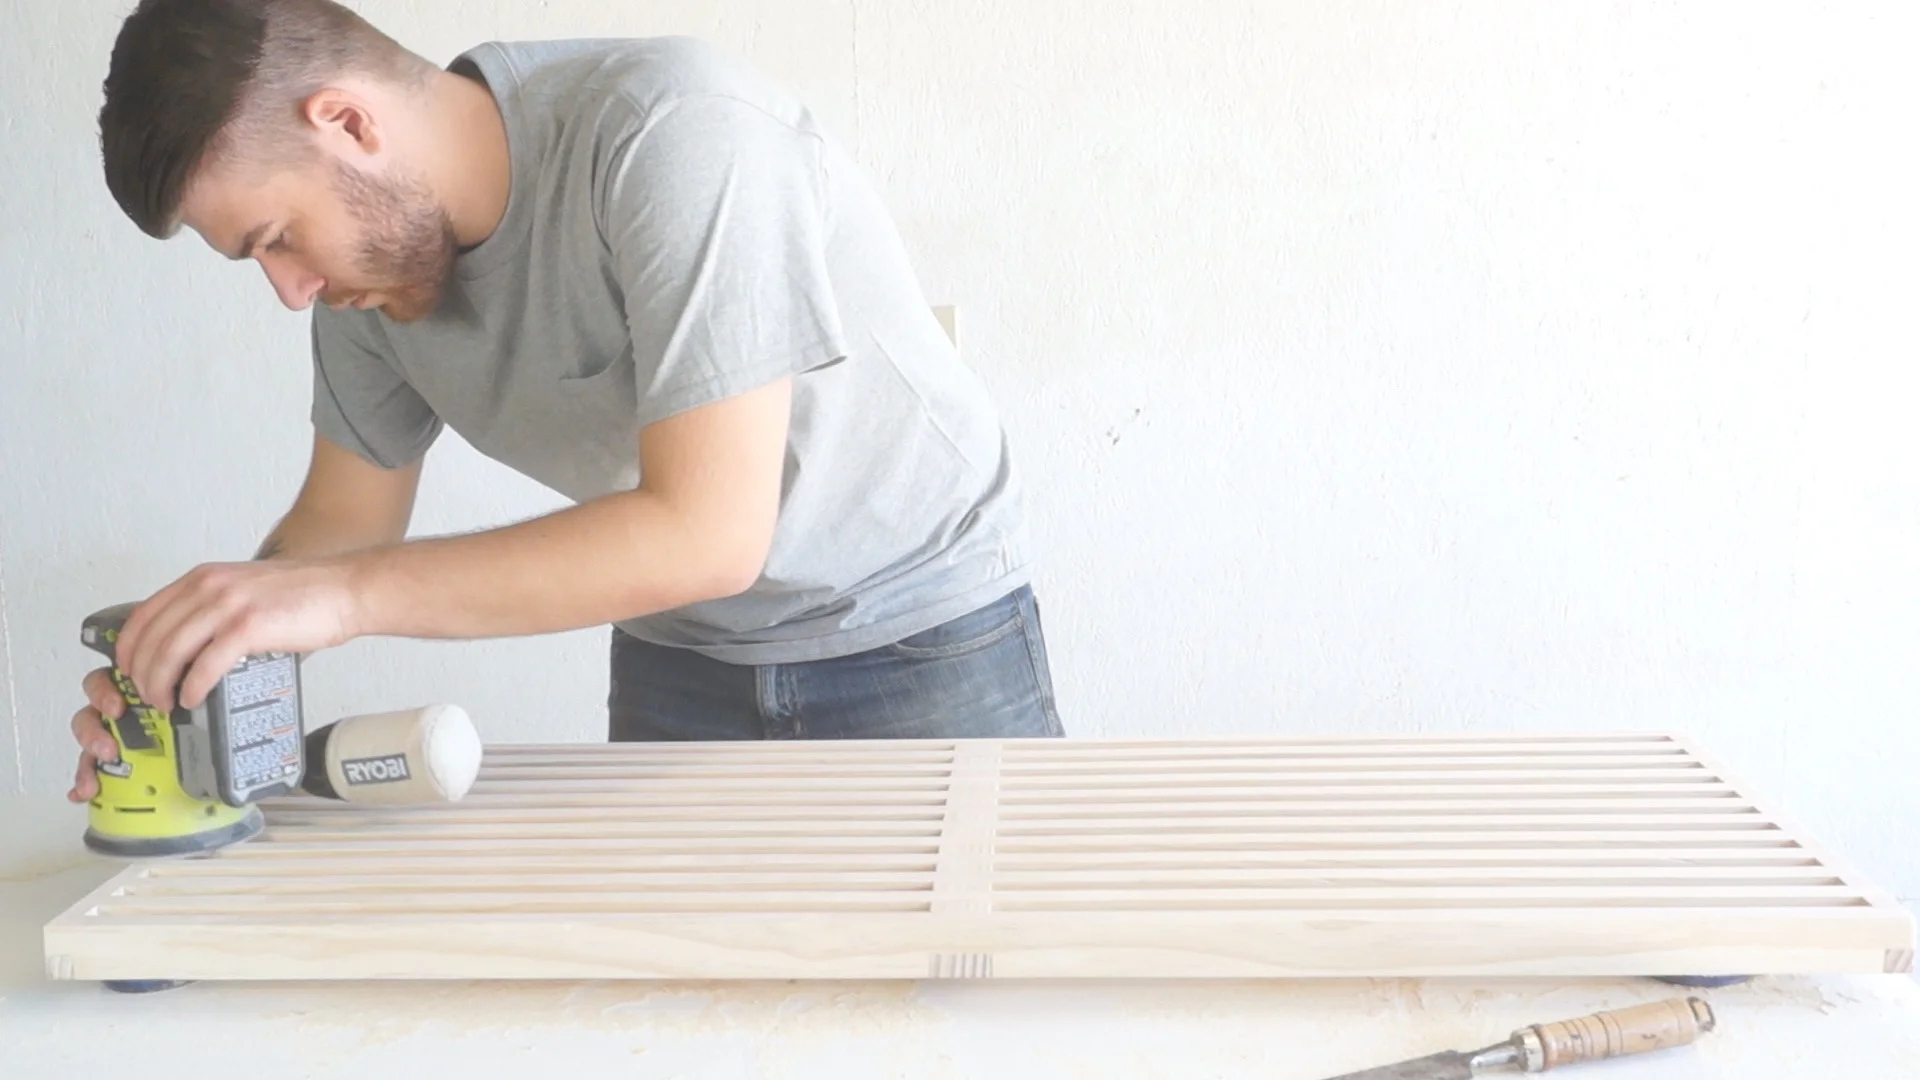
I used a belt sander with 150 grit to clean everything up.

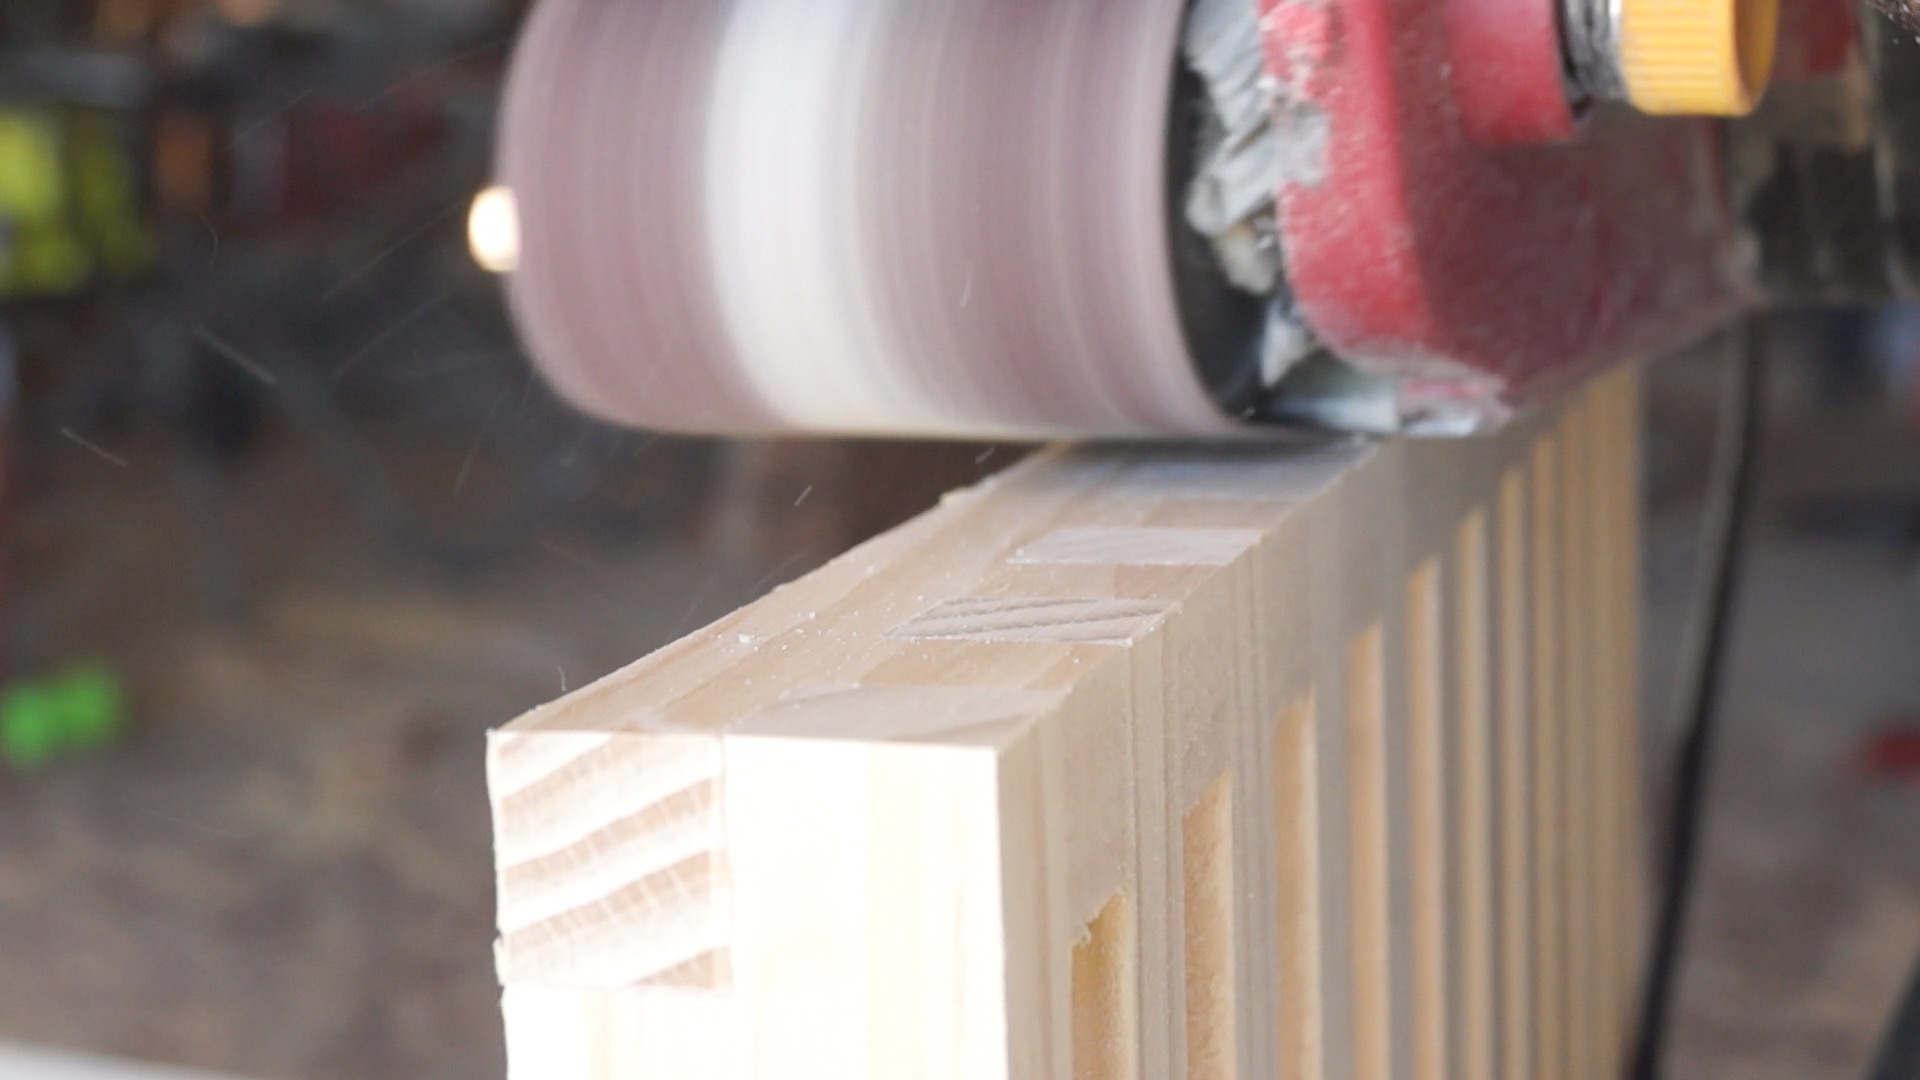
Next, I sanded up to 220 grit and rounded over the edges.
Then, I installed the legs.


To finish the bench, I used a satin wipe-on polyurethane


That's all there is to it! I hope you enjoyed it and go out and make your own. If you do, don't forget to tag me in a picture of it!
MORE COOL PROJECTS


GET IN TOUCH