

EP. 53 DIY round Farmhouse Table
Today on Modern Builds we're making a 6' round farmhouse style dining table using all 2-by and 4-by construction lumber. No complex joinery or special tools required.
MATERIALS AND SUPPLIES:
2x4's (I used 12...I think)
2x10's (I used 4)
4x4's (I used 4 of these too...I think)
Doweling Jig: https://goo.gl/xgrQyE
Pocket Hole Jig: http://amzn.to/2iXbMd9
2.5" Pocket Hole Screws: http://amzn.to/2jhIIAu
Minwax Pre-Stain: http://amzn.to/2hWVN21
Minwax Special Walnut Stain: http://amzn.to/2iKTL25
Minwax Satin Polycrylic: http://amzn.to/2iOTNbD
Wood Glue: http://amzn.to/2g15HKD
Leveling Felt pads: From Home Depot.
Octagon Calculator: http://www.had2know.com/academics/octagon-measurement-calculator.html
To find the length of each octagon, simply enter the value for the diameter of your interior circle in the variable "D" and click "compute". The results for "S" will determine the inside length of each piece of the octagon.
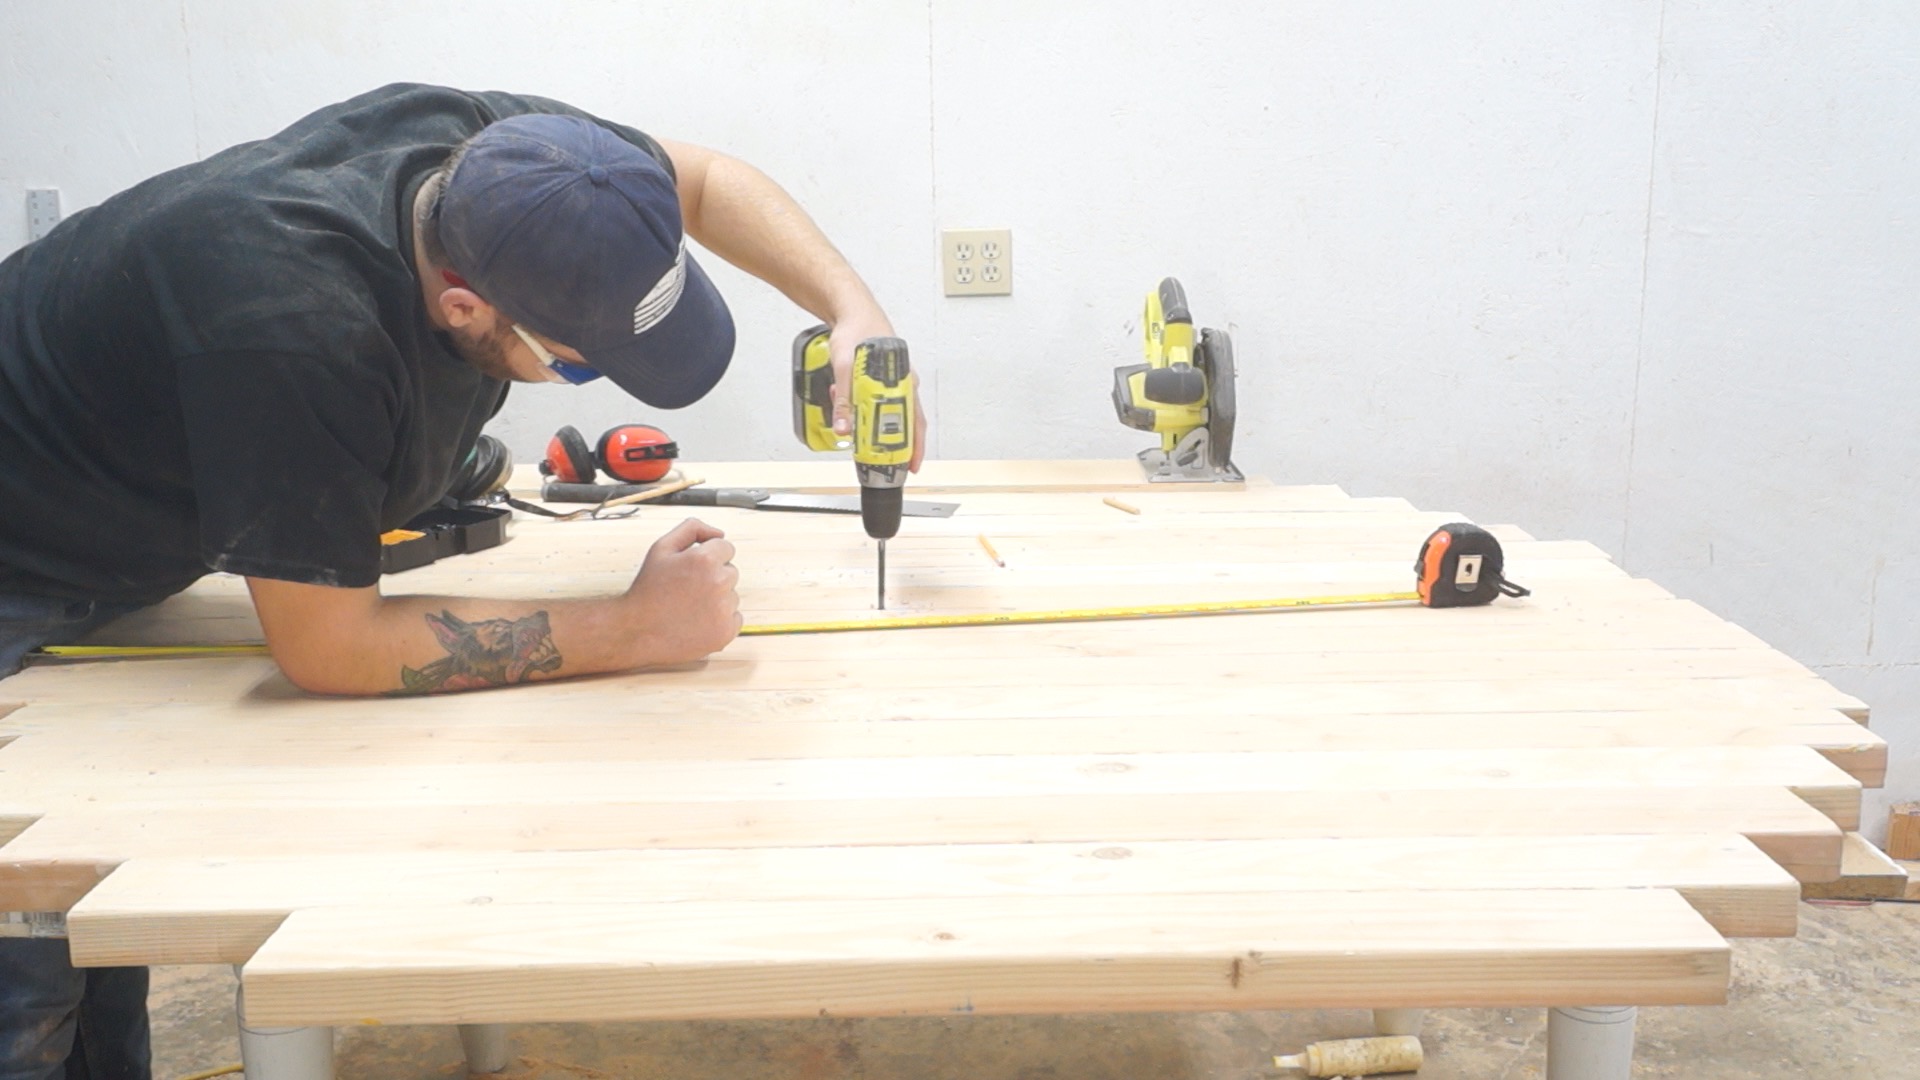
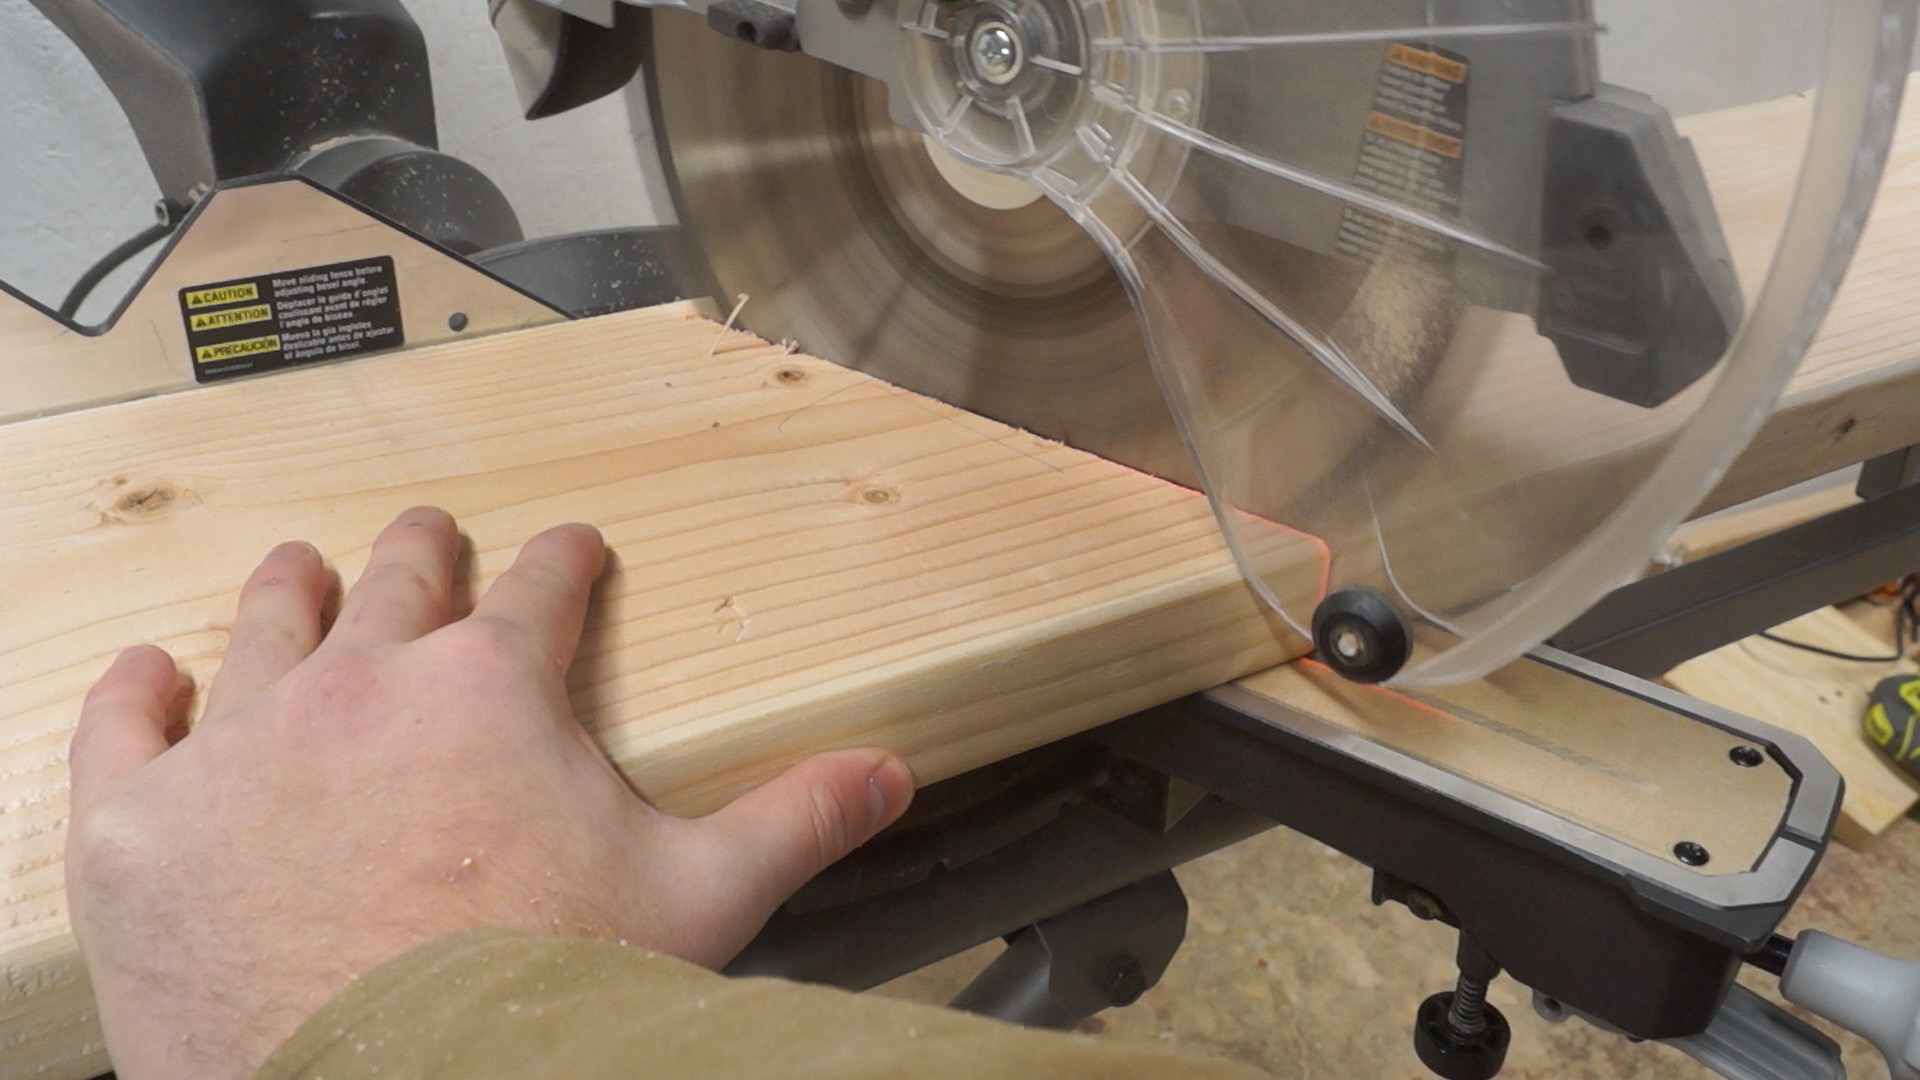
STEP ONE: CUT THE 2X4'S
I started by cutting the 2x4's to lenghth to fit a 6' circle

STEP TWO: GLUE UP THE INNER CIRCLE
For extra strength as well as to help line everything up, I used dowels when I glued everything up.


I glued up the table top in quarters, then halves and then as a whole to make sure I had time to make everything really flat and lined up before the glued dried.


STEP THREE: SAND IT FLAT
Once the glue had set, I used a belt sander to flatten everything.

STEP FOUR: CUT THE INNER CIRCLE
To cut the circle, I attached my circular saw to a scrap piece of plywood. Then I drilled a hole that would fit a dowel the distance from the blade I wanted the radius of the circle to be.


I drilled a hole in the center of the bottom of the table top to match.
Next, I inserted the dowel and could start cutting about a 1/16" at a time. To speed things up, I used a jigsaw to cut the excess wood off so that I could take deeper cuts with the circular saw.
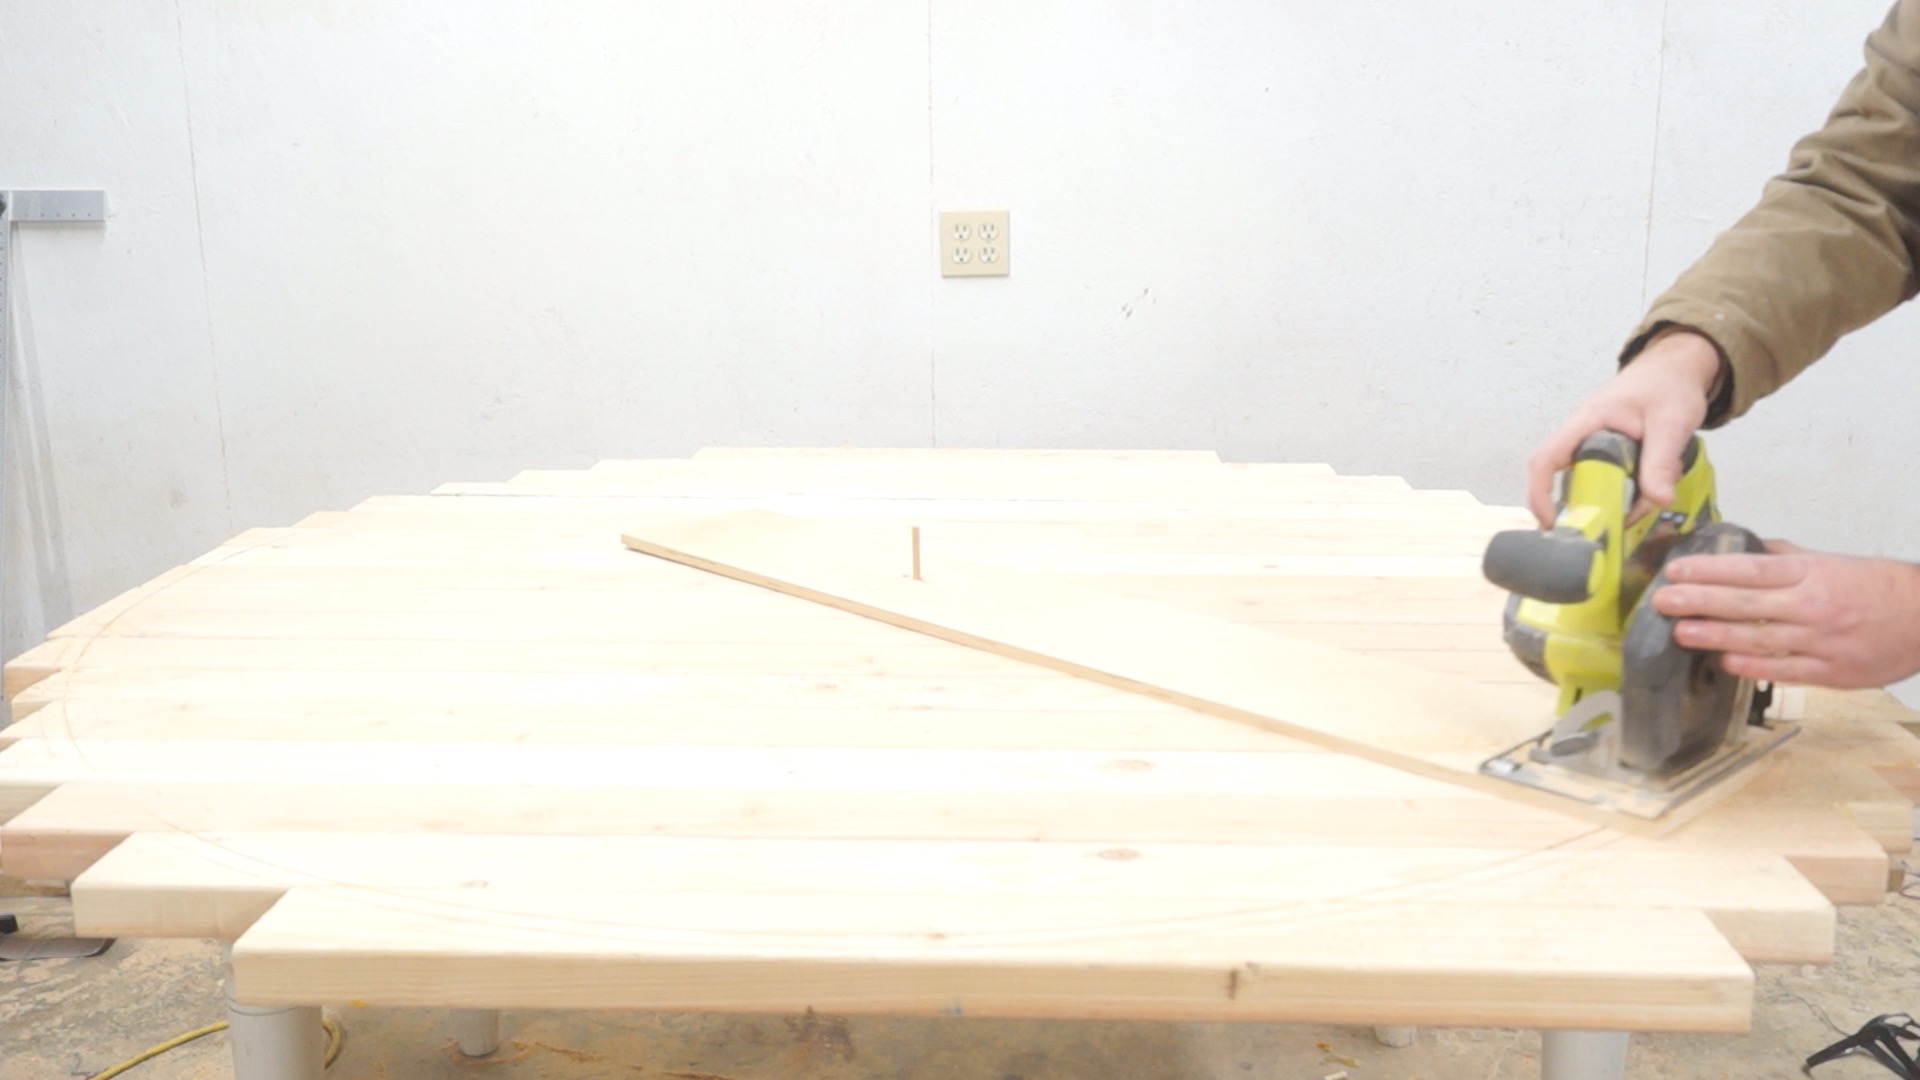
STEP FIVE: CUT THE OCTAGON
I used the calculator mentioned at the beginning of the article to find the measurements for the octagon border and then cut them on the circular saw with a stop block.
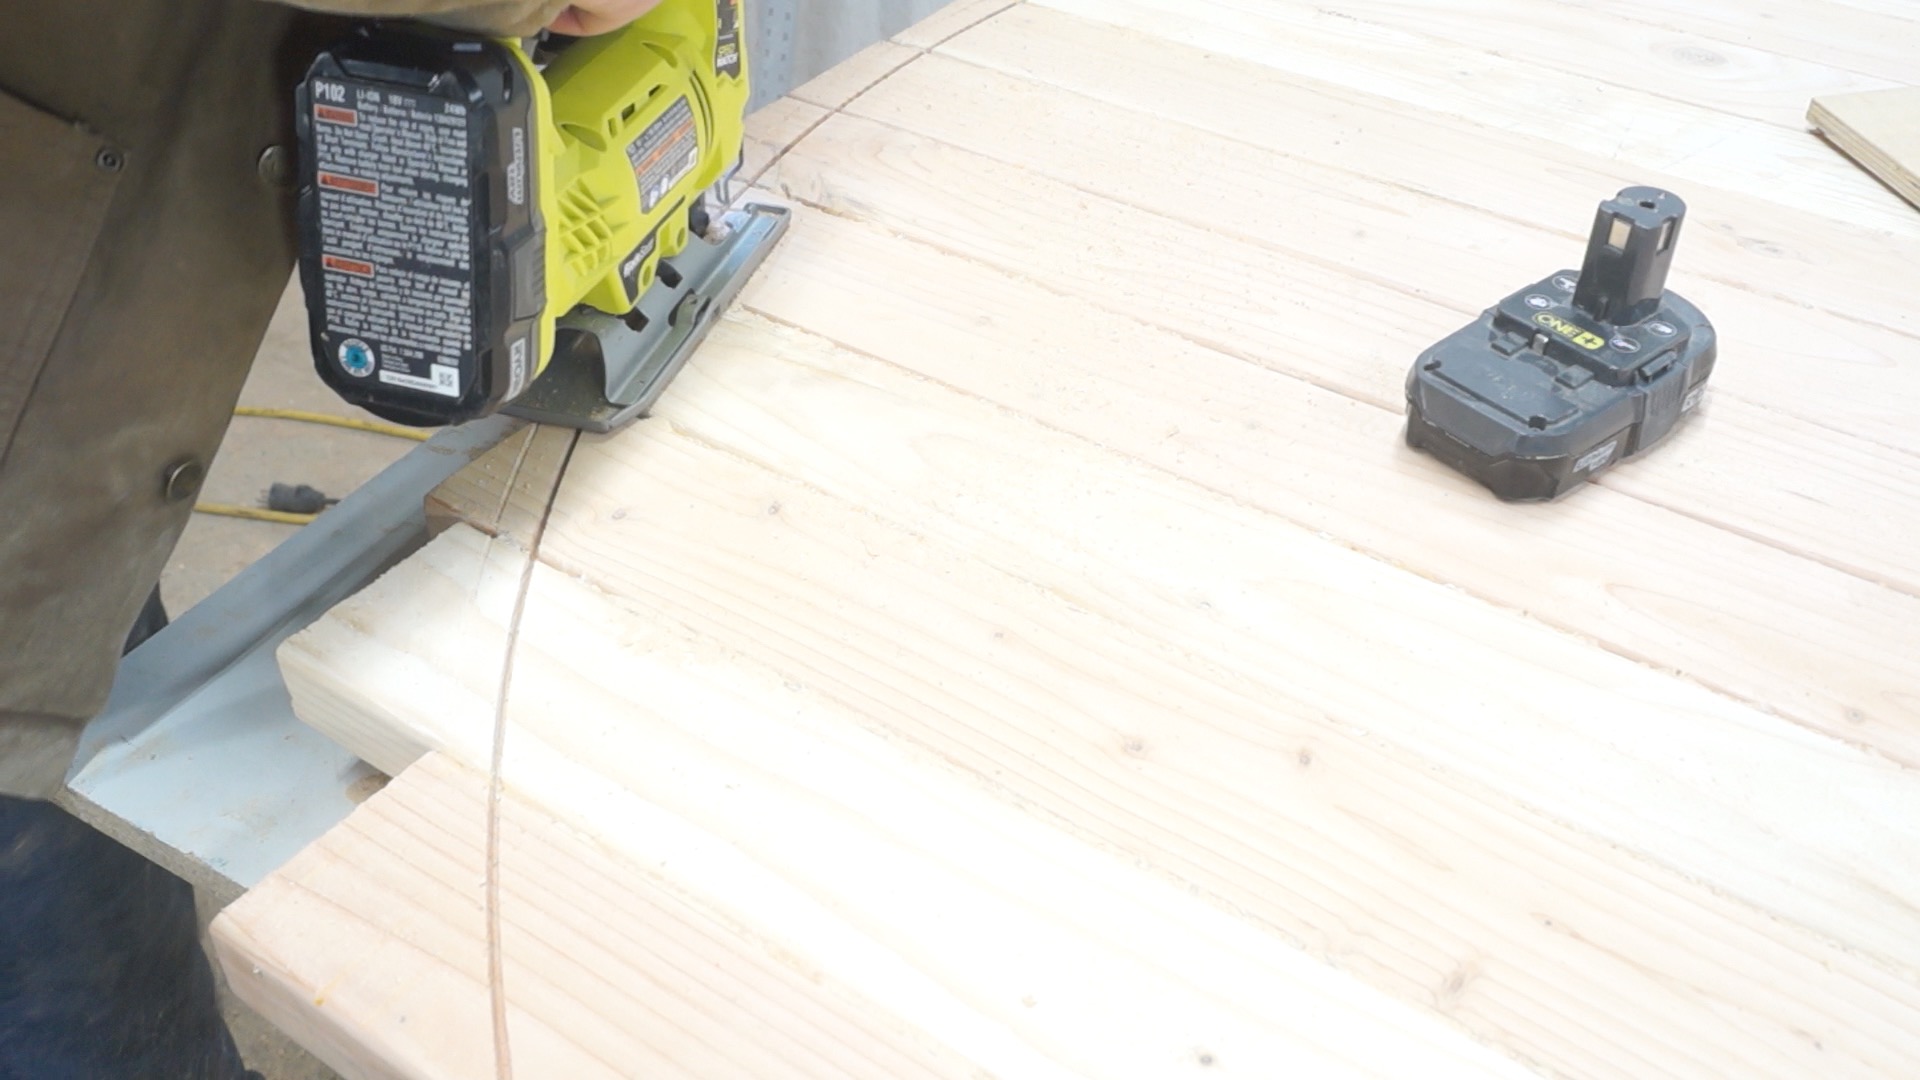
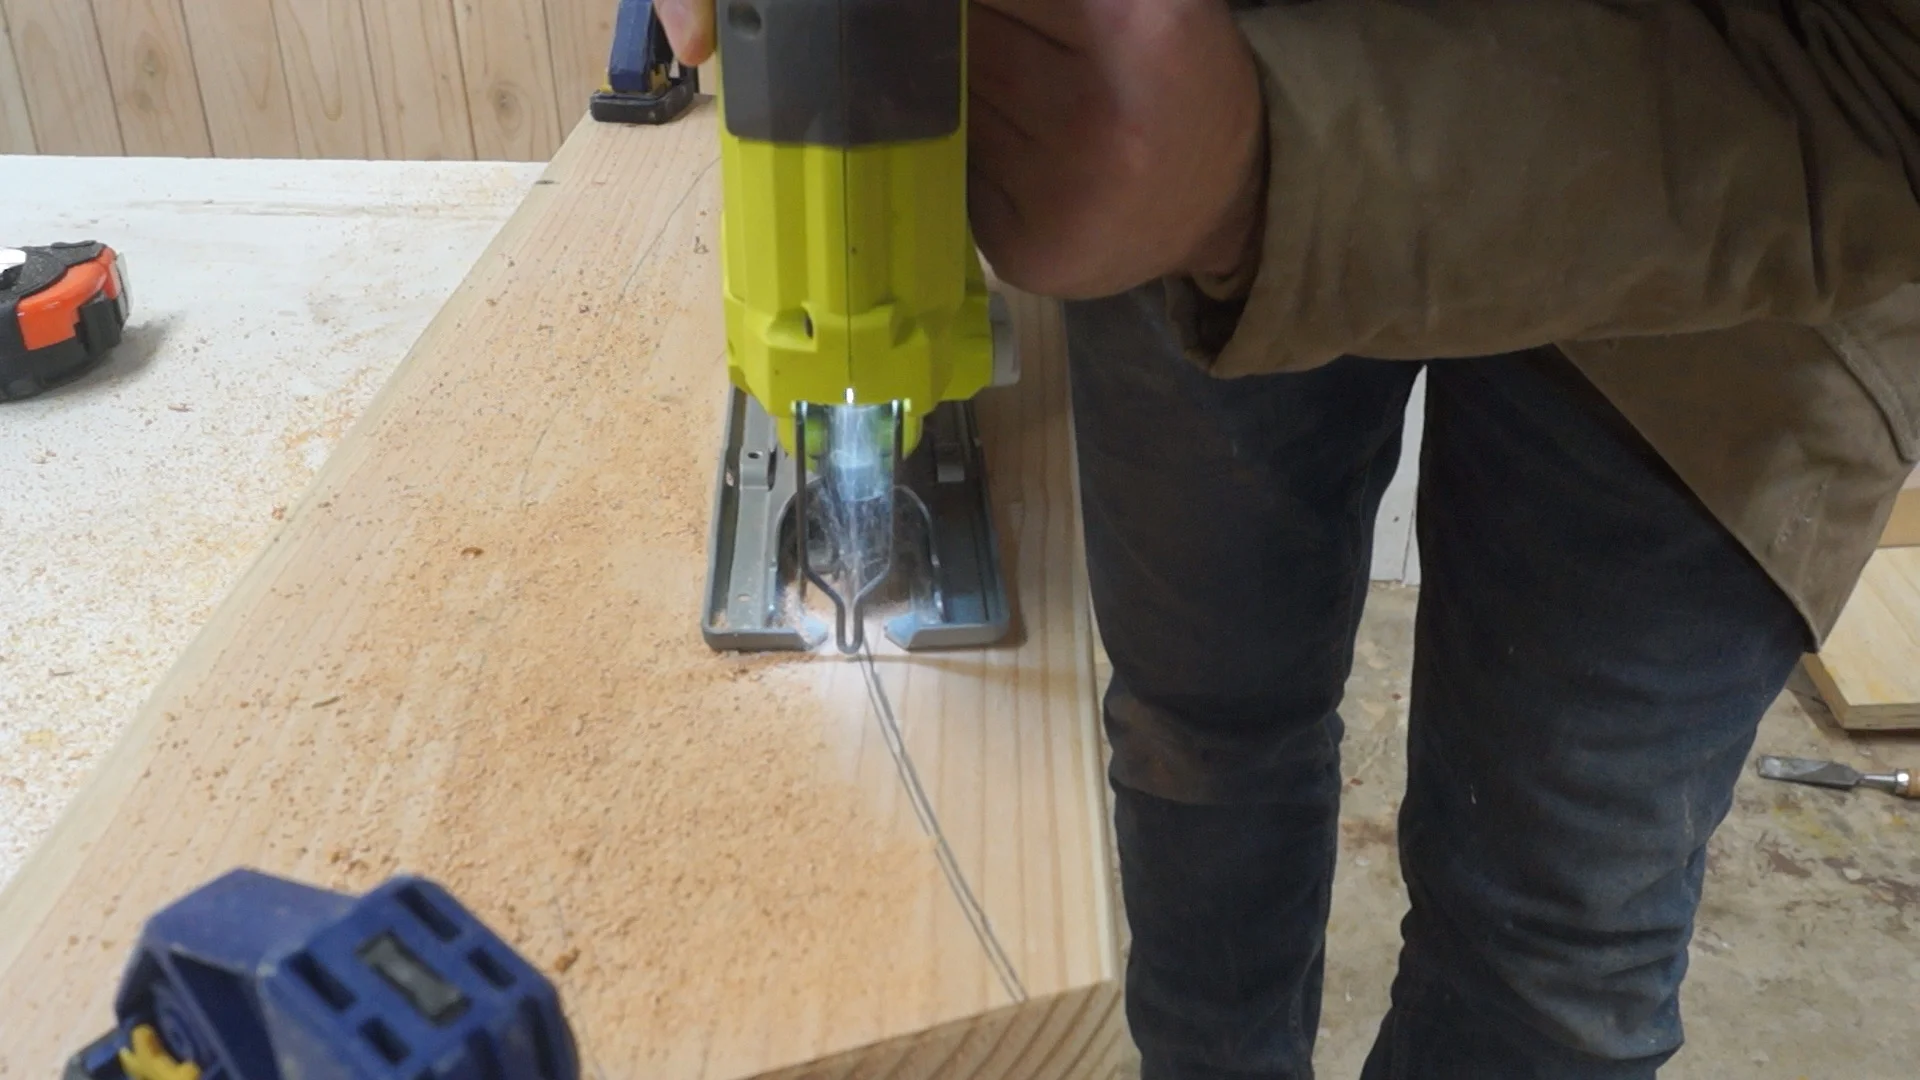
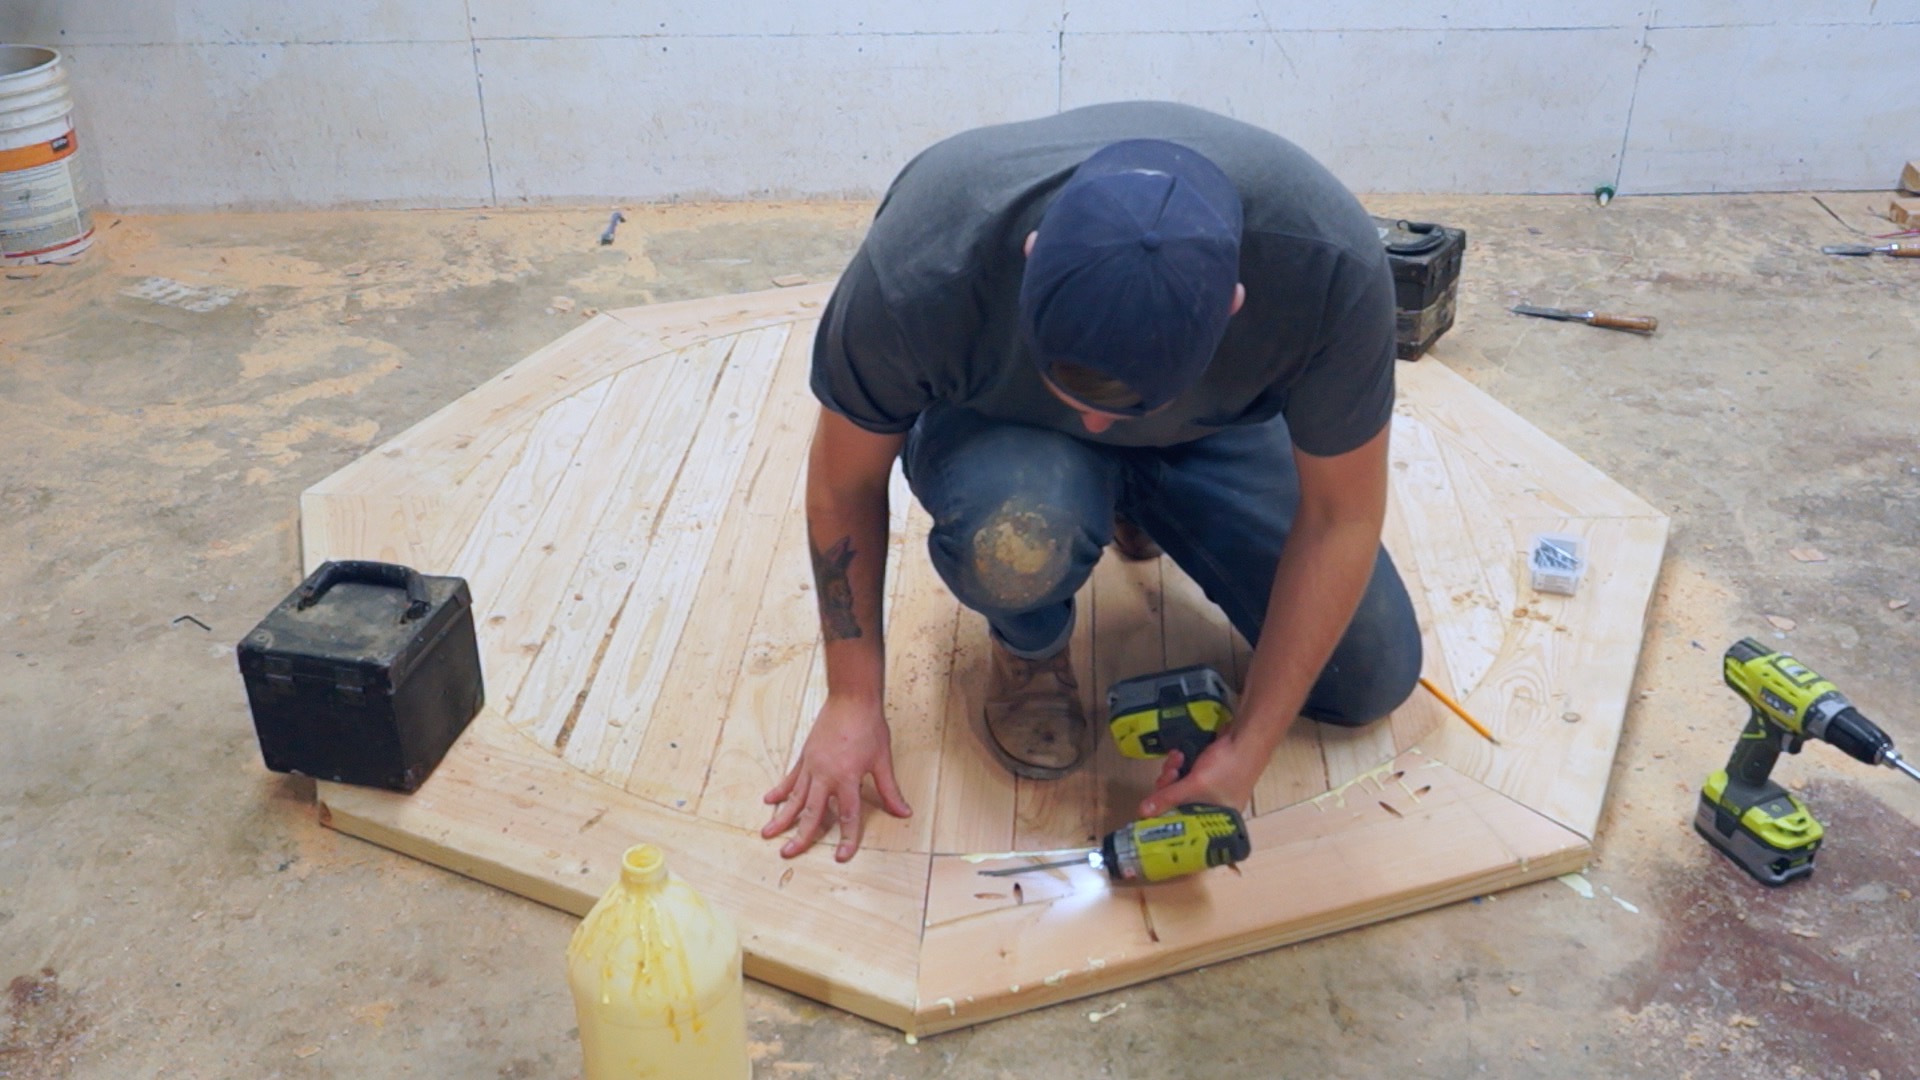
STEP SIX: CUT THE INSIDE RADIUS
With all the pieces cut, I taped up the octagon and traced the outline of the inner circle on the octagon along with some reference points. Then I could cut the inside radus with the jisaw and smooth it out with a drum sander attachment for my drill press.

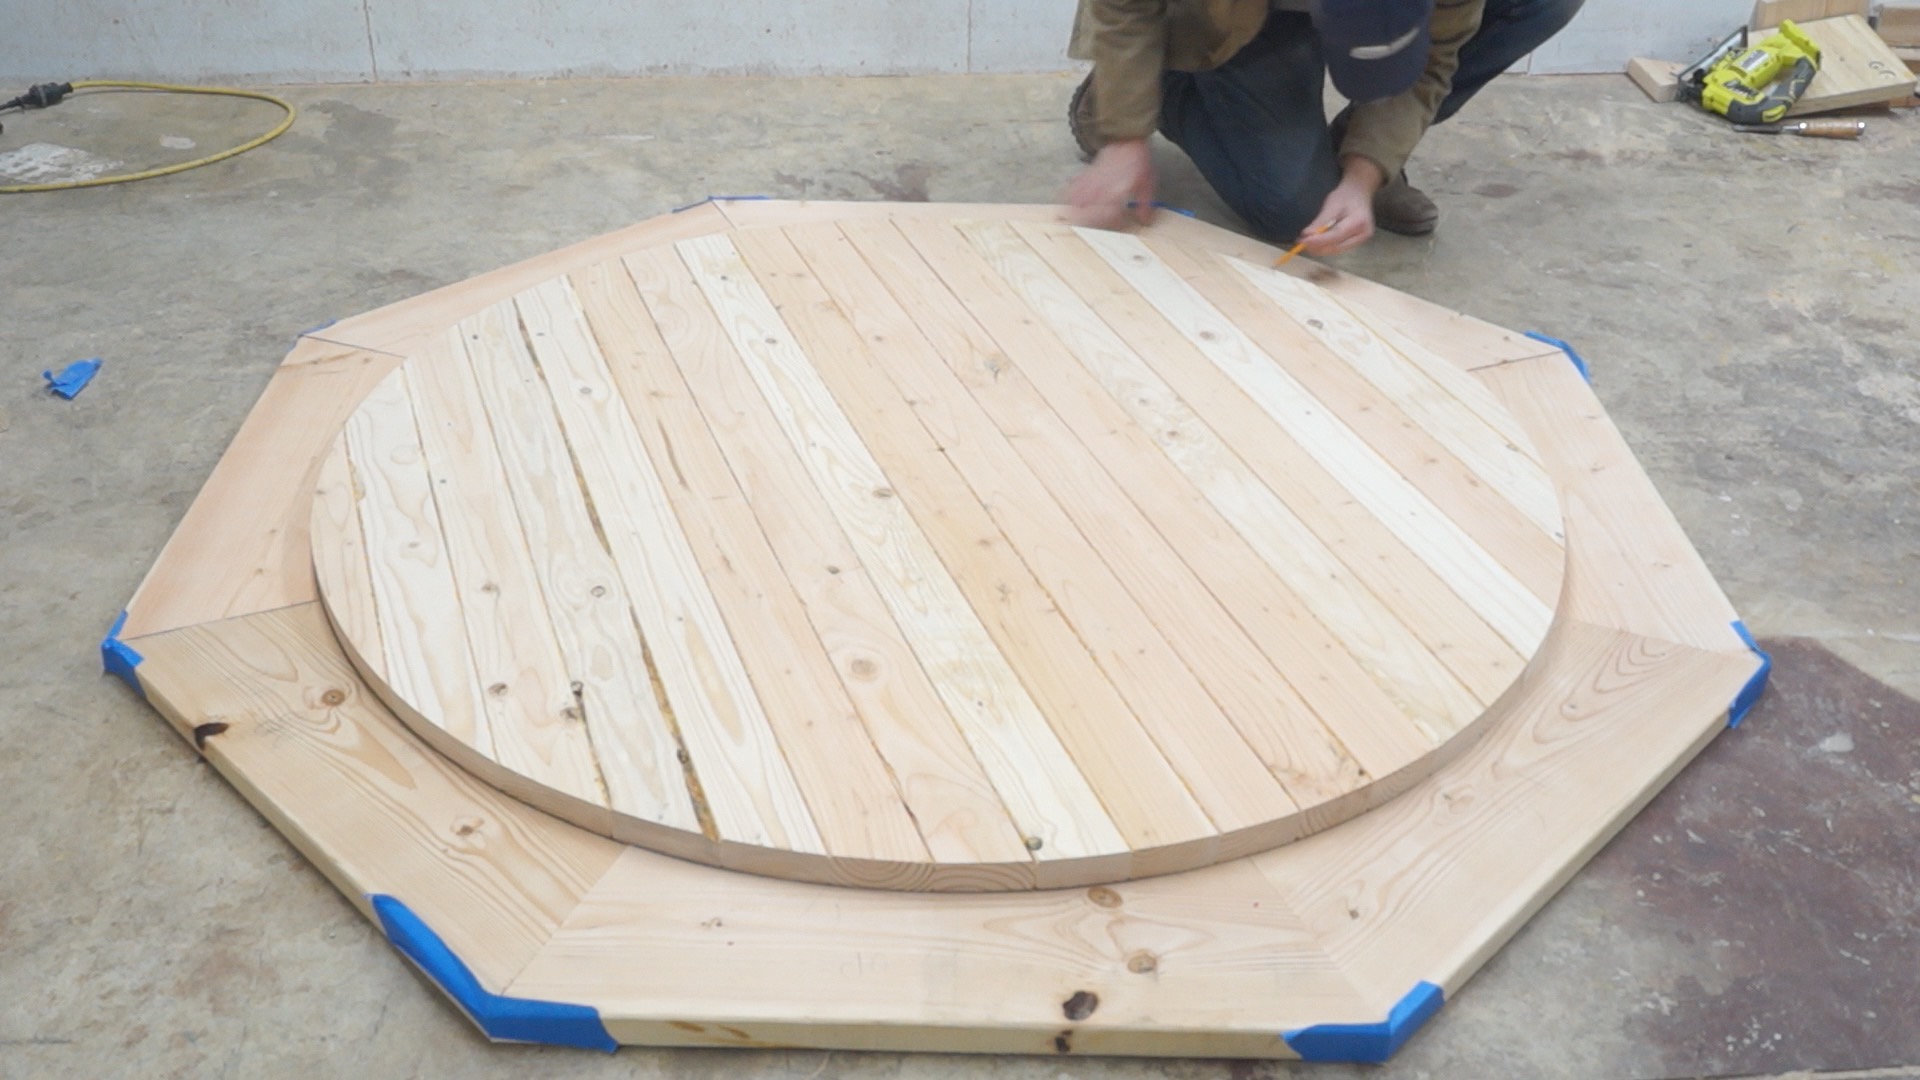

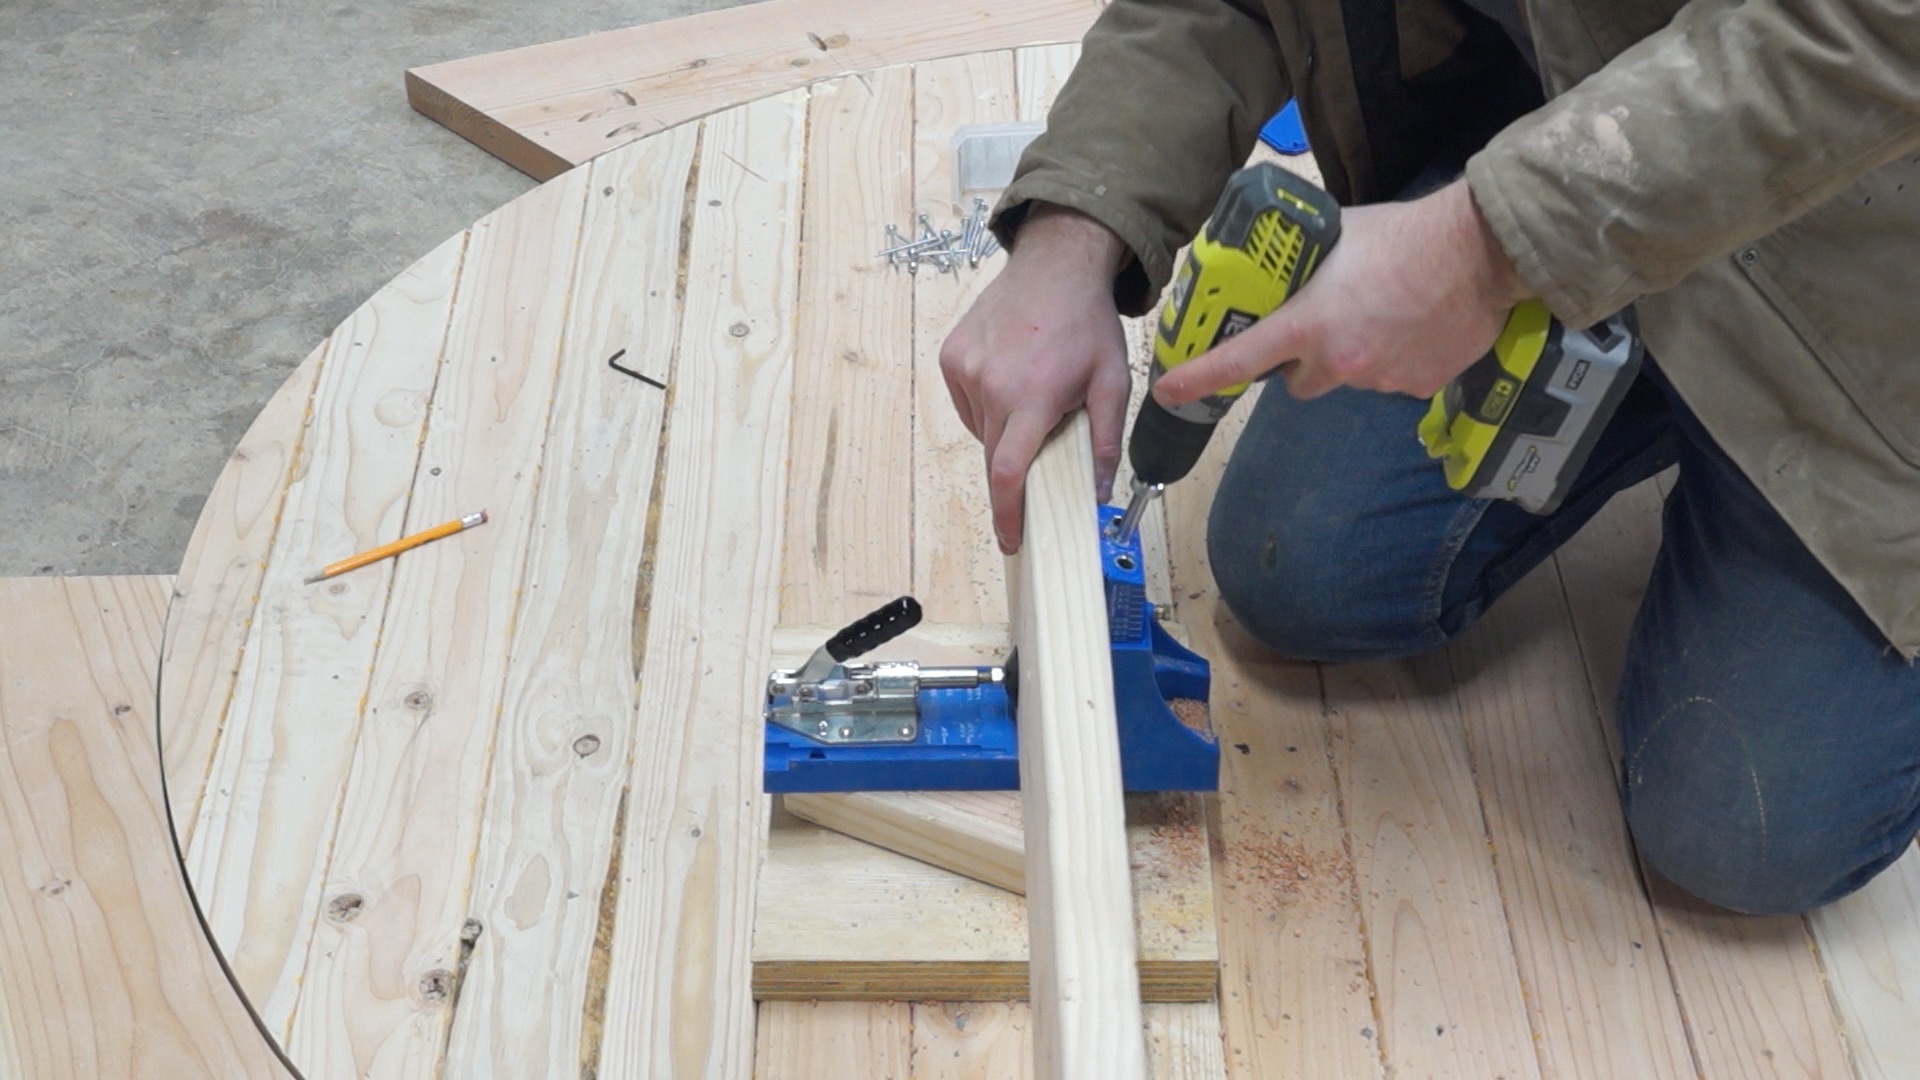
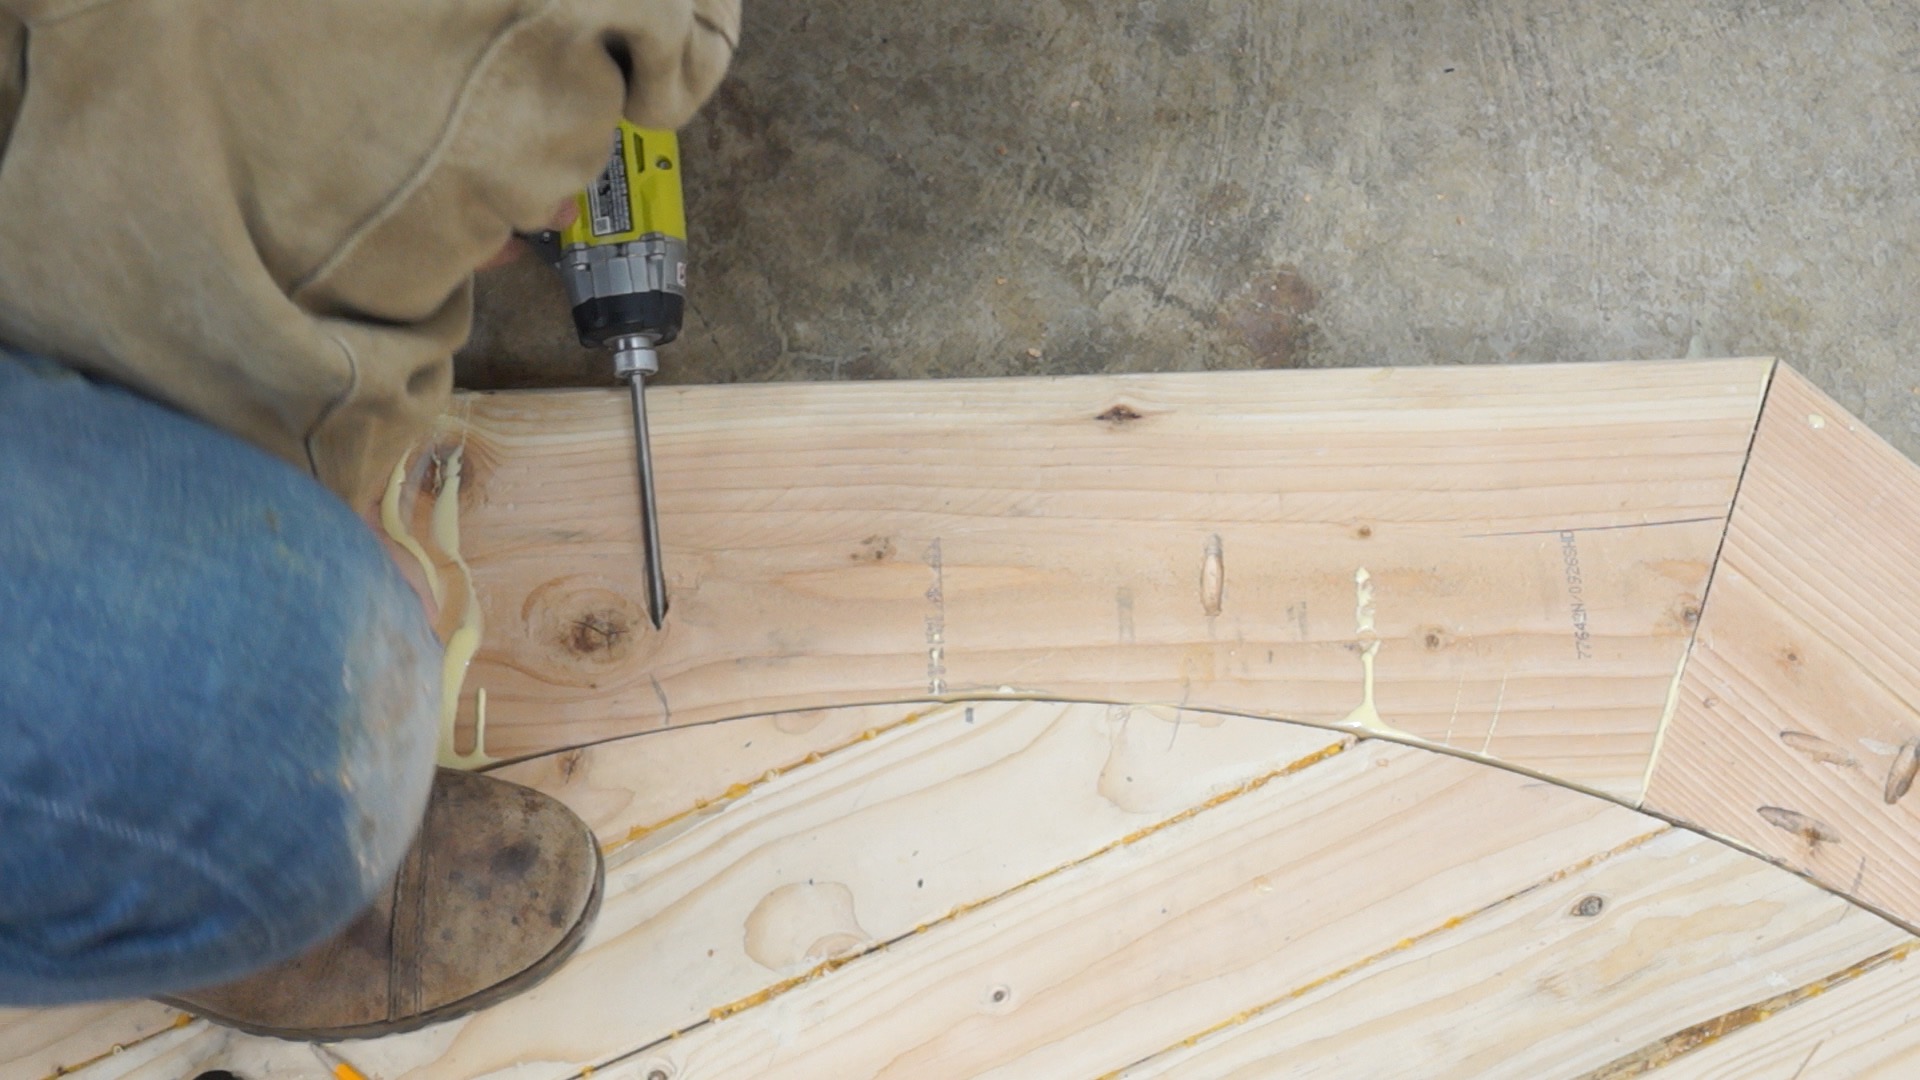
STEP SEVEN: ATTACH THE OCTAGON
I used pocket hole screws glue to attach the octagon to the inner circle.
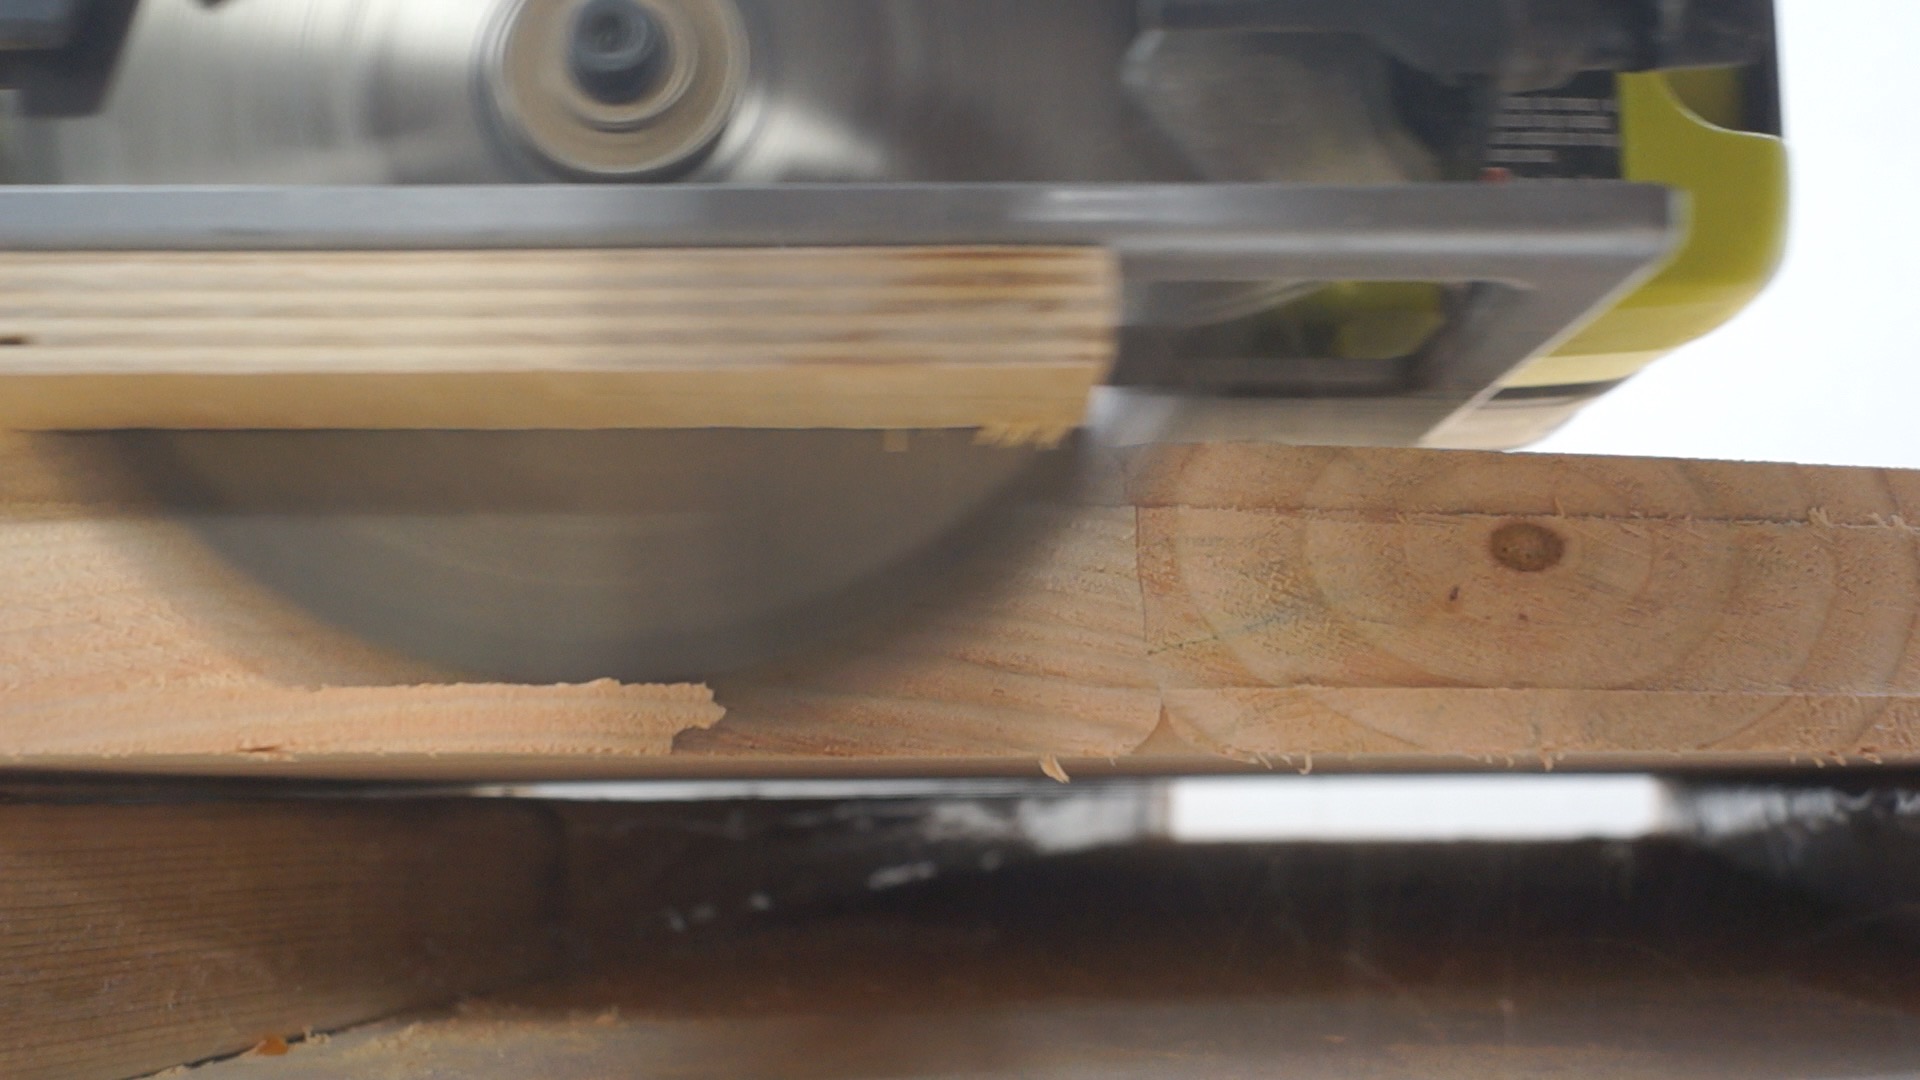
STEP EIGHT: CUT THE OUTER CIRCLE
This time, I used a router to cut the circle. I used the same technique as the circular saw.

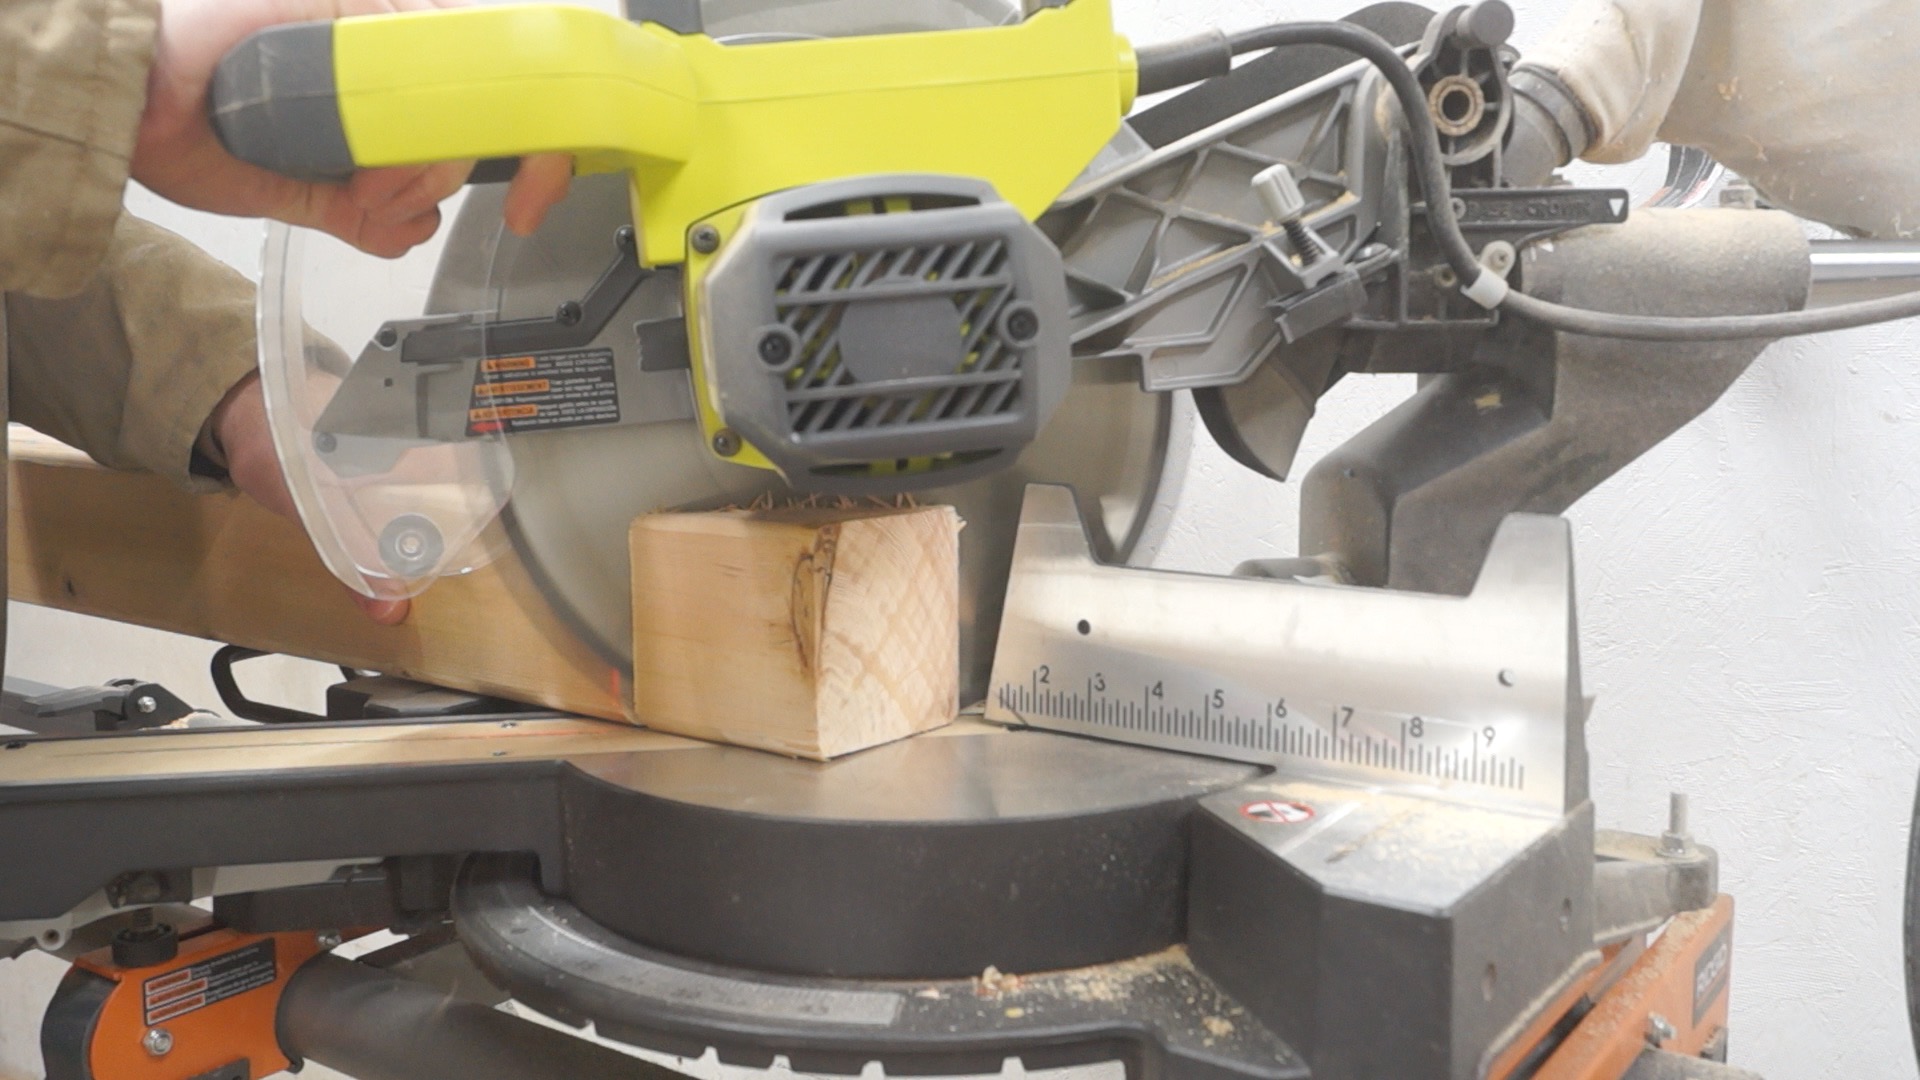
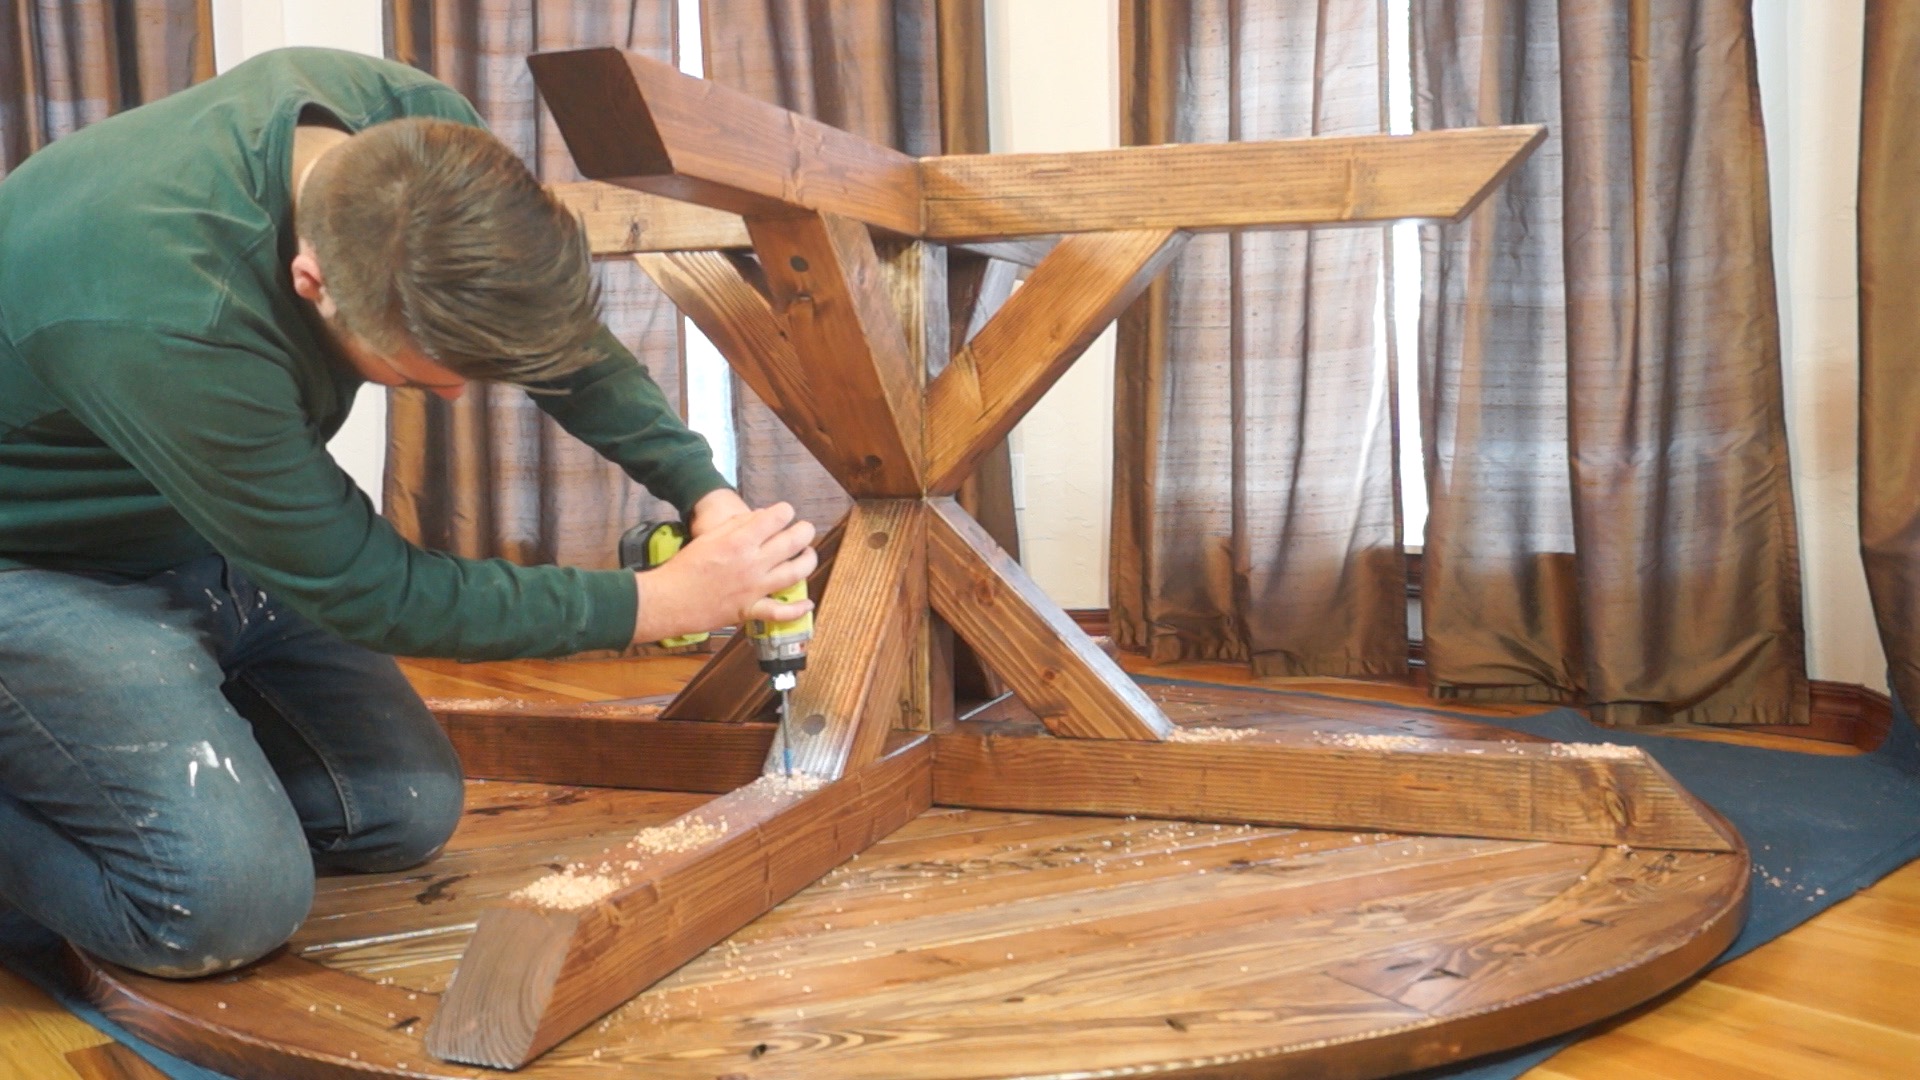
STEP NINE: MAKE THE X BRACES
I cut the 4x4's for the top and bottom x-braces on the miter saw and attached each piece using half lap joints. The video goes into this in detail.


STEP TEN: ATTACH CENTER BEAM AND CORNER BRACES.
I added a 1.25" dowel to the center beam to increase the strength.

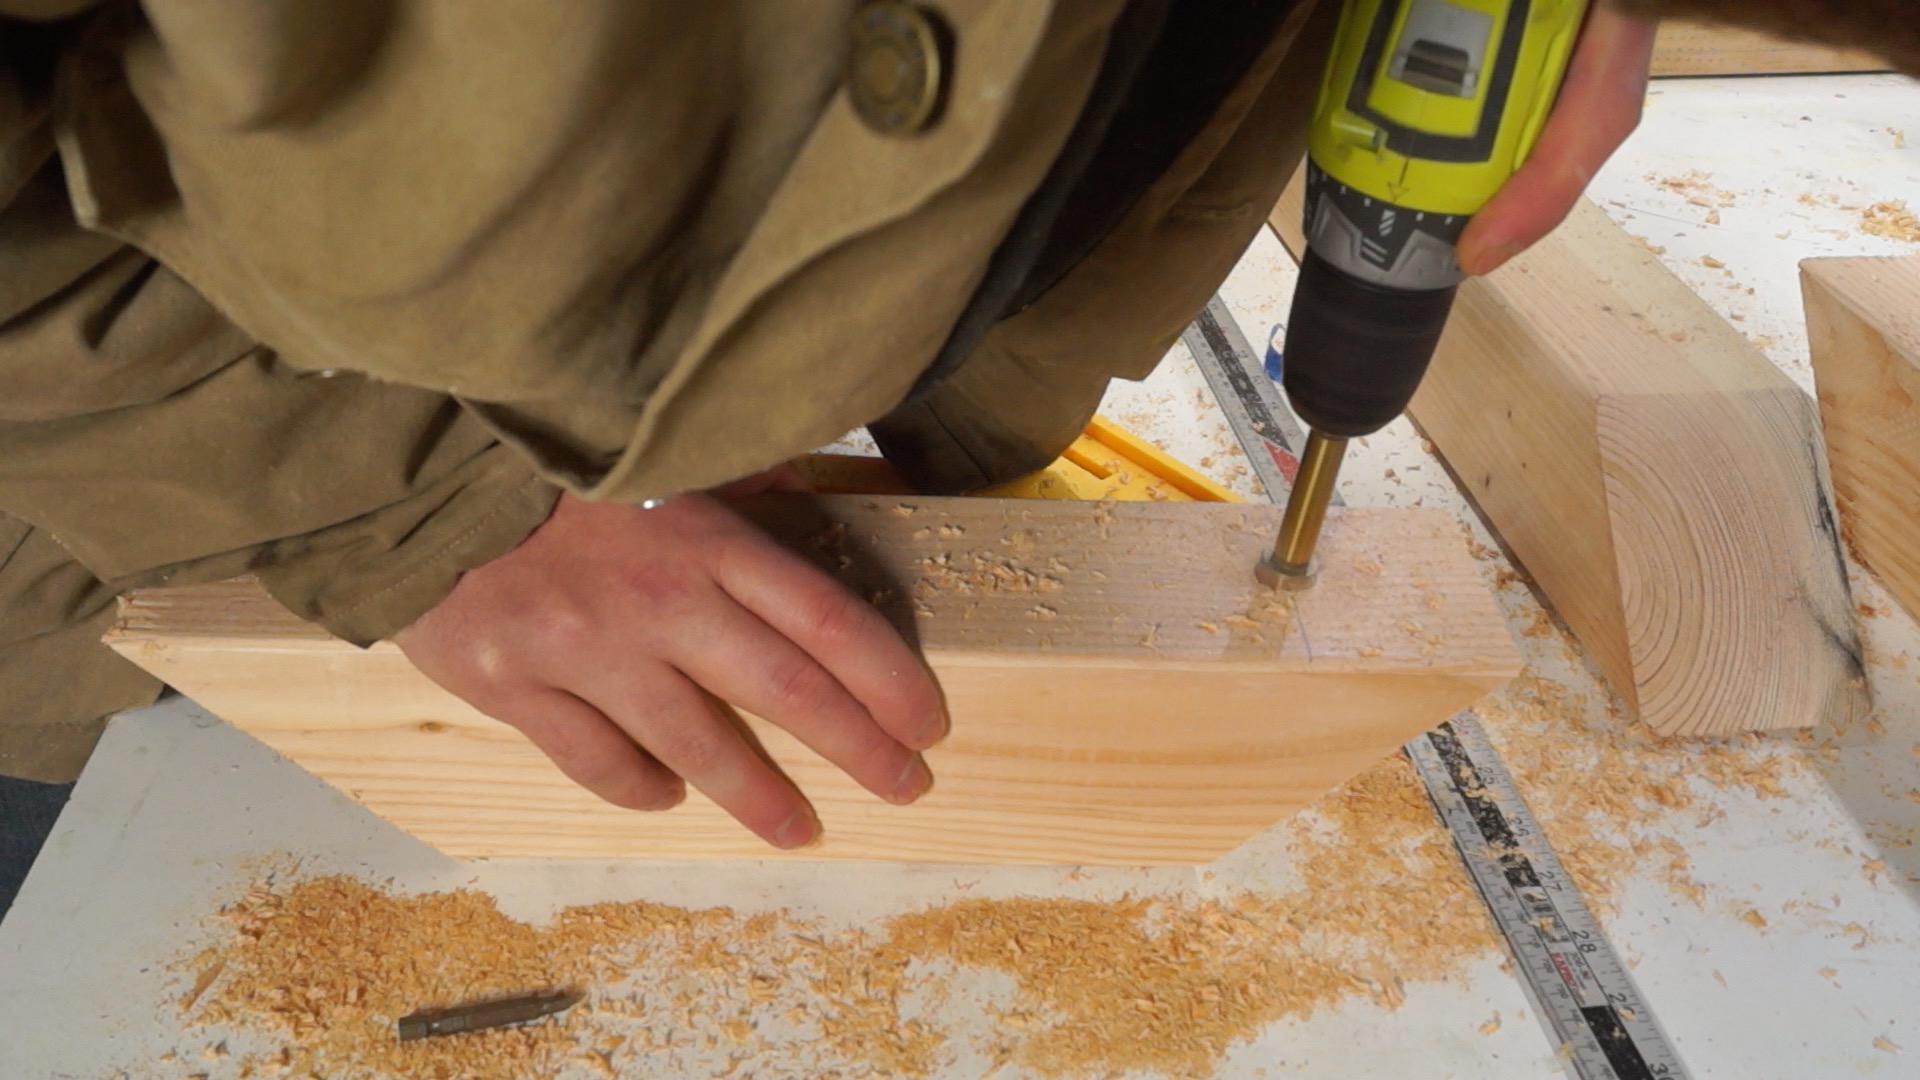

I recessed the screw inside of a 3/4" hole for and plugged it up with a 3/4" dowel and cut it flush with a flush trim saw.


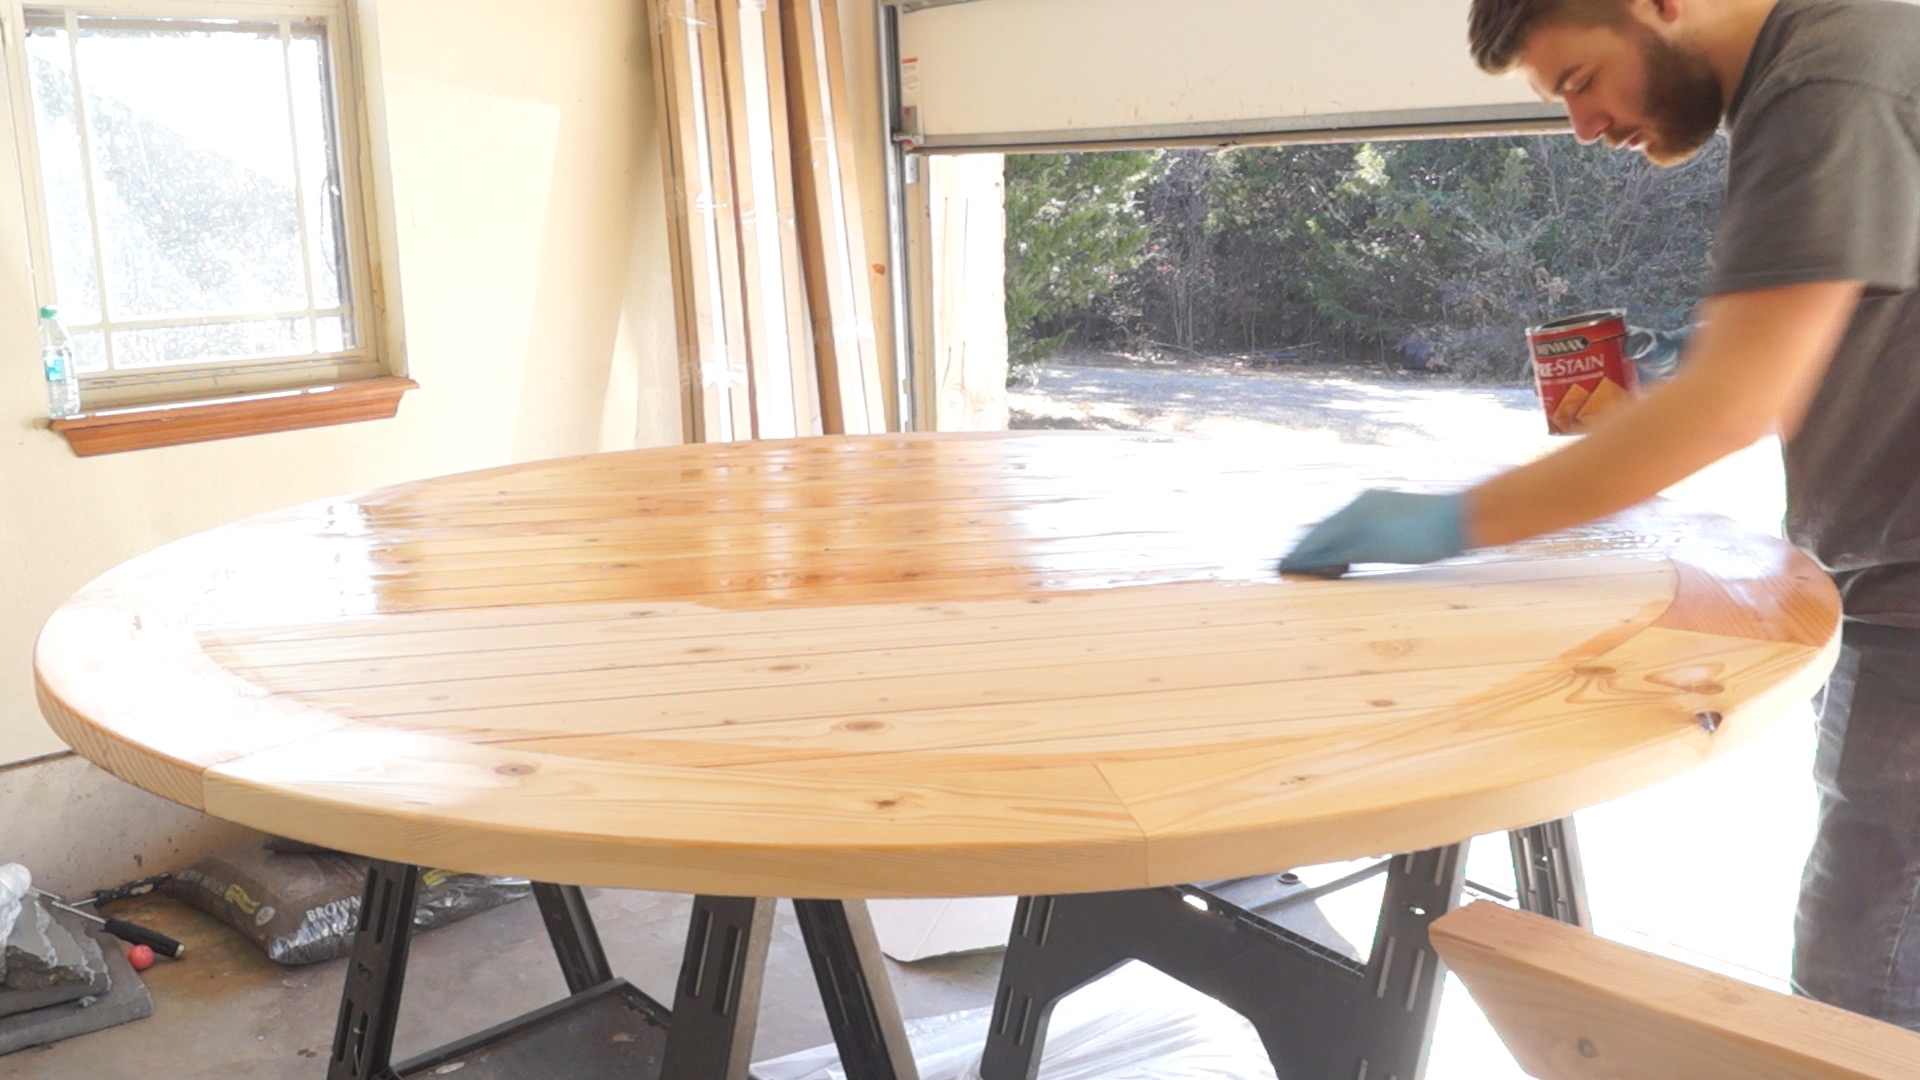
STEP ELEVEN: STAIN AND FINISH
Next I put on the wood conditioner, stain, and finish.


STEP TWELVE: PUT IT ALL TOGETHER
Next, I attached the base to the table top. I also installed some leveling feet to make sure everything was good and level.


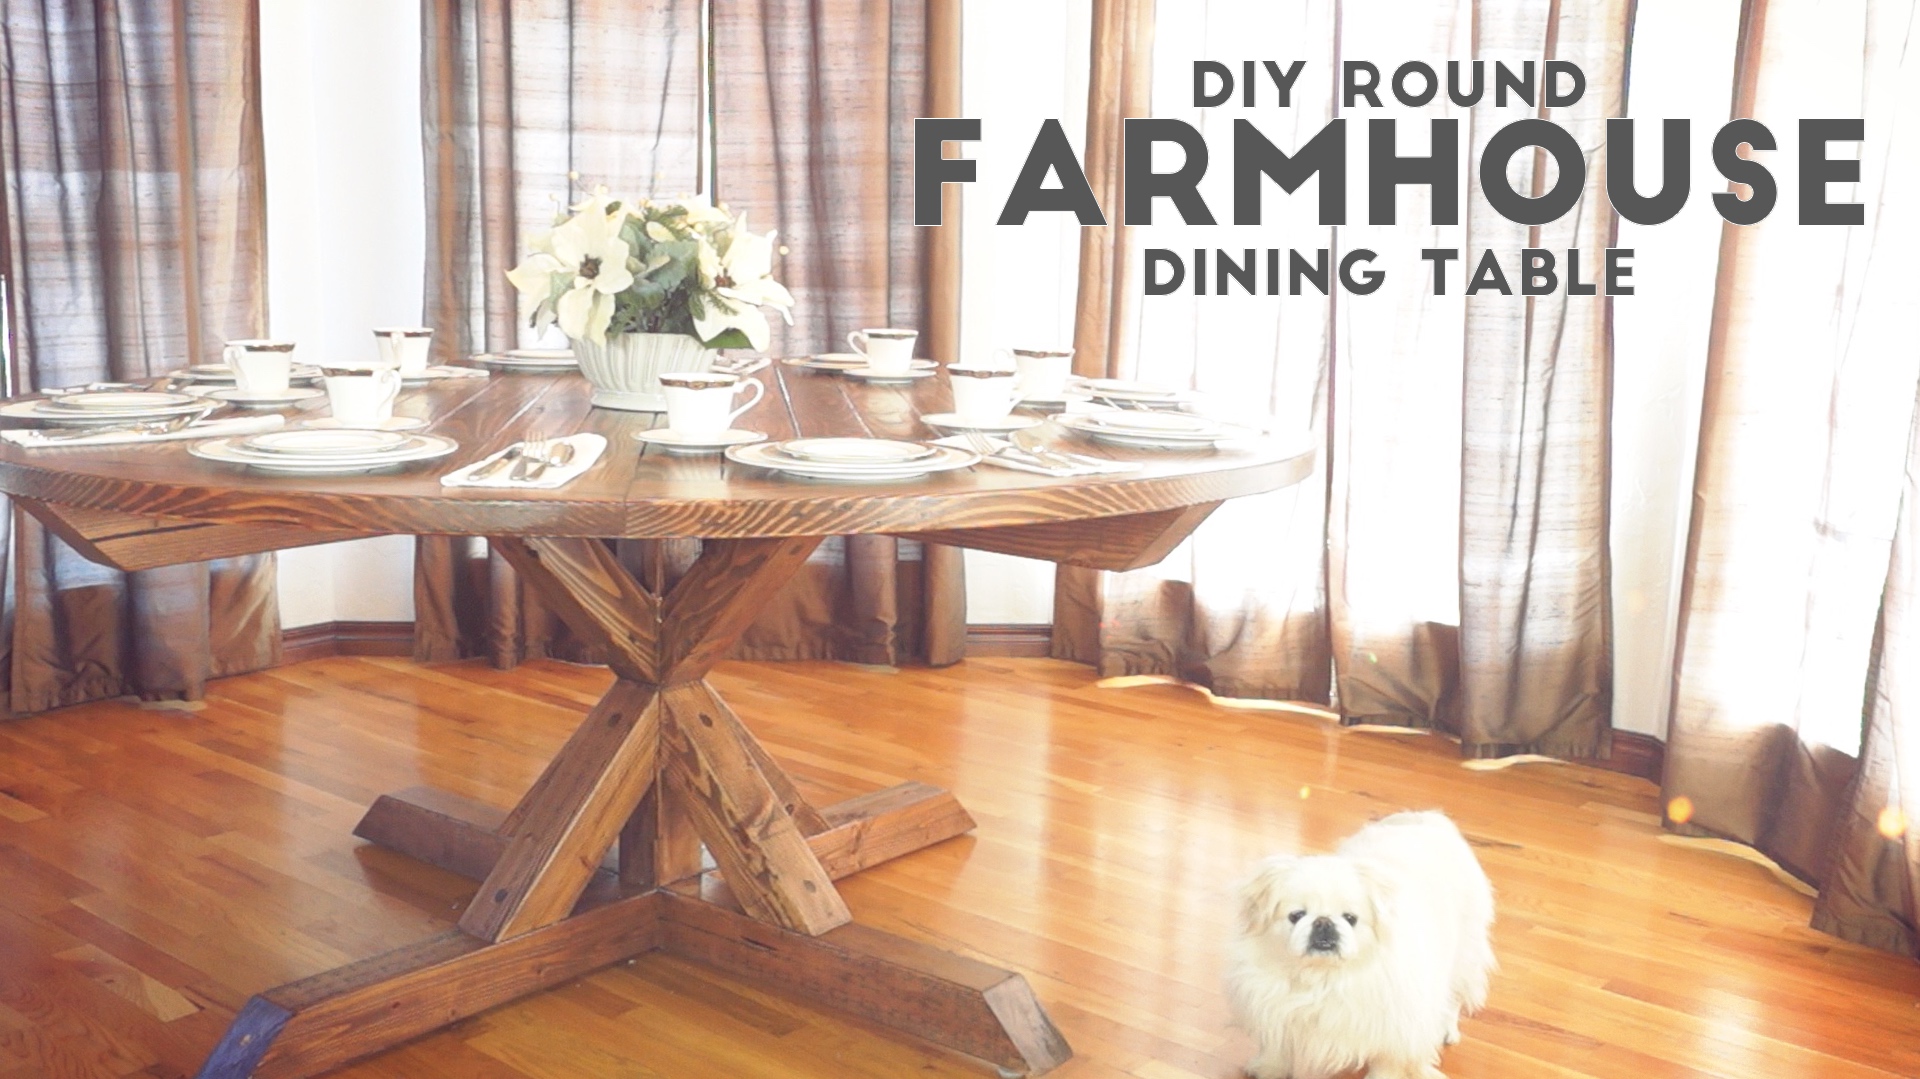
That's all there is to it! I hope you enjoyed it and go out and make your own. If you do, don't forget to tag me in a picture of it!
MORE COOL PROJECTS

GET IN TOUCH