diy Hairpin legs
modern builds: s.02 Ep.11
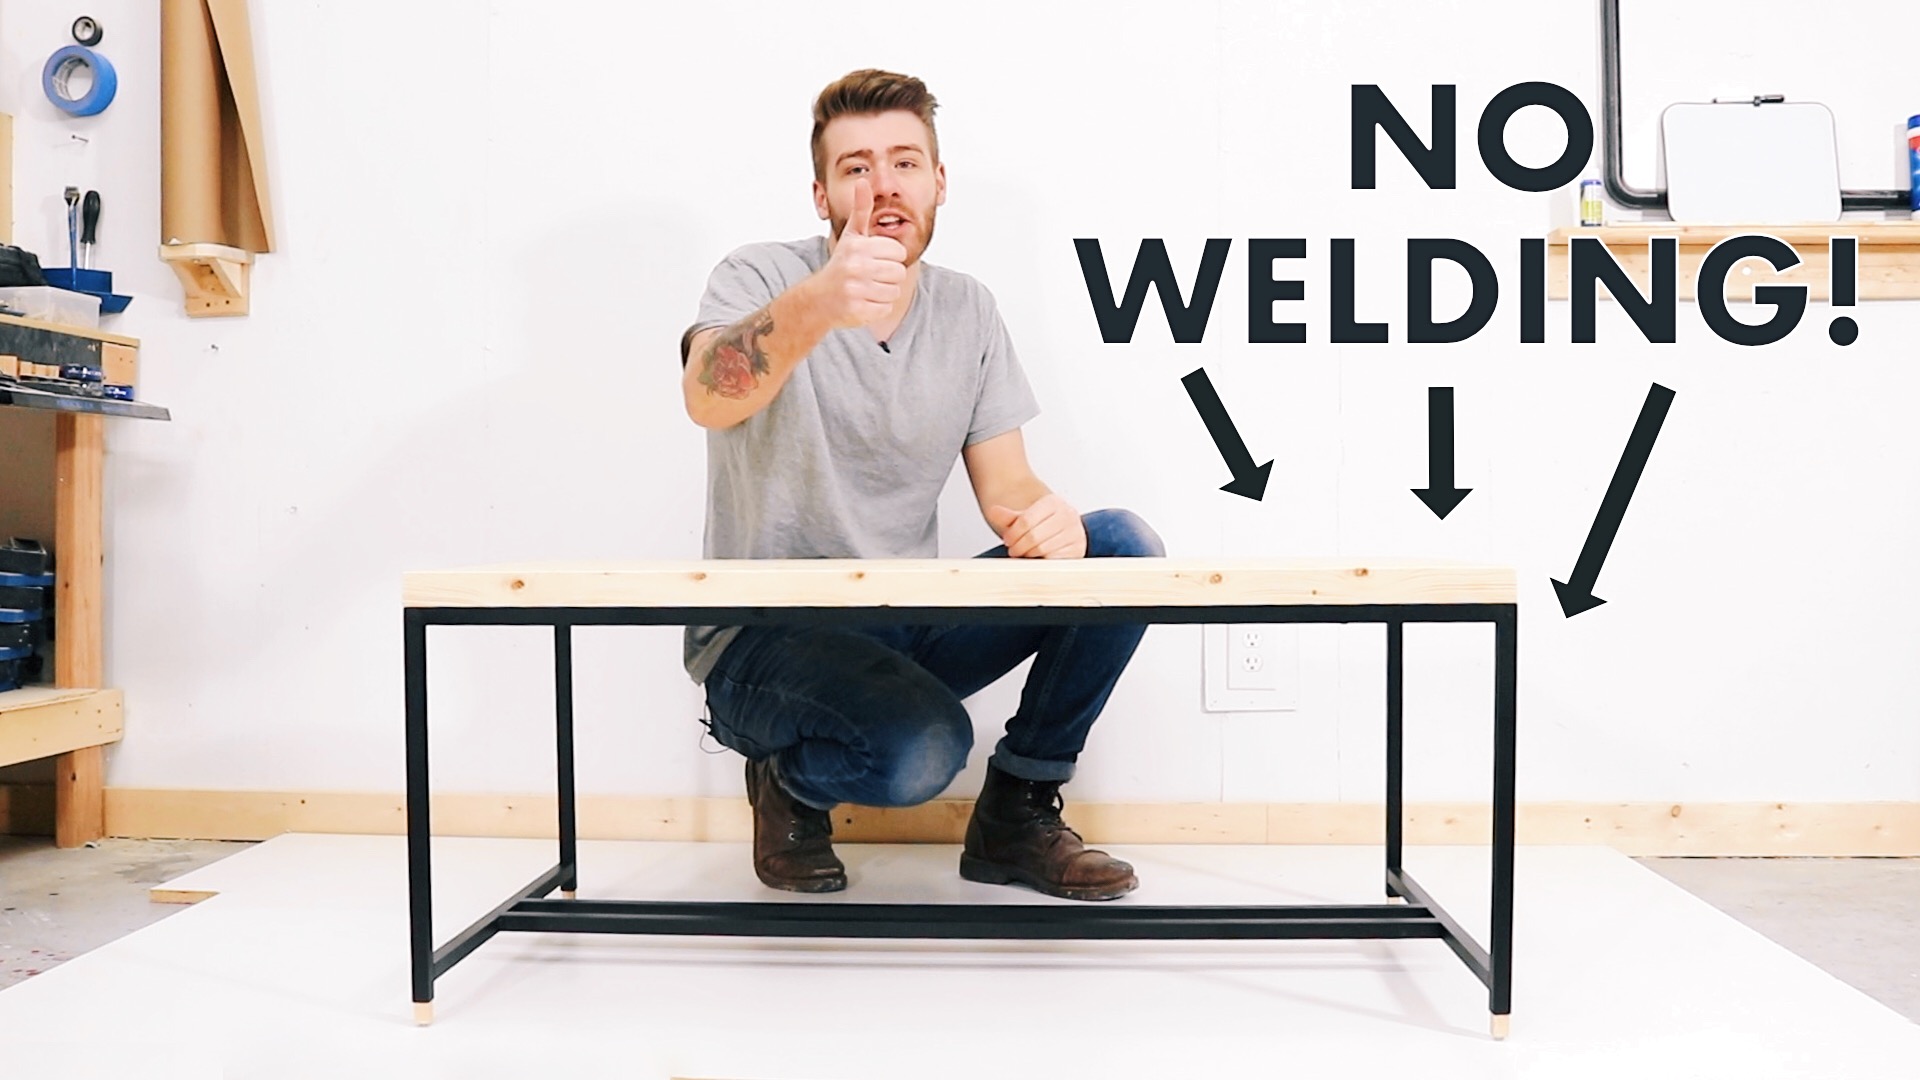
I've used hairpin legs on A LOT of my projects. They're a great readymade that are affordable and available just about anywhere. Because of this, they make an awesome go-to table leg when the table top is more of the focus for the video. Beyond that, I think having access to ready made table bases and legs really lowers the barrier of entry when it comes to building tables and other, larger furniture pieces.
I thought that you would need some expensive or complicated piece(s) of equipment to be able to heat steel rods before being able to bend them into hairpin legs. I was pleased to find out that all you need is a relatively simple jig and a little bit of leverage to cold-bend 3/8" steel rod. Hairpin legs come standard in either 3/8" (most common) or 1/2" diameter rod. I don't know if this jig would work on 1/2" stock.
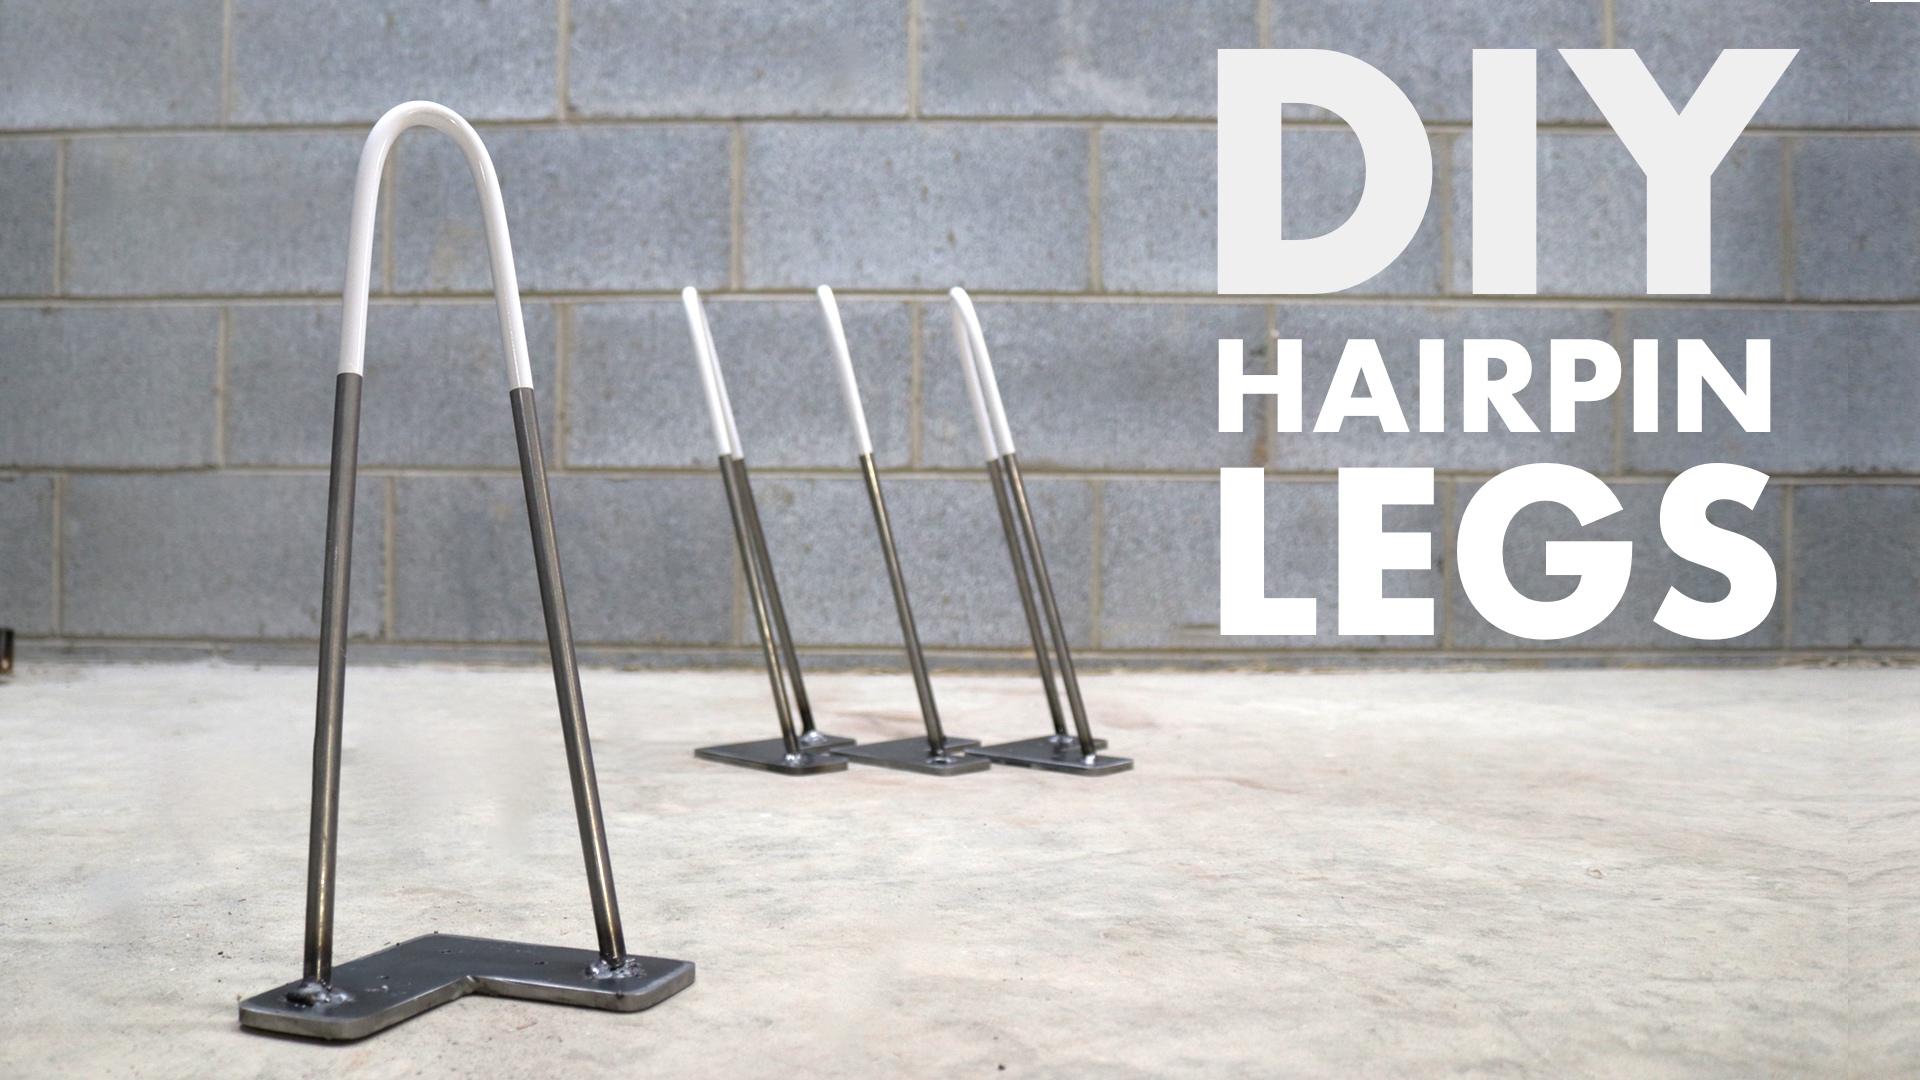
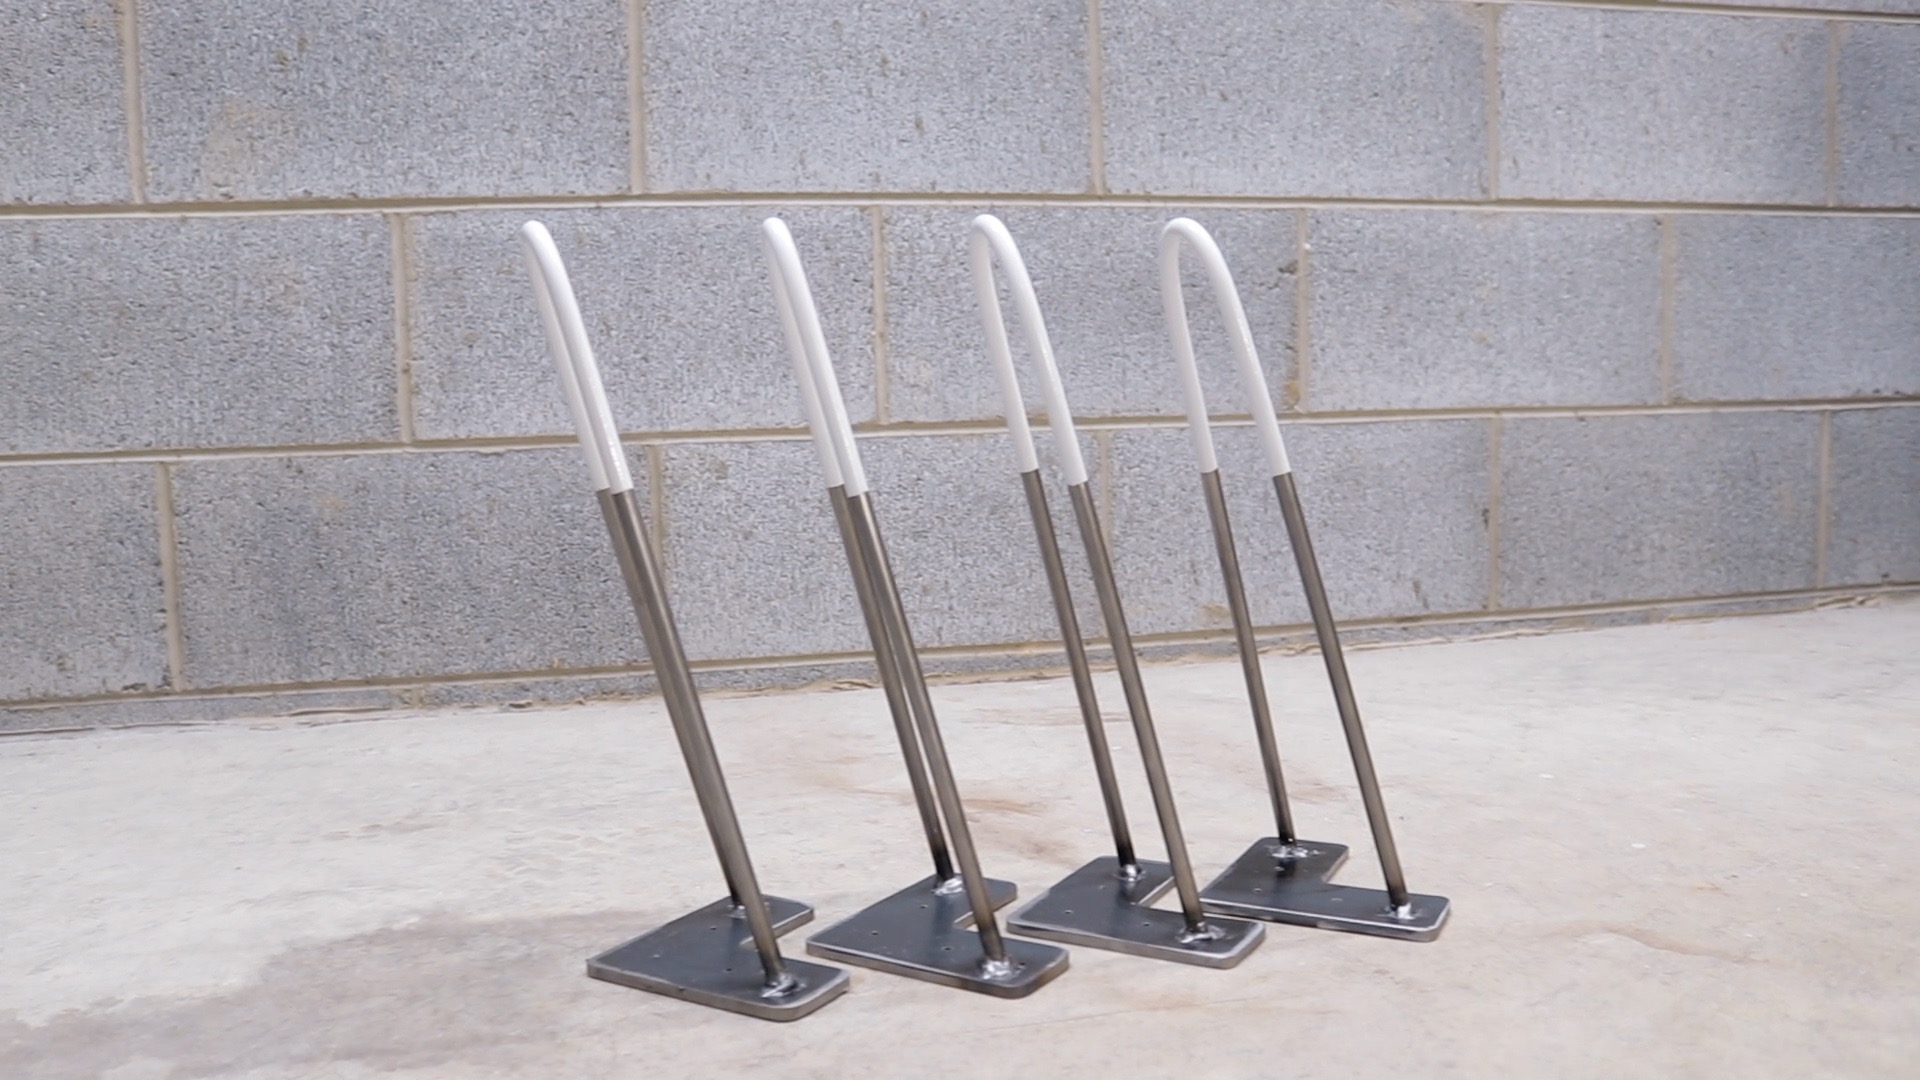
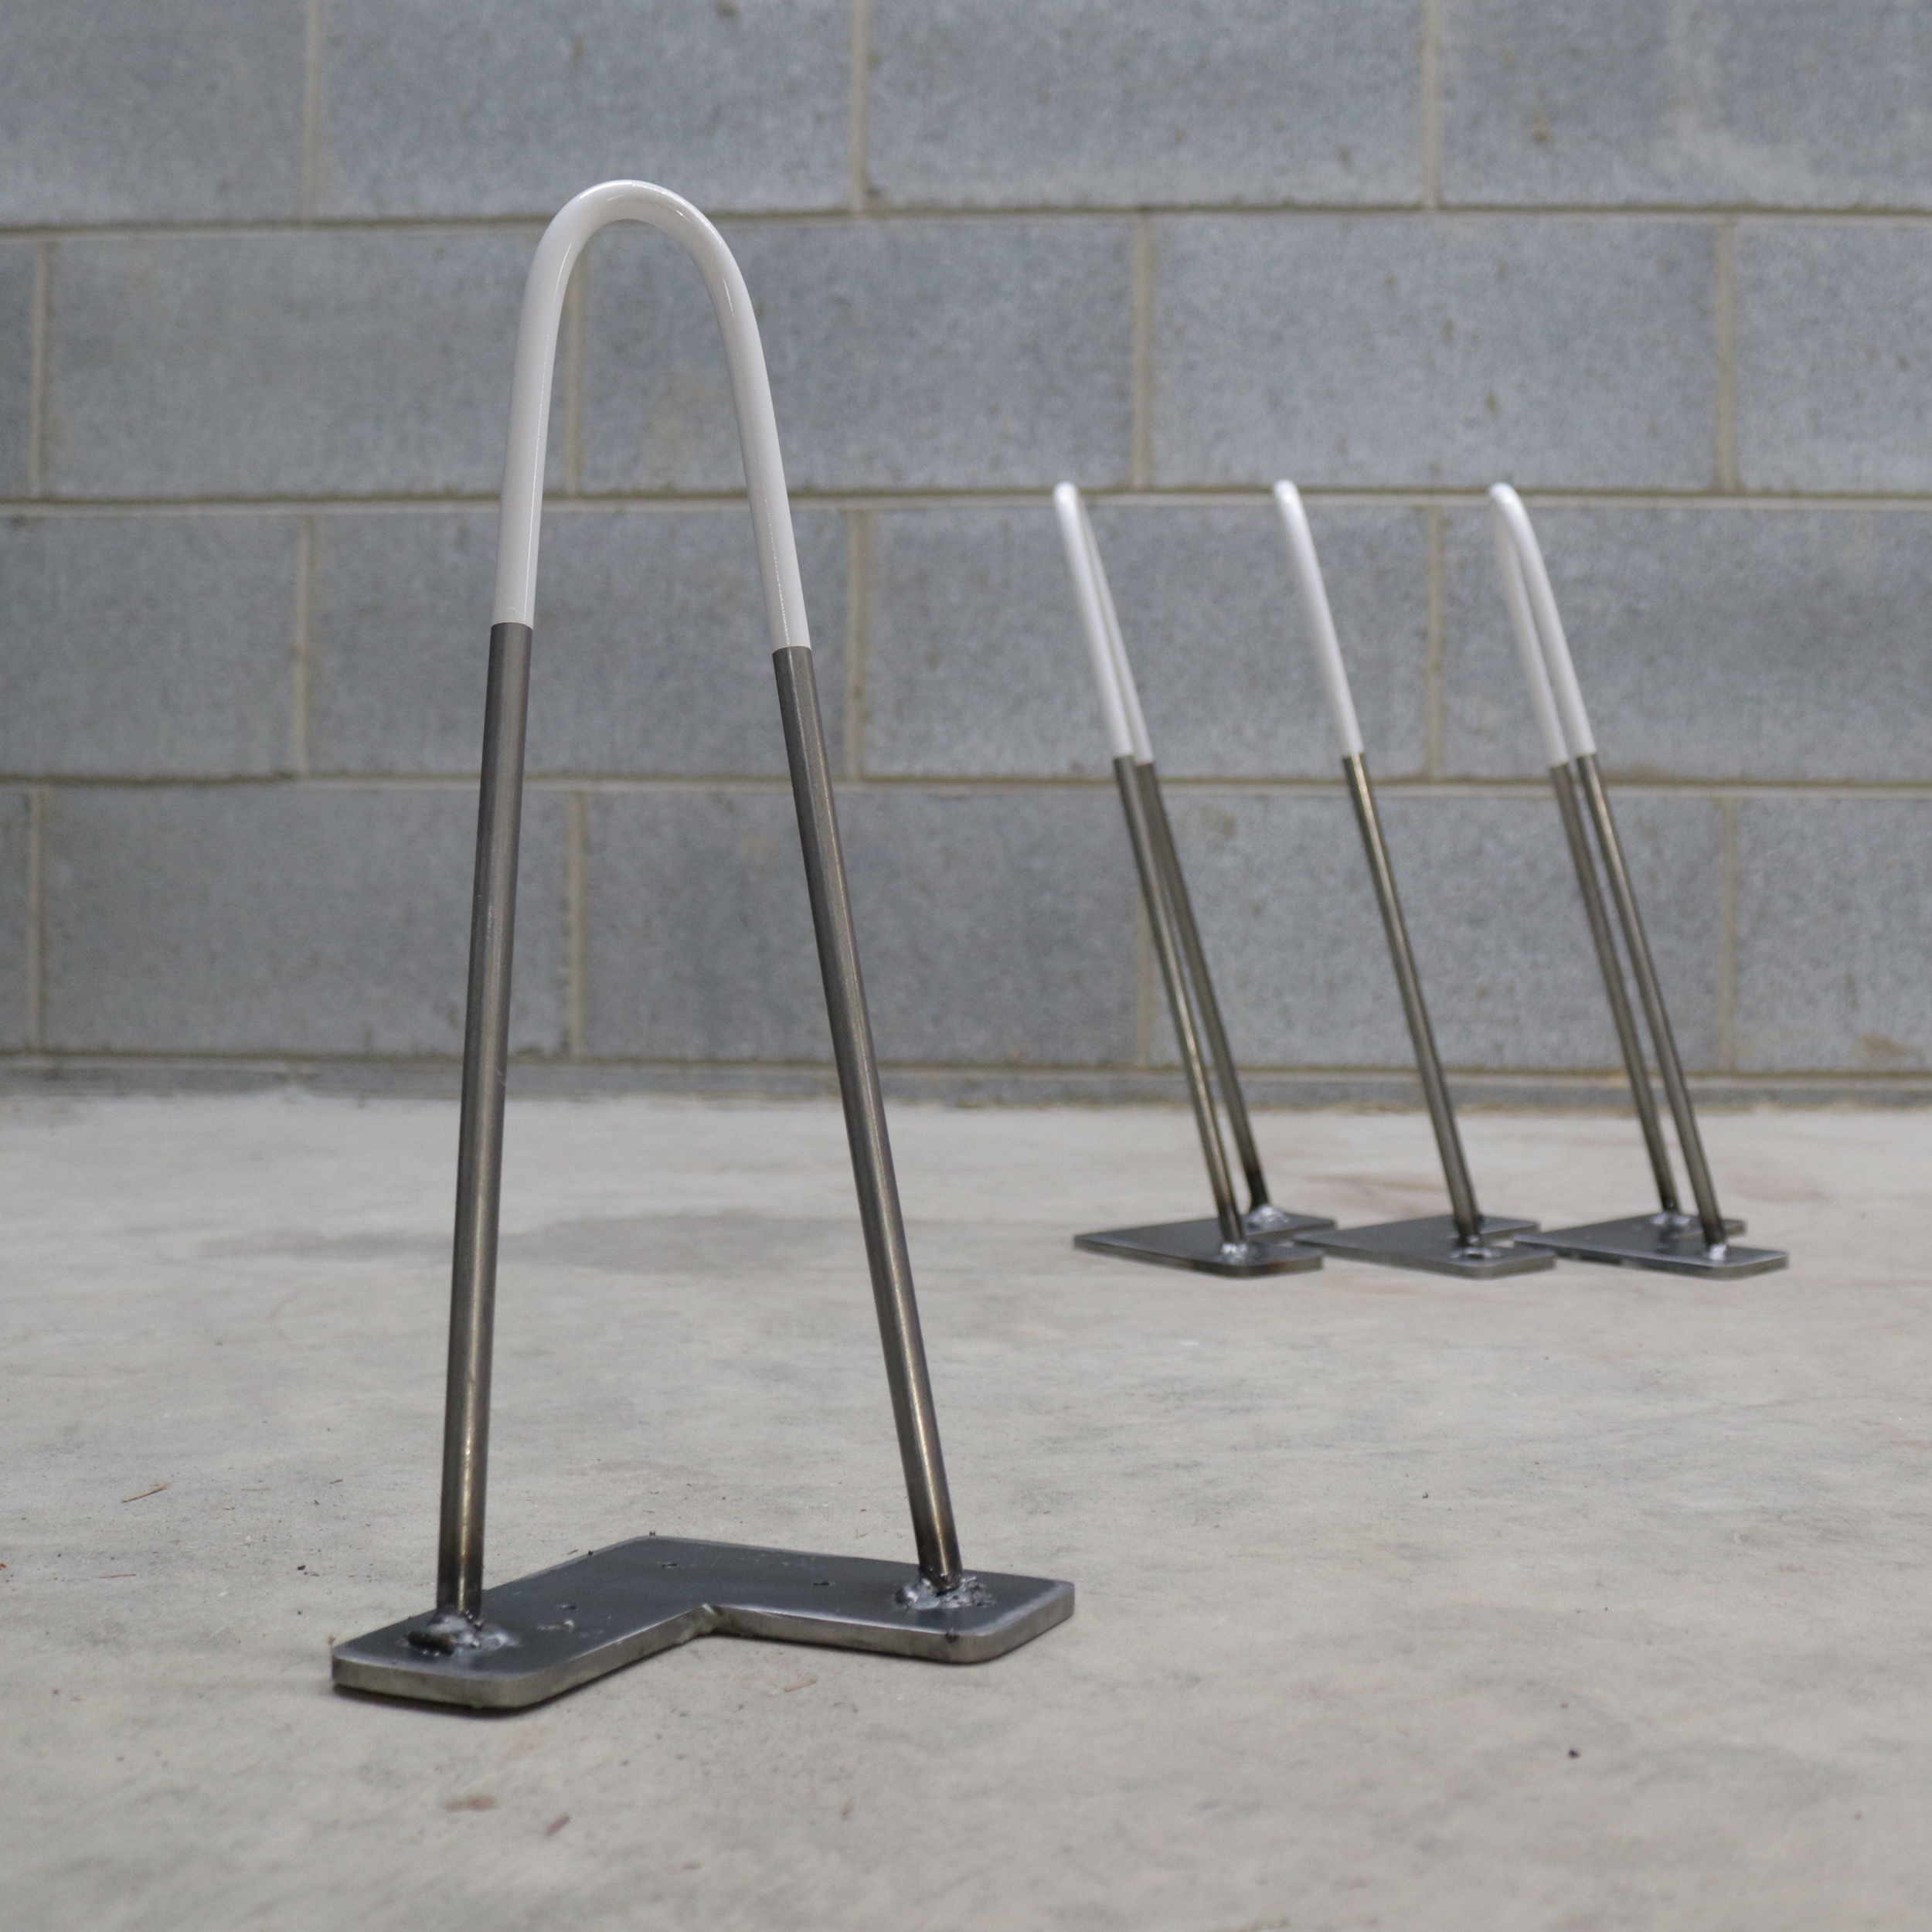
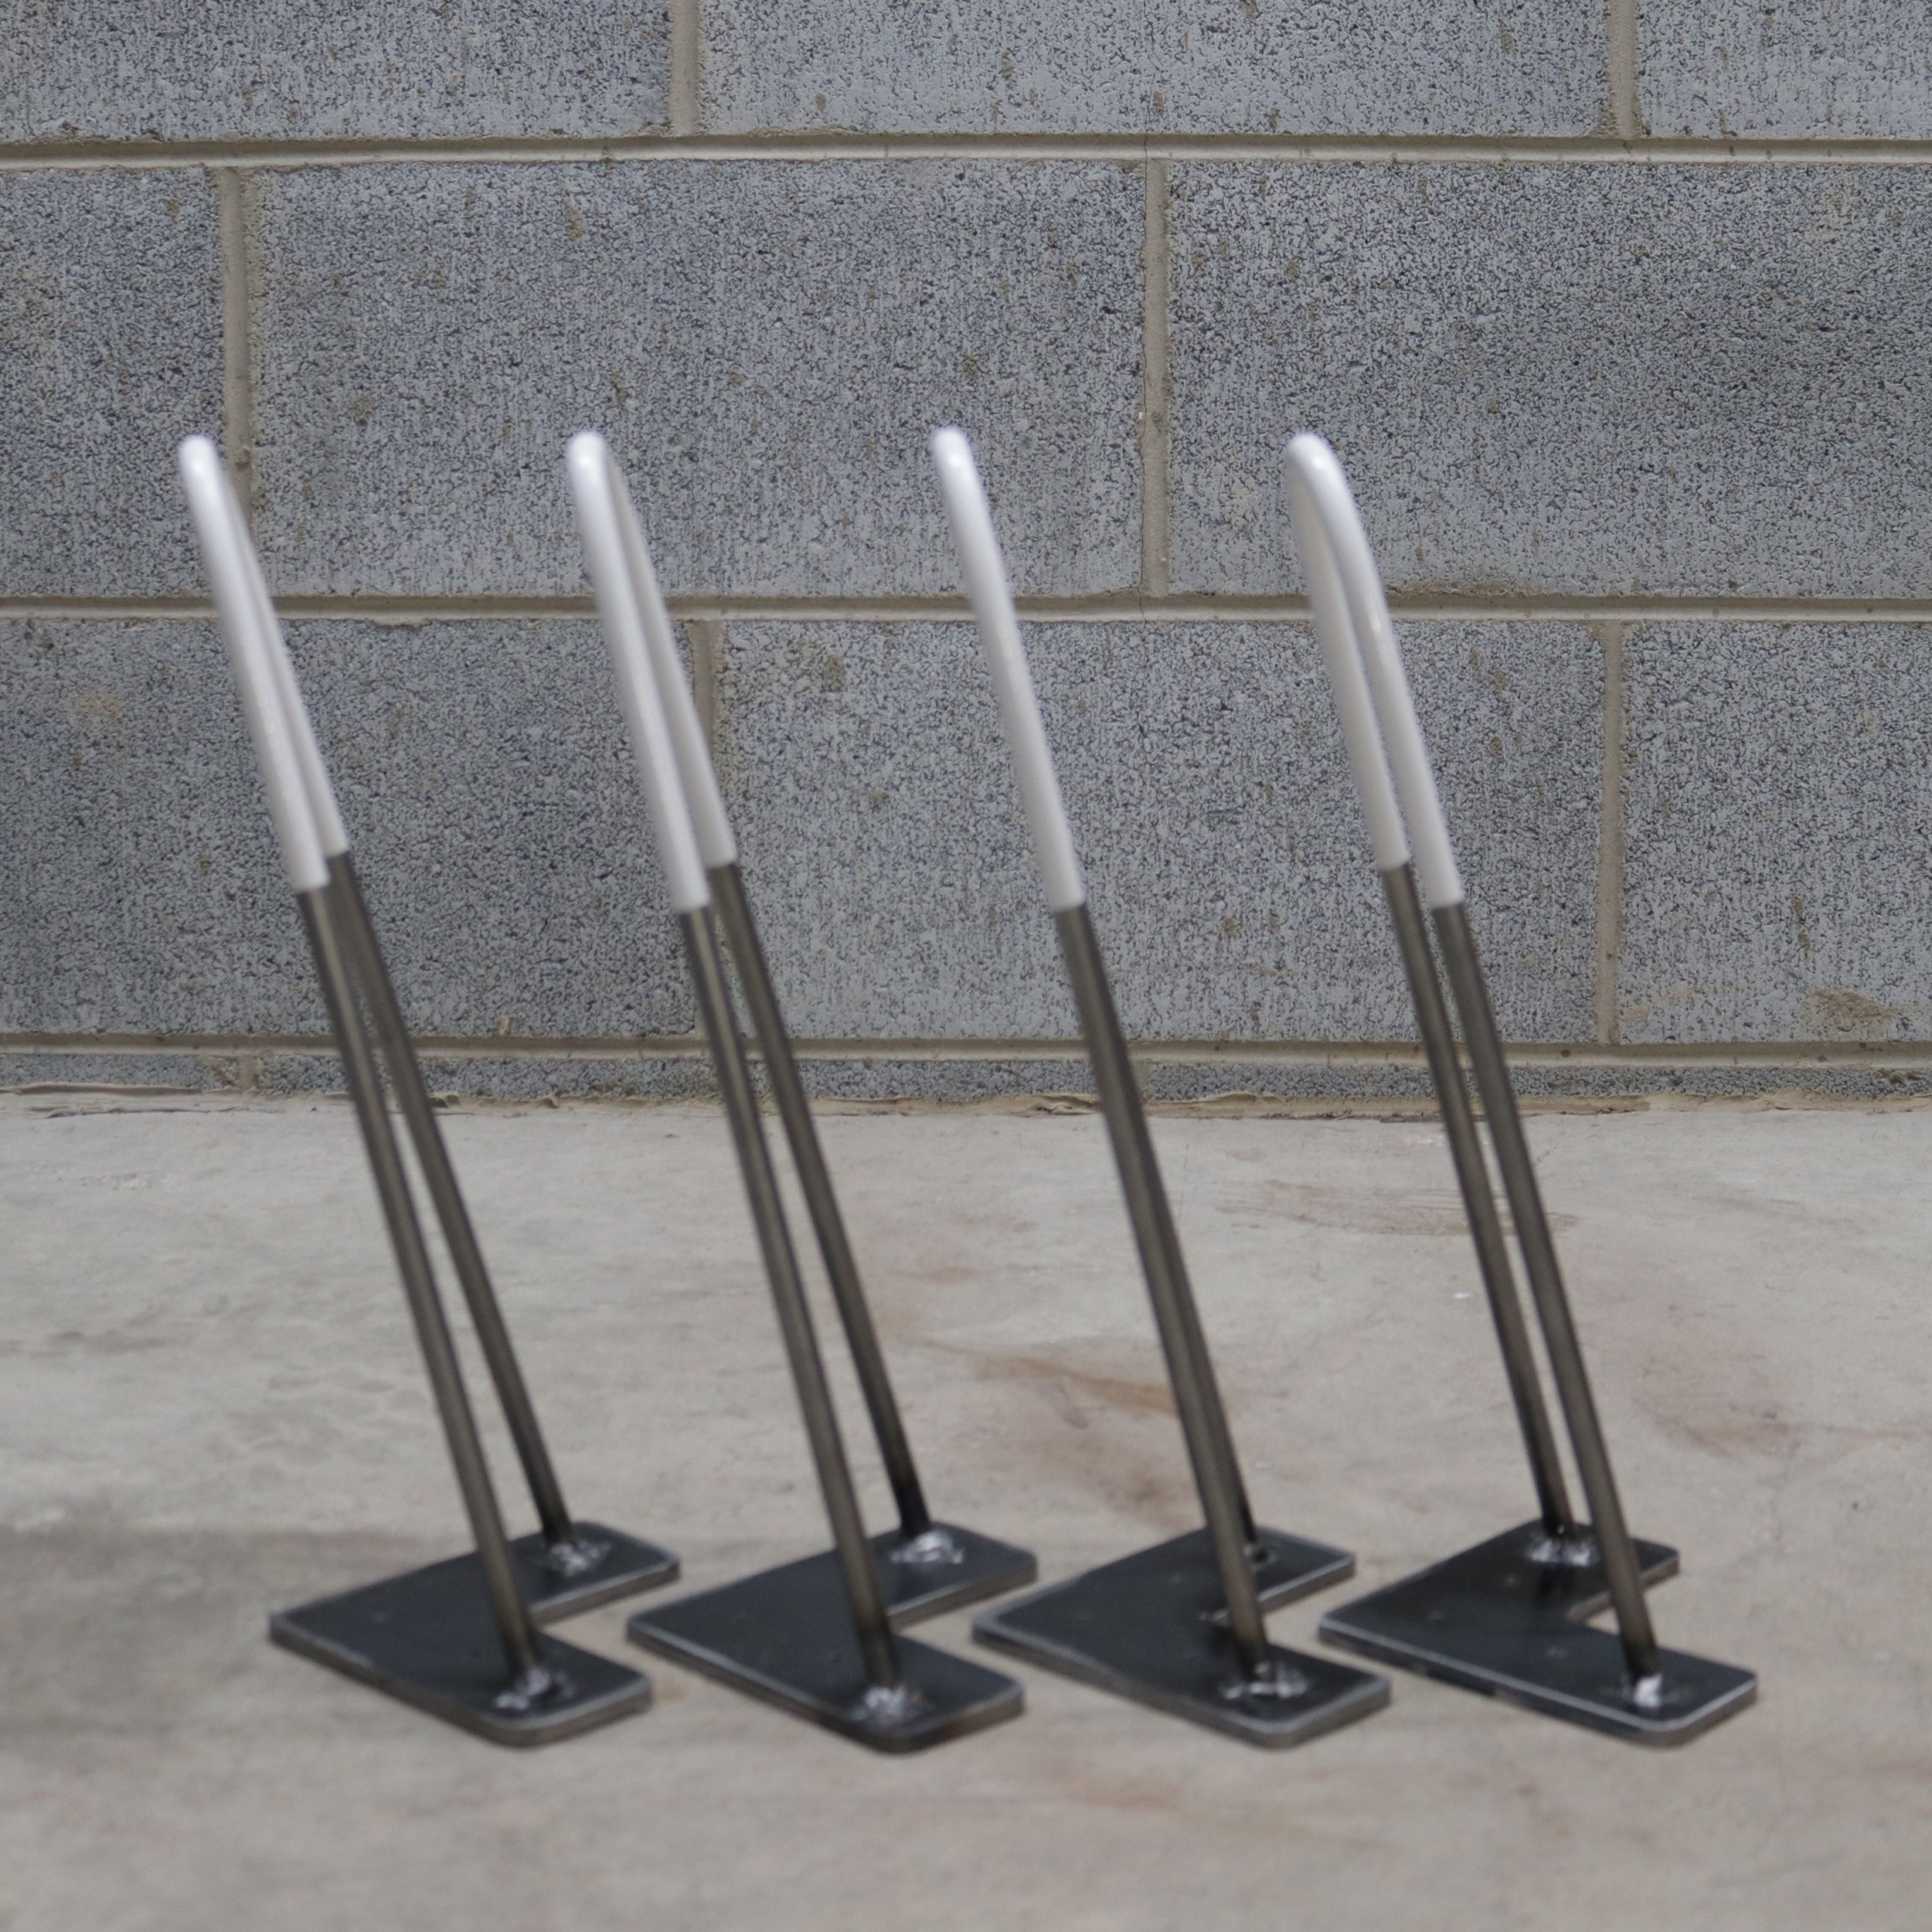
I know hairpin legs are cheap, but sometimes it's cool to modify something "standard" a bit to get a more unique look. Instead of the standard 5 degree angle most legs are, I used a 15 degree pitch, and instead of a 16" leg, I adjusted the standard to a 14" leg to account for the thick slab table top we made.
Adding the paint on the bottom of the legs made them really stand out. Overall, I'm impressed with how good the Rustoleum appliance epoxy came out. It makes a really smooth, really hard finish. It's enamel based, which is good, but unfortunately only comes in a gloss finish. And Finally, the little hairpin leg floor protectors are a cool touch. I've only found one seller of a similar product online, but they kind of look bubbly. The pyramid look is unique and Shapeways is surprisingly affordable. I'll link them here: http://shpws.me/PXs7
This project was a collaboration with a fellow maker-youtuber Johnny Brooke, from Crafted Workshop. We made a molten aluminum, live edge coffee table. linked here: https://www.youtube.com/watch?v=4N0R2Lly7XE
Materials and supplies:
- 3/8" Stell Rod
- 1/4" Hot Rolled Plate Steel
- Jig Supplies:
- 1" Socket
- Bolt and Nuts
- Angle Iron for Fence
- Steel Bar for Leverage
- Paint I used: http://amzn.to/2HyK9m8
- Paste Wax: http://amzn.to/2HAwyeh
- Hairpin Leg Floor Protectors: http://shpws.me/PXs7

I chose to make my hairpin legs from 3/8" steel rod. Johnny had a portable bandsaw that was able to cut right through the pieces. If you don't have that, and angle grinder with a cut off saw would work great!
The jig I made was built from scrap pieces laying around the shop. There are more robust designs online, but this works great!
I mounted the pieces to johnny's welding table, another option is to mount the pieces to a 3/4" piece of plywood, then screw/clamp it to your workbench.
I used a 1' socket as my folcurm, and steel angle as the fnech.

First, using steel plates I fastened the bolt through the welding table top. Then, I slid on a 1" socket and used a nut and washer to tighten it down.
I used a scrap piece of the 3/8" rod as a spacer so that I could achieve a zero cleatance fench for a cleaner bend. I held that down with clamps. You could also drill/screw the steel angle.
Bending the rod was easier than I expected...Keeping the table still while I did it... not so much!
I used a piece of square tubing to get enough leverage to bend the rod. a "Cheater Bar" is necessary! Once I bent the rod half of the way, I would flip it over and bend the other half; that gave me a more symmetrical curve.

The top plates are made from 1/4" hot rolled steel plate. Check your steel supplier's scraps for pieces that might work. That's where I found mine. it was a good sized piece, but still considered an off-cut.
I used an existing hairpin leg as a template, but I've designed printable template that you can use with spray adhesive to cut your plates. There's also a sketchup model available if you want that.

Cutting the Plates was easy with a cutoff wheel and angle grinder, though having a belt sander to clean everything up was very helpful!
Drilling the holes with a handheld drill is definitley possilbe, just turn your speed down and be sure to use cutting oil.


Like I mentioned at the top of the article, standard hairpin legs have a 5 degree angle. We figured we might as well try a more drastick angle, 15 degrees, and it really came out looking good.
Johnny used a digital t-bevel set at 15 degrees to hold the piece in place while I made a couple quick tack welds to freeze it in place. Then I could come back and weld the joints properly.

As a final step to customize my hairpin legs, we masked off the top of the legs 6" from the bottom and sprayed a couple coats of white Appliance Epoxy spray paint. Once the tape was removed the crisp line looked really great.

If you have any questions or find any issues with the article, feel free to get in touch.
more cool projects: