

EP. 27 HOW TO BUILD A HEADBOARD
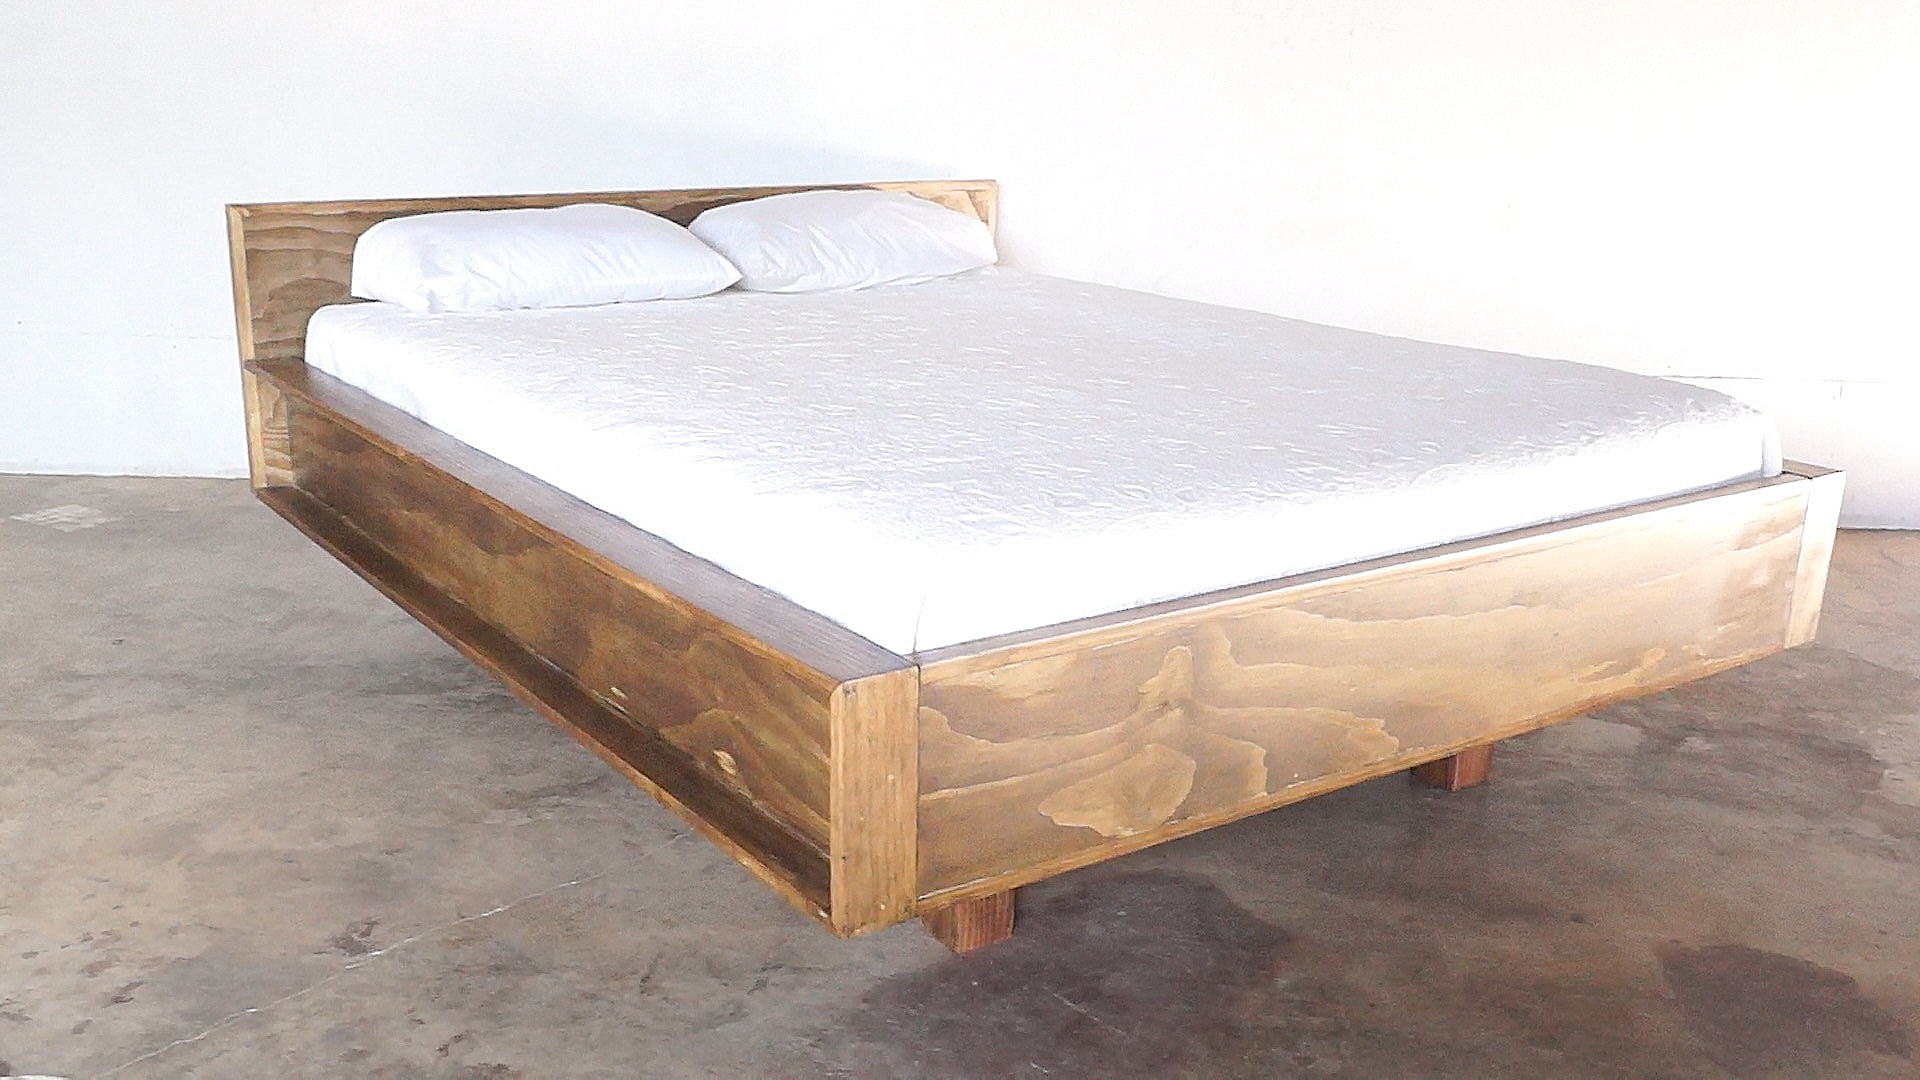
Today on Modern Builds, we're making a DIY queen sized headboard. This is a great beginner project because it doesn't require a lot of cuts or complicated measurements.
MATERIALS AND SUPPLIES:
5 2x4's
8 1x8's
4 1x4's
Minwax Dark Walnut Stain: http://amzn.to/1pRuzZI
Wood Glue: http://amzn.to/1pRuFAC
Brad Nails: http://amzn.to/1VgD3FC
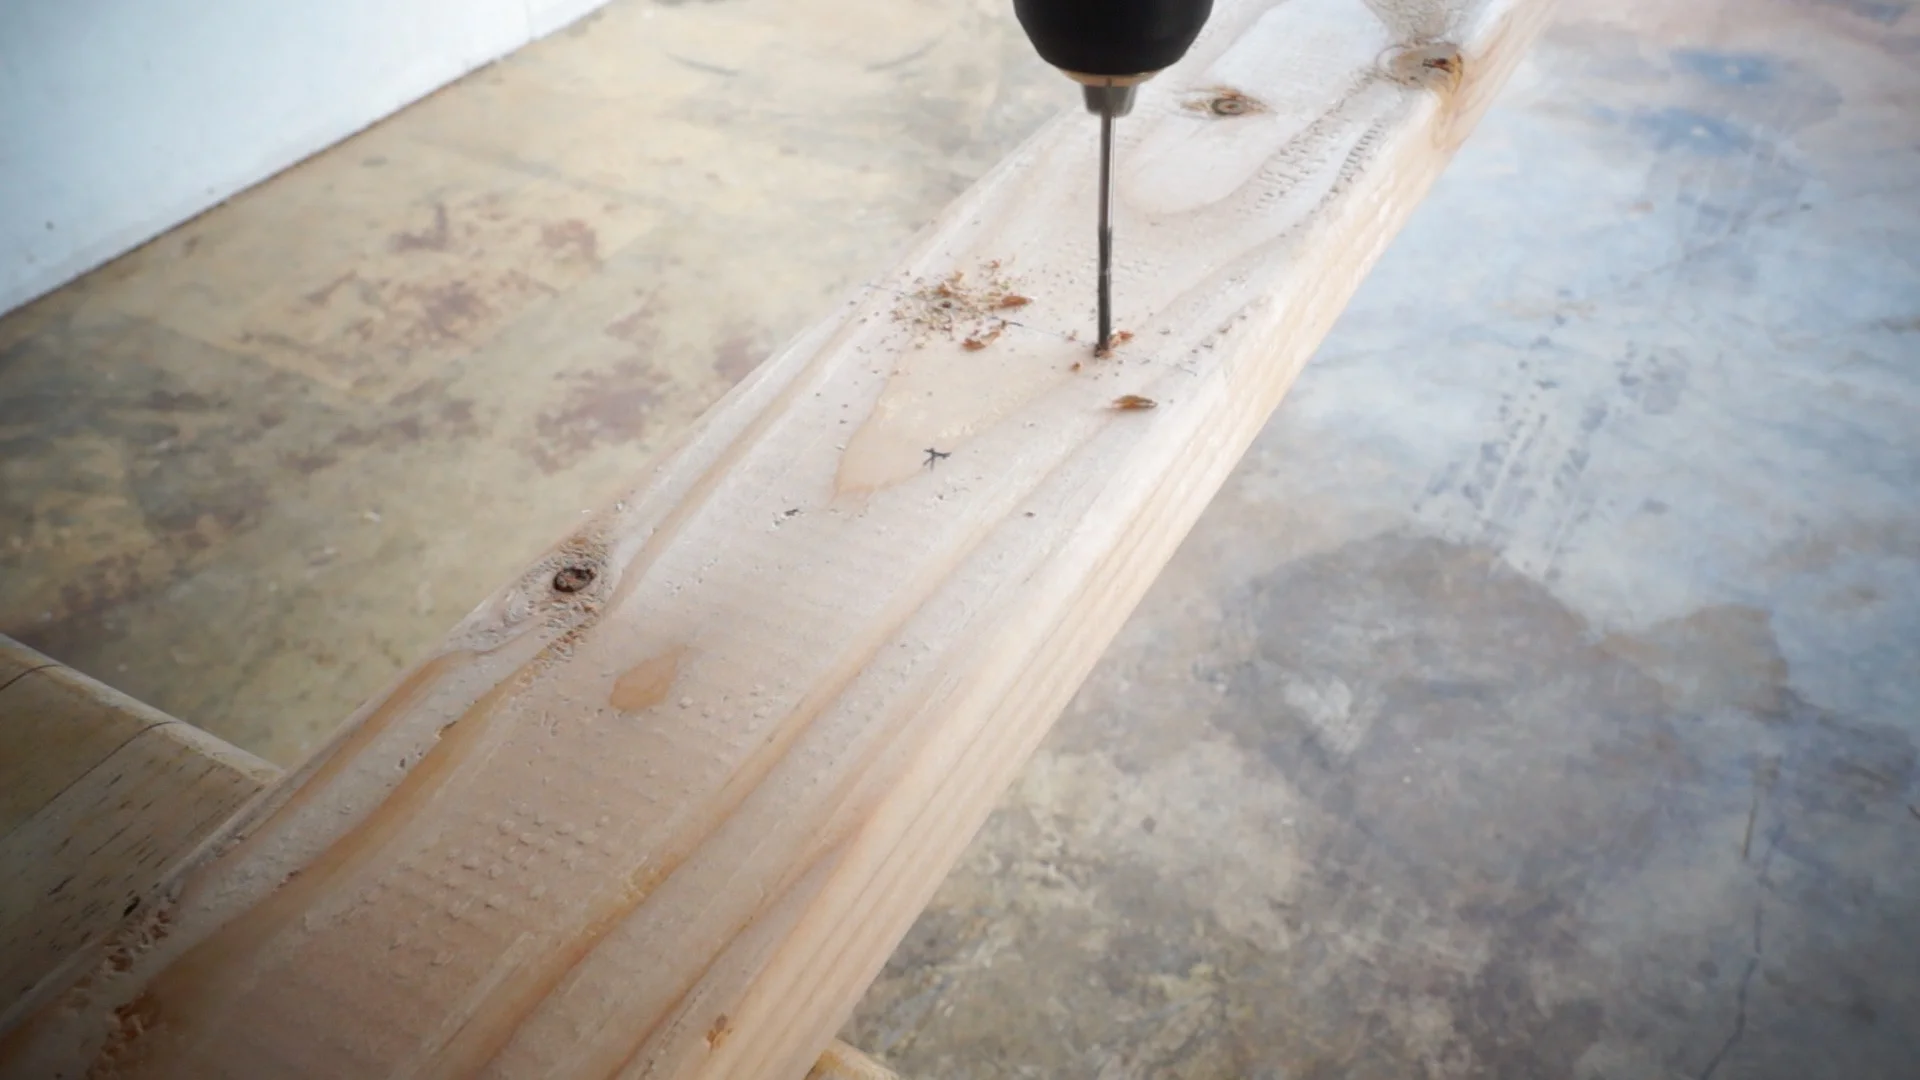
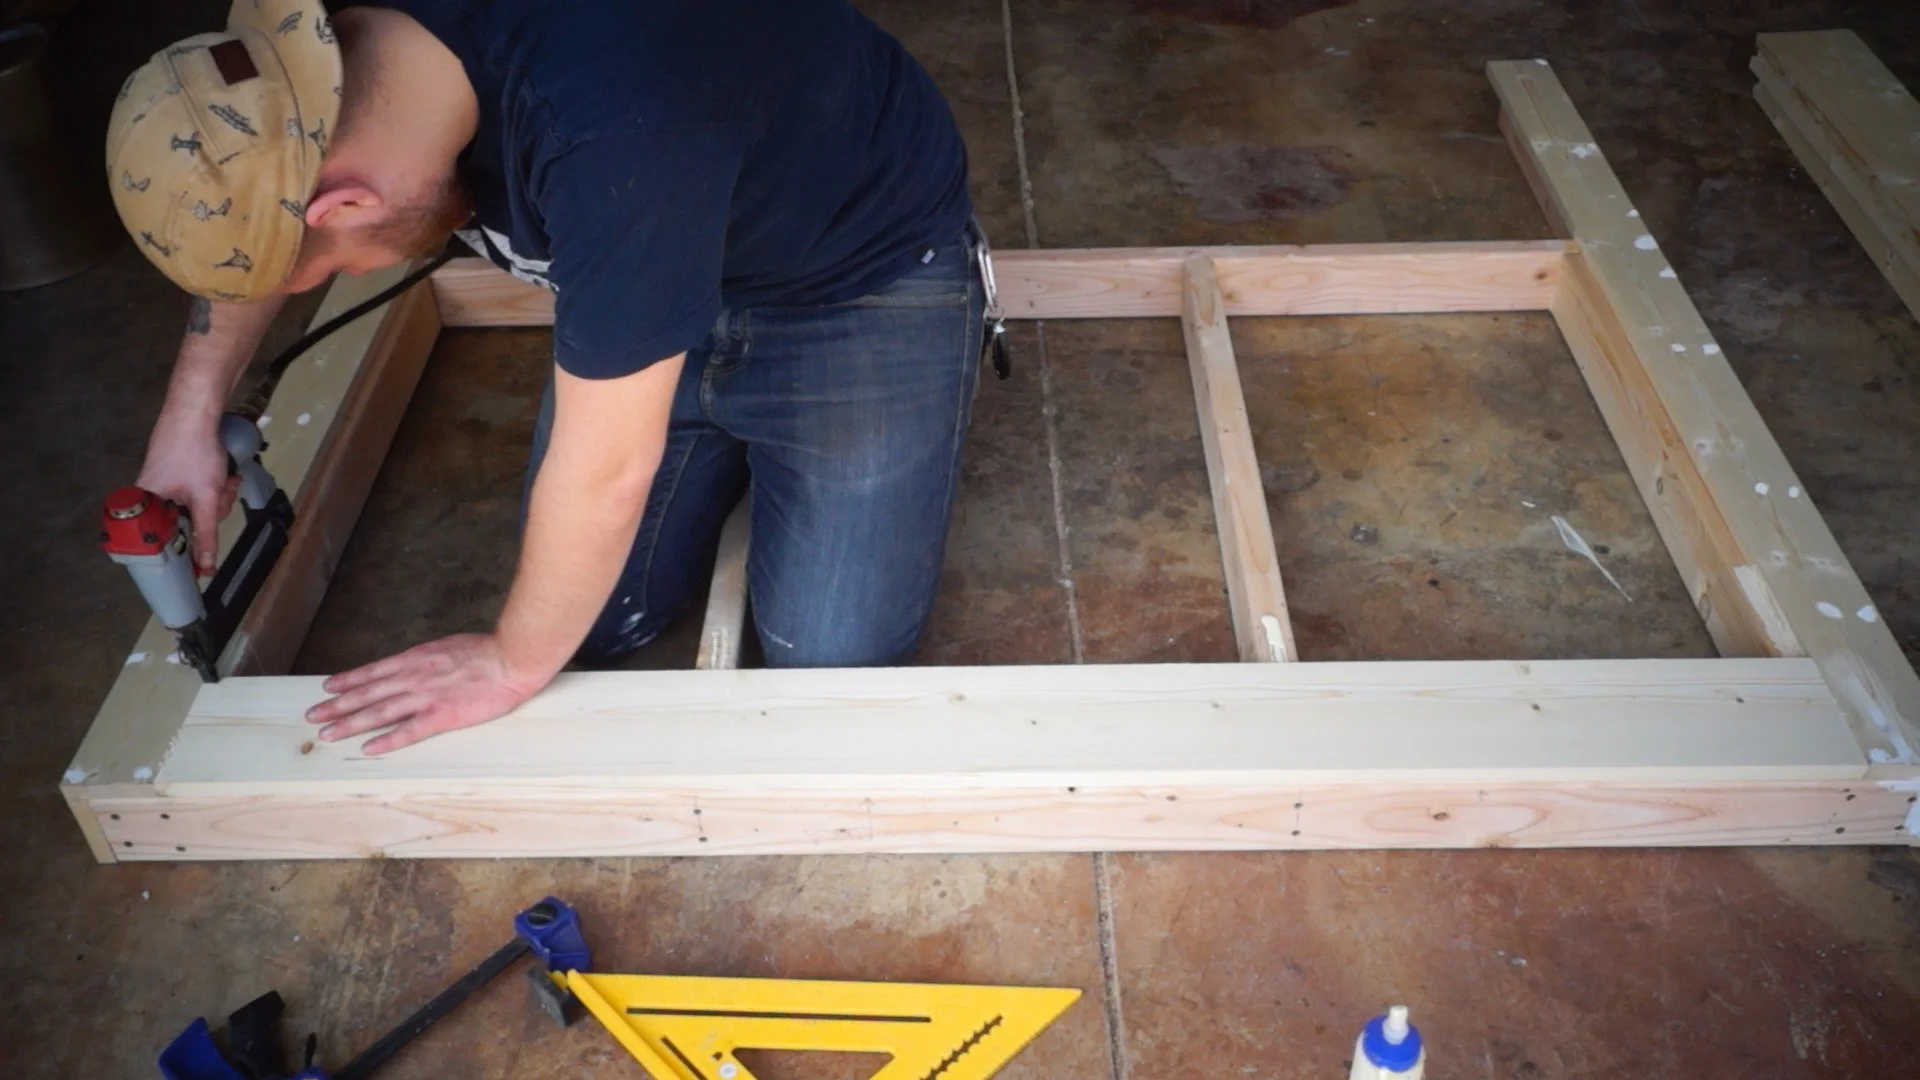
STEP ONE: MAKE THE FRAME
The frame is a simple 2x4 structure for the 1x4 and 1x6 facer boards to sit on. These are the dimensions I used... double check and make sure they're right for your project and materials.

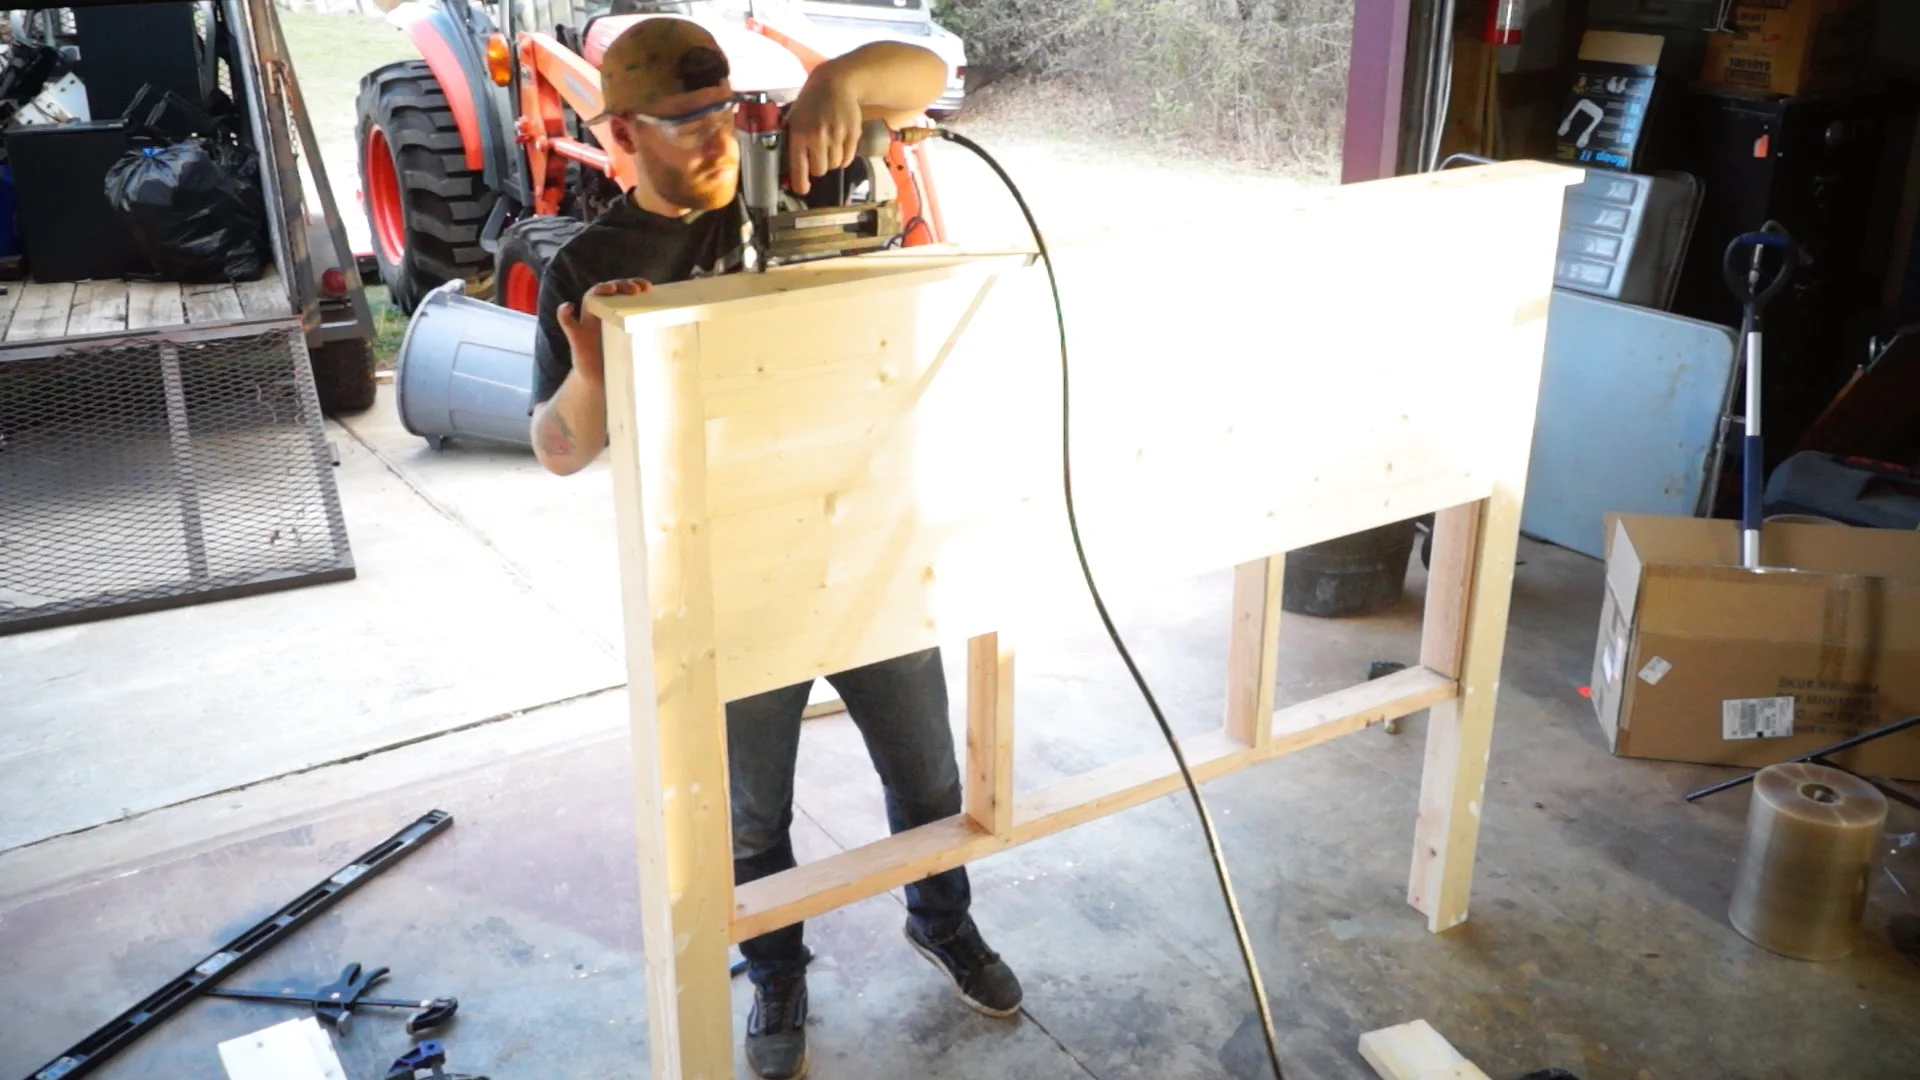
STEP TWO: PUT THE LEGS ON
The legs are made from two 1x4's on each leg. A 2x4 brace is put inside the leg for extra structural support.
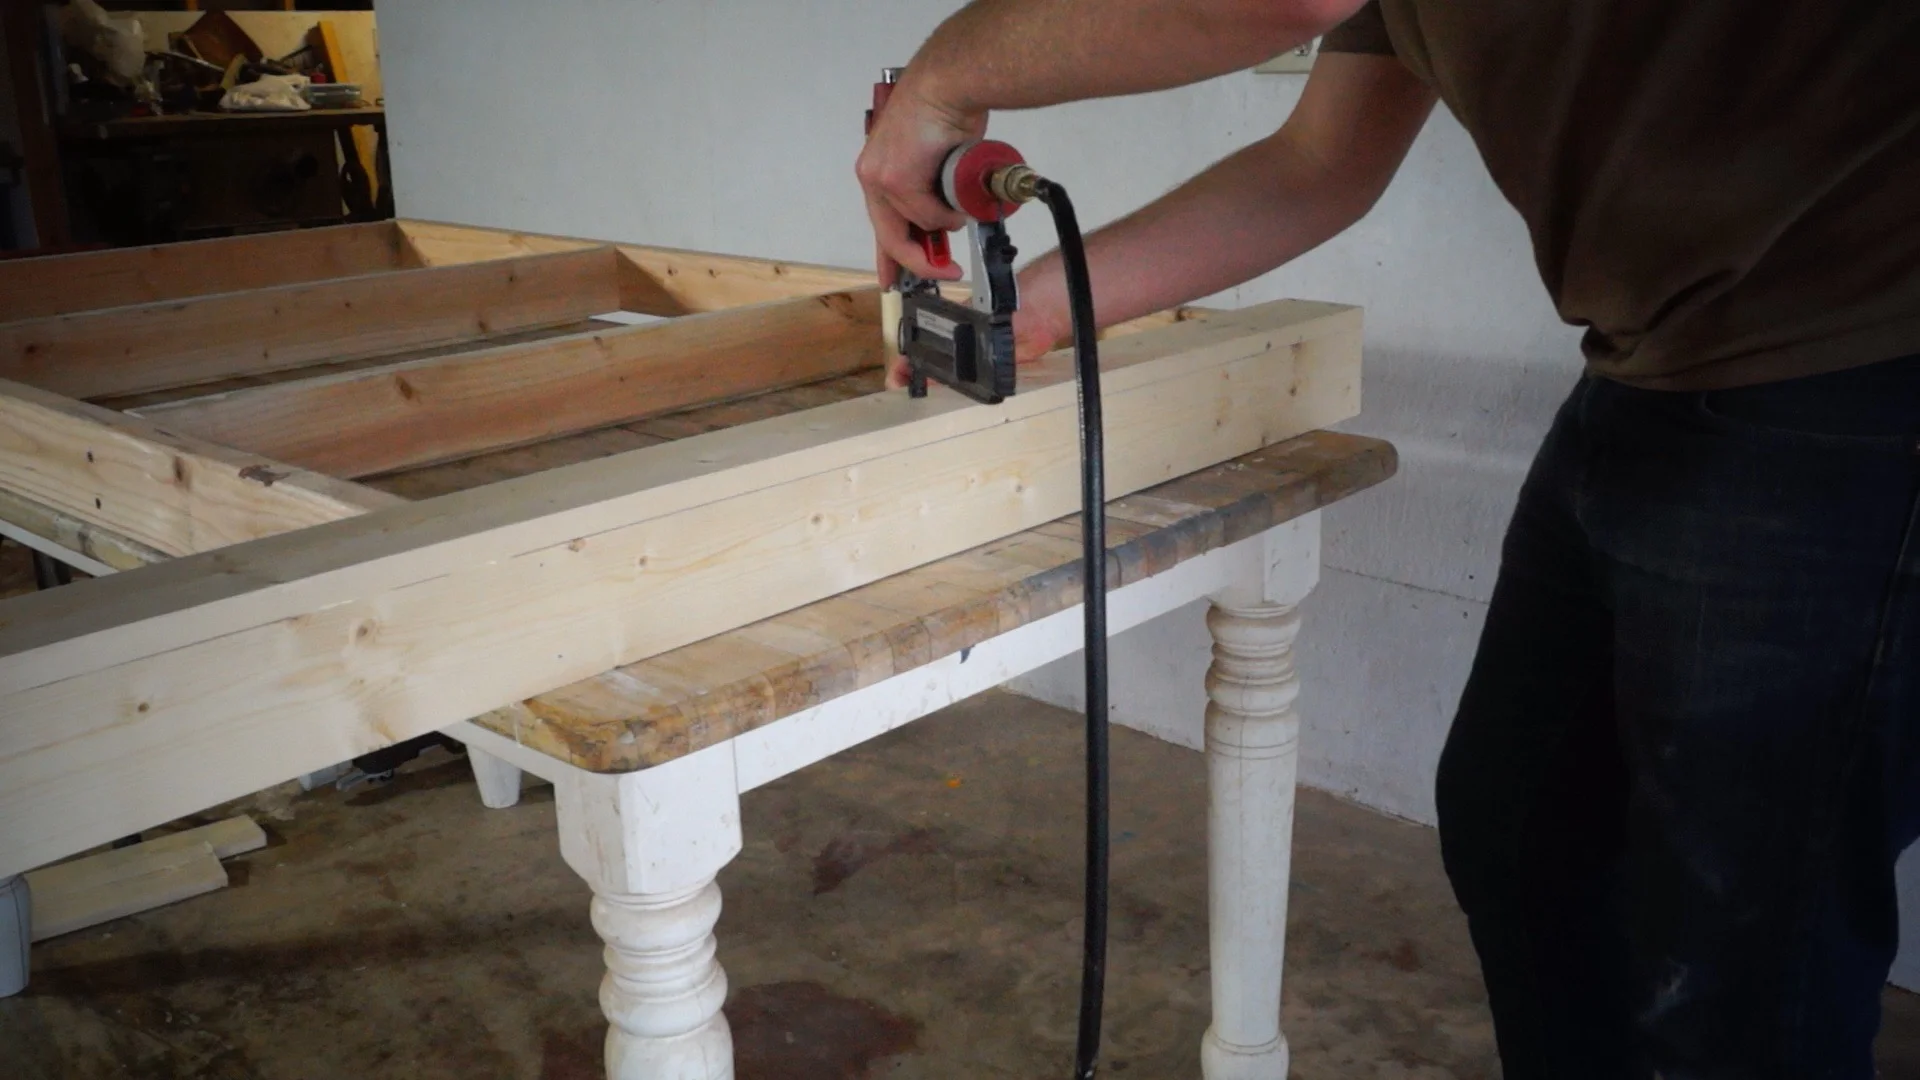
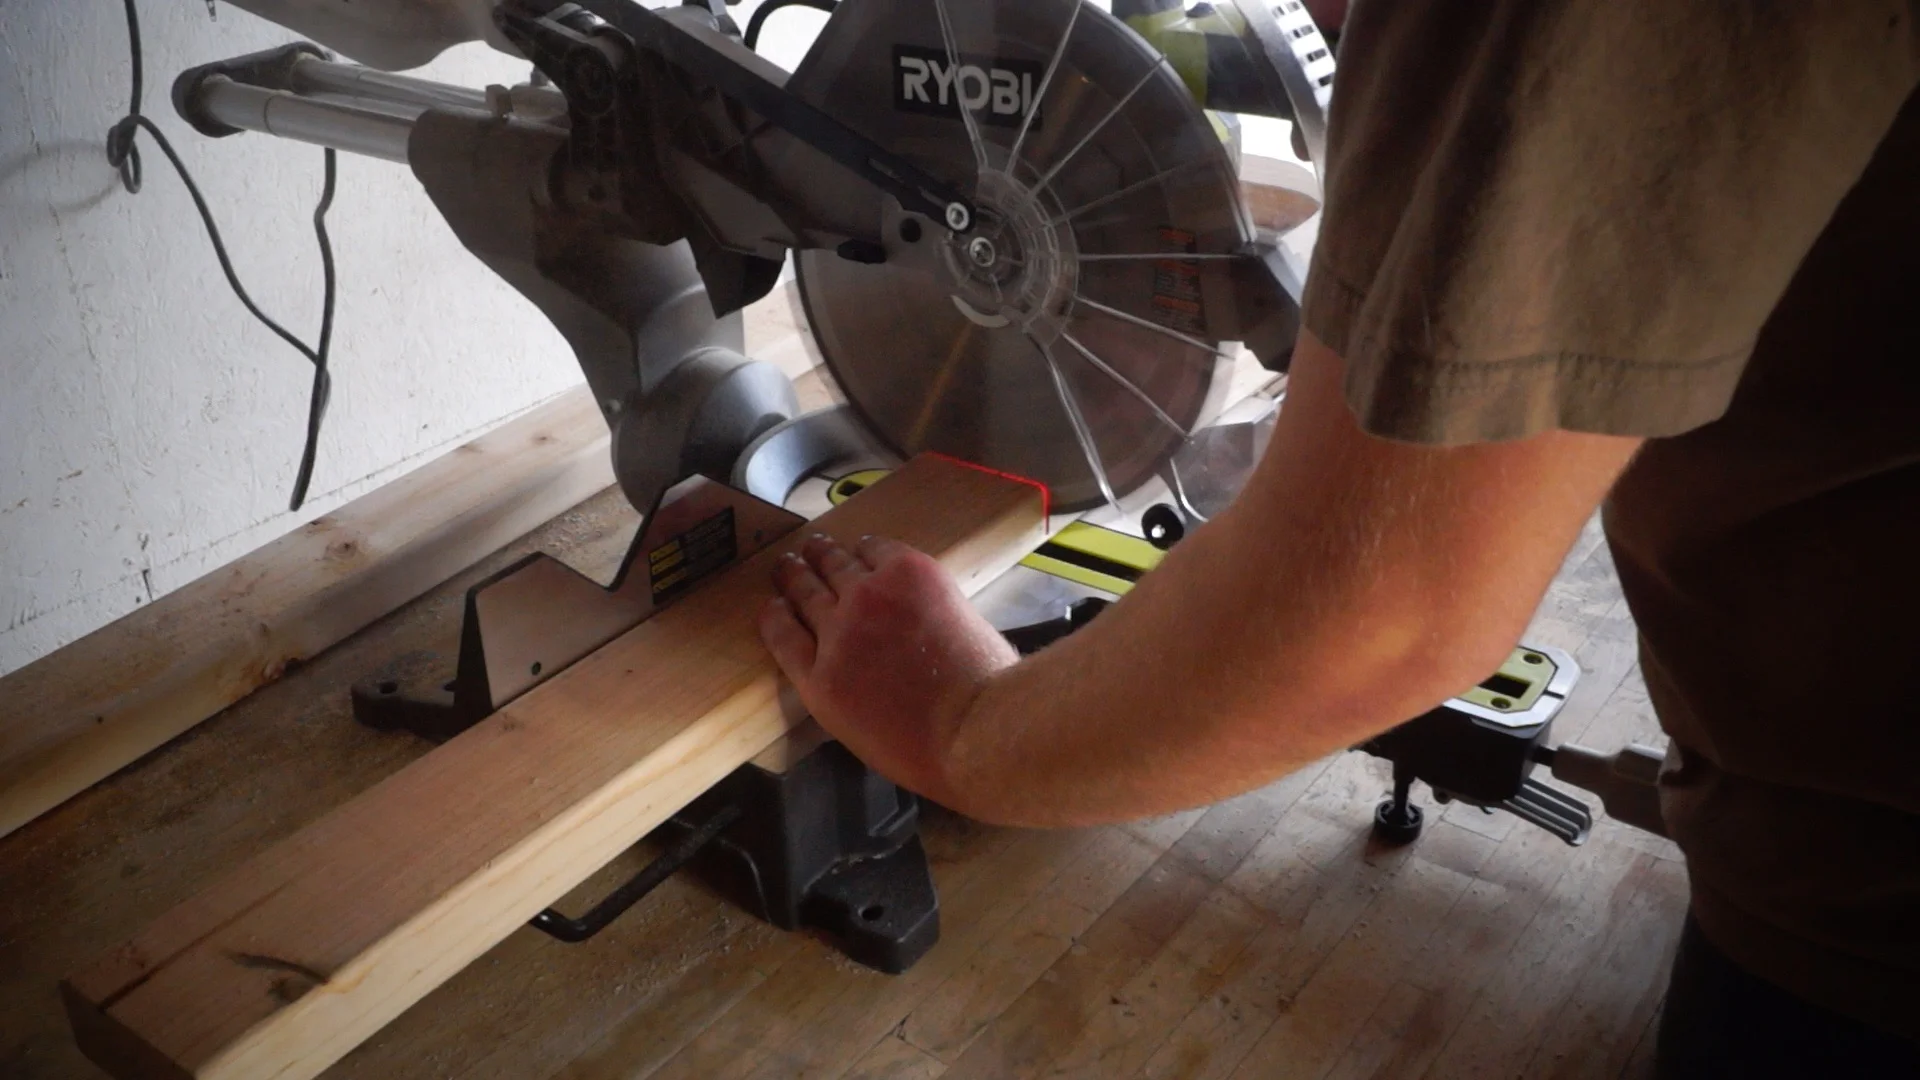
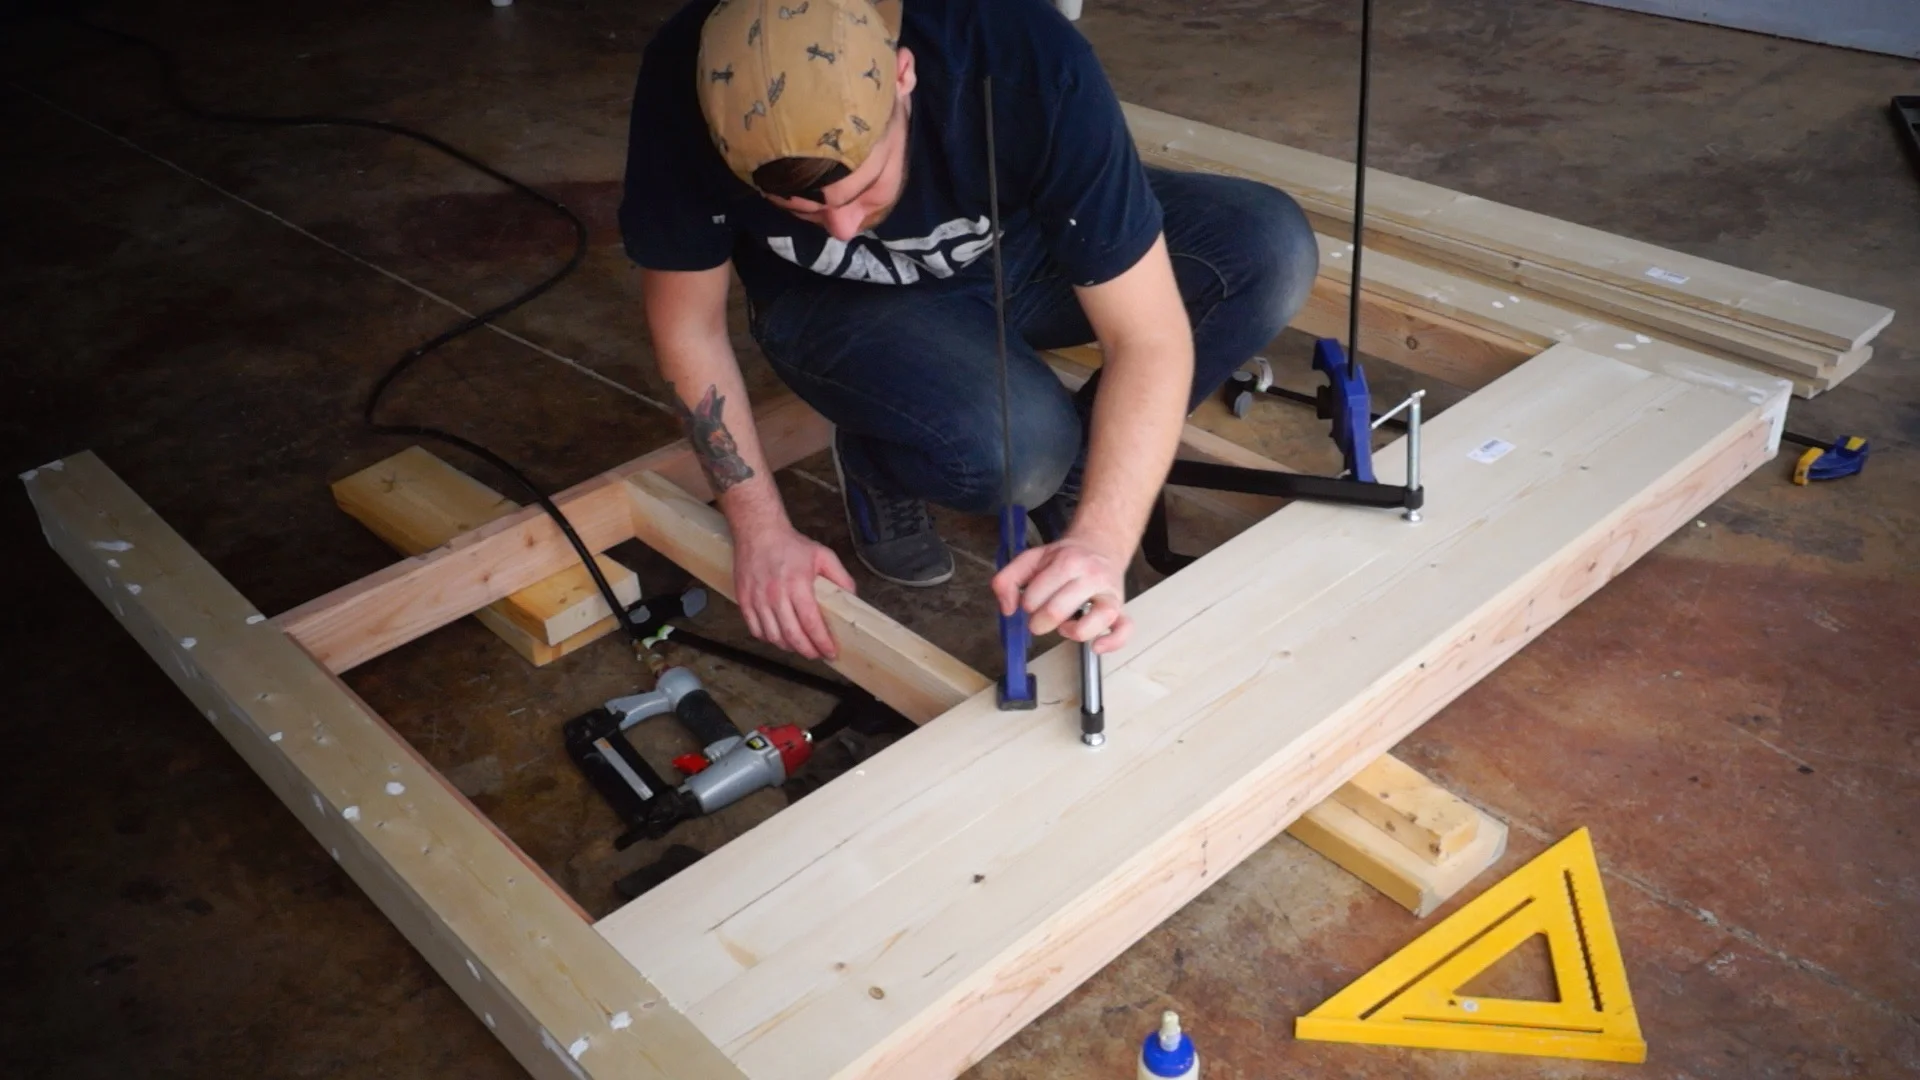
STEP THREE: ADD THE SLATS
I cut each 1x6 slat to fit as I went to ensure a tight fit.
Some of my 1x6 boards had a bit of a cup in them and needed to be clamped down to sit flush on the studs.
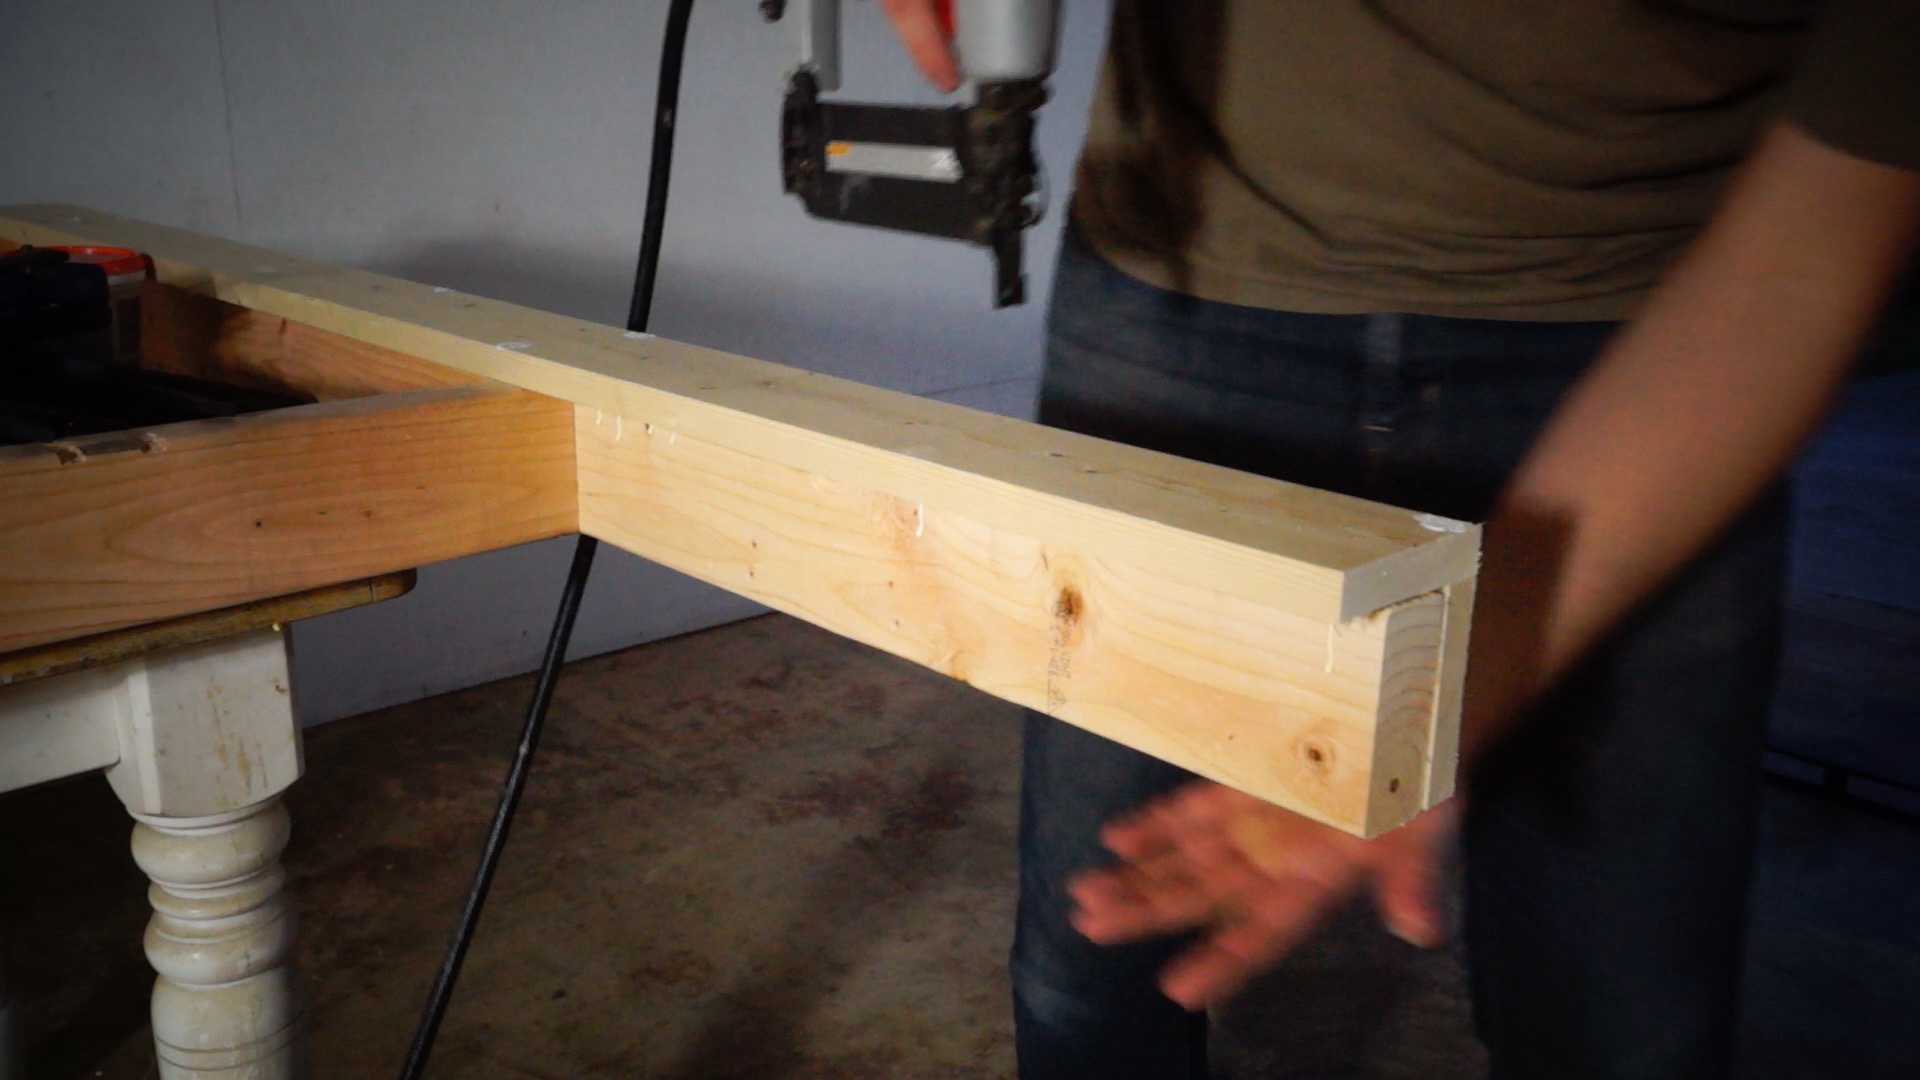
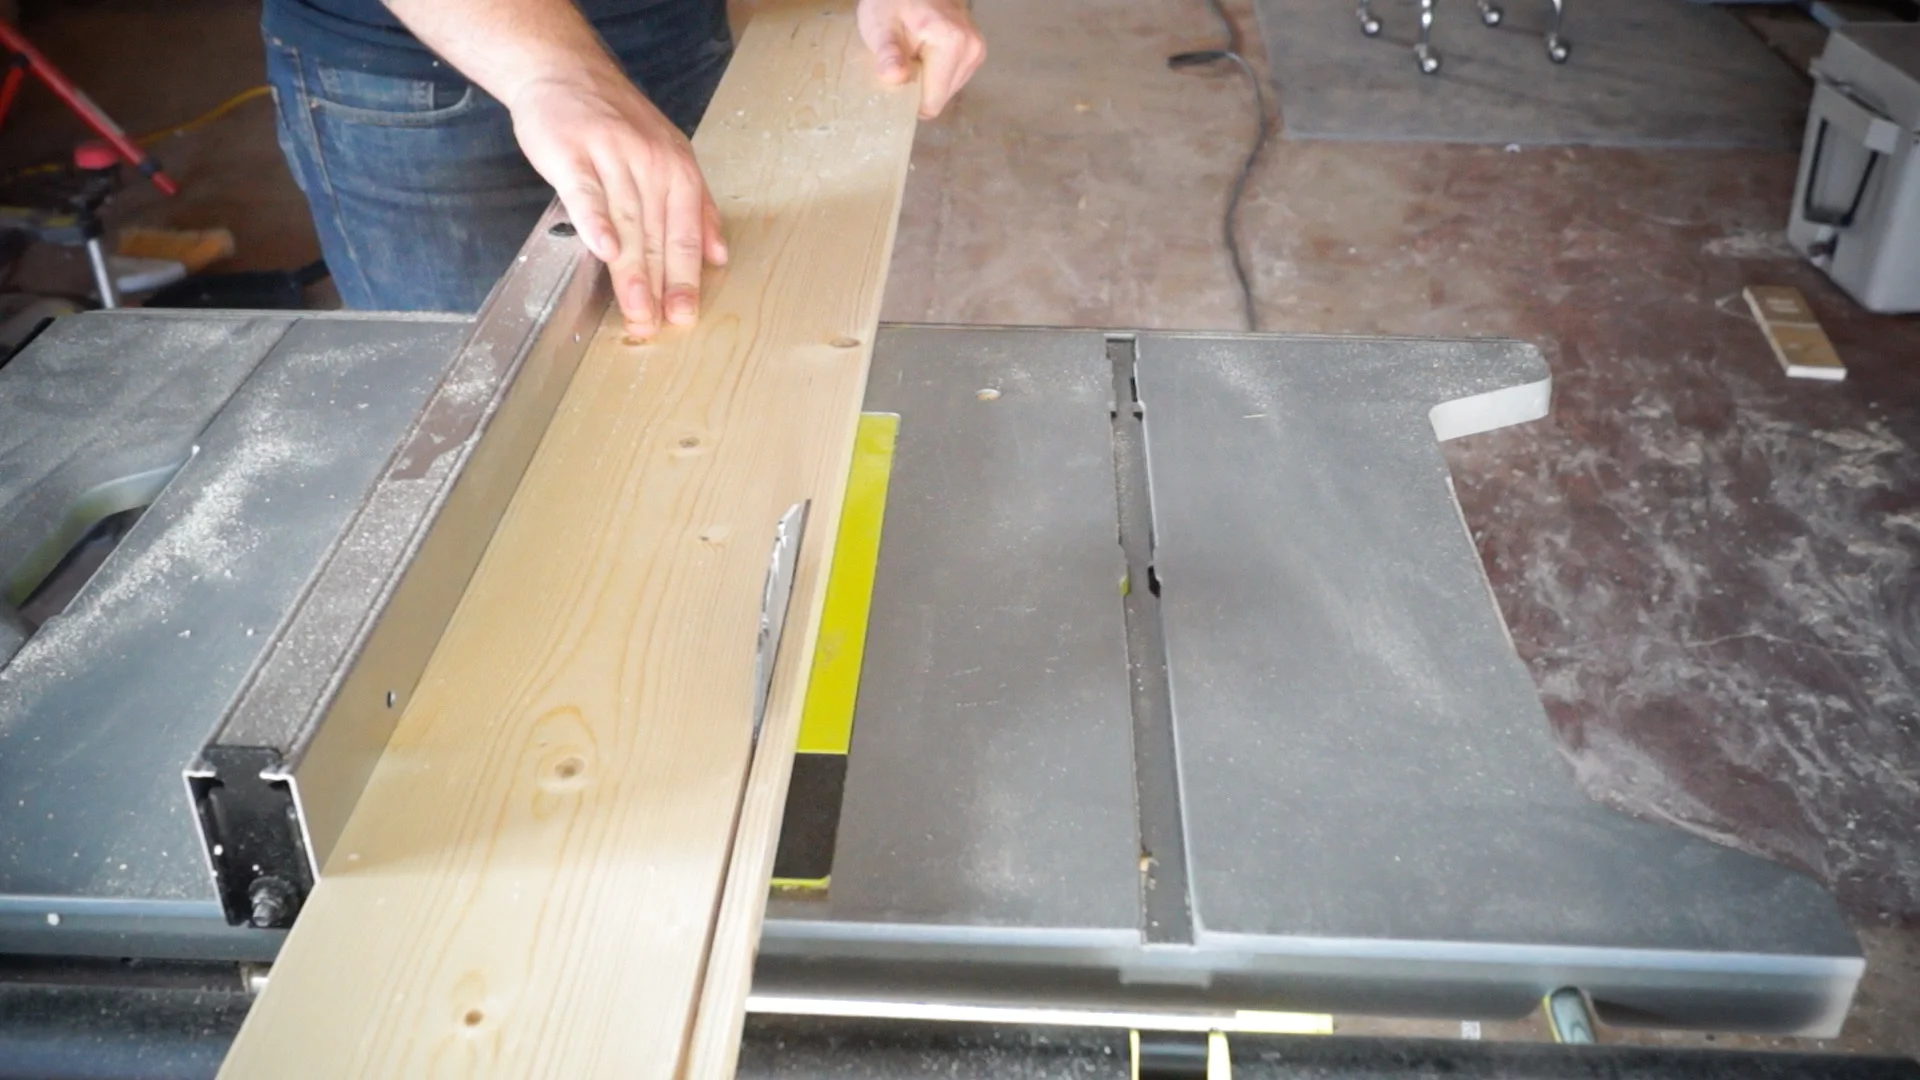
STEP FOUR: PUT A TOP ON IT
I ripped a 1x6 for the top to 5" wide and cut it to length so that there's a 3/4" overhang on all three faces. (the back sits flush with the studs.
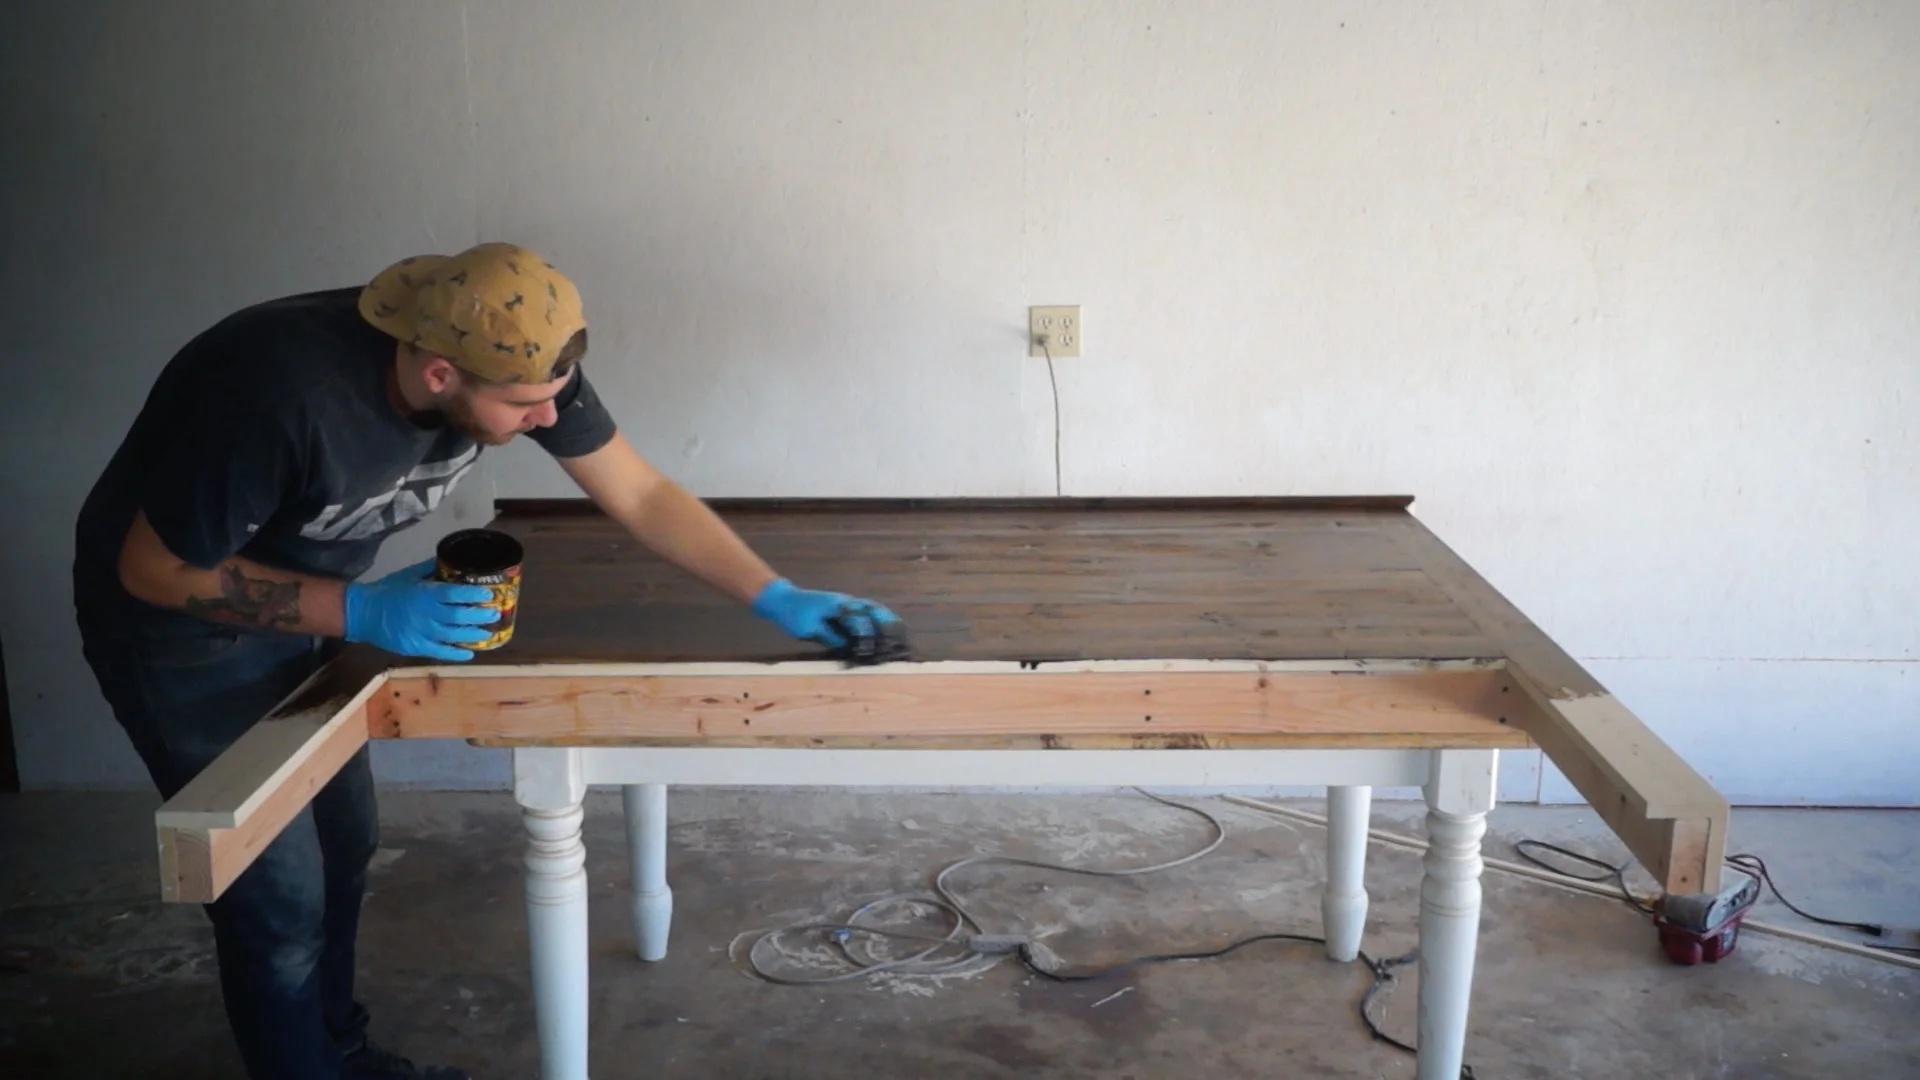
STEP FIVE: SAND AND STAIN
I sanded everything up to 220 grit and stained it with a dark walnut stain.


That's all there is to it! I hope you enjoyed it and go out and make your own. If you do, don't forget to tag me in a picture of it!
MORE COOL PROJECTS

GET IN TOUCH