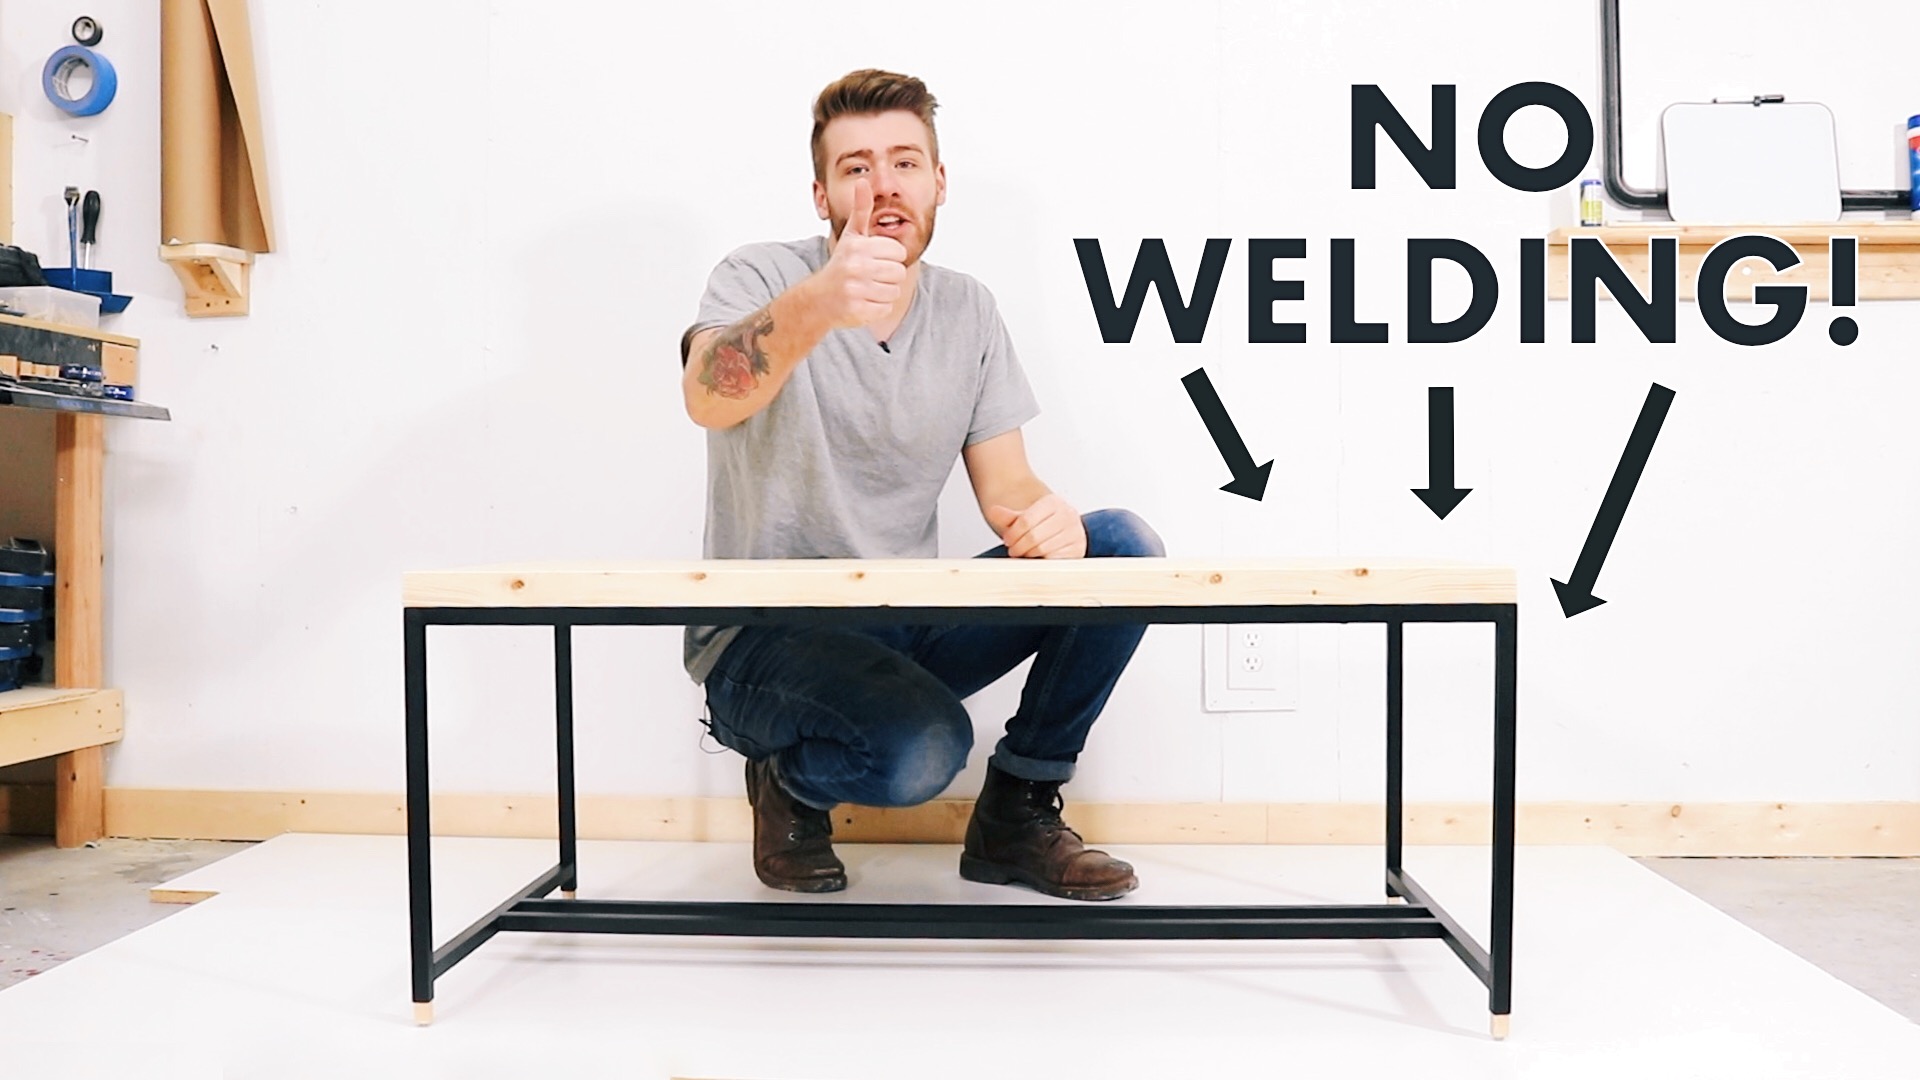
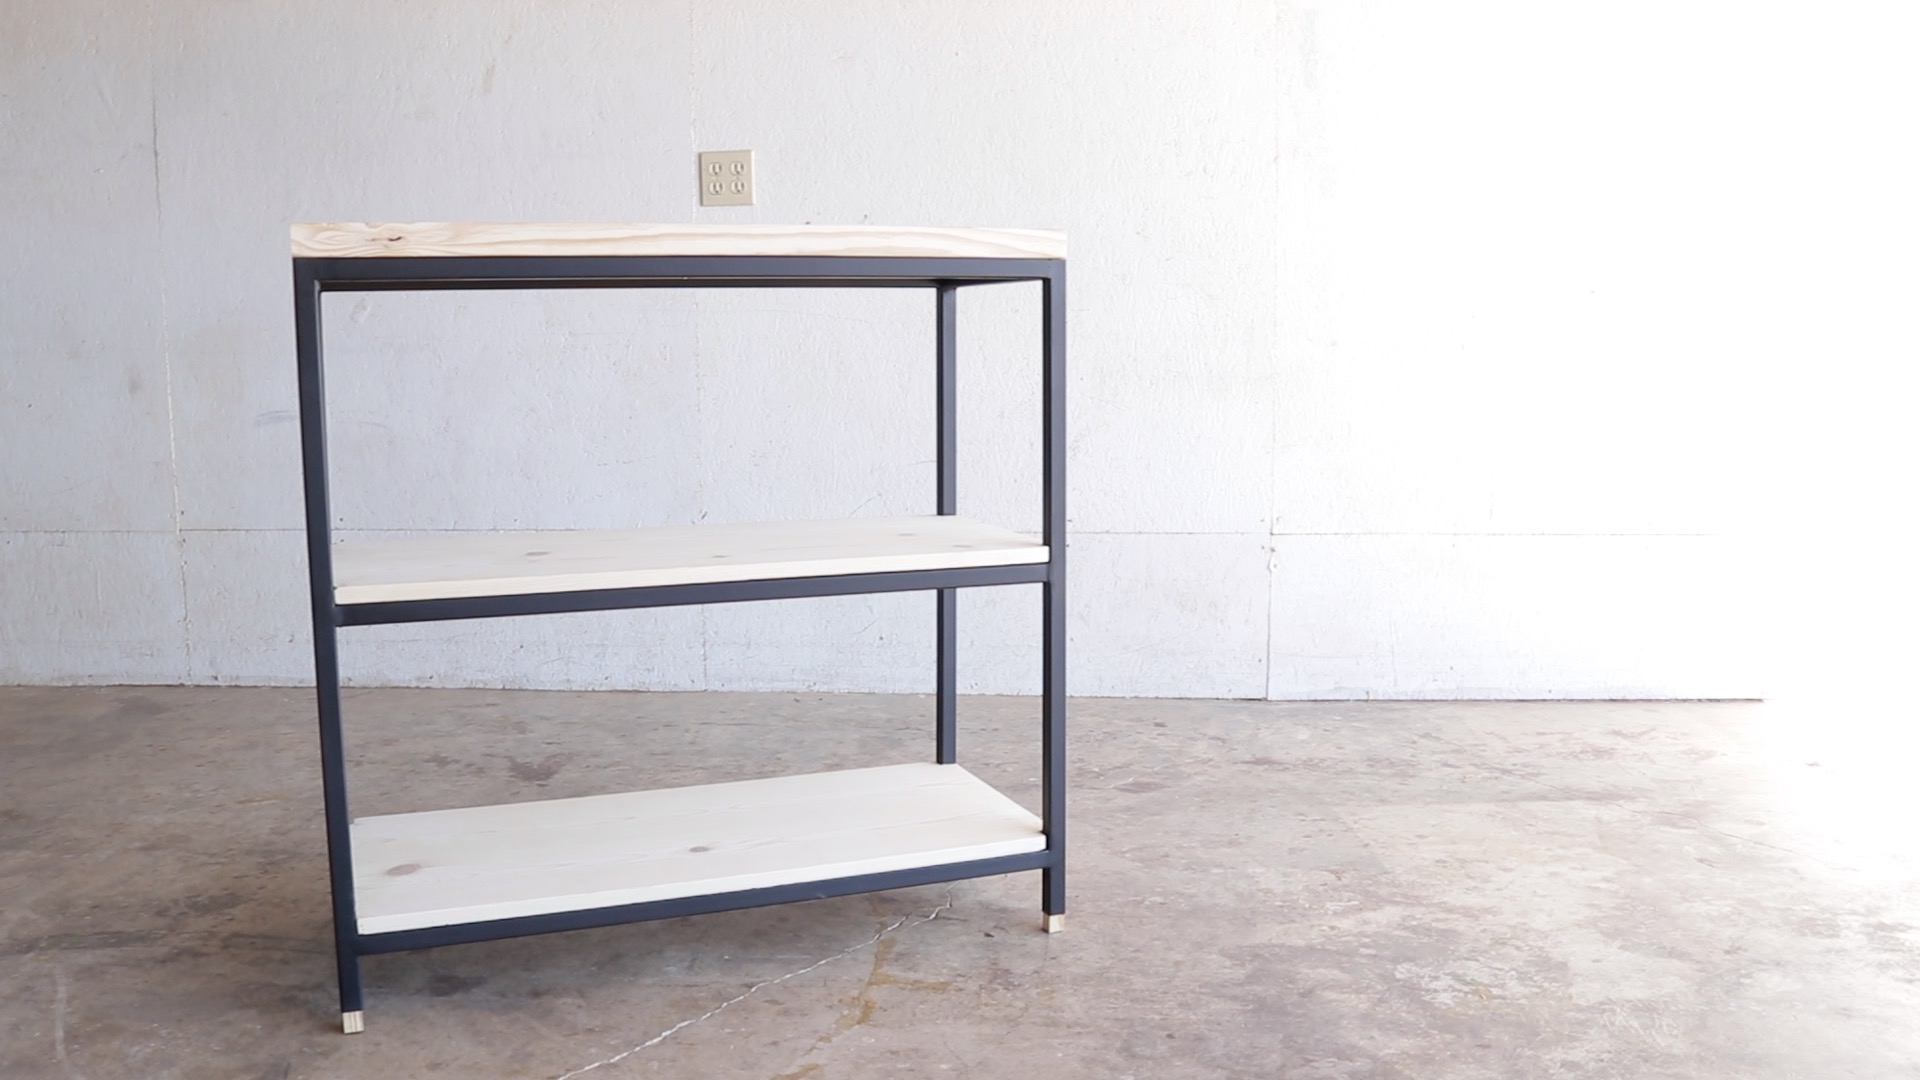
diy METAL & WOOD BOOKSHELF
modern builds: s.02 Ep.12

I've really enjoyed working more with metal lately. It's a super versitile material, and welding is definitley an important skill to acquire as a maker. This 3-tier bookshelf is a great beginner project for anybody looking to get started welding; all the angles are 90 degress and it's painted black so that you can grind down those ugly welds and smooth them out before painting.
While I was in Asheville collaborating with Johnny Brooke from Crafted Workshop we made a video titled "Intro to Welding for Woodworkers" and it's just that. A basic introduction to different types of welding, machines, materials and finishes. If you've wanted to weld, but something's held you back, hopefully this video can held you get one step closer. Here's the link if you're interested: https://youtu.be/5_Hd3y689jI
Materials and supplies
1x1" Steel Tubing 1/8" Wall
2x10 (top shelf)
1x10 (bottom Shelves)
Welder: http://amzn.to/2pcfFzE
Right Angle Magnets: http://amzn.to/2HyHYyX
Paint: https://amzn.to/2GmhqnX
Wood Finish: https://amzn.to/2GmLCPs
Wood Glue: https://amzn.to/2IMKDH1
Clear Gorilla Glue: https://amzn.to/2pzUKXC
I built the frame from 1x1" steel tubing with an 1/8" thick wall. A chop saw is a quick and easy way to get clean cuts that are really square. If you're able to, set up a stop block so that all your repeating cuts are the same length.
Once I had all my pieces cut I used right angle welding magnets to hold the pieces square and in place. I tack welding all my joints on one side, then I flipped the piece over and ran full beads across the joints. finally, I could flip the piece back over again to finish out the beads that I had tack welded before.
If you're new to welding you're weld probably won't look very great, so you'll want to get either a grinding disk or flap disk to smooth out your joints.
Adding the cross sections were pretty simple with the right angle magnets. I did move to the workbench so that I could set you on a flat surface.
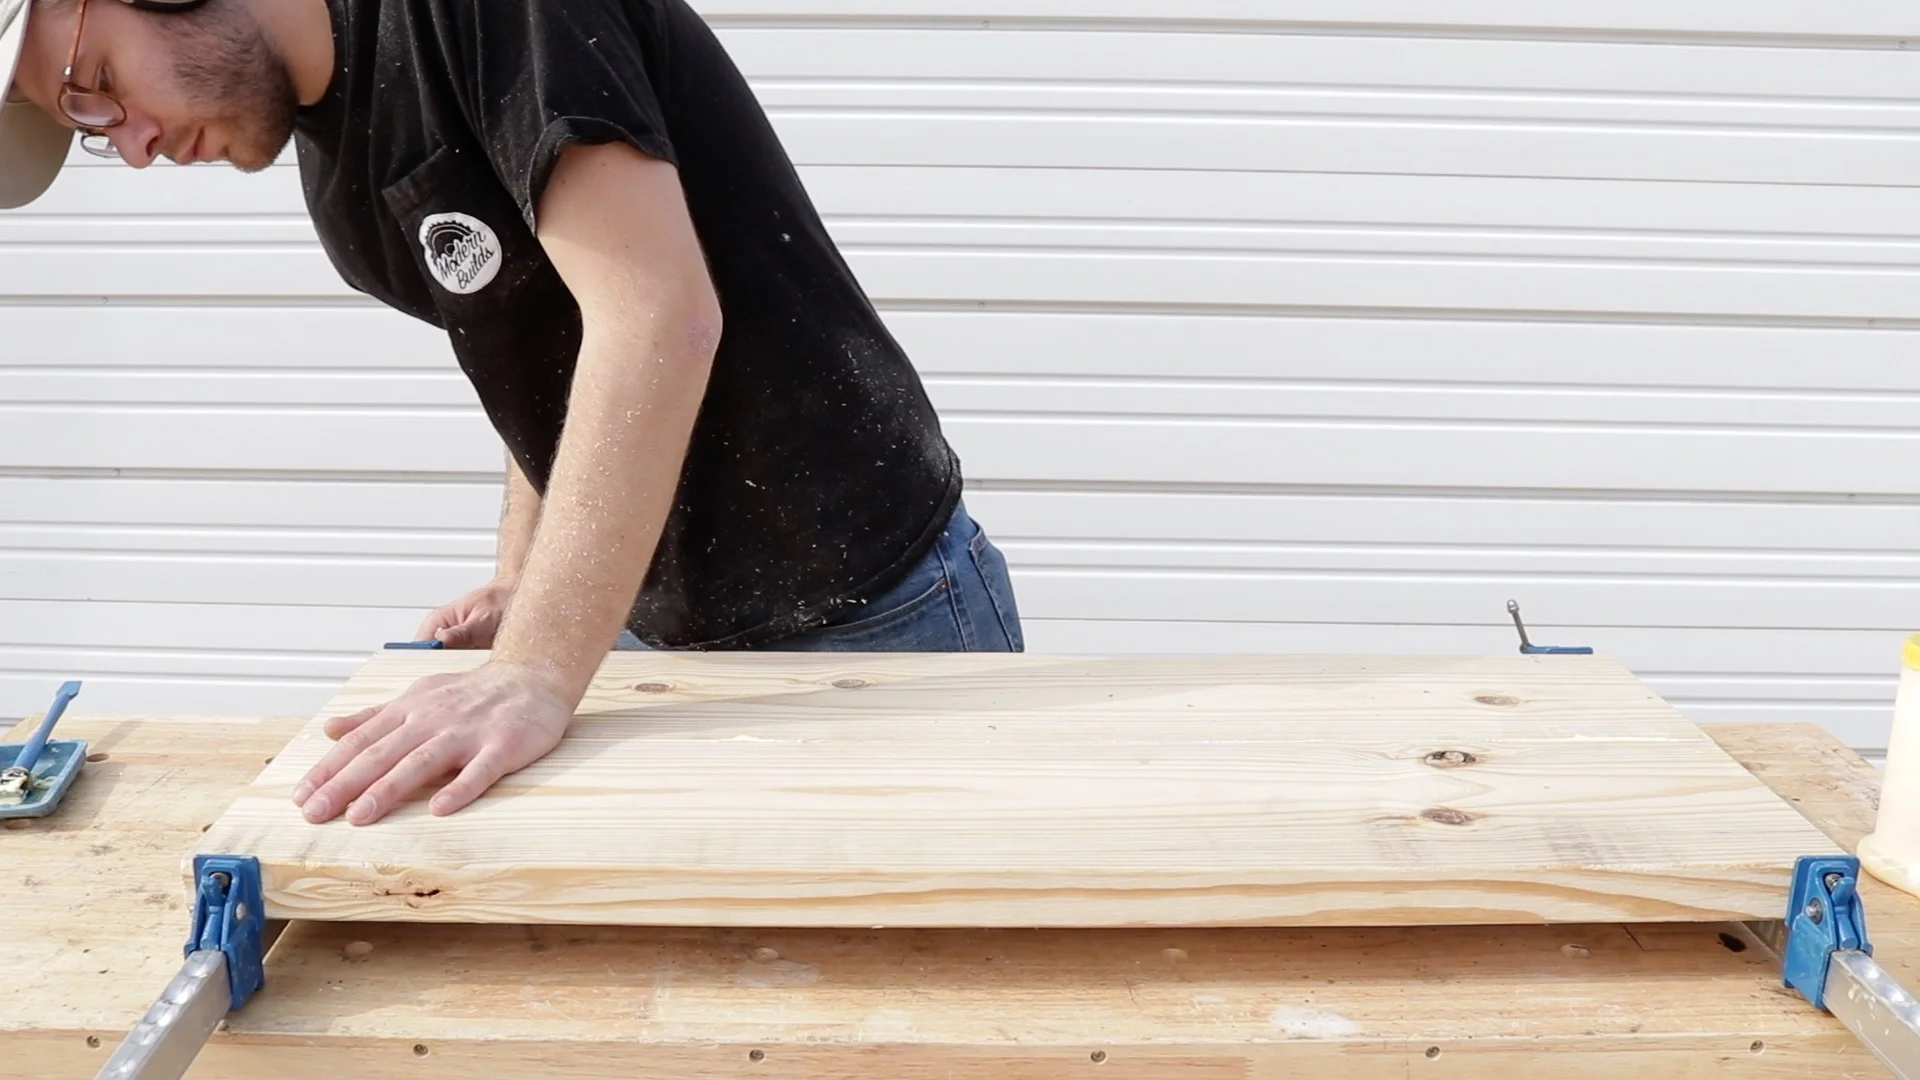
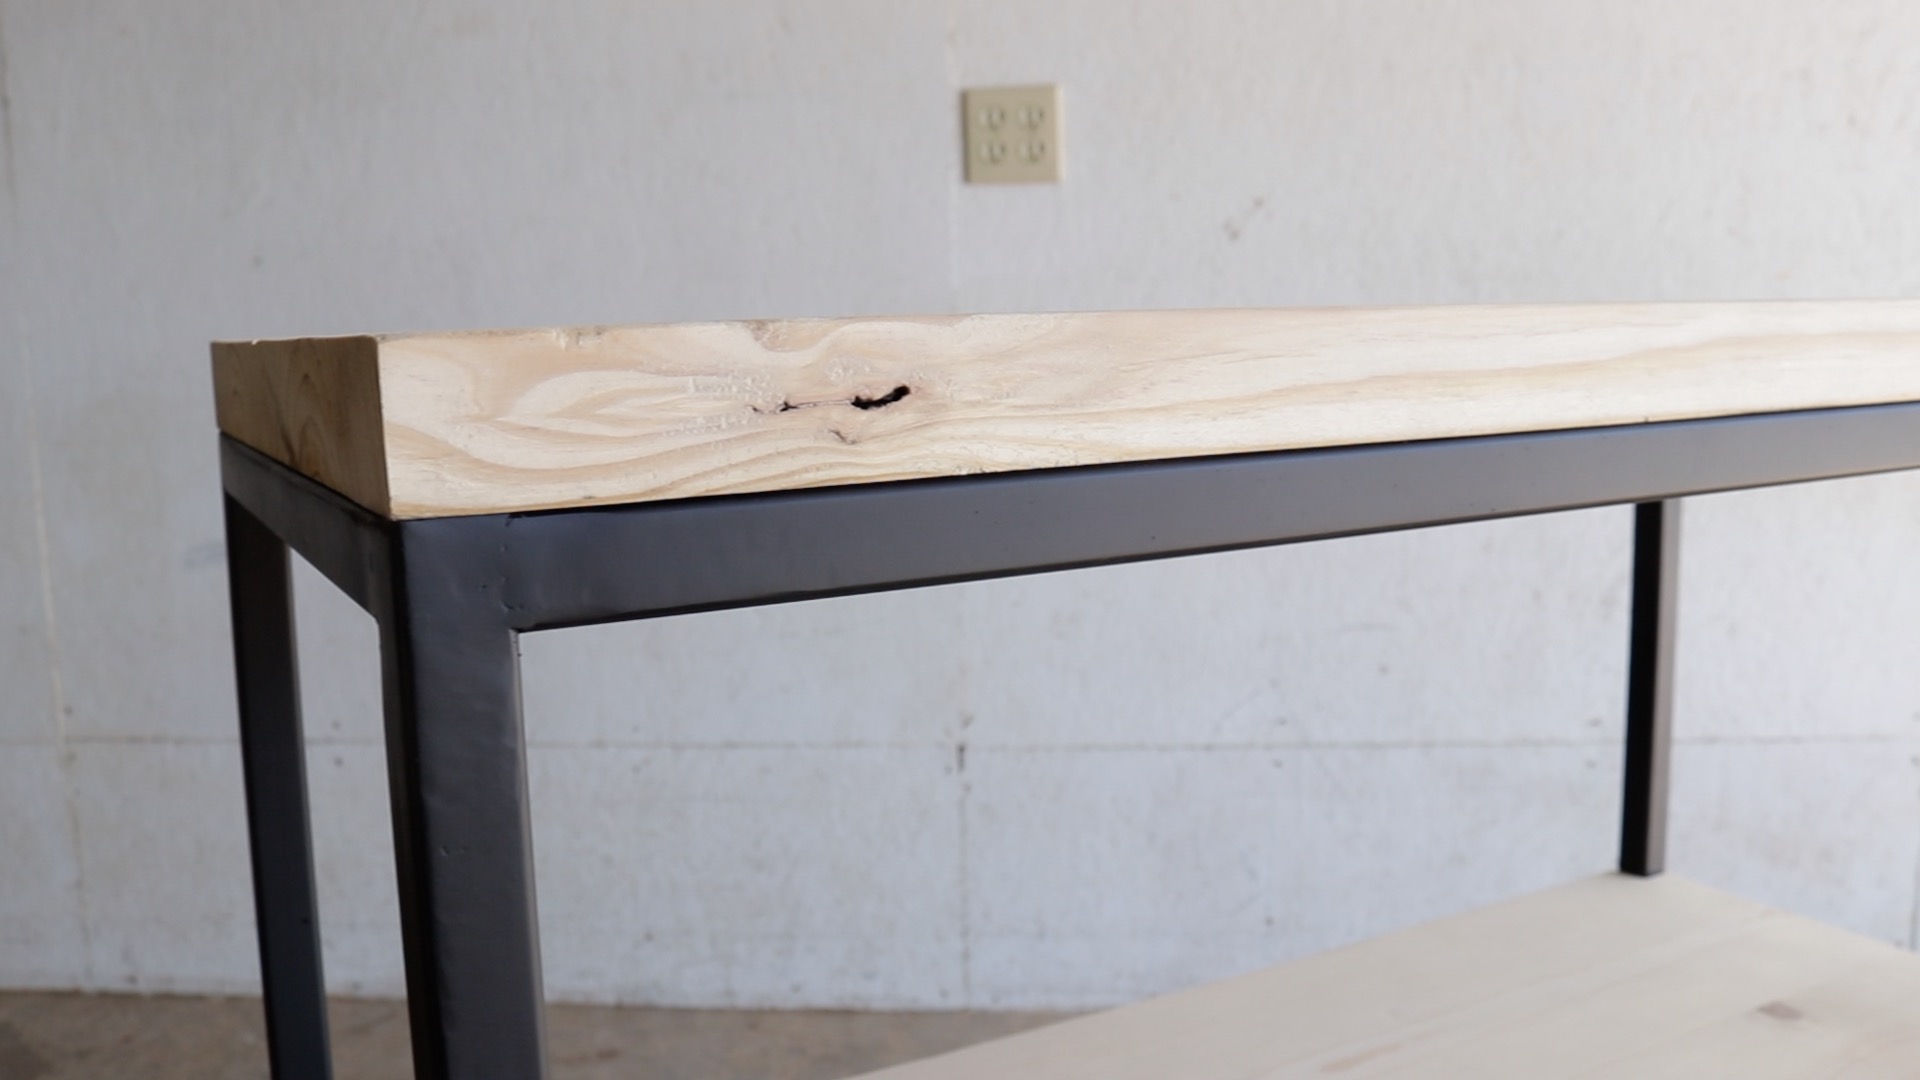
The top shelf is made from a 2x10. I ripped it to width on my table saw then cut it into two pieces so that I could glue them up to make a 16" wide shelf.
I made my shelf 'blank' longer than it needed to be so that once the glue dried I could come back with a circular saw and straight edge to trim it to it's final length.
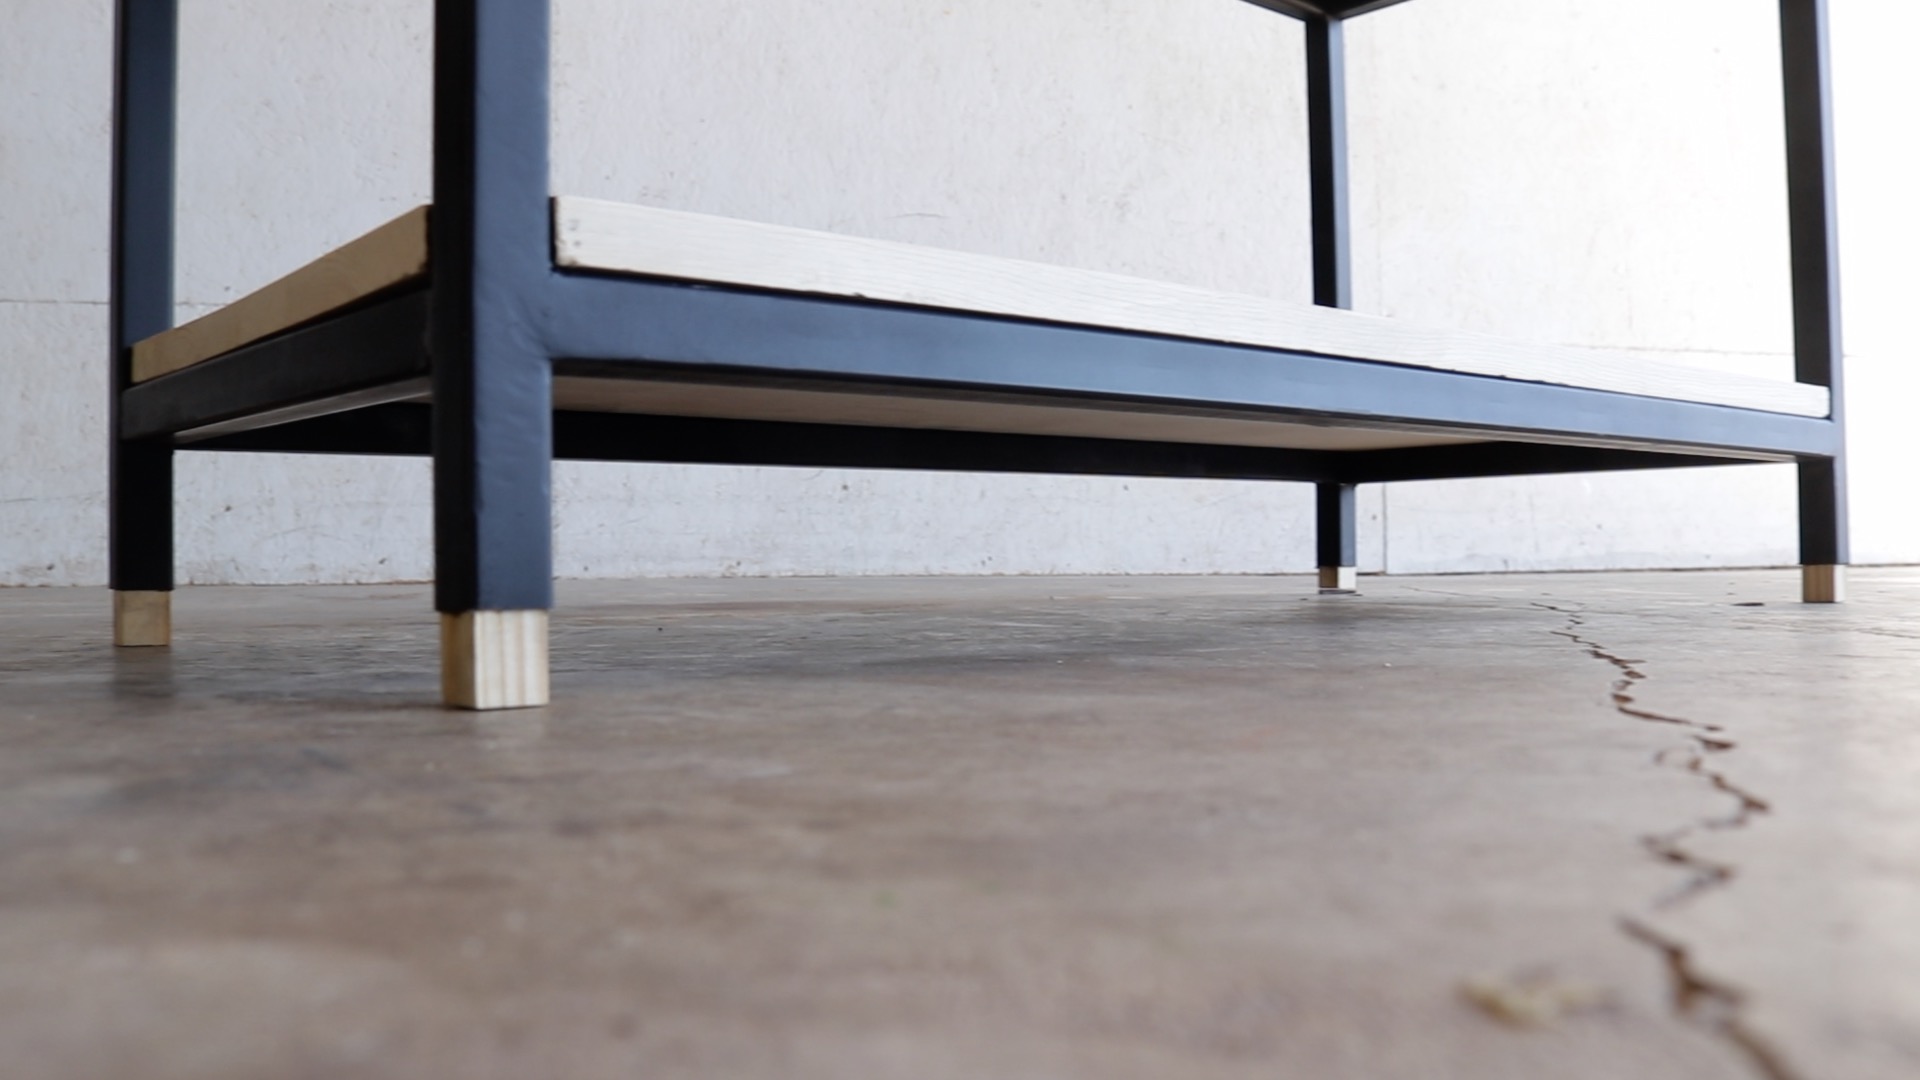
I predrilled holes through the frame and shelf and used wood screws to attach the top shelf to the frame. The bottom two shelves, which are made from 1x10's, did need screws. They were a pretty tight friction fit.

Adding these simple wooden feet definitely make for a cool look, but they also help level your shelf or table as the final step. I cut the pieces to size on my table saw and used clear gorilla glue to attach the legs to the frame. You want them to be a snug fit, a rubber mallet is good for knocking them to the correct depth. Mine stick out 1" from the bottom of the frame.
If you have any questions or find any issues with the article, feel free to get in touch.
more cool projects: