

EP. 33 MODERN CONCRETE COFFEE TABLE
Today I'm building a modern coffee table with a concrete table top and a base made of walnut plywood.
MATERIALS AND SUPPLIES:
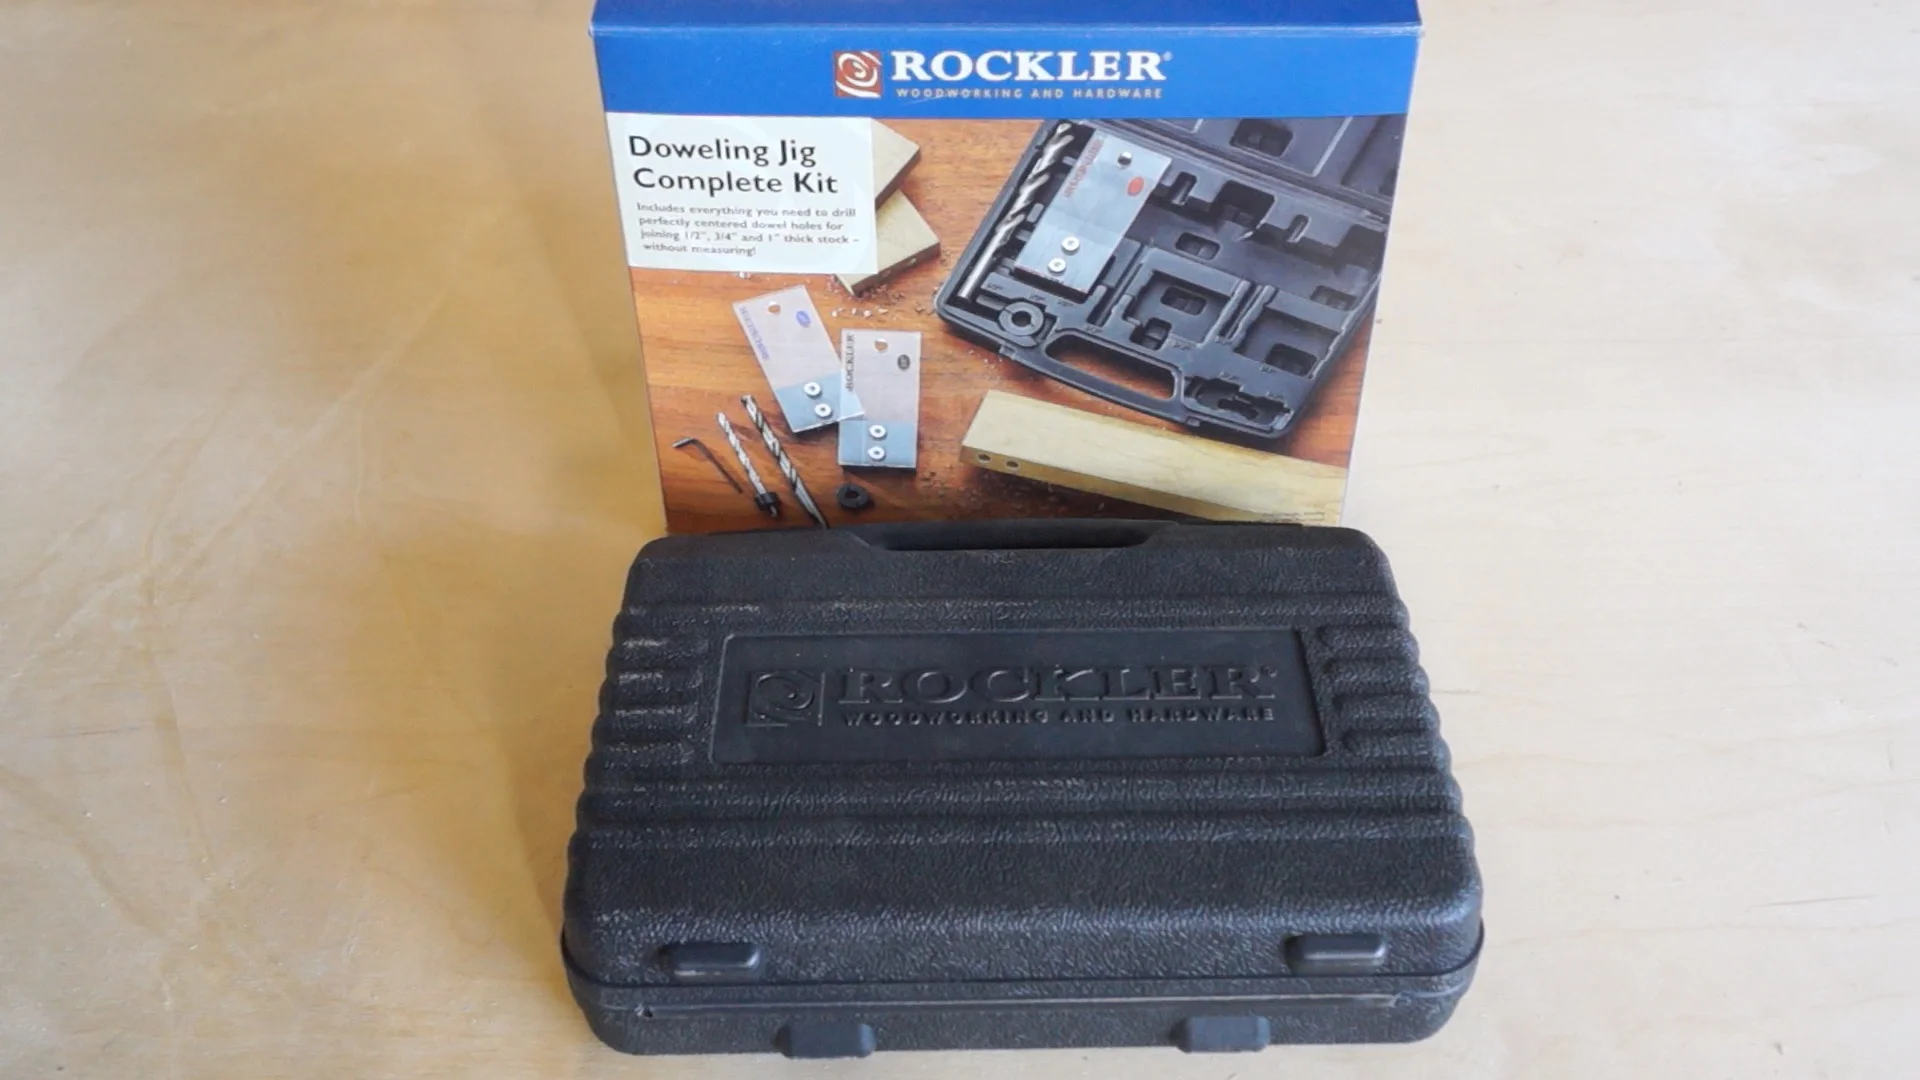
Doweling Jig: http://goo.gl/xgrQyE
2 3/4" Walnut Plywood: http://goo.gl/61ps0K
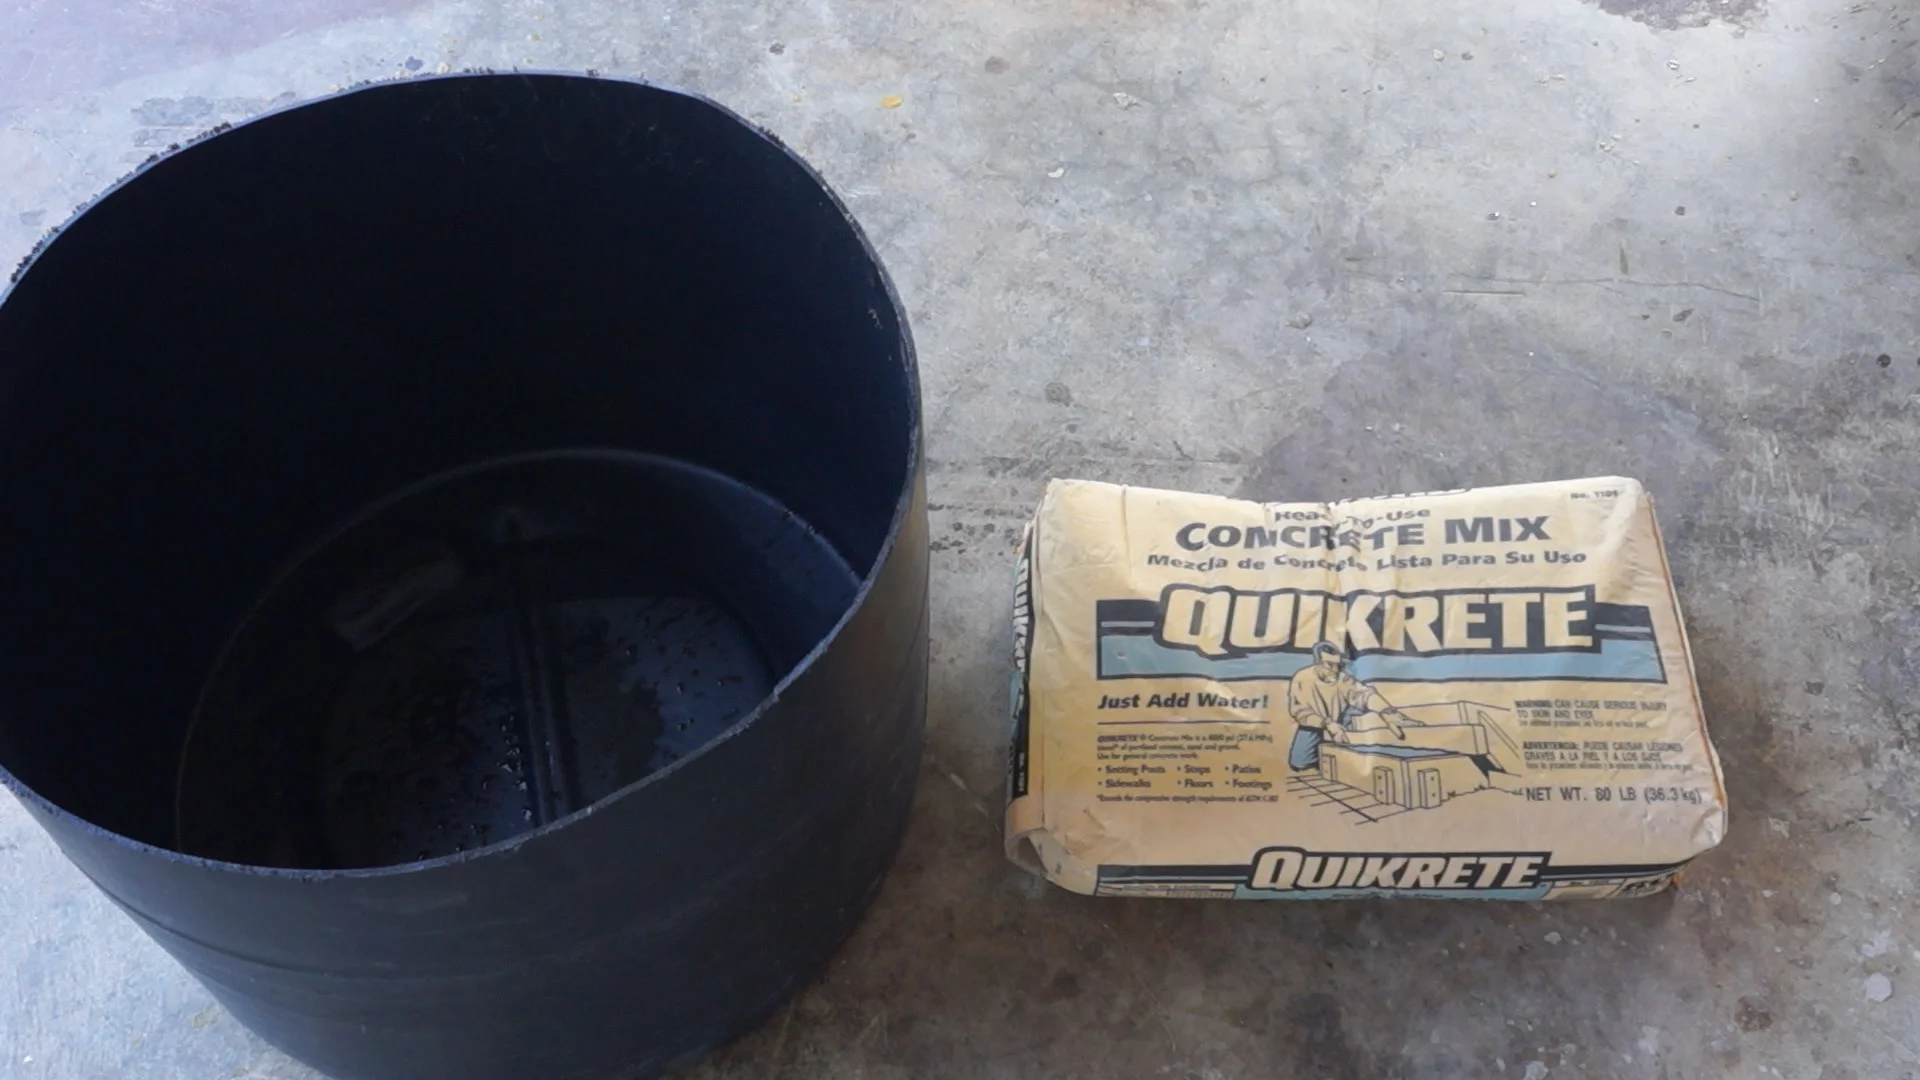
2 80lbs. bags of concrete
Charcoal Concrete Pigment: http://amzn.to/22a3Oxn
3/4" Melamine
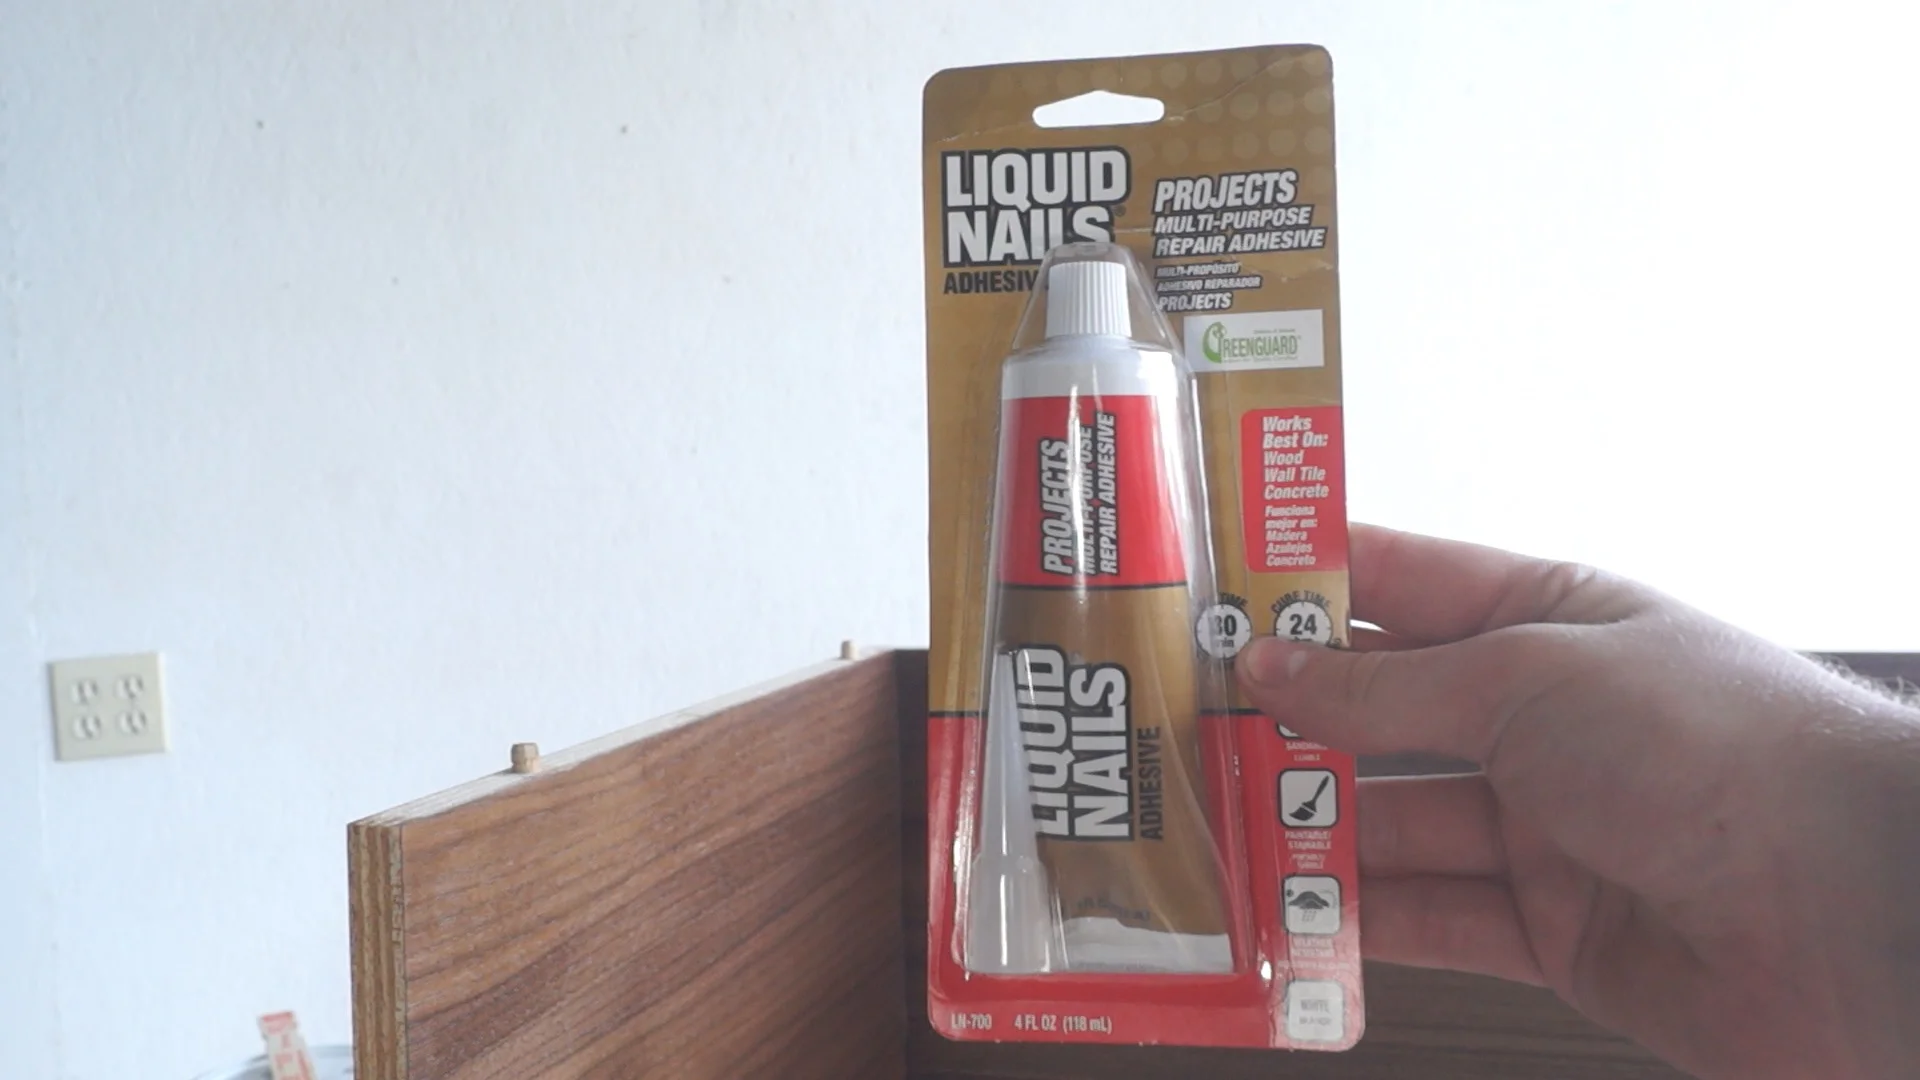
Liquid Nails Adhesive: http://amzn.to/1WAFaWV
Watco Danish Oil: http://amzn.to/1ZSz2HB
Concrete Sealer: http://amzn.to/1VXkLeB
Carnauba Wax: http://amzn.to/1WxU9Bq
3/8" Masonry Bit:
Caulk Tool: http://amzn.to/1TiEW2V
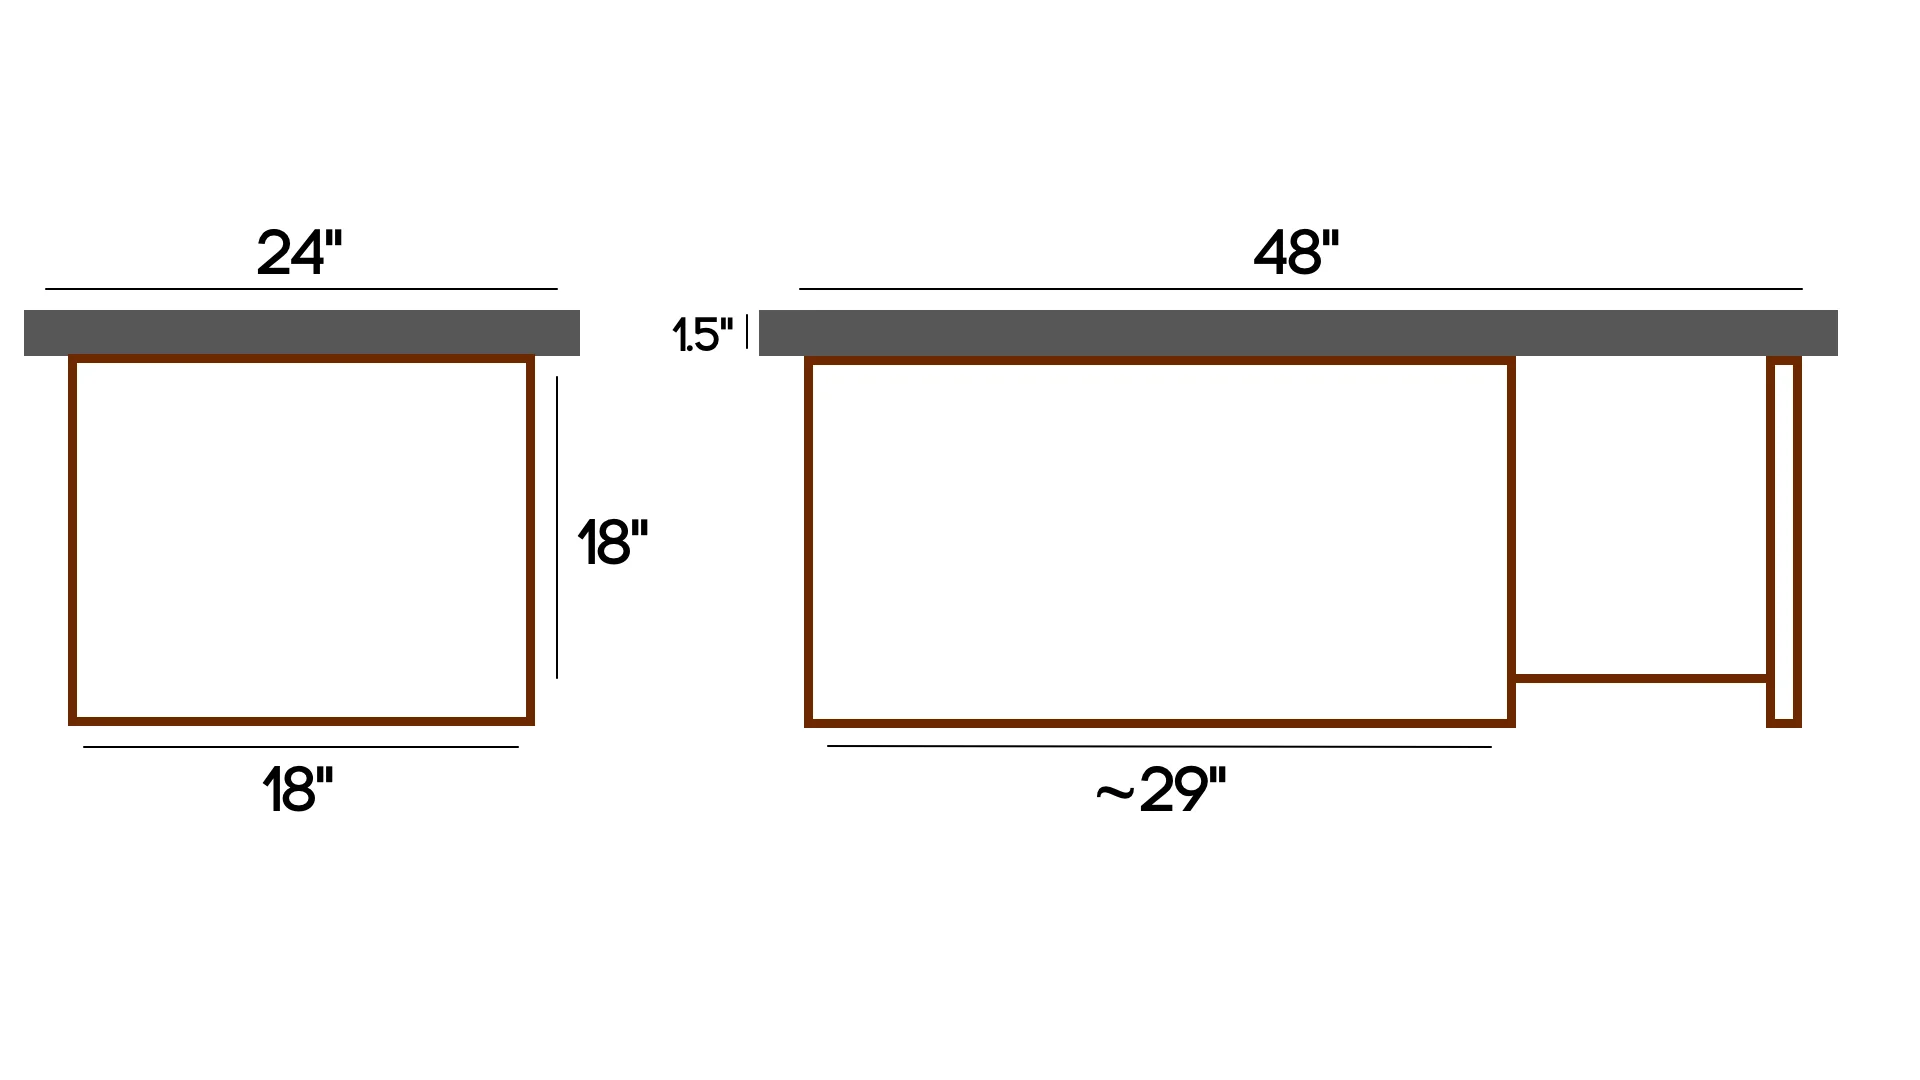
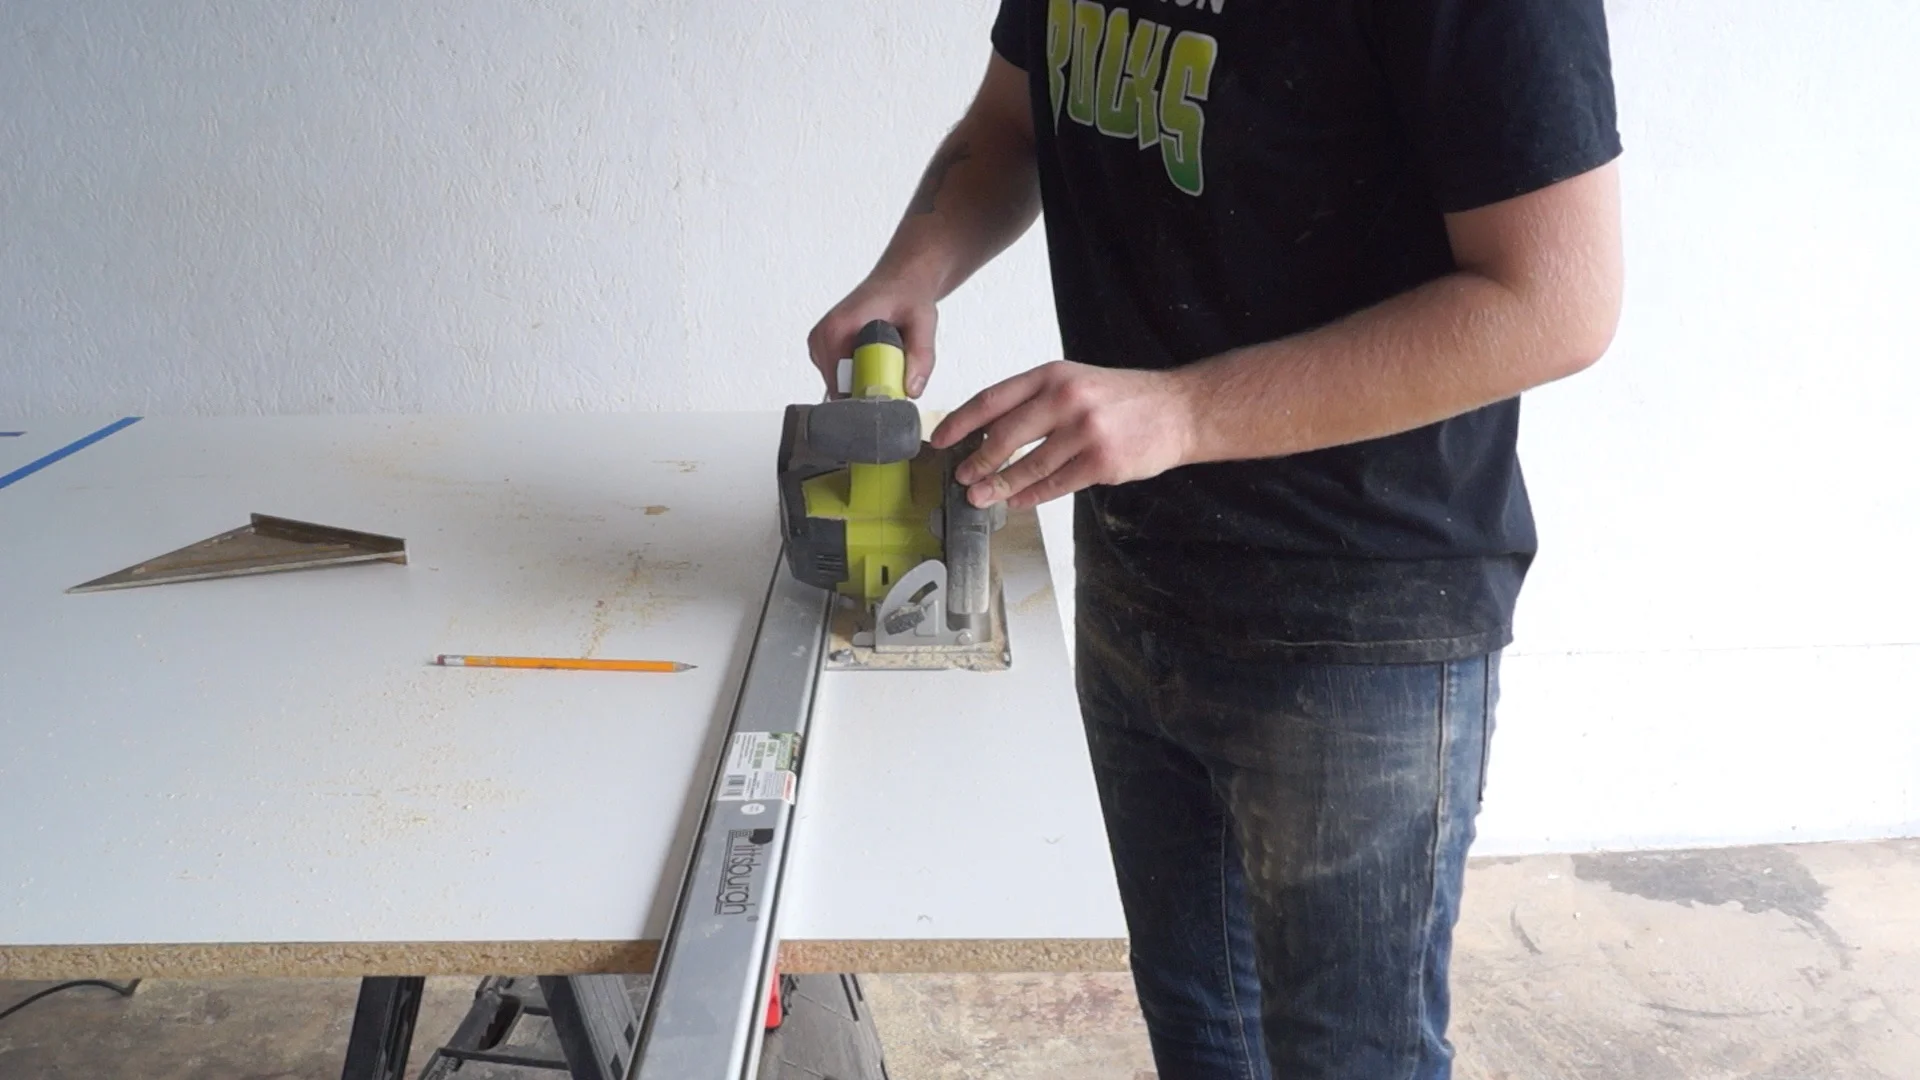
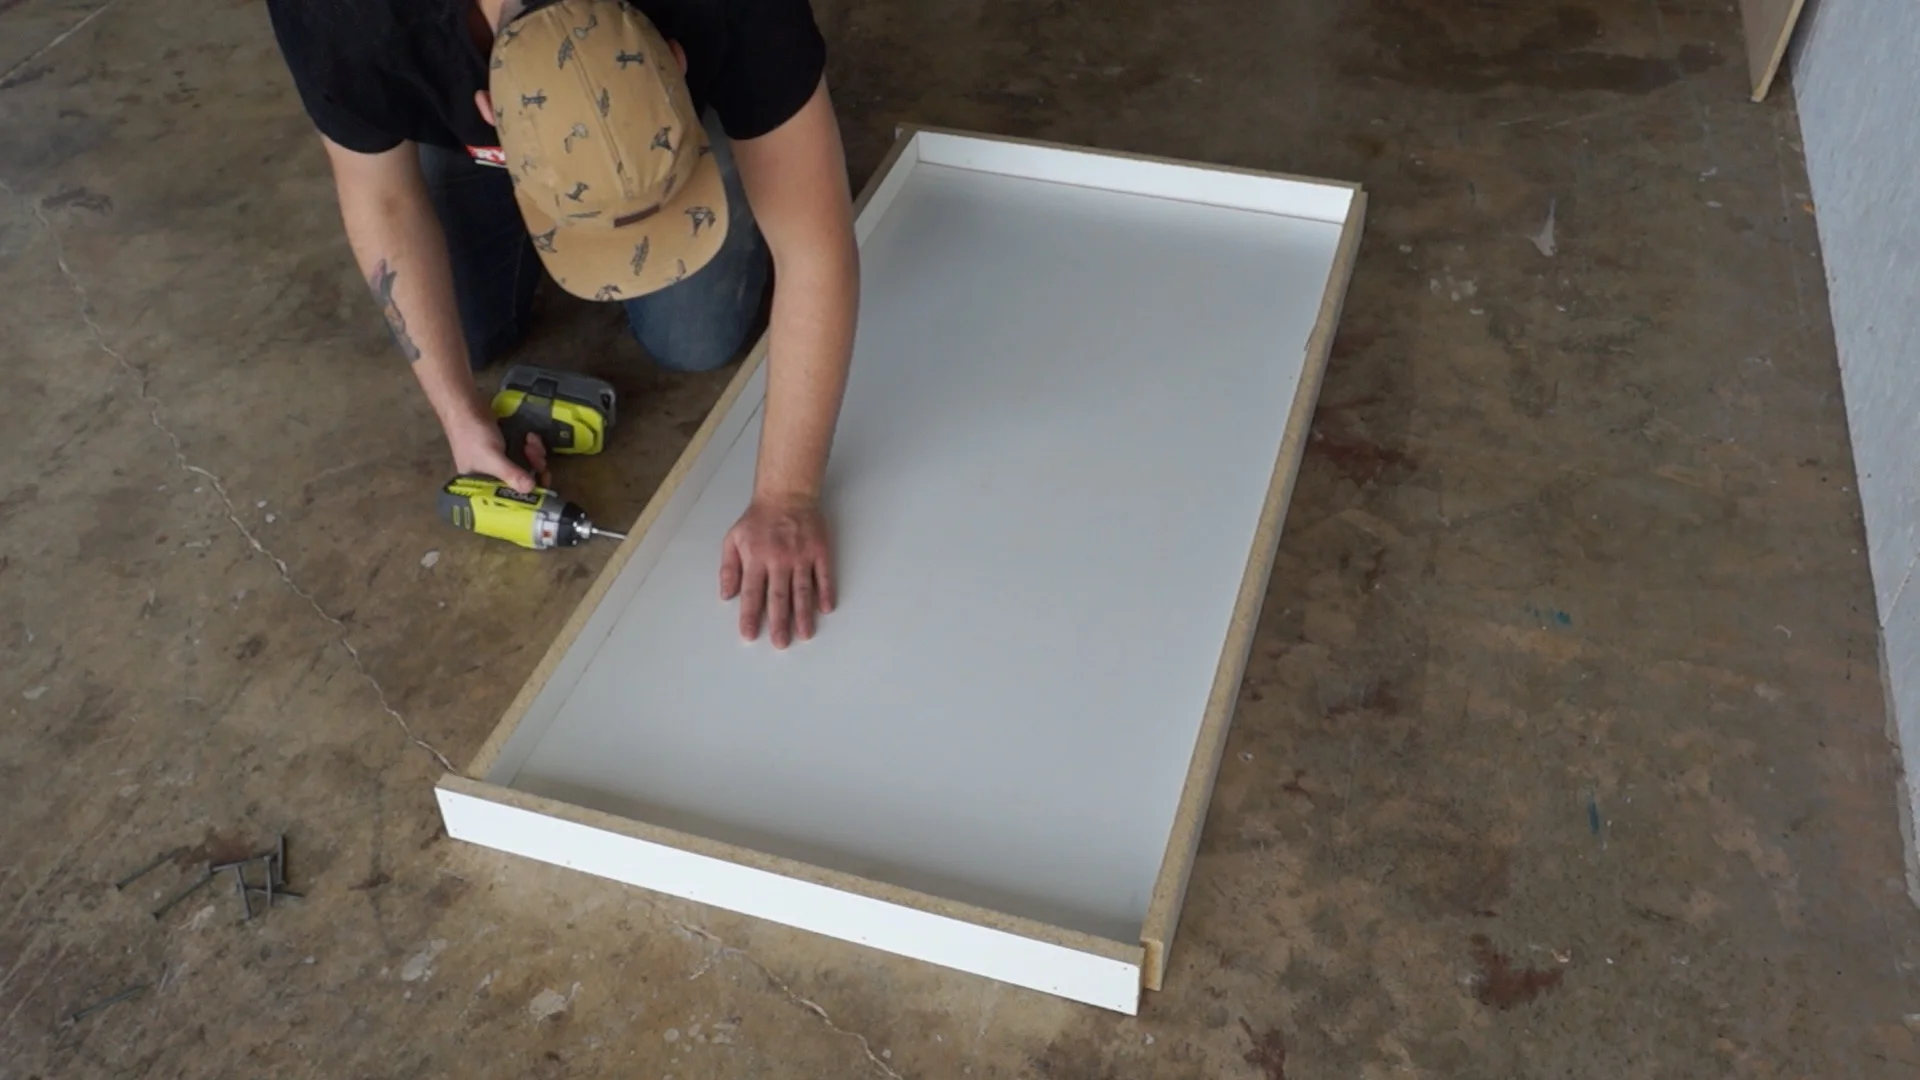
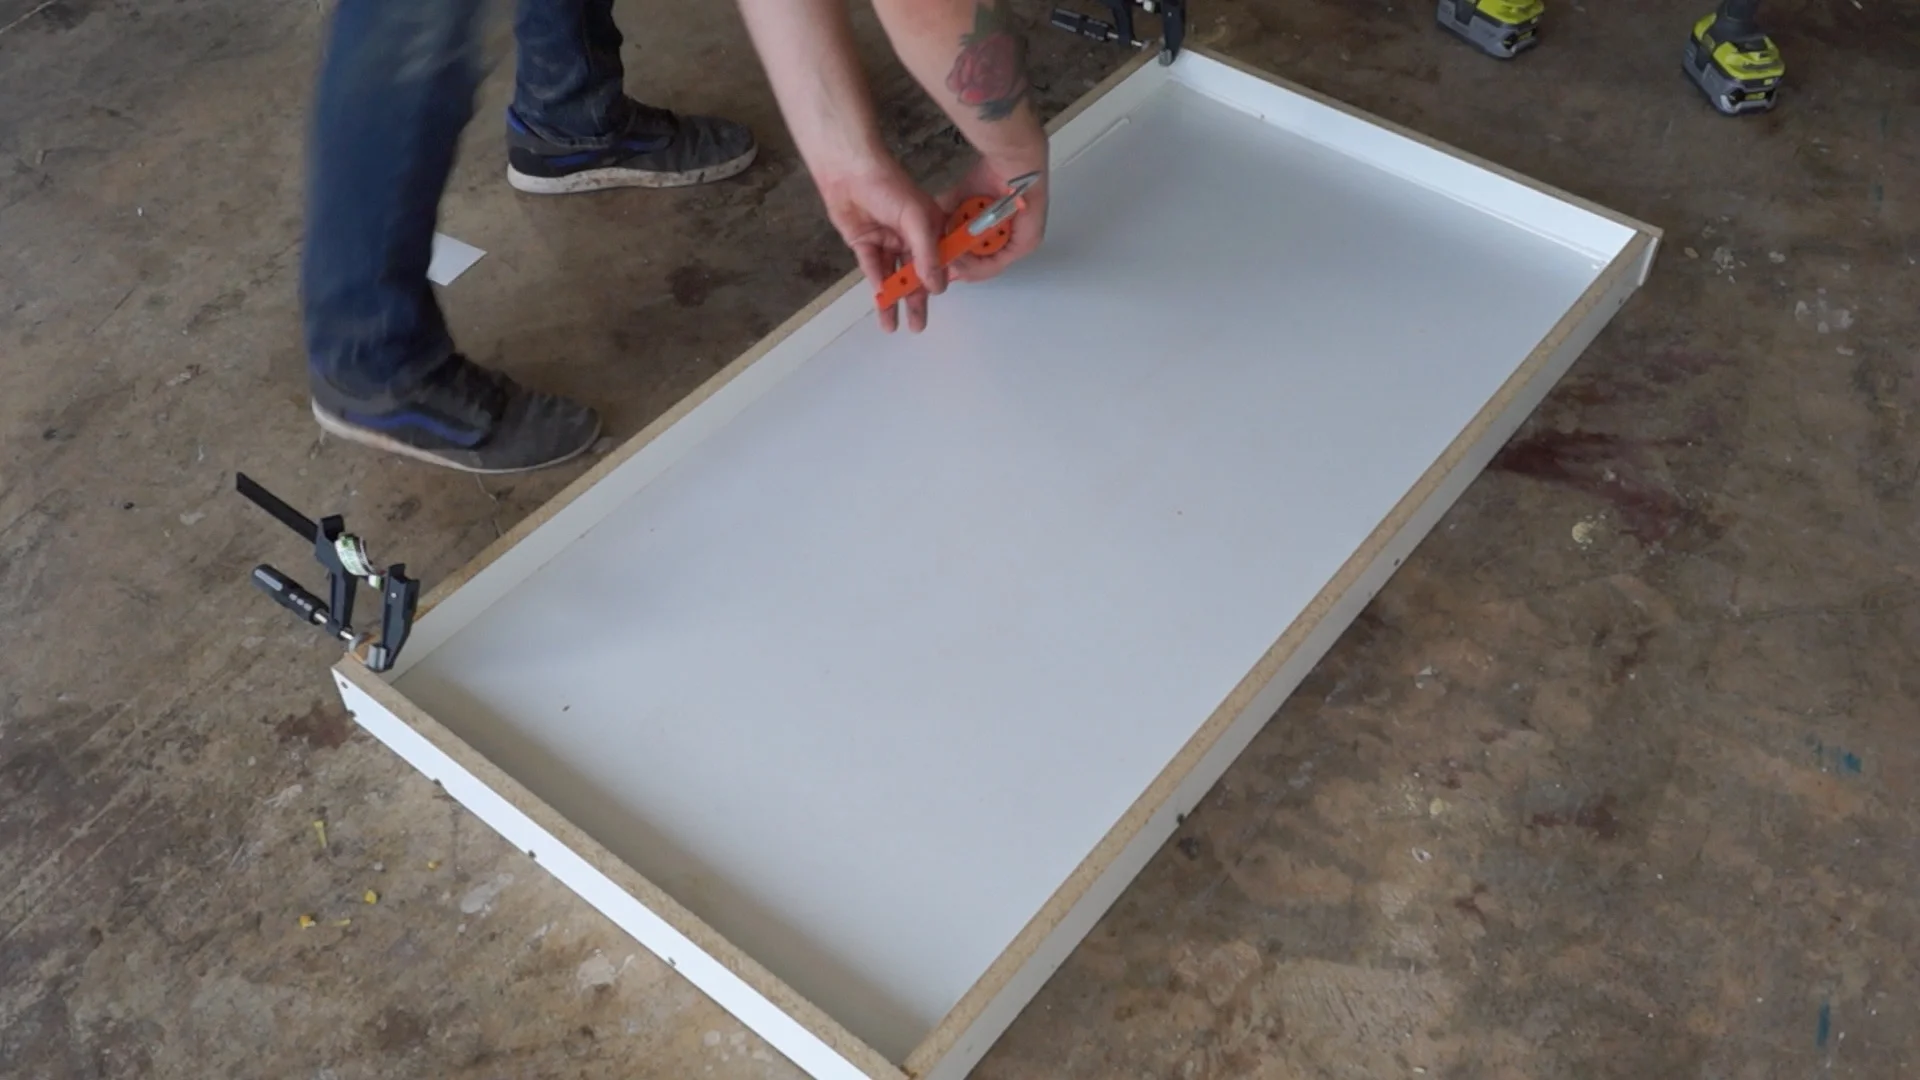
STEP ONE: Make The Form
The form is made of 3/4" melamine. The table top is 24"x48" and 1.5" thick.
STEP TWO: POUR THE CONCRETE
To fill my mold, I ended up using about 1.5 bags of concrete and a half of a bottle of charcoal pigment.


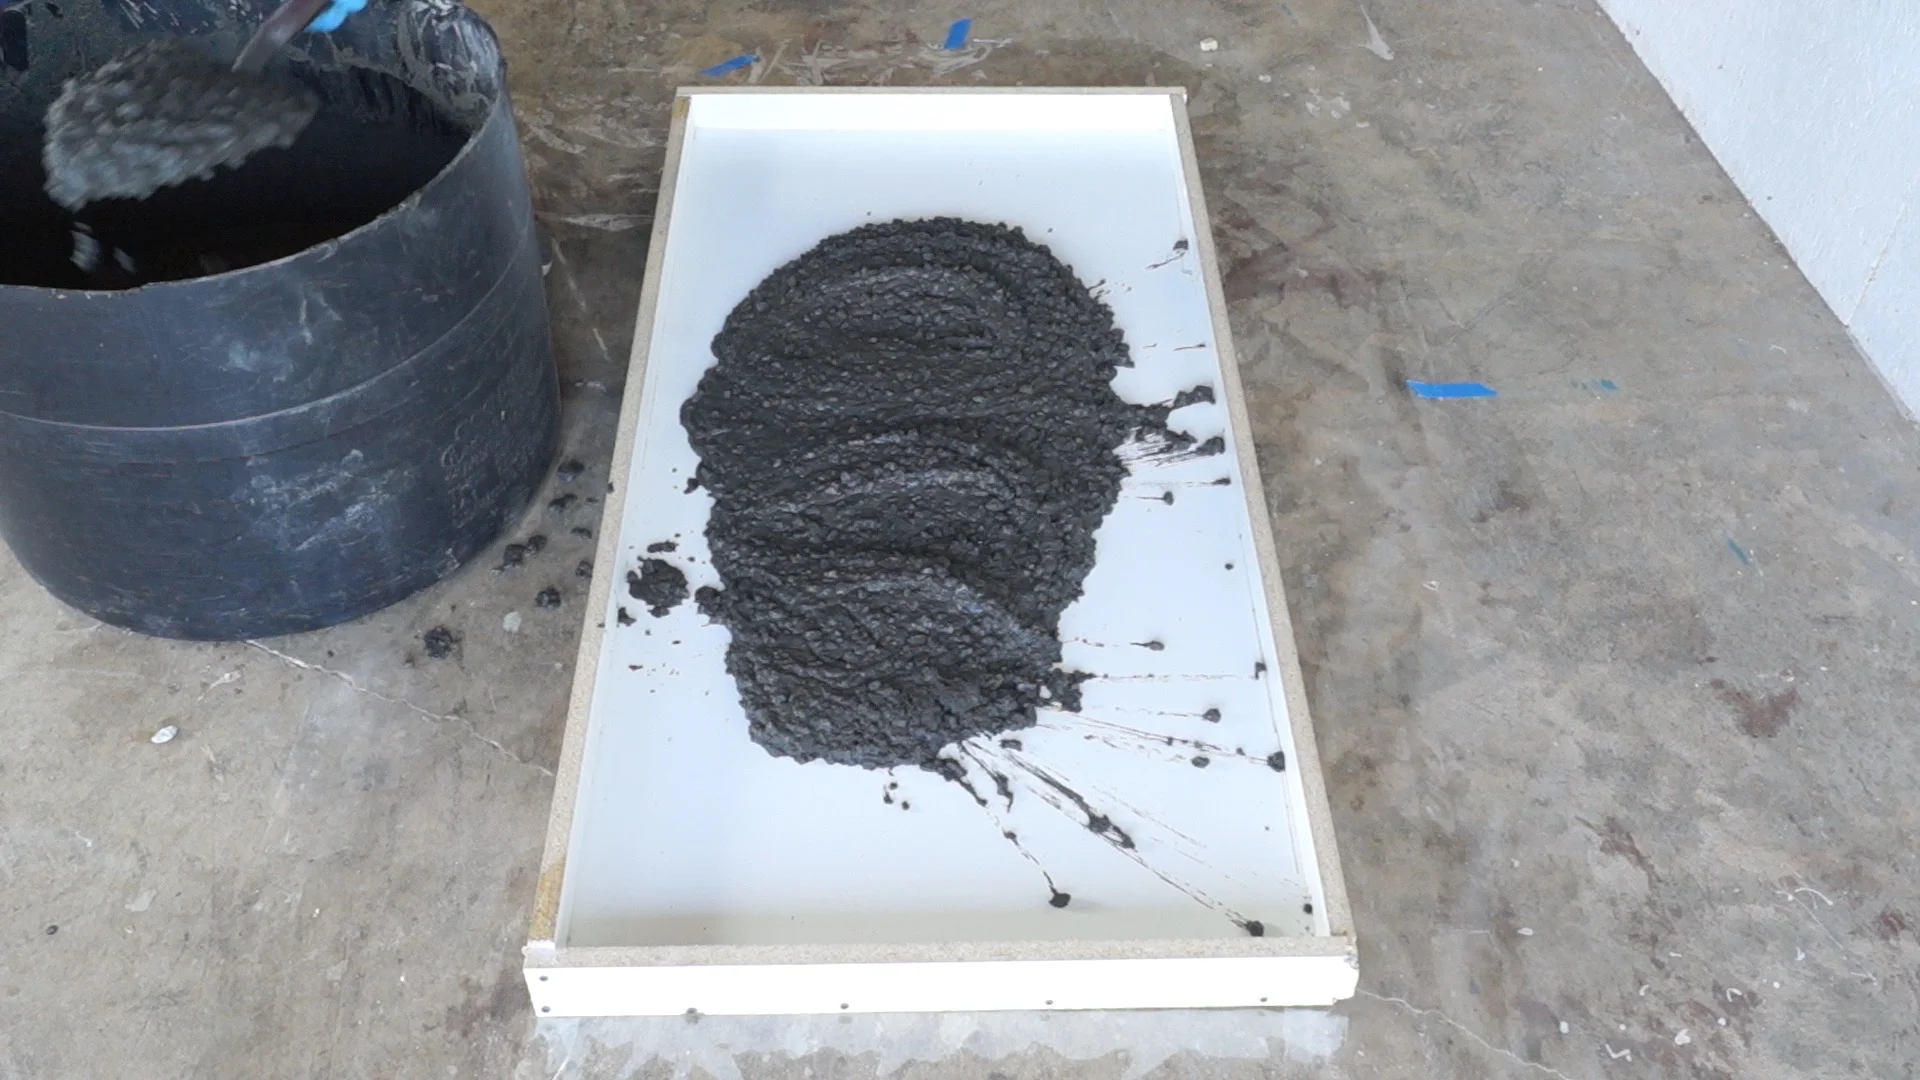
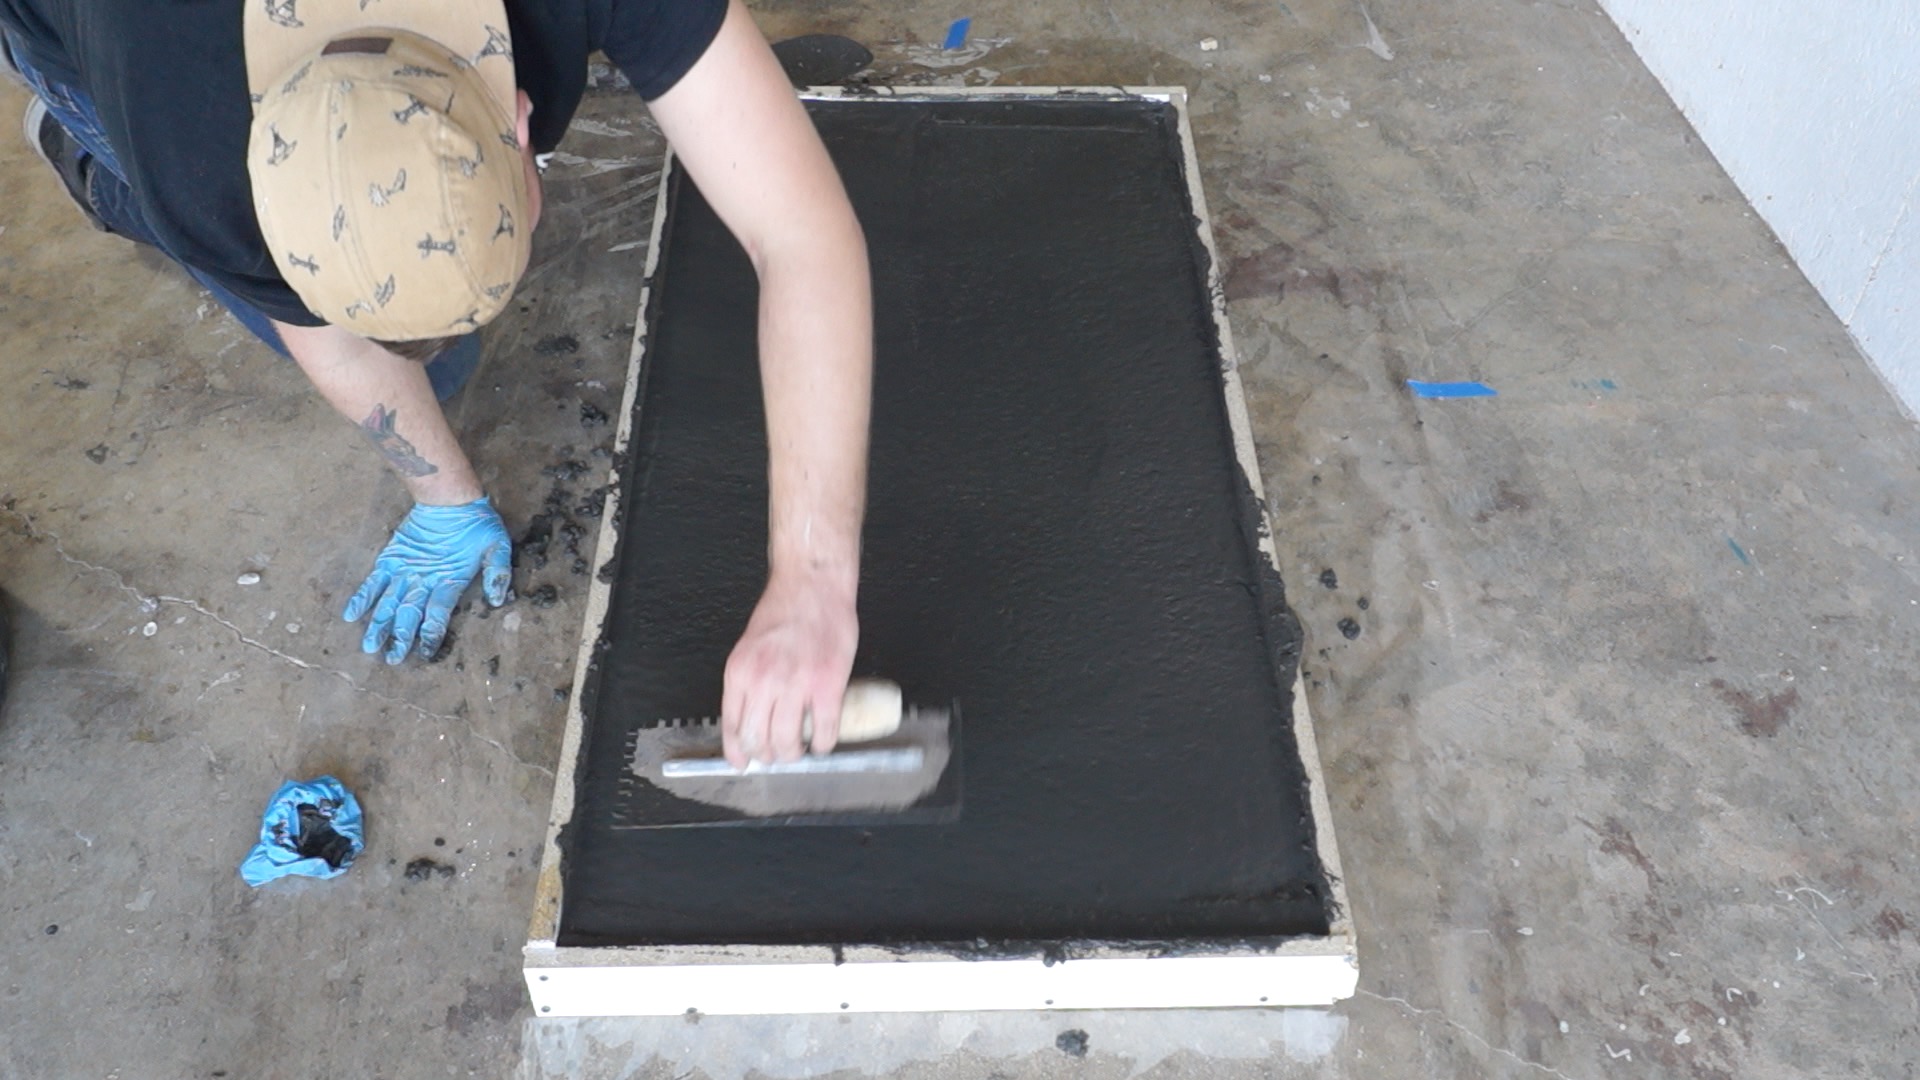
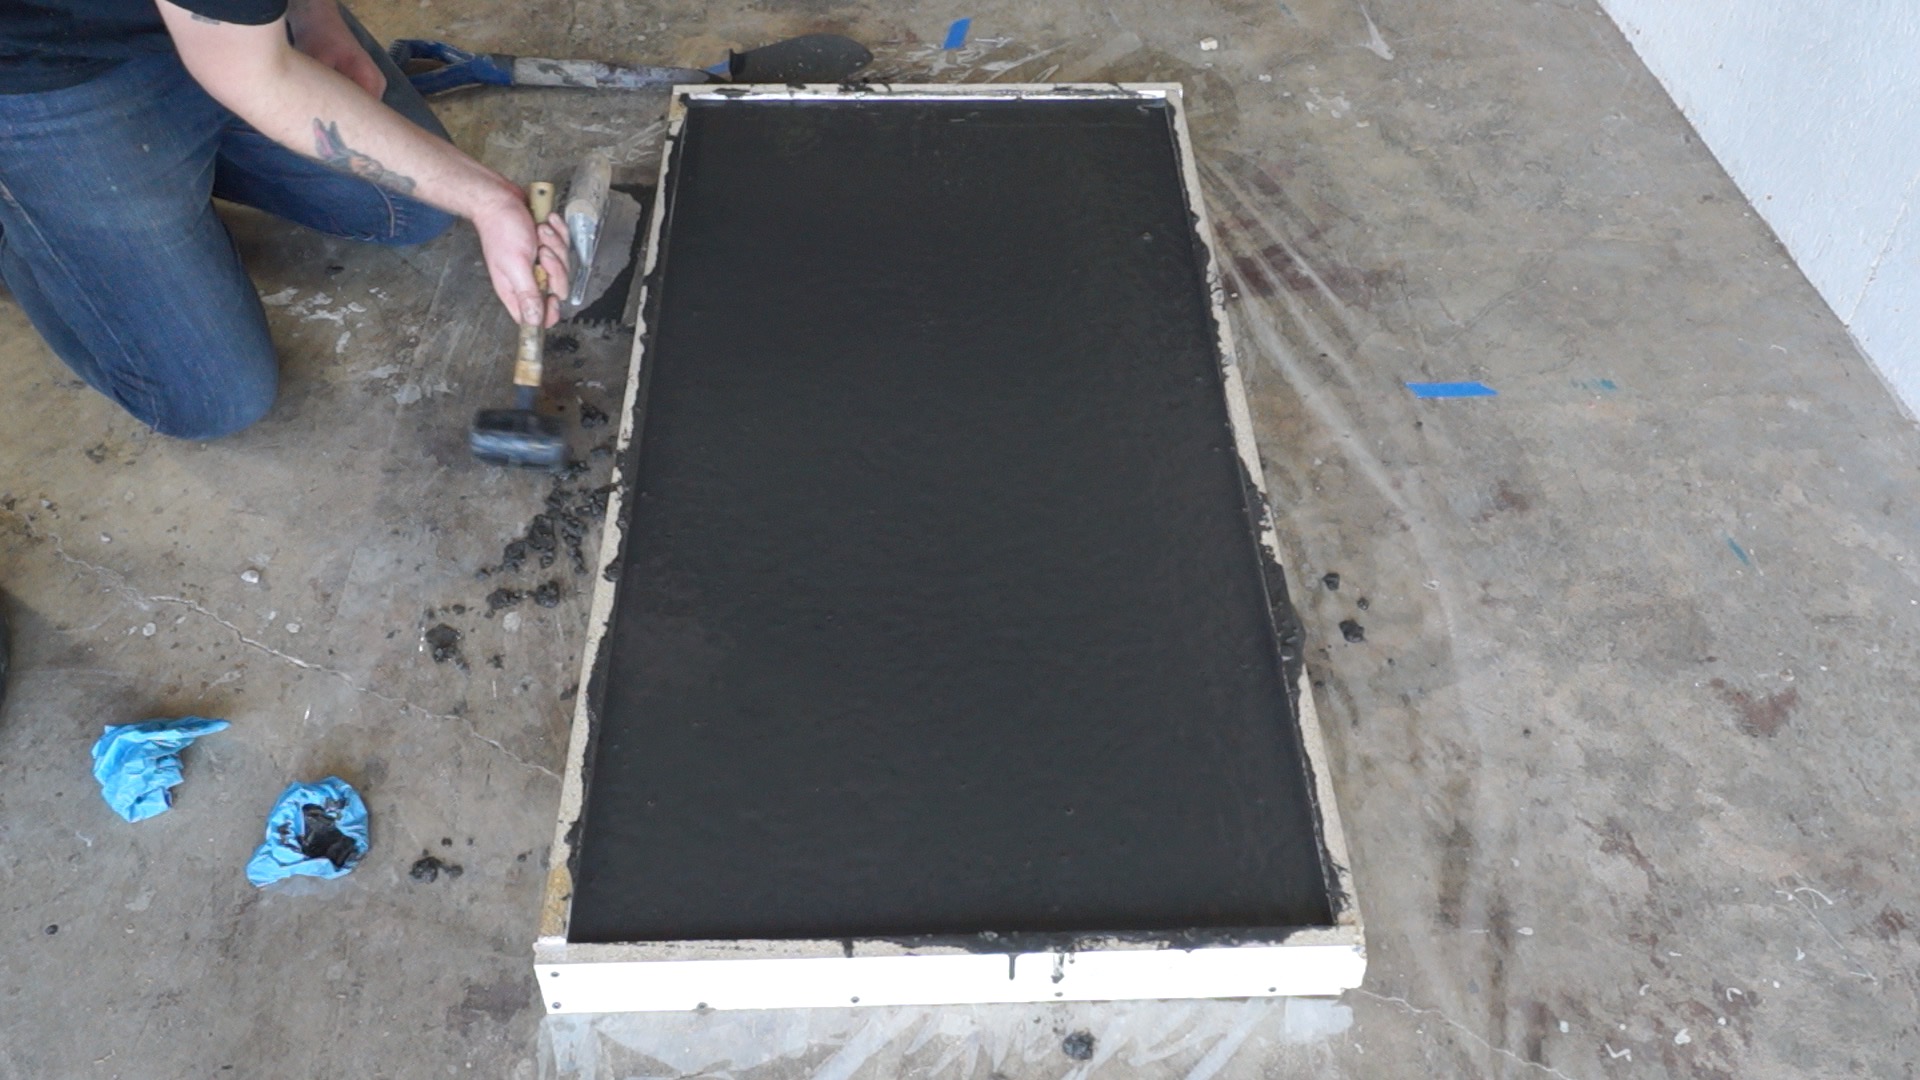
I smoothed the surface with a trowel and then used a rubber mallet to vibrate as many air bubbles out as possible.
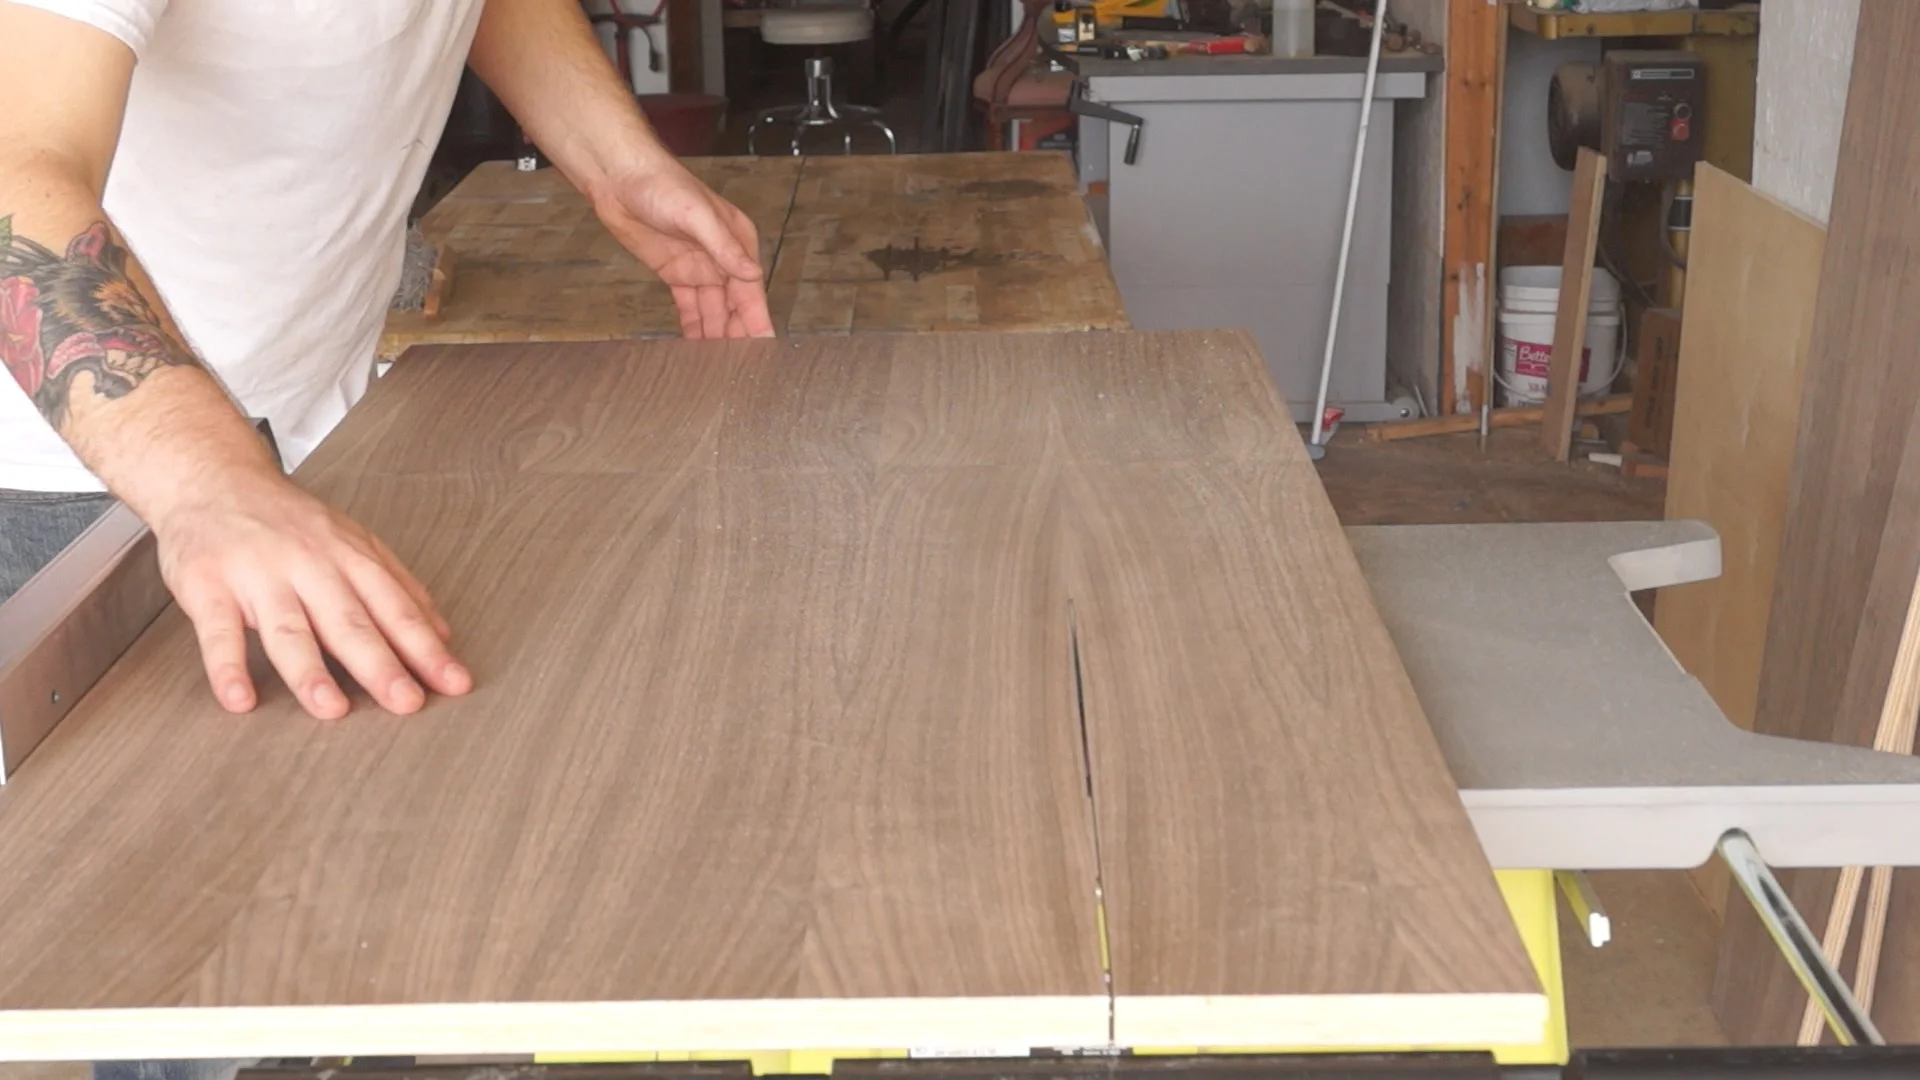
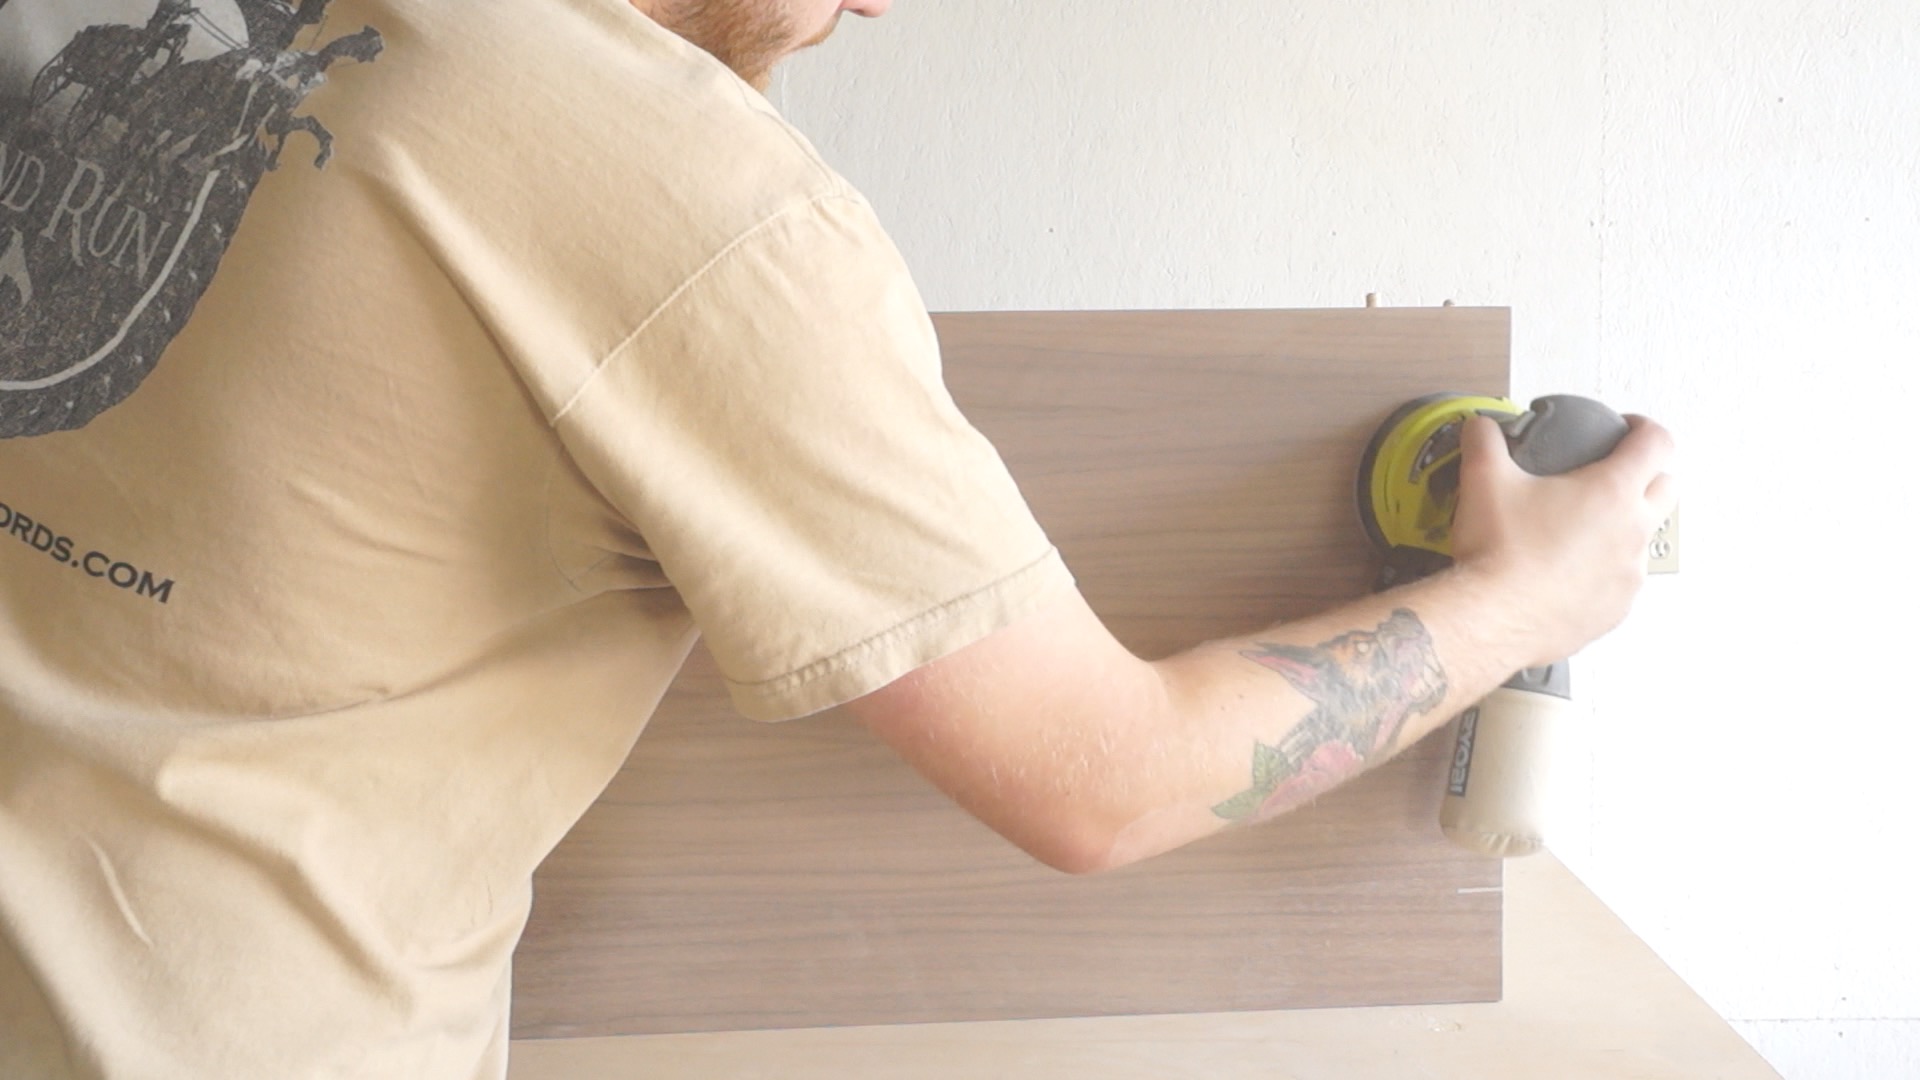
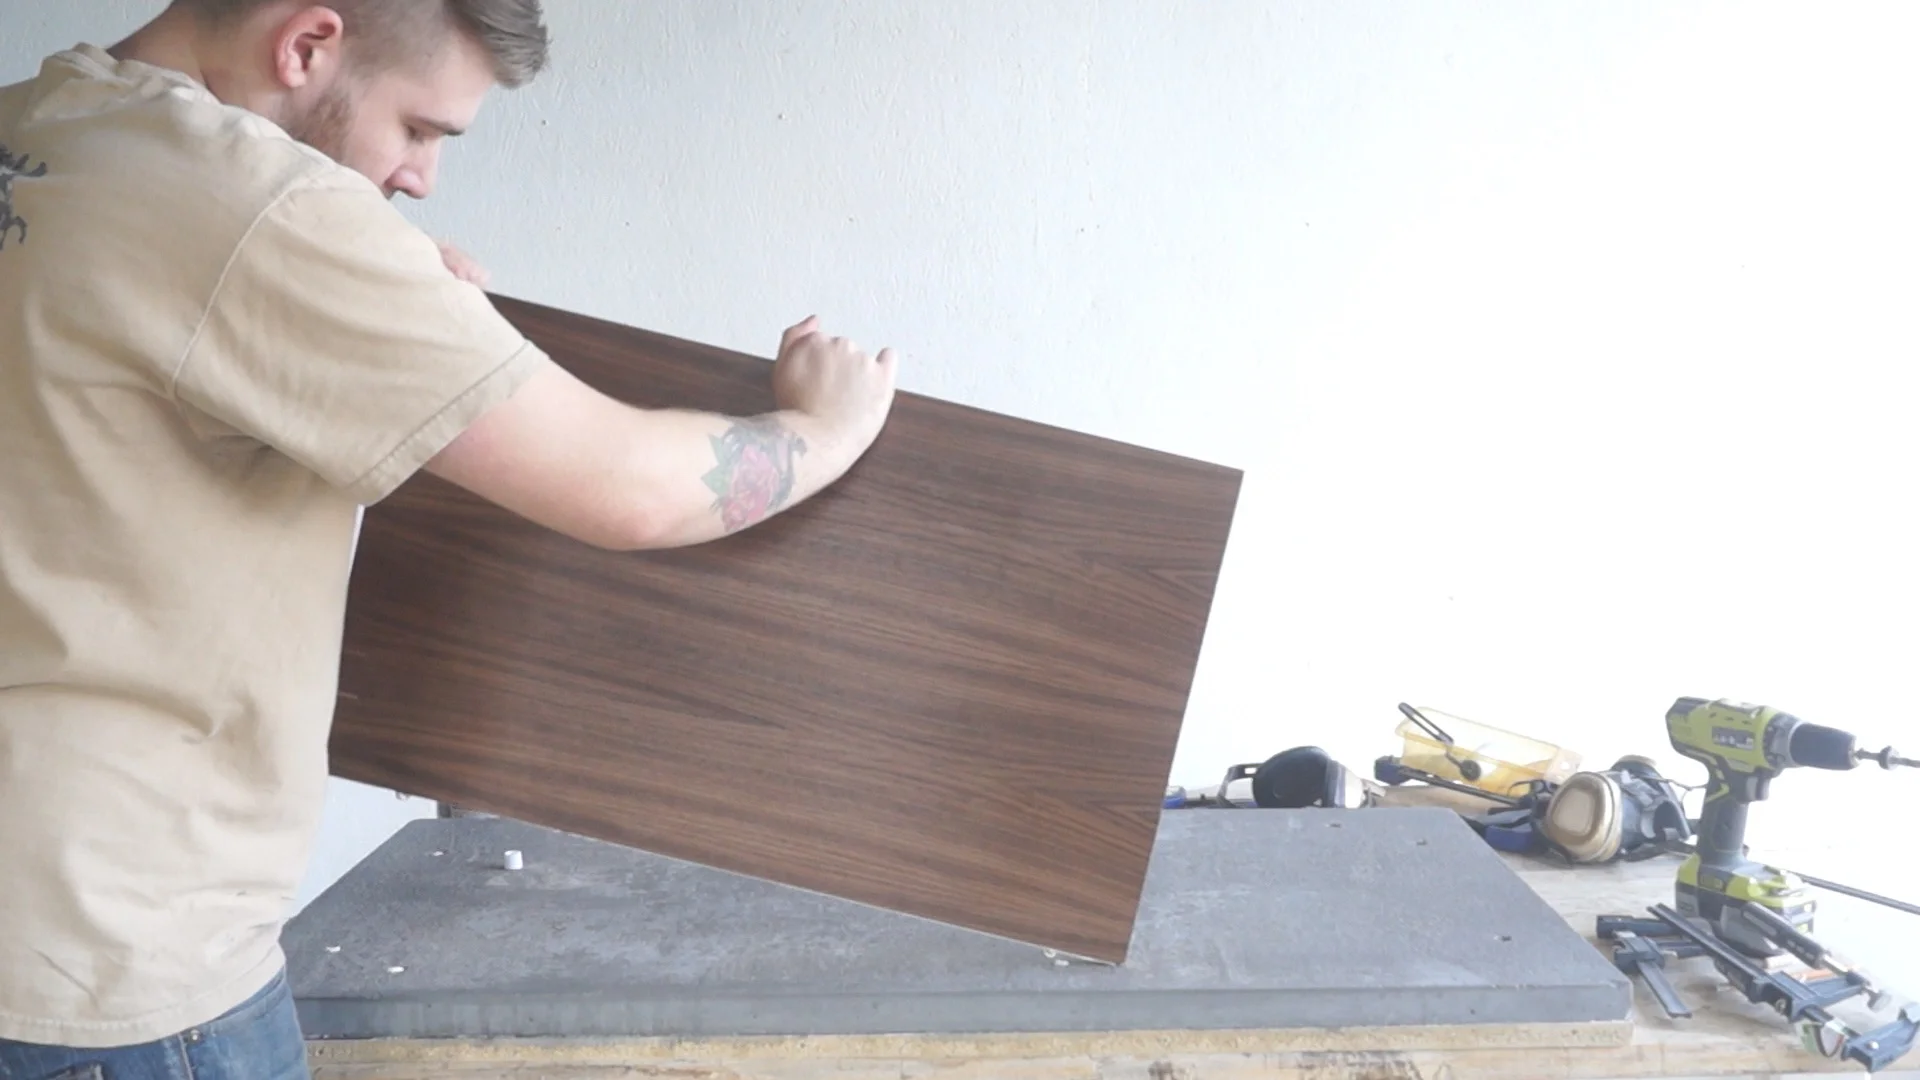
STEP THREE: MAKE THE BASE
The base is made from a Walnut faced plywood that Rockler sells in 2x4 sheets online and delivers.
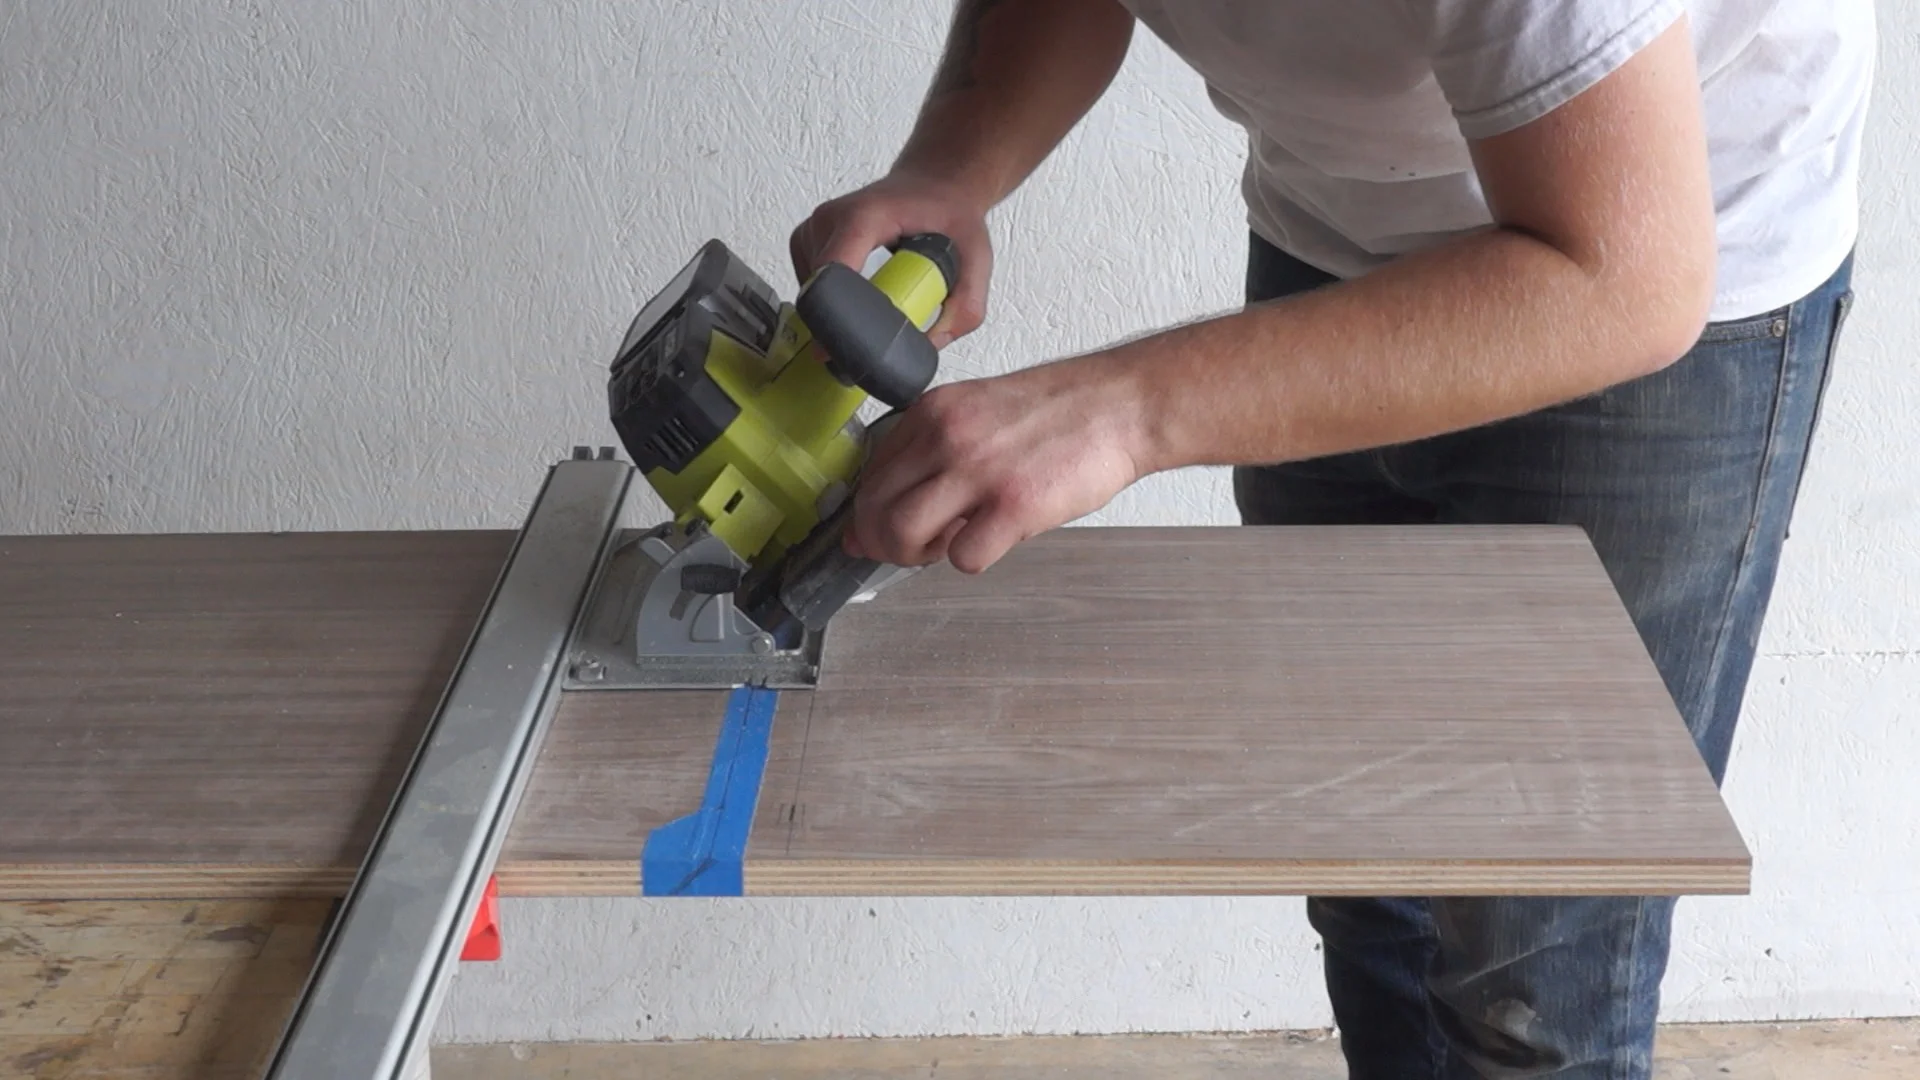
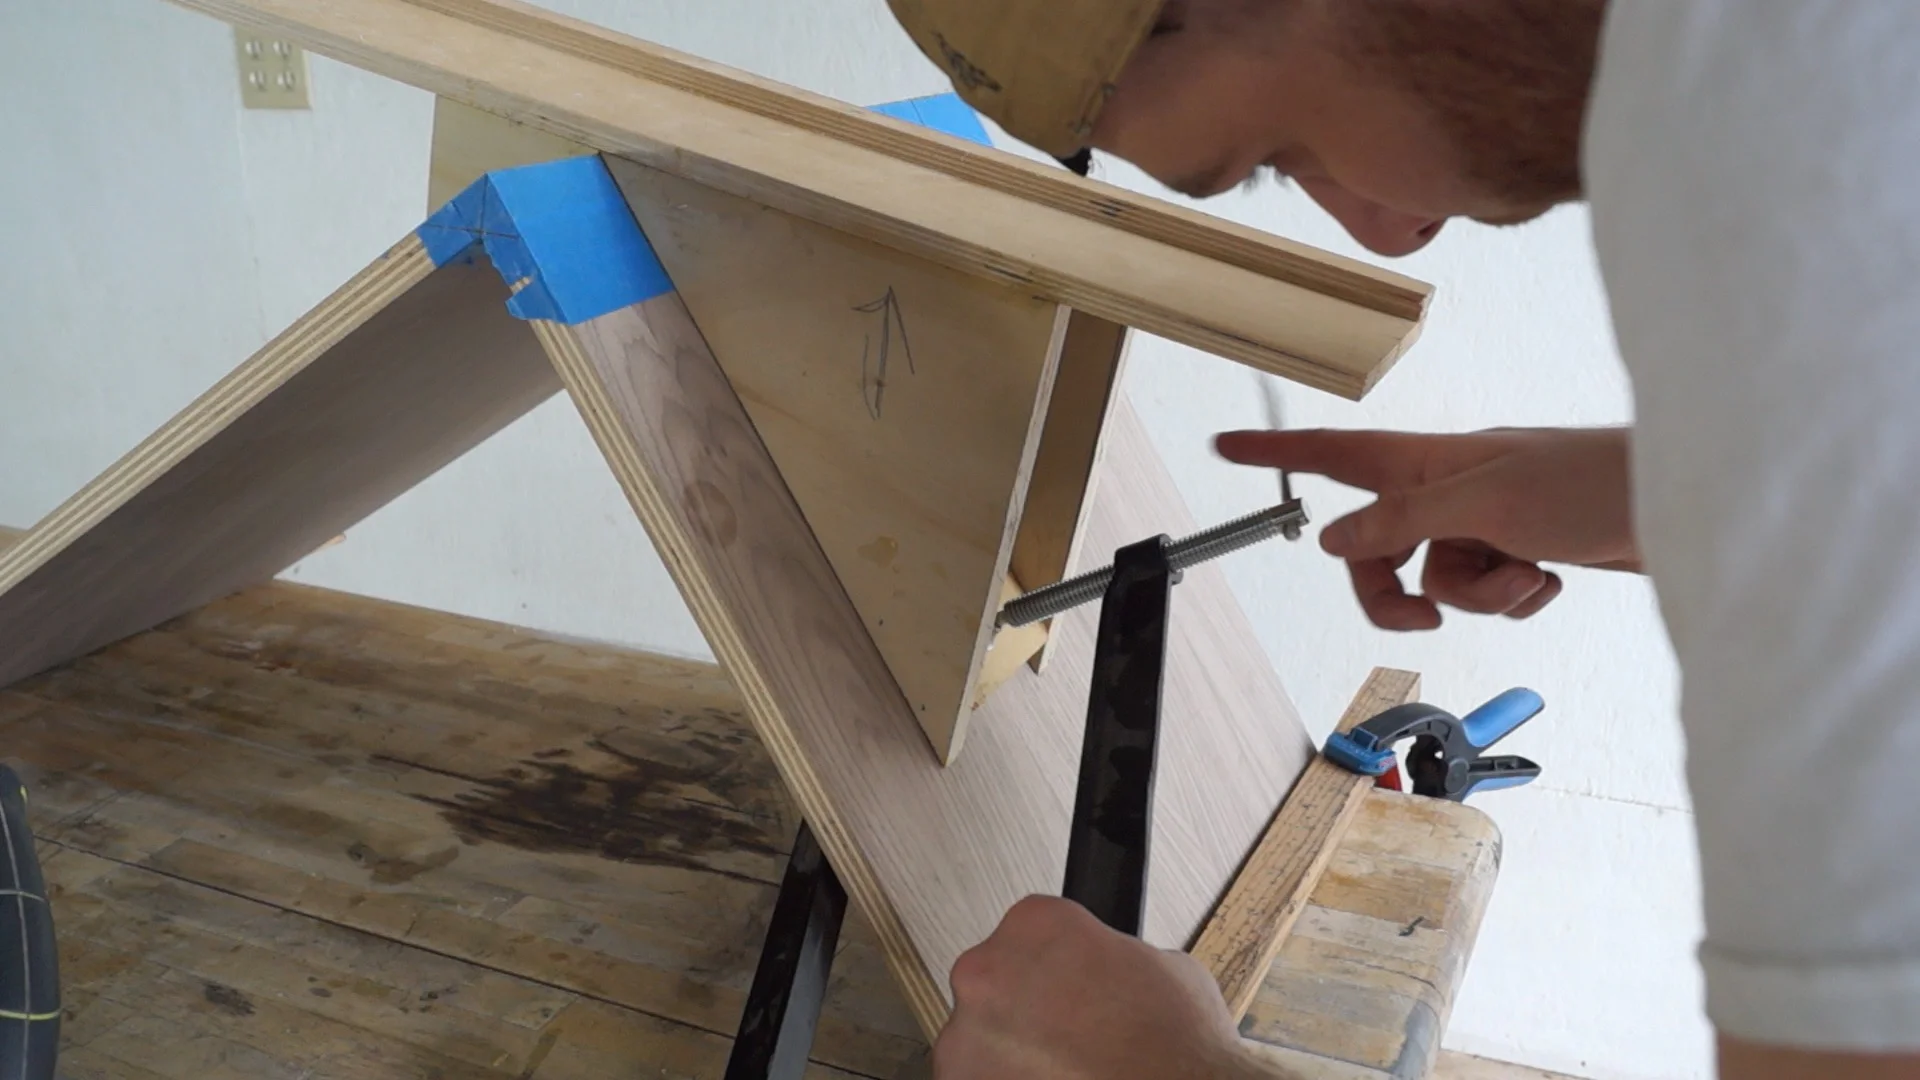
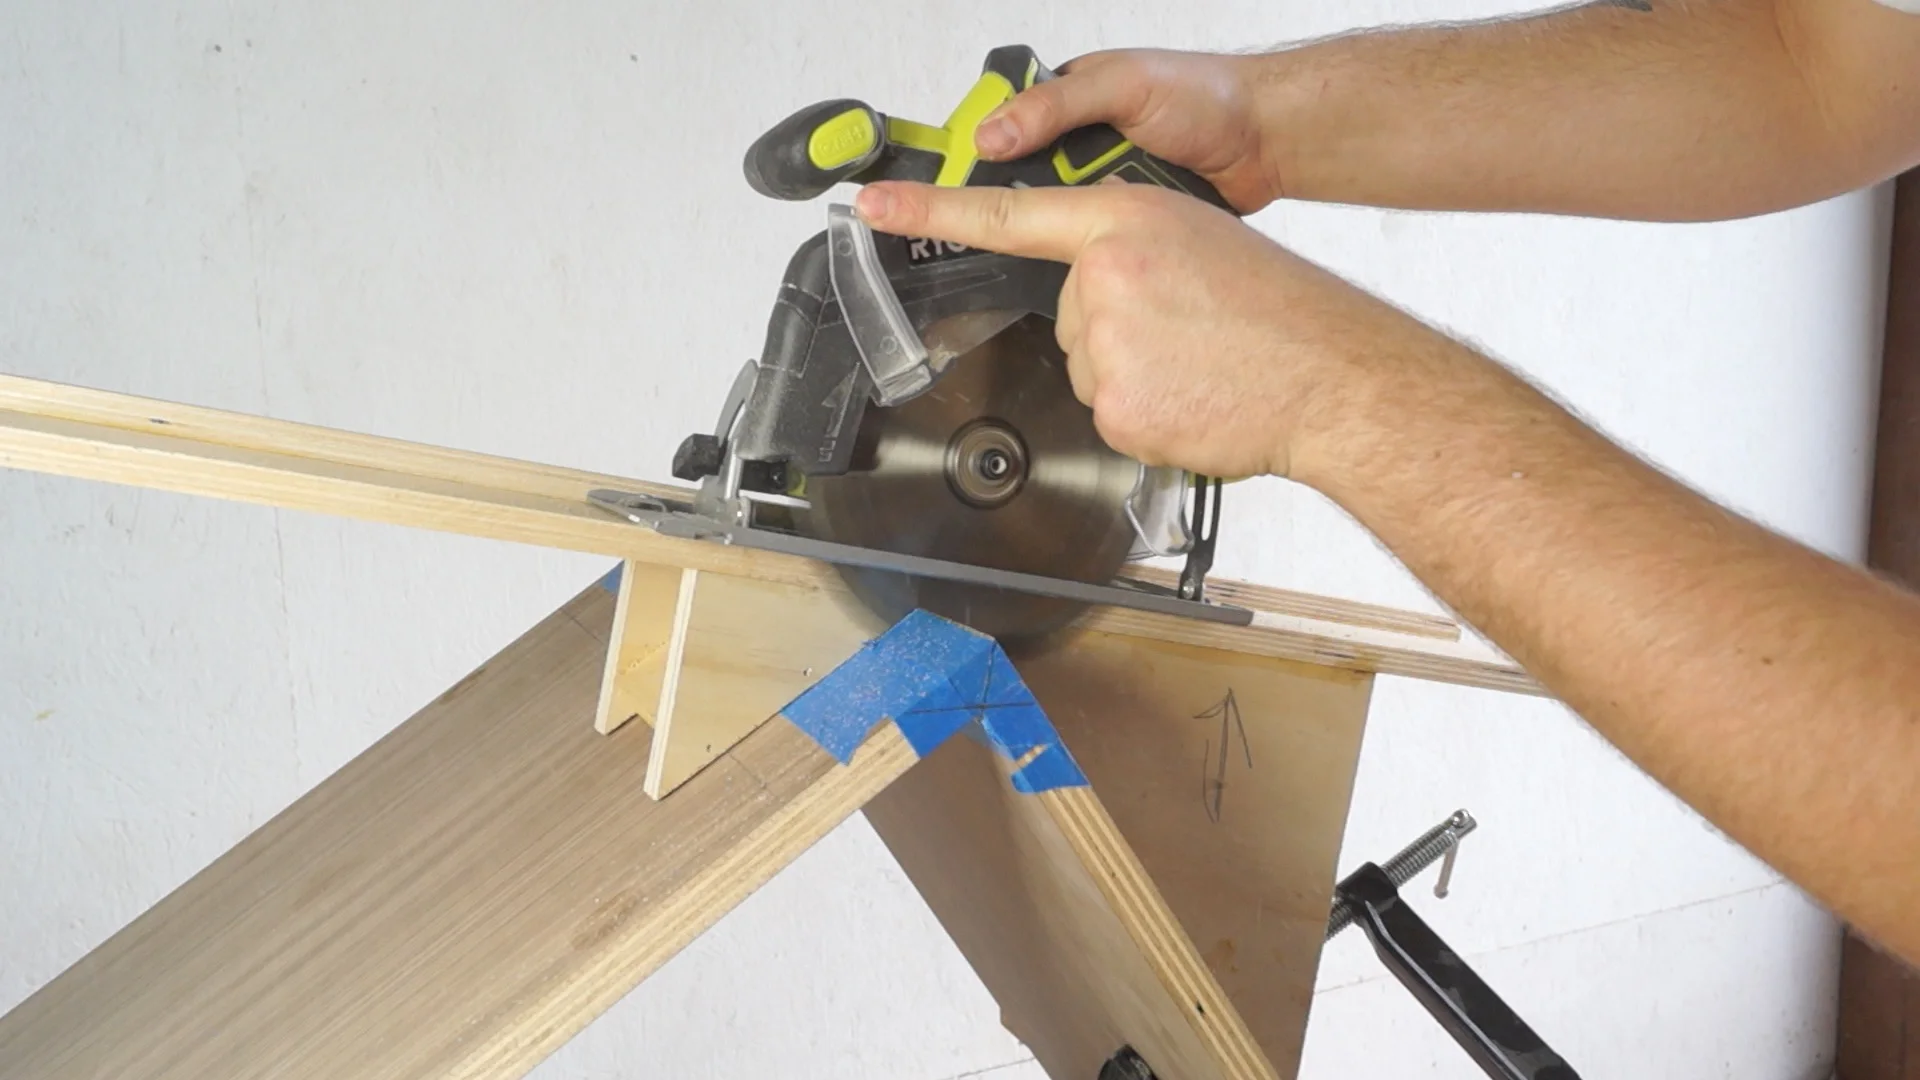
STEP FOUR: SPLINES
I made a simple spline jig for a circular saw out of some scrap plywood. (directions in video.) The splines themselves are made from some spare maple I had.
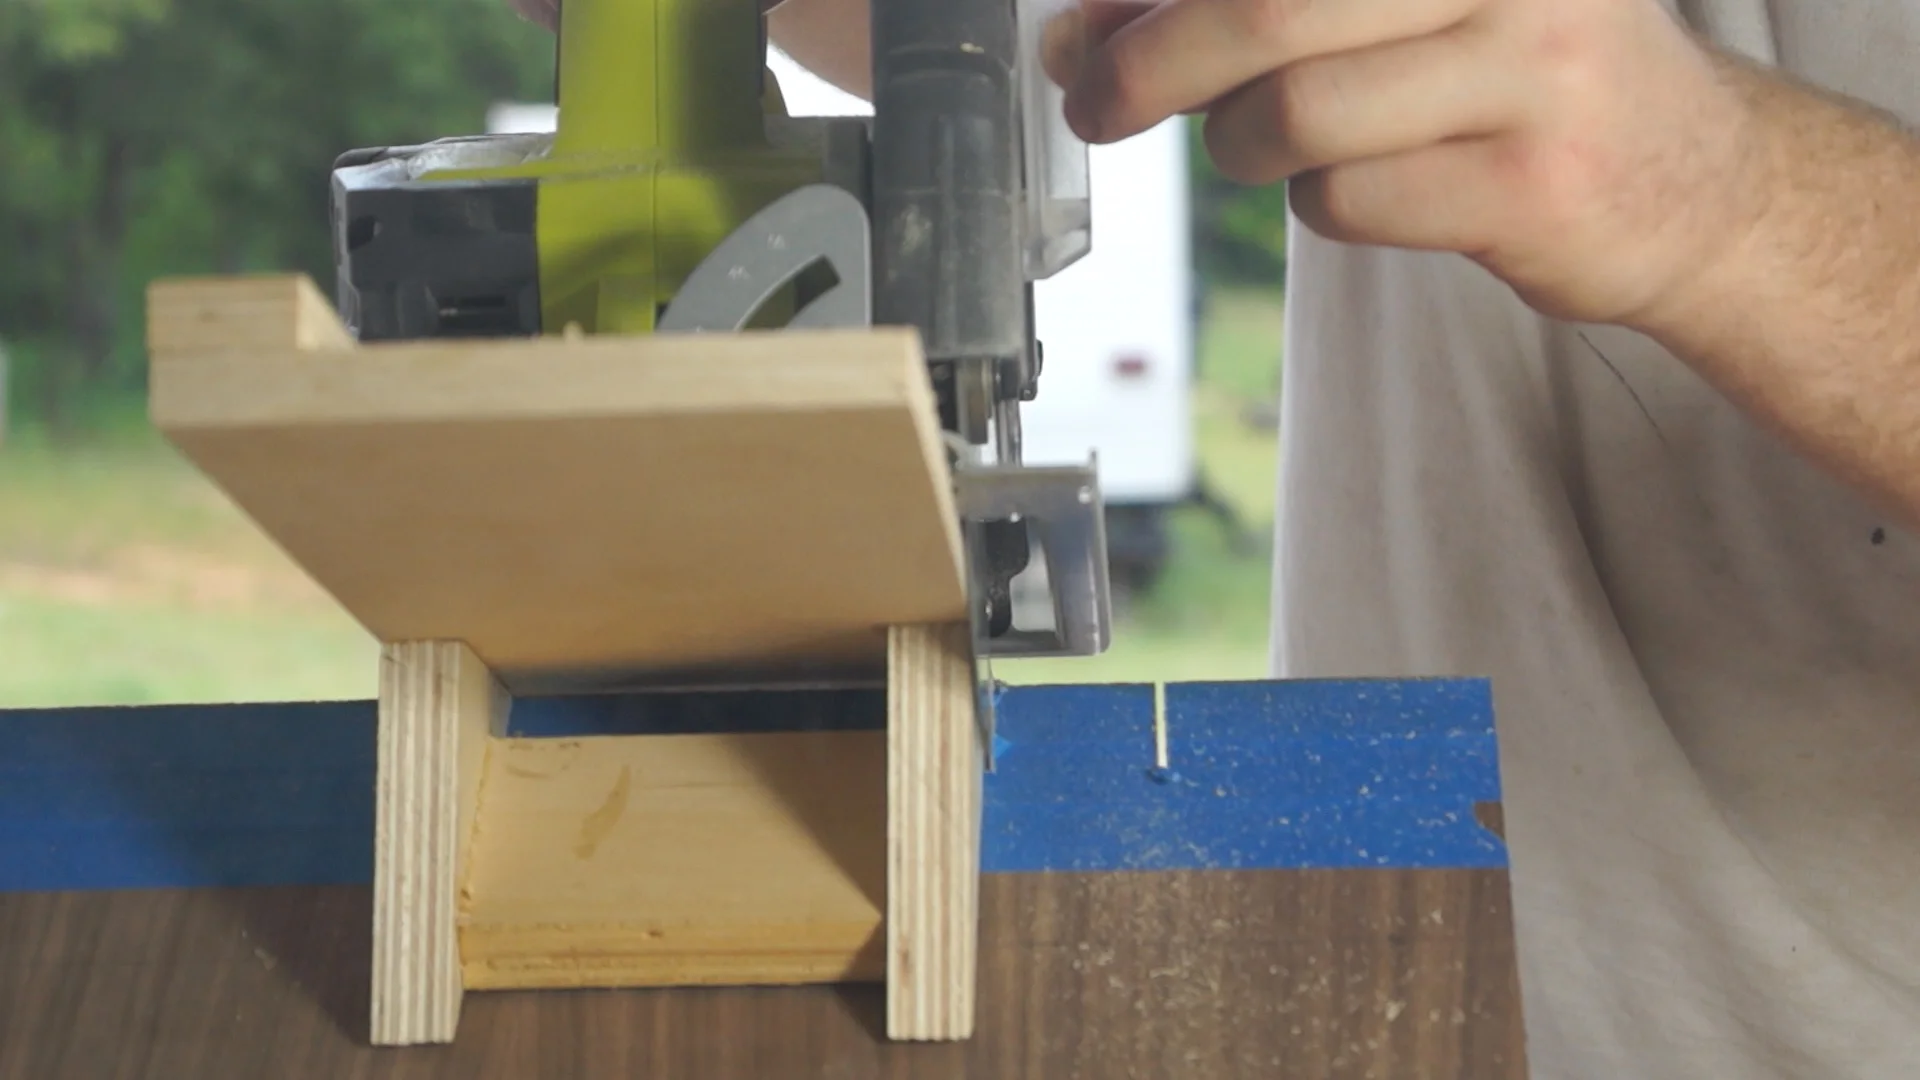
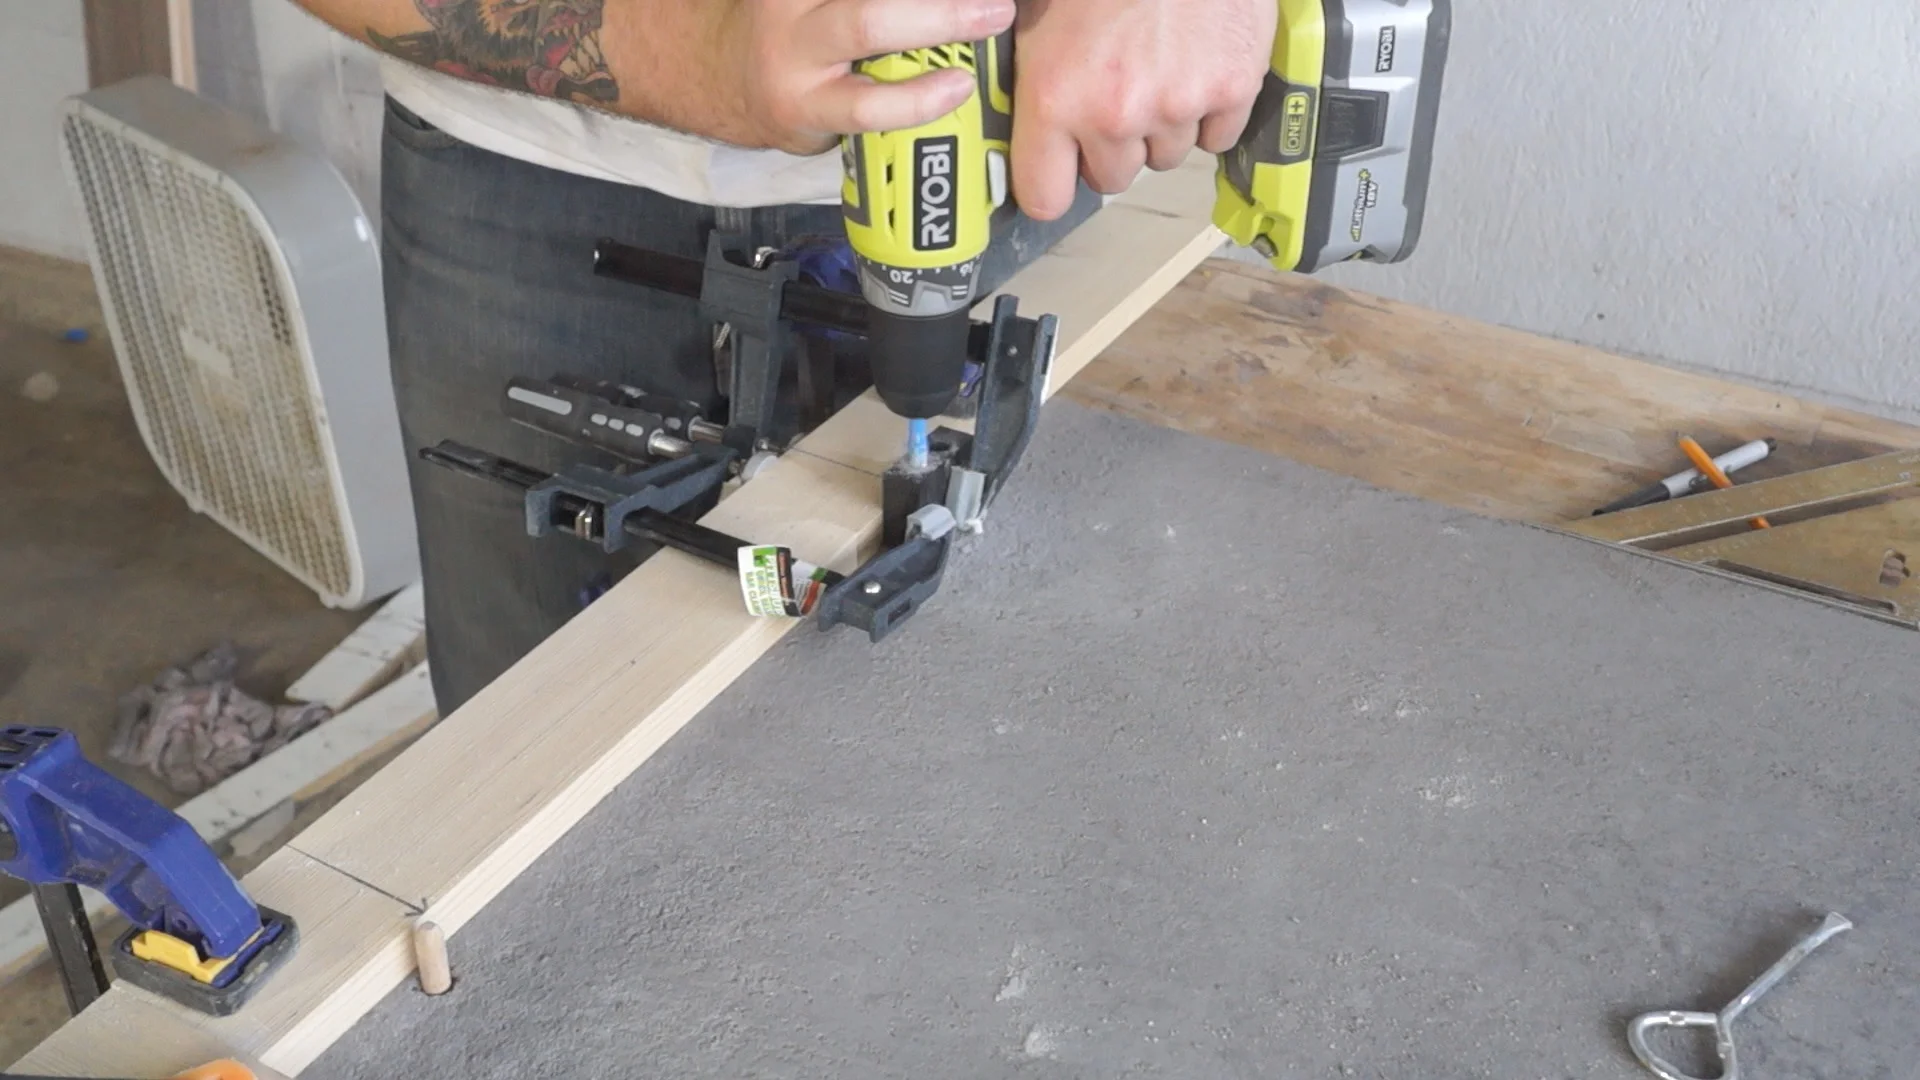
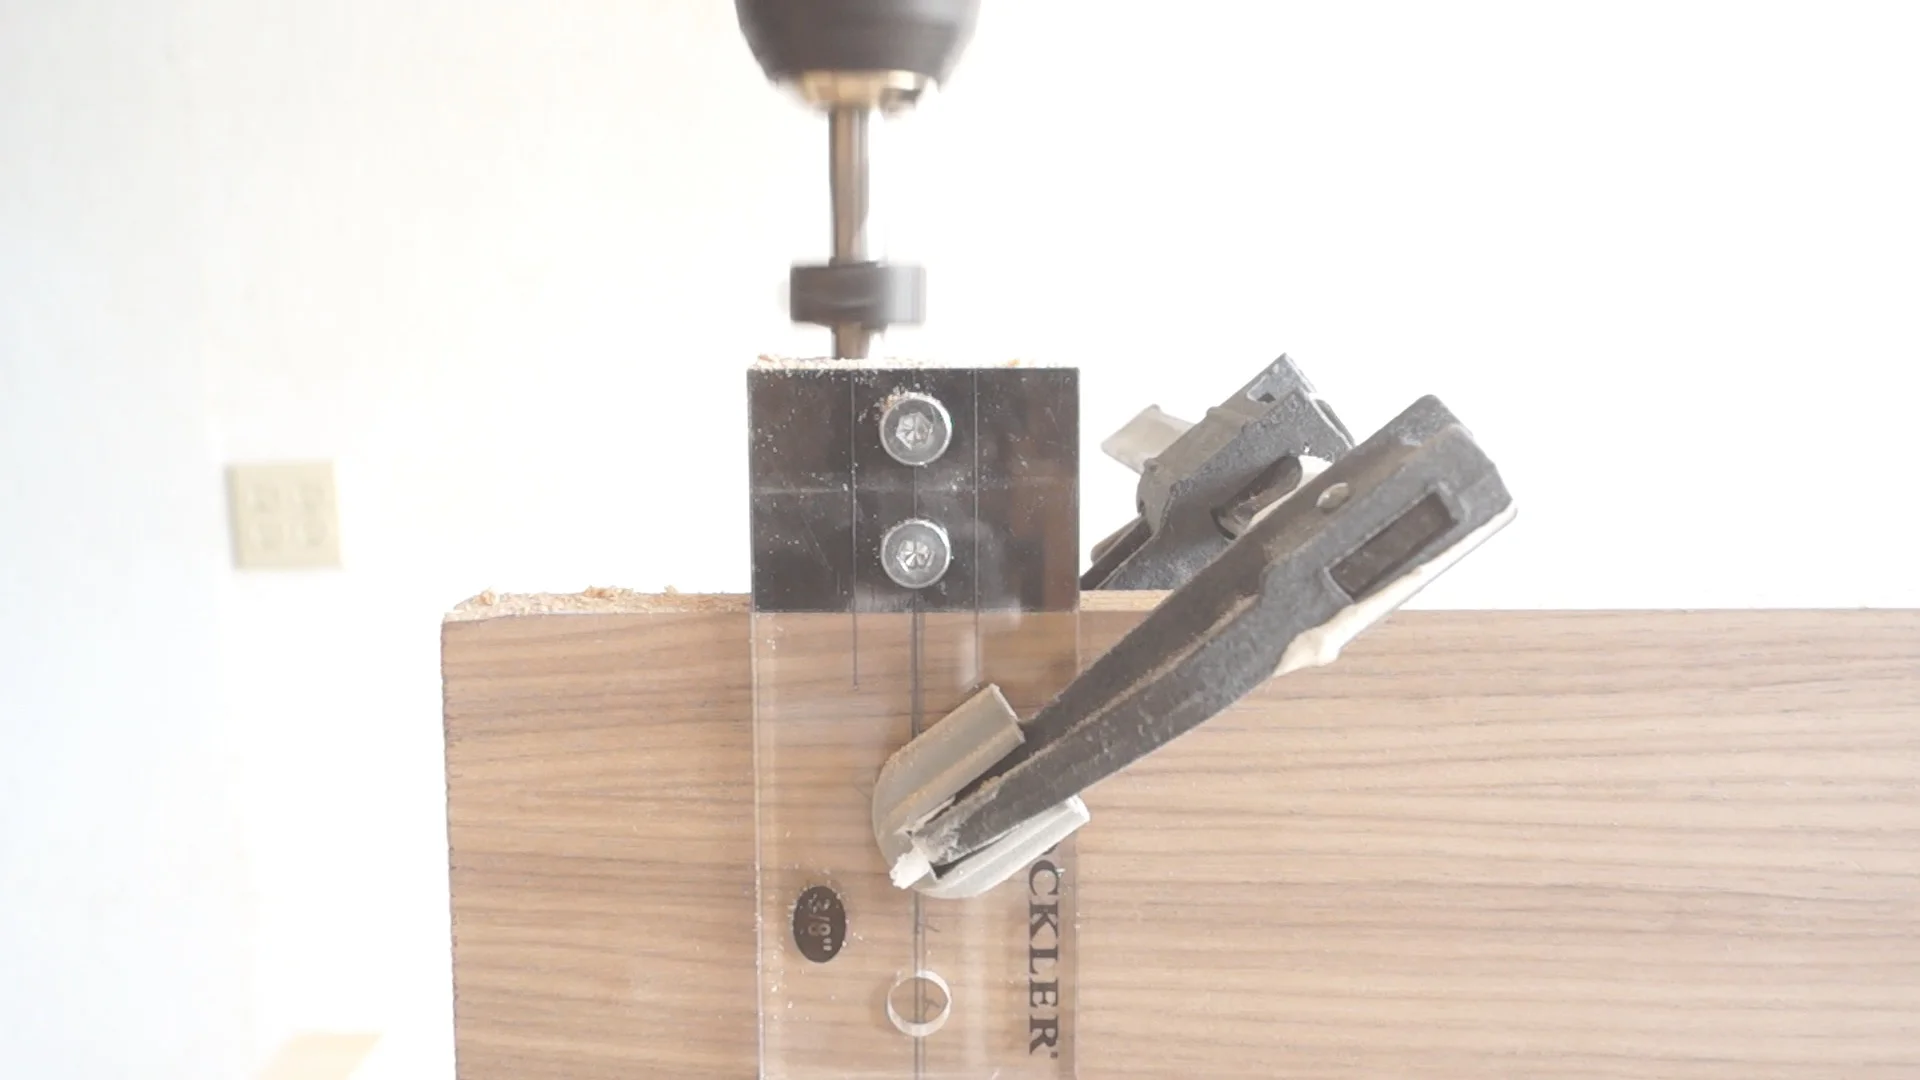
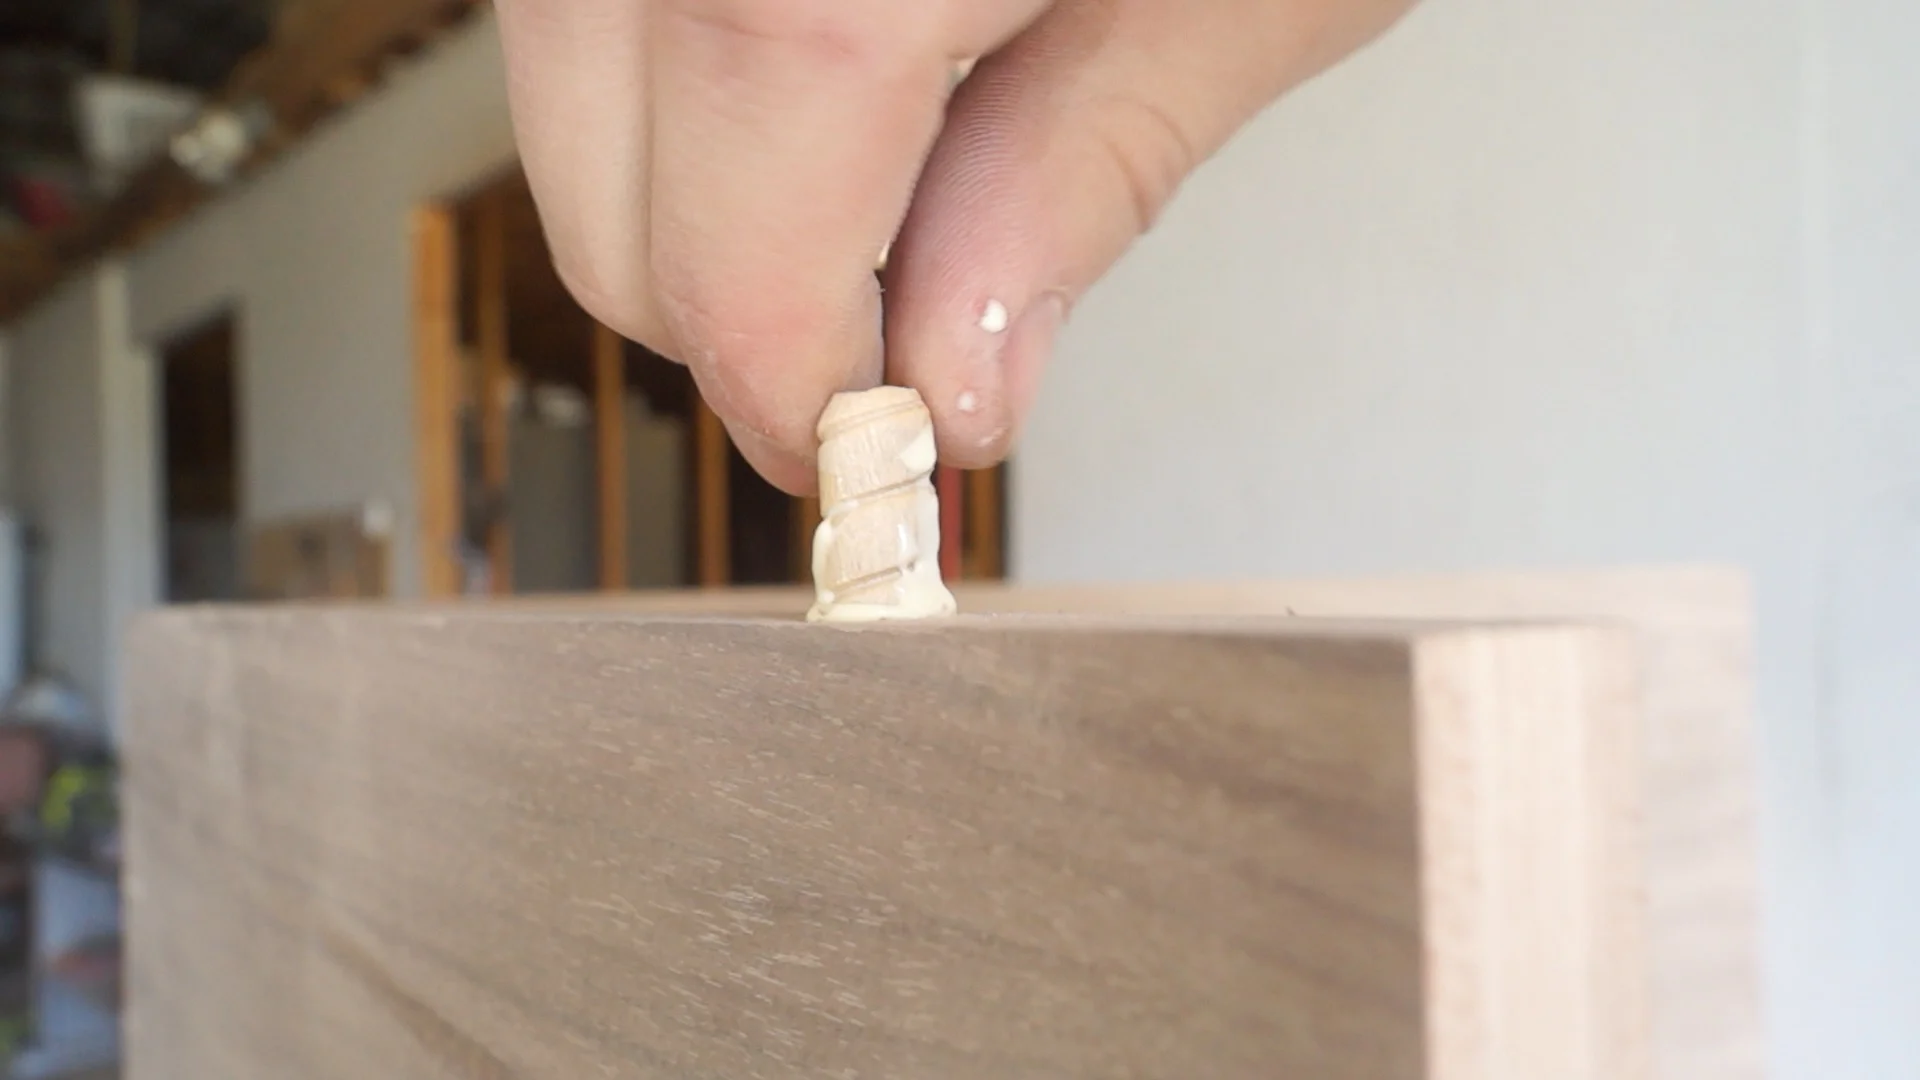
STEP FIVE: DOWEL IT UP
I used a Rockler 3/8" Doweling jig. I bought a separate masonry bit to drill into the concrete.
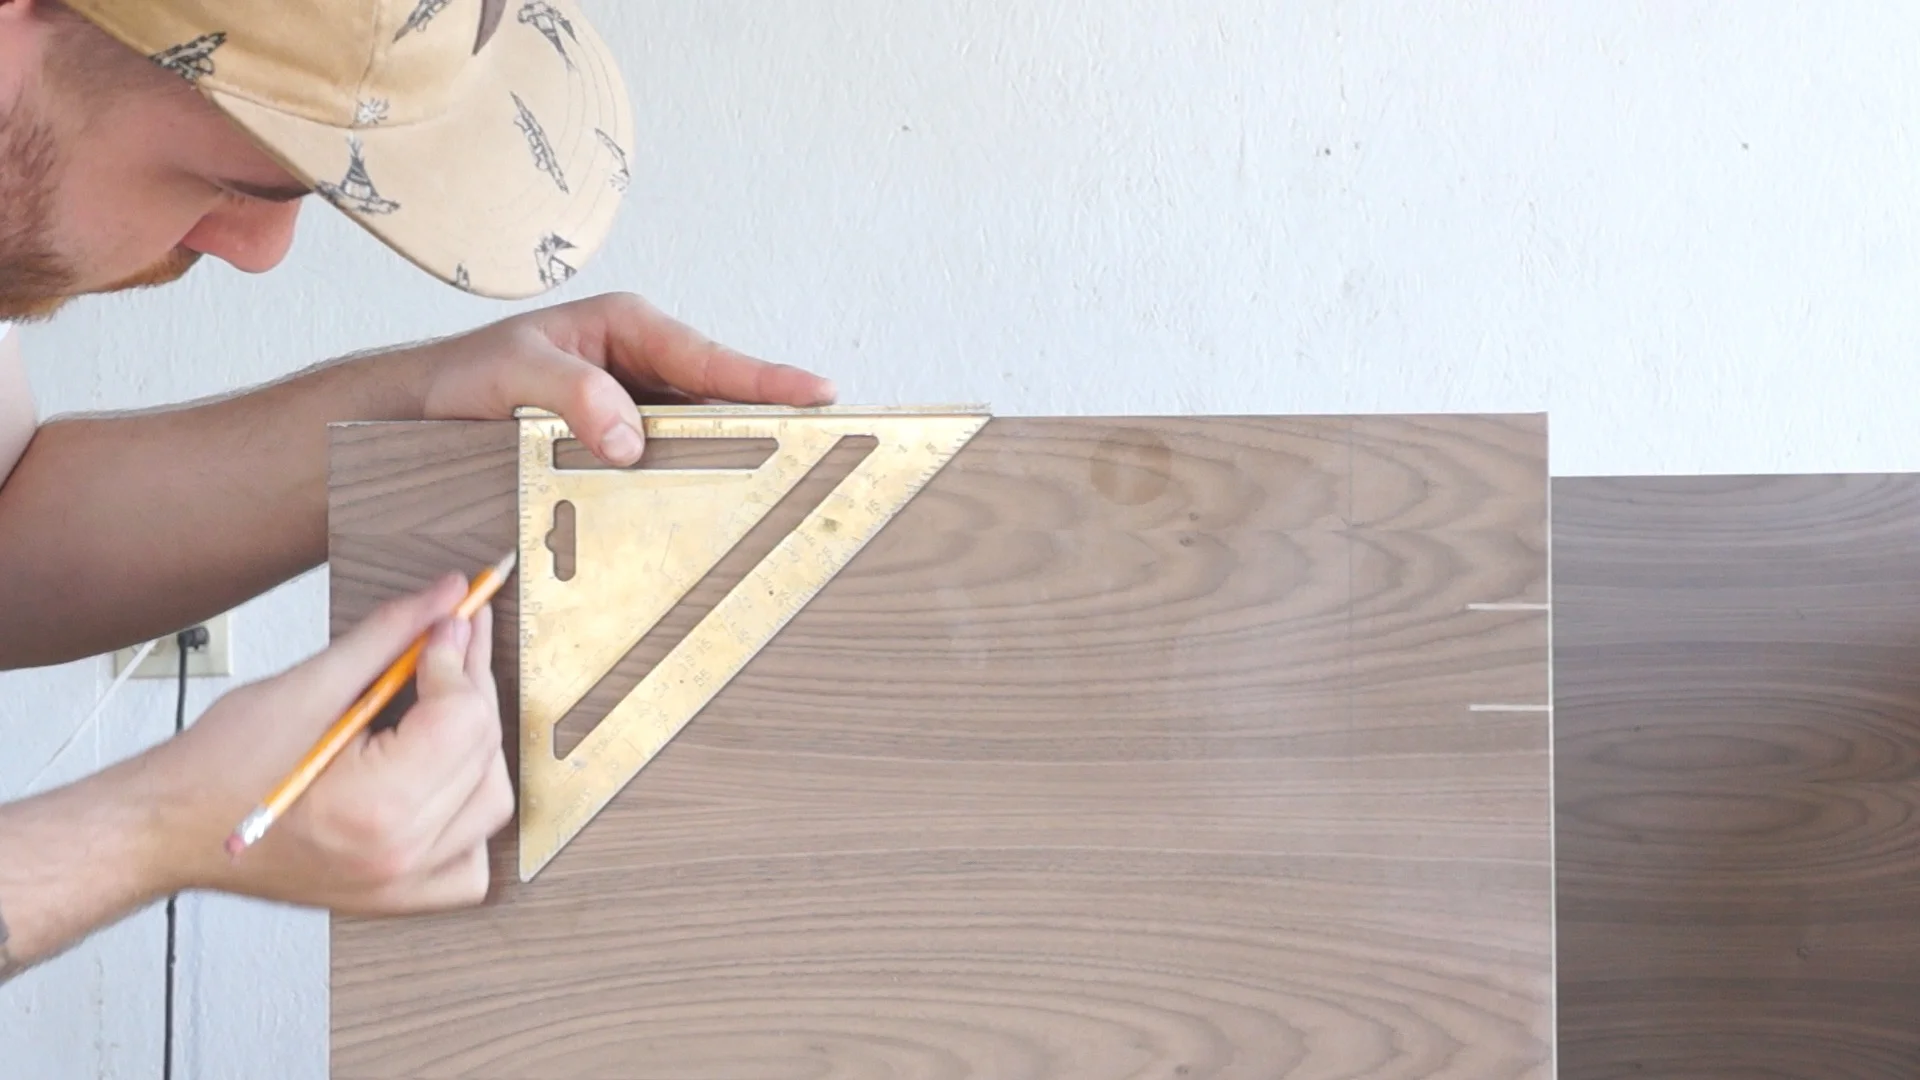
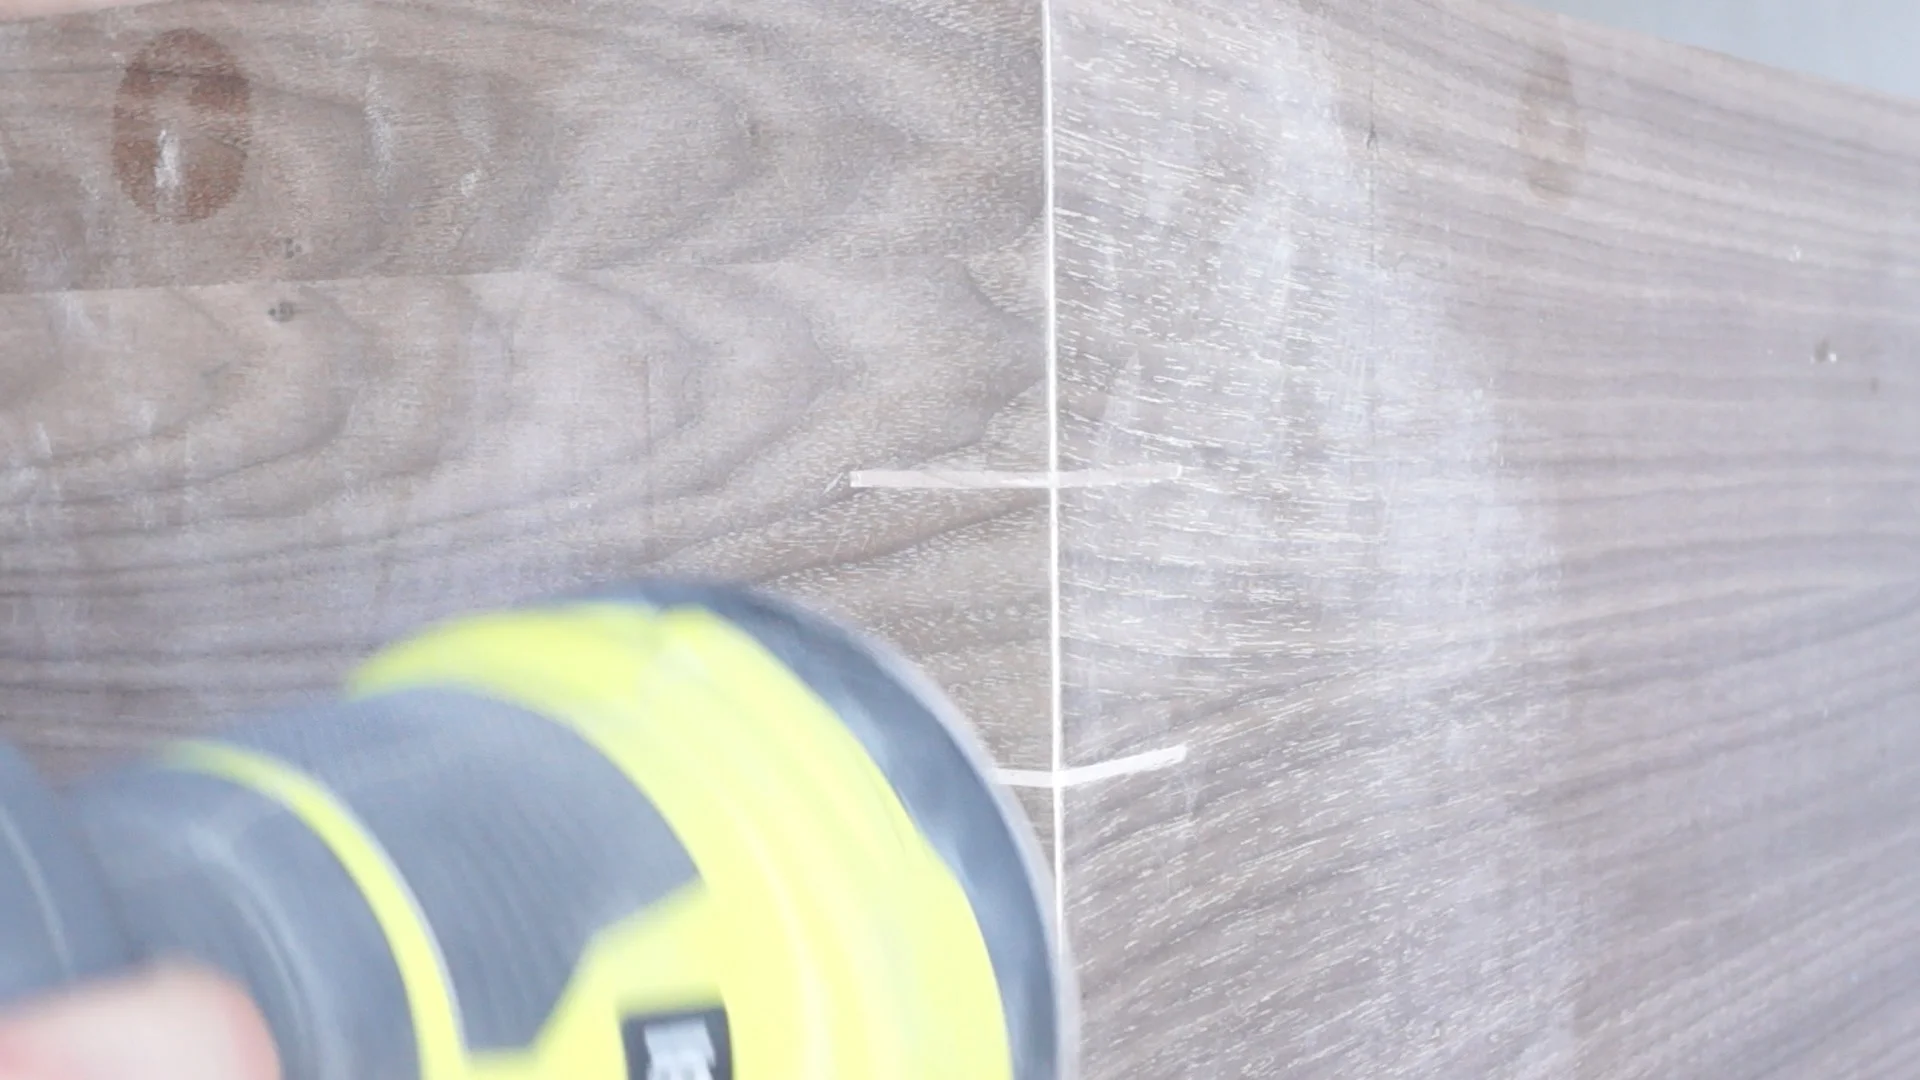
I started by marking my locations on the bases. Then I cut and transferred my lines to my spacer boards.

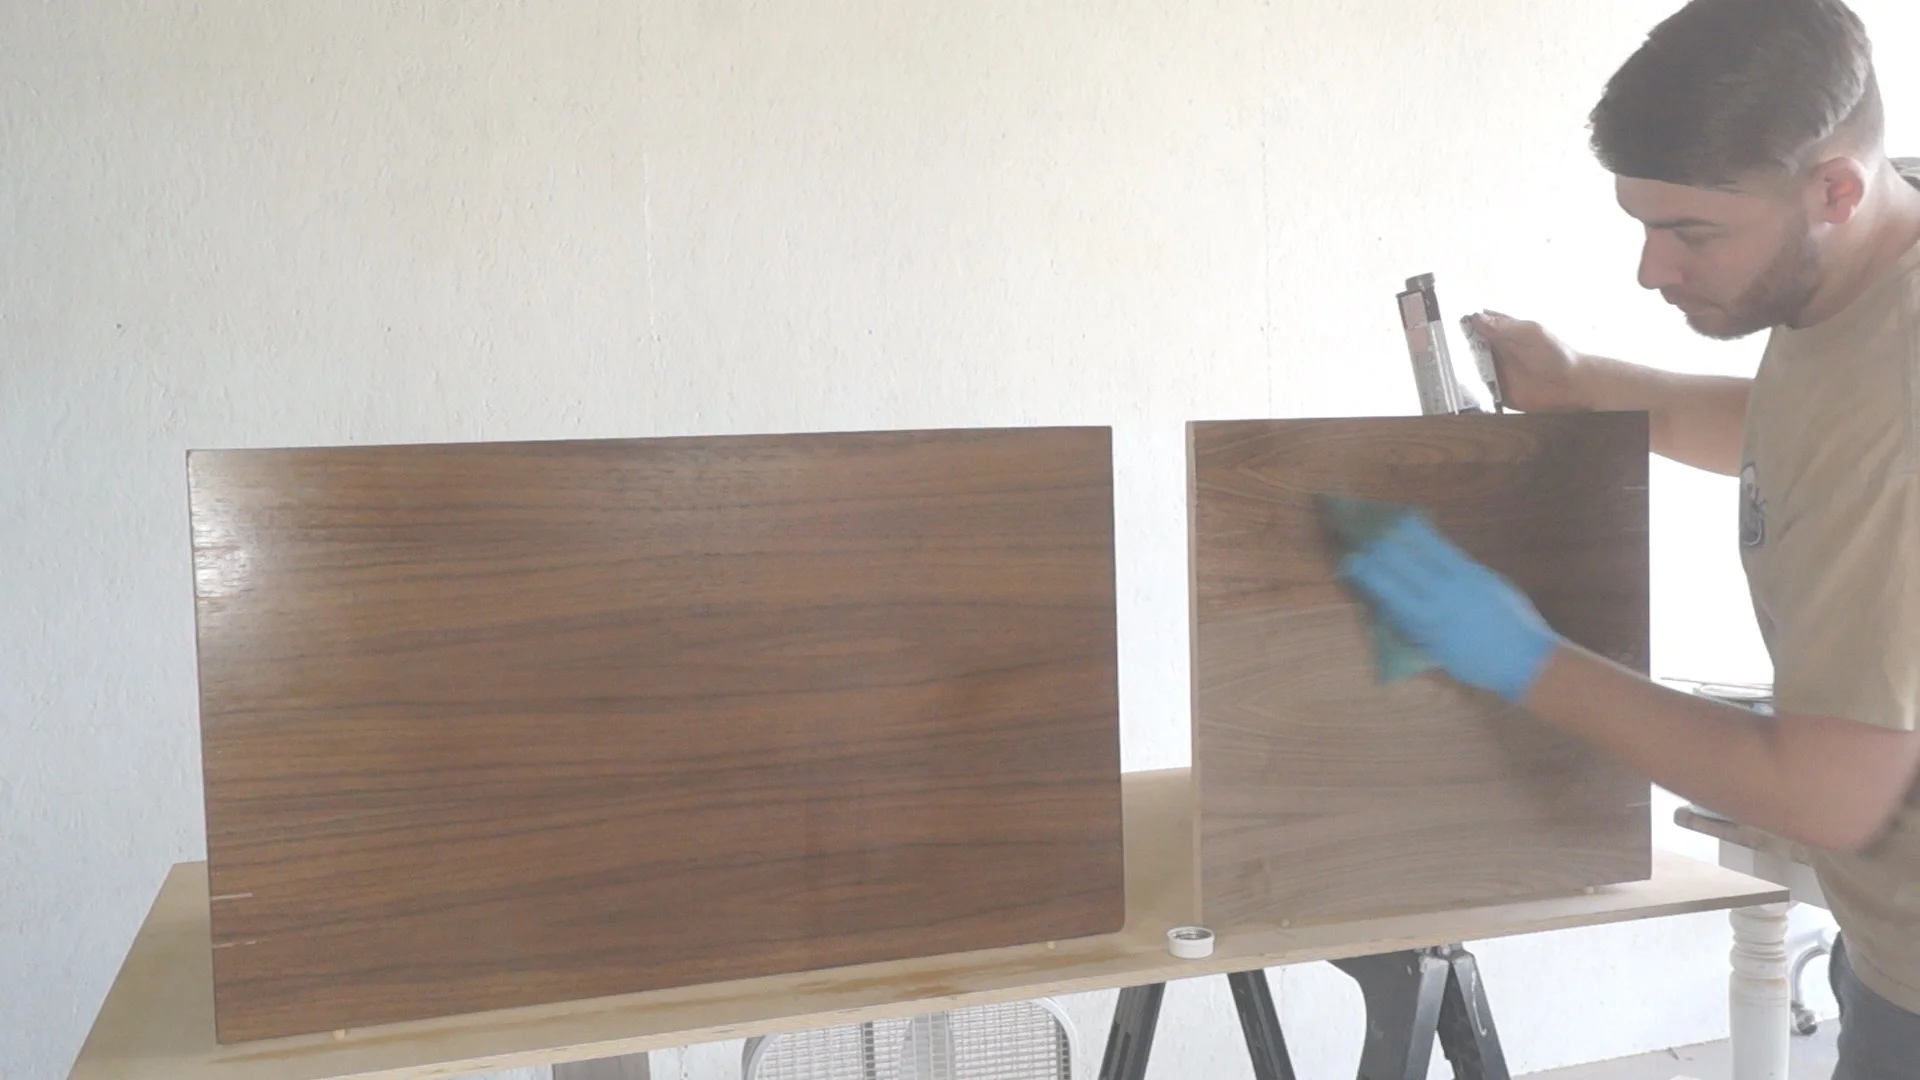
STEP SIX: ADD THE FINISH
Before attaching the base to the concrete, I put on a couple coats of danish oil on the plywood and a coat of finish on the concrete.
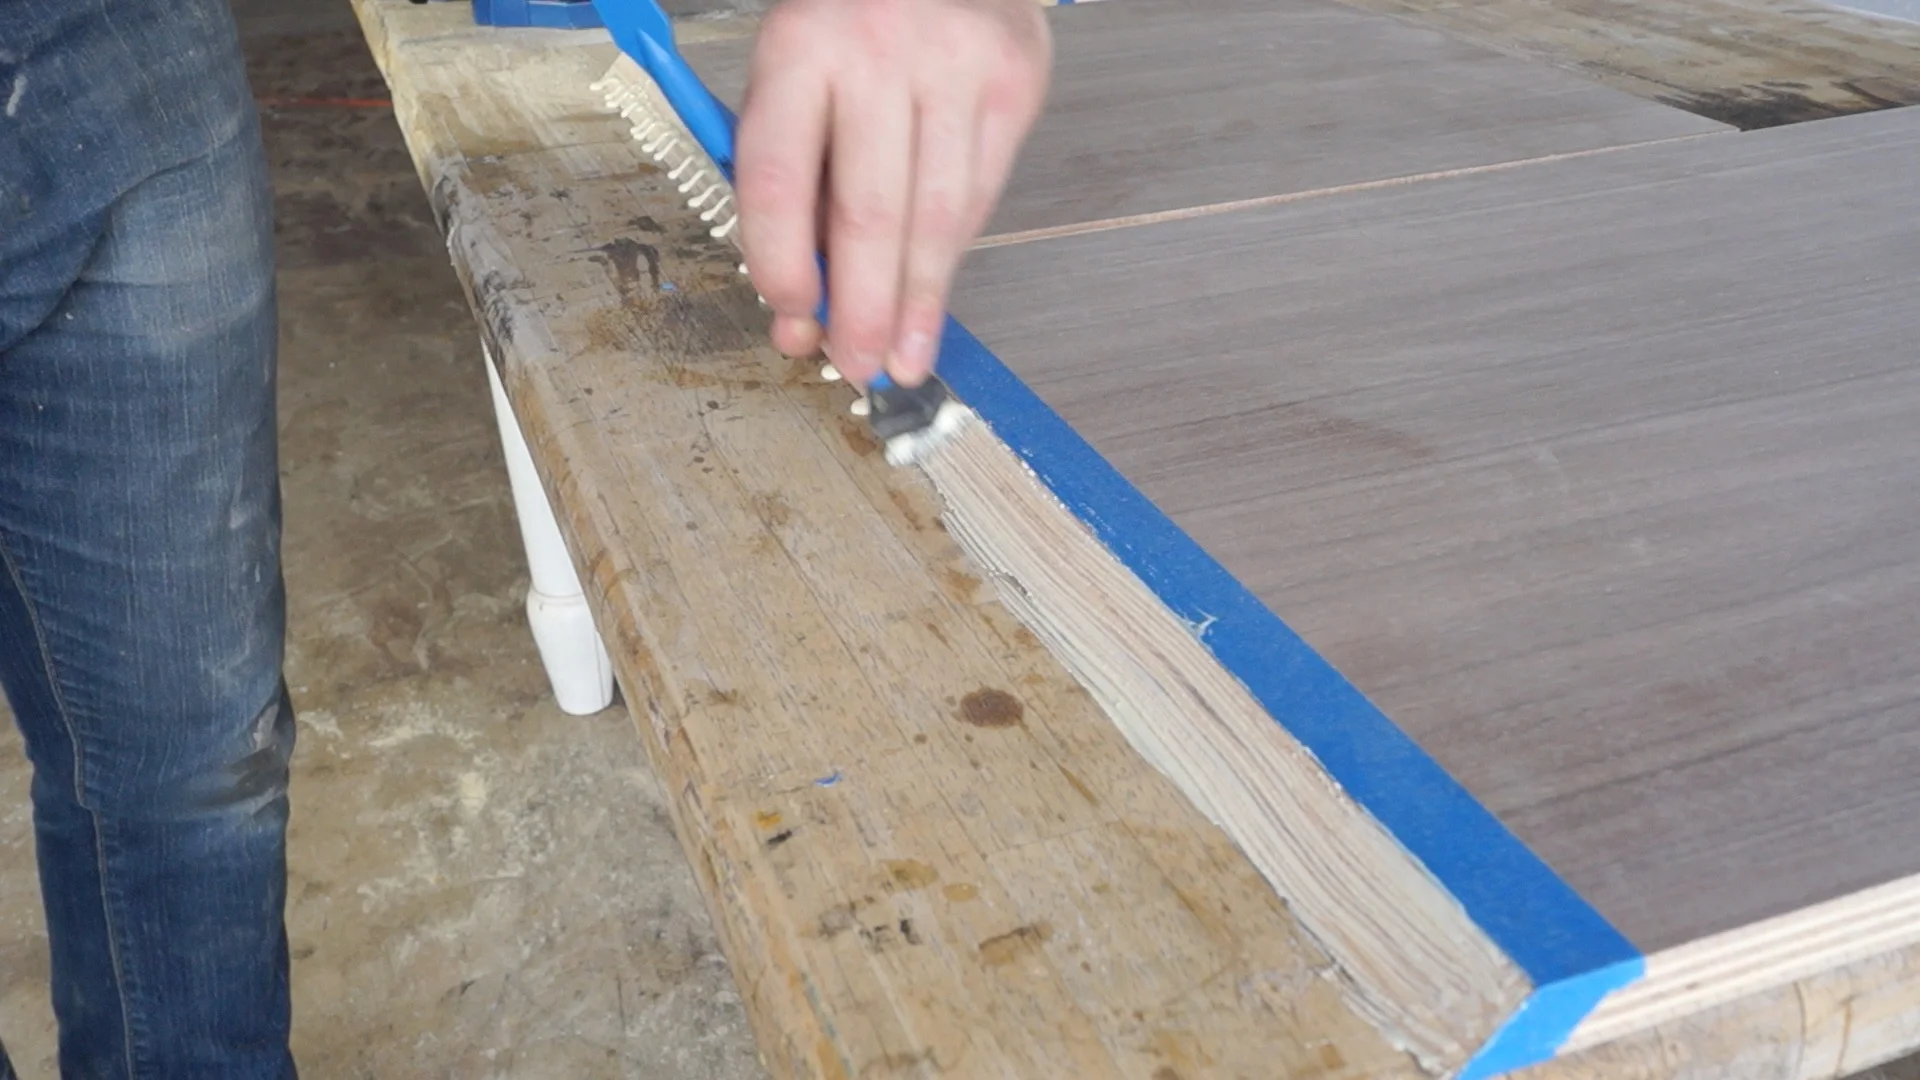
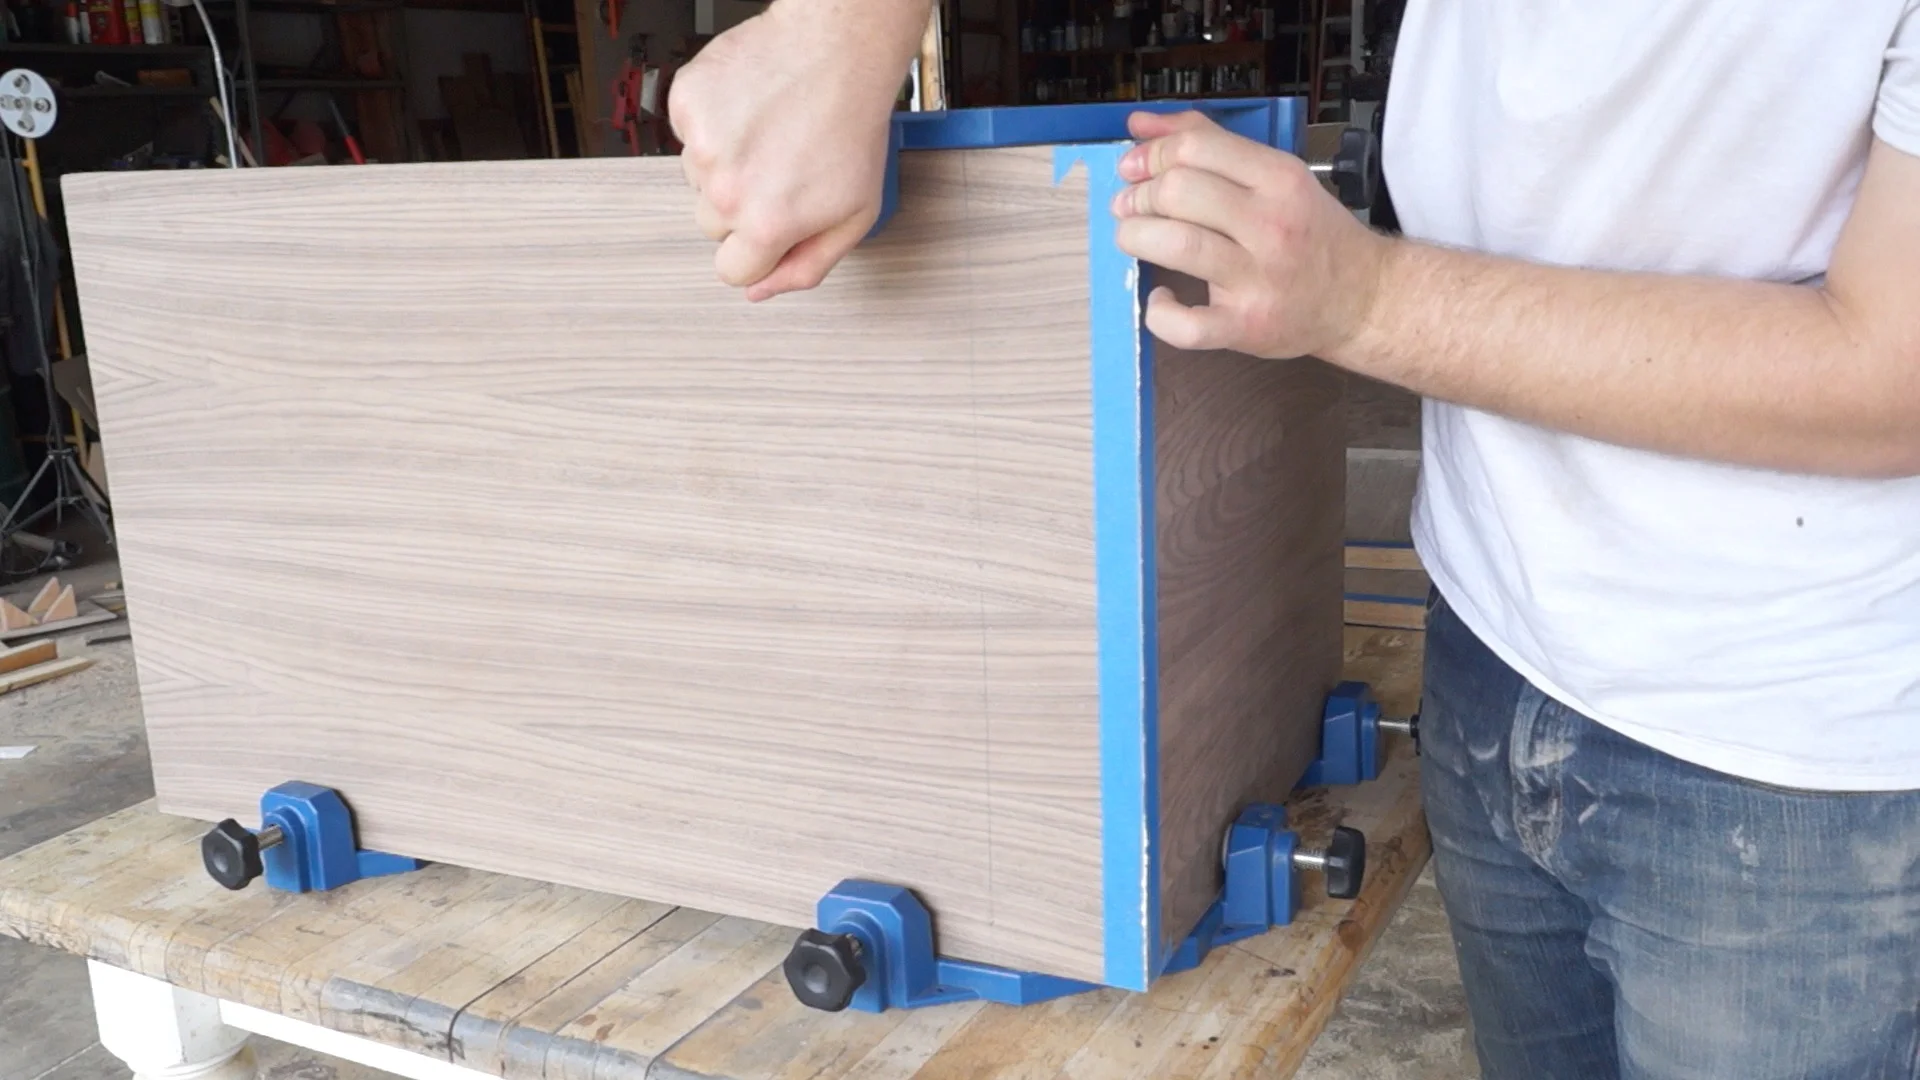
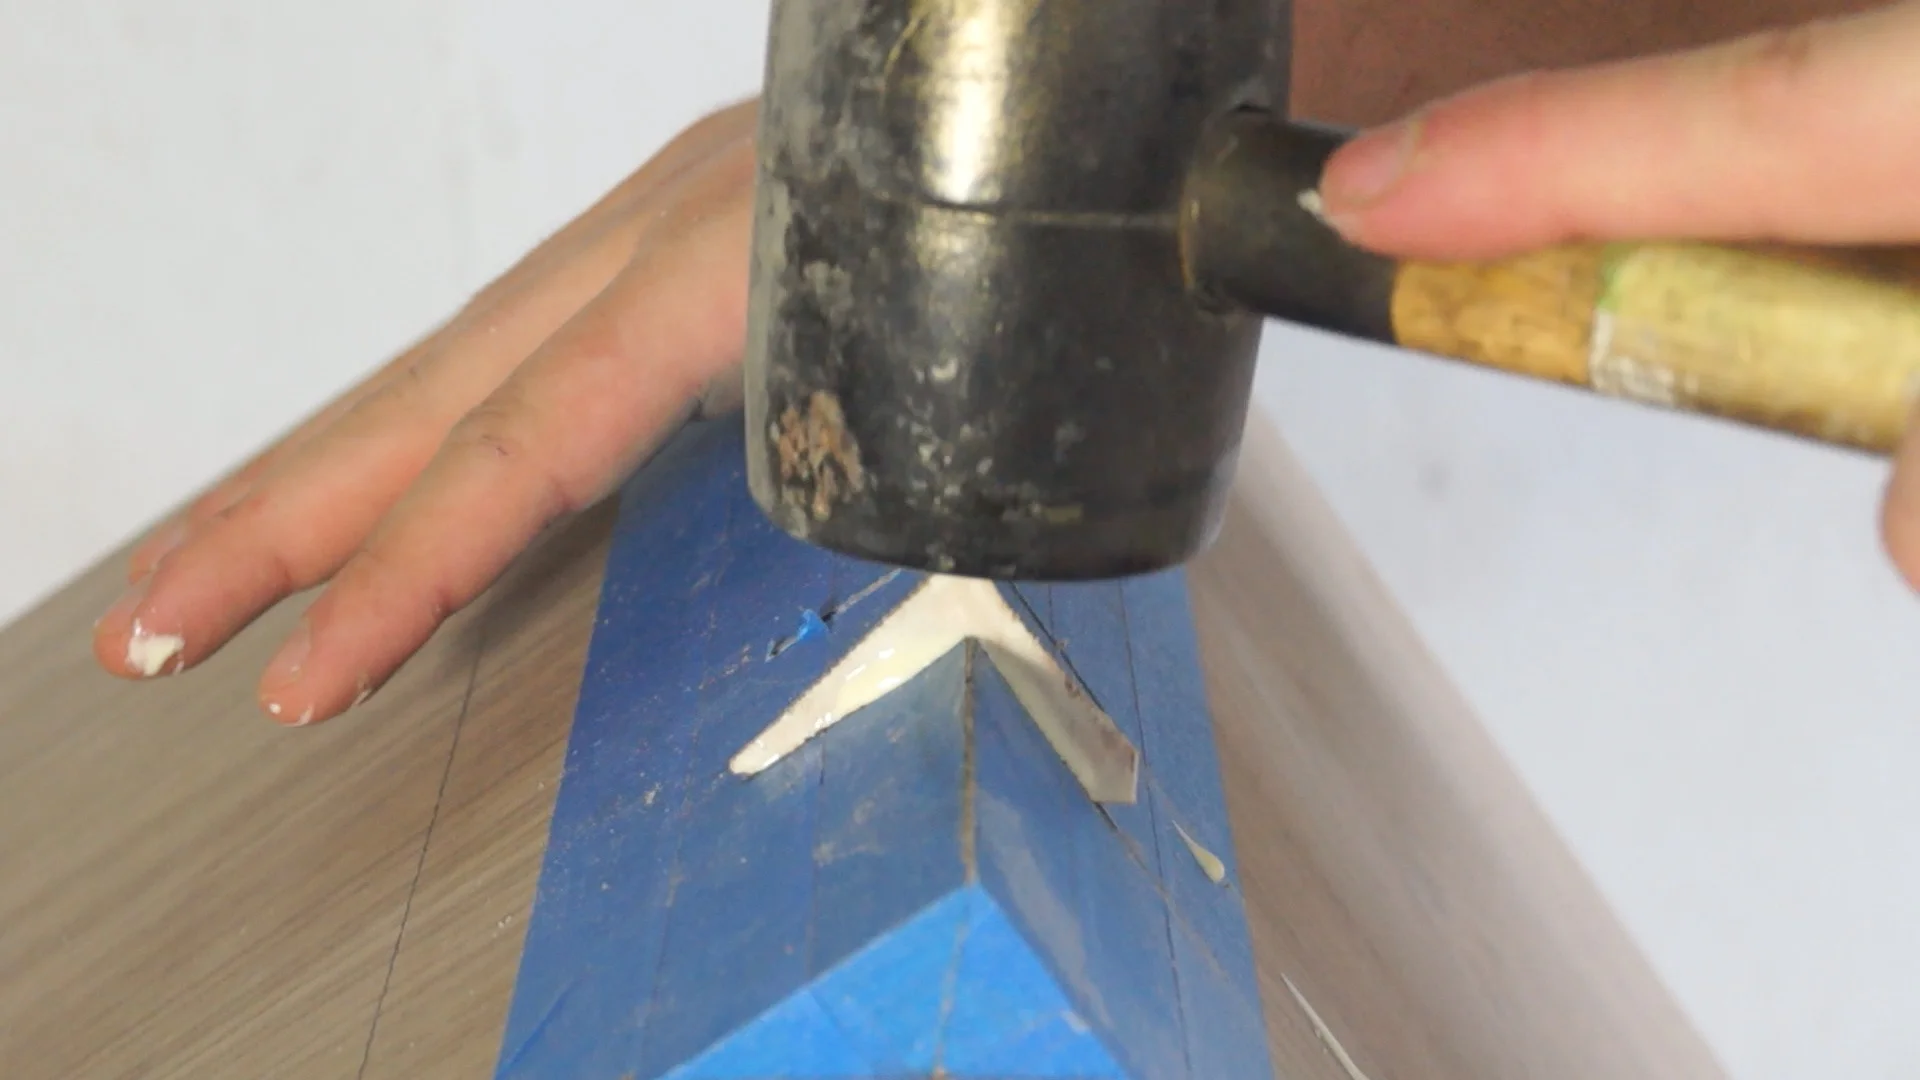
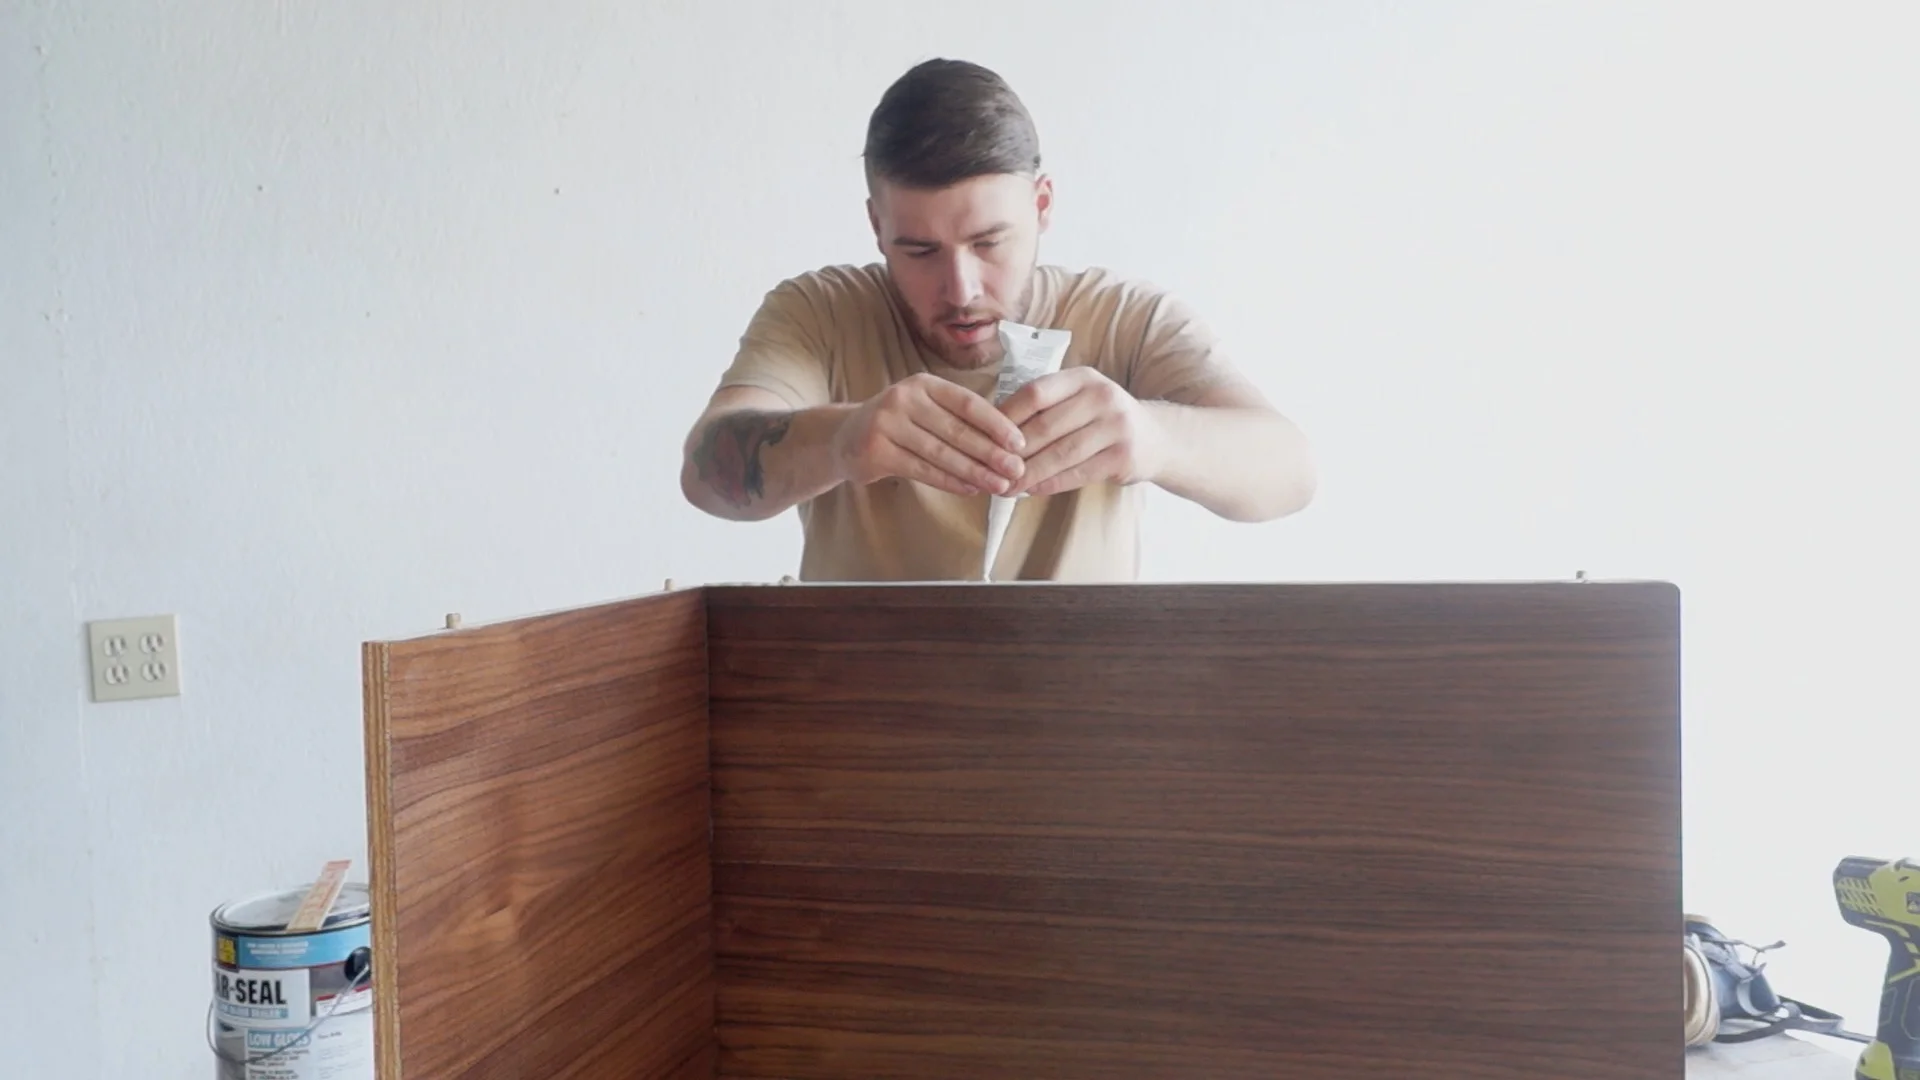
STEP SEVEN: PUT IT TOGETHER
I'm using a liquid nails adhesive to attach the base to the top.
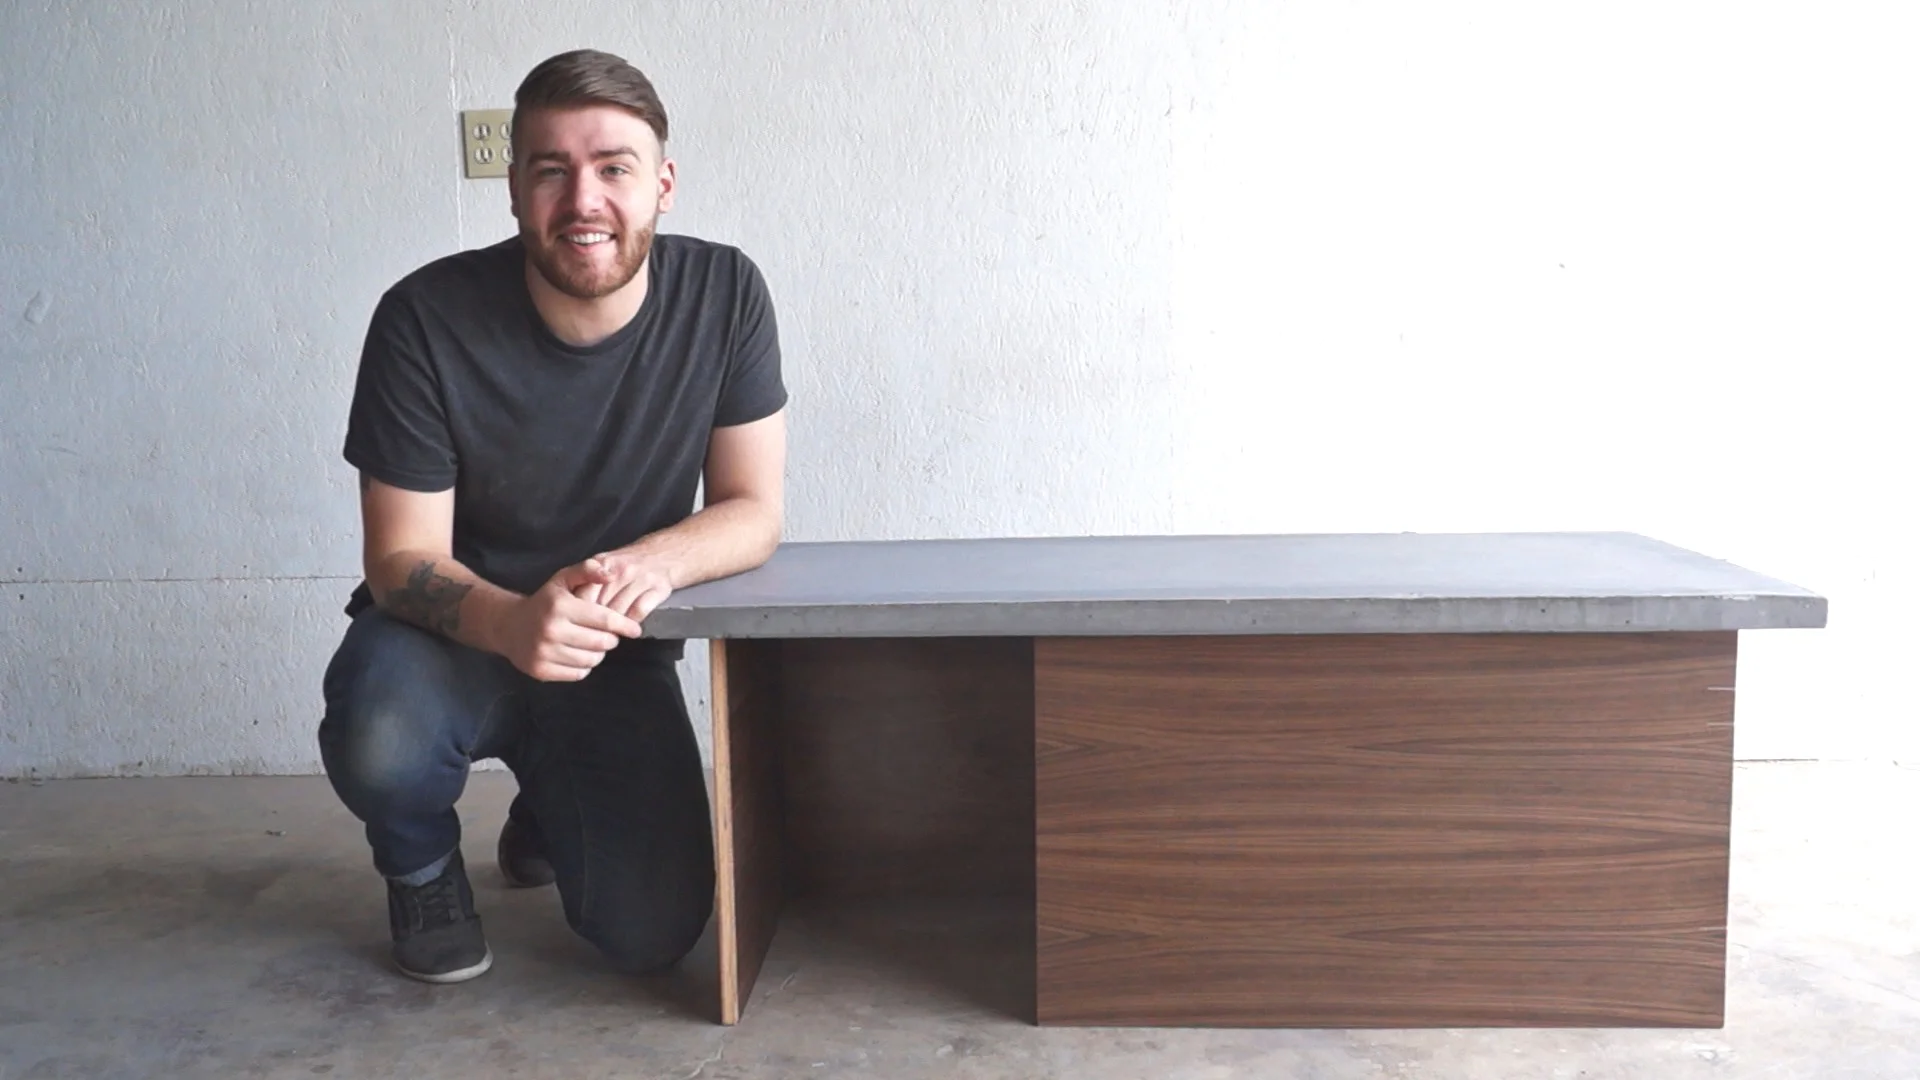
That's all there is to it! I hope you enjoyed it and go out and make your own. If you do, don't forget to tag me in a picture of it!
MORE COOL PROJECTS


GET IN TOUCH