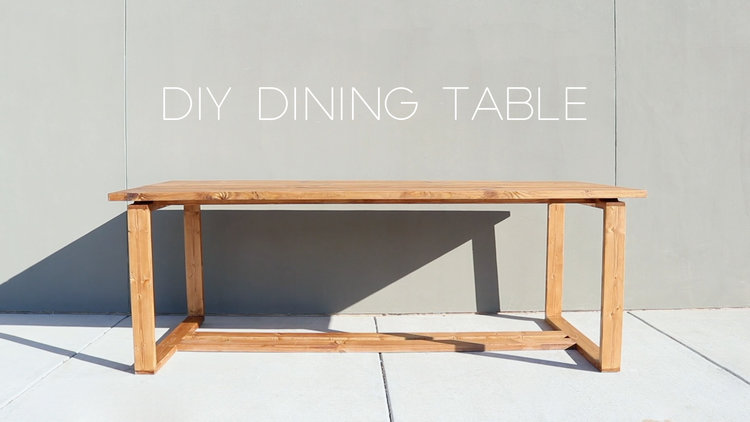
diy no-weld DINING TABLE
modern builds: s.02 Ep.09

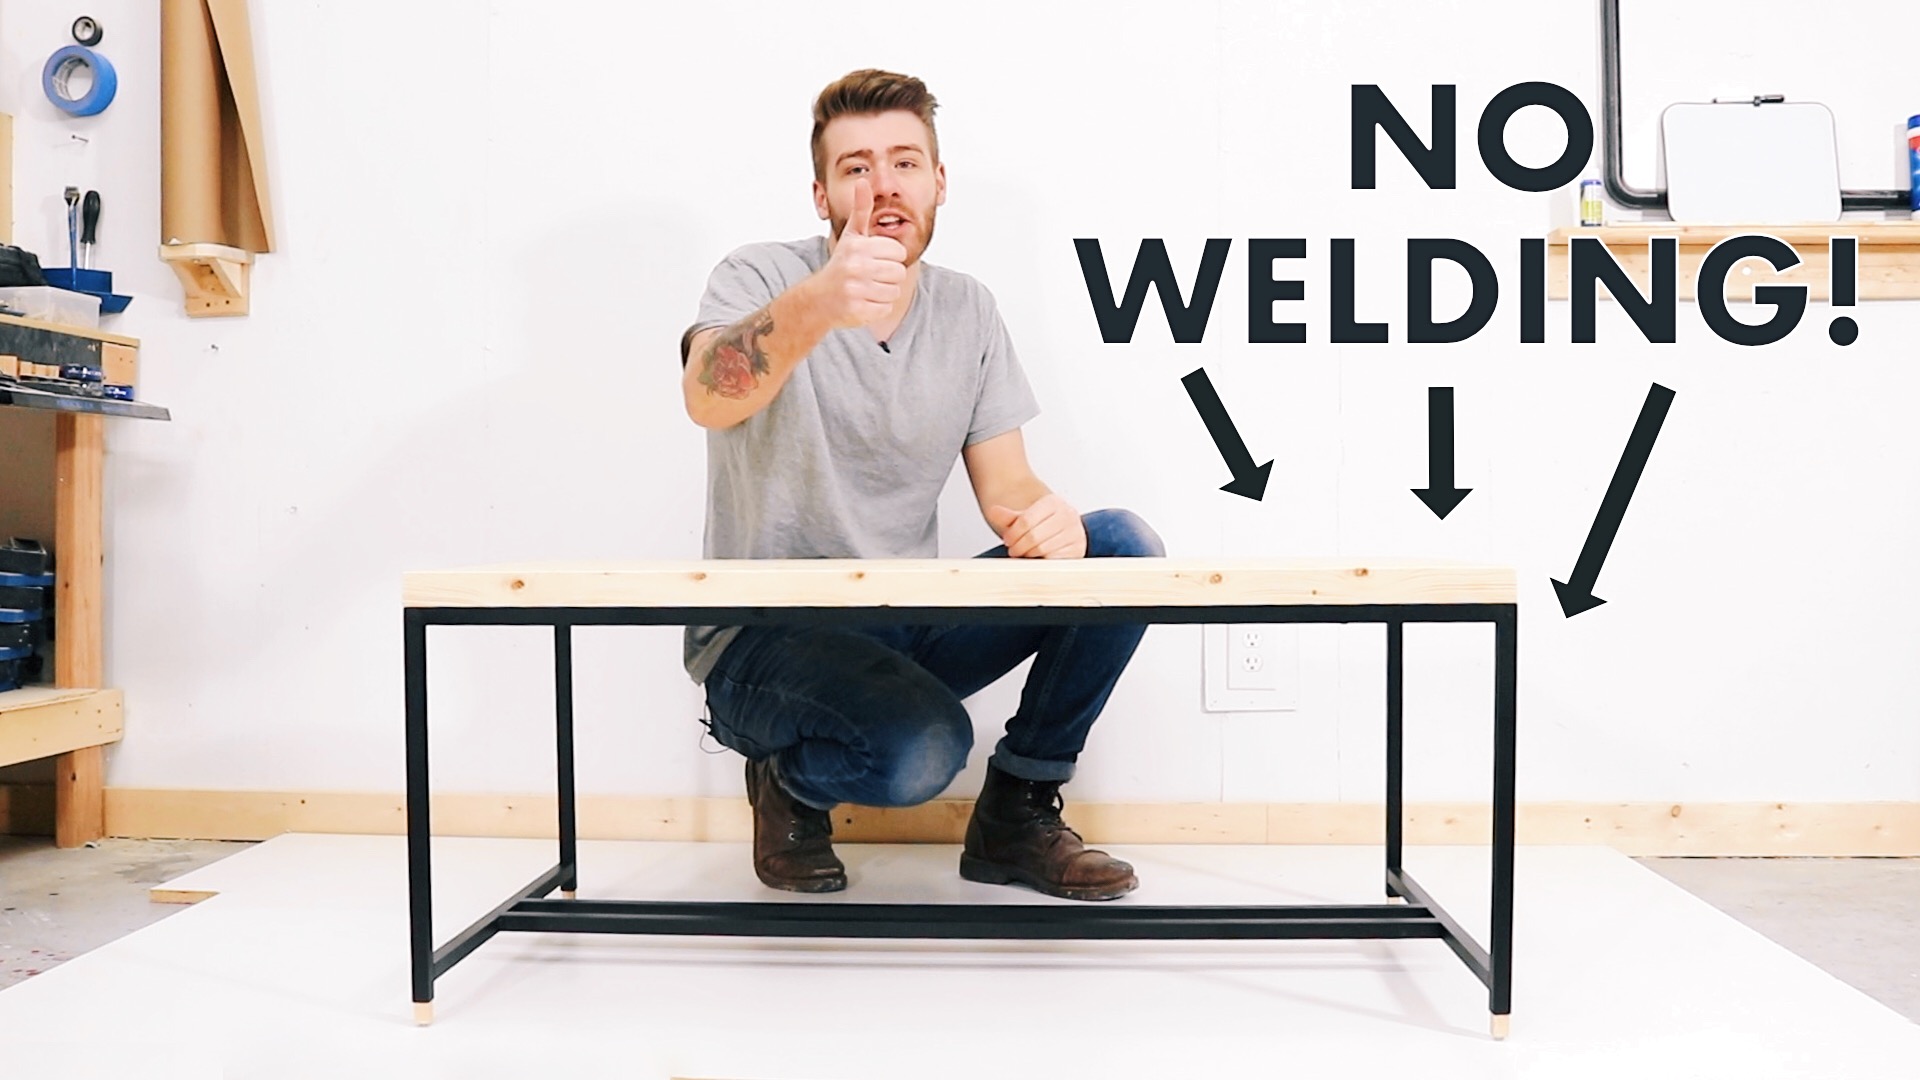
Last week I made a No-Weld, aluminum-based coffee table and I got a lot of great feedback on it. I used a similar method of construction: 3/4"" square aluminum tubing reinforced by 5/8" wooden dowels. The table looked great and was plenty strong for a coffee table, though it wouldn't withstand excessive abuse. While building that table I thought to myself, "I wonder how strong of a dining table I could build with the same technique, but with much larger tubing."
Home Depot and Lowe's only sells aluminum tubing up to 1" square, so I visited my local metal supplier and wandered around checking out their stock. while I was there, I decided 2 1/2" tubing would look nice. It had 1/8" walls allowing for 2 1/4" square pieces of wood reinforcement. With that much meat on the inside of the tubing I was able to use long, 6" decking screws (linked below) to attach my pieces along with epoxy to help reinforce the joint further.
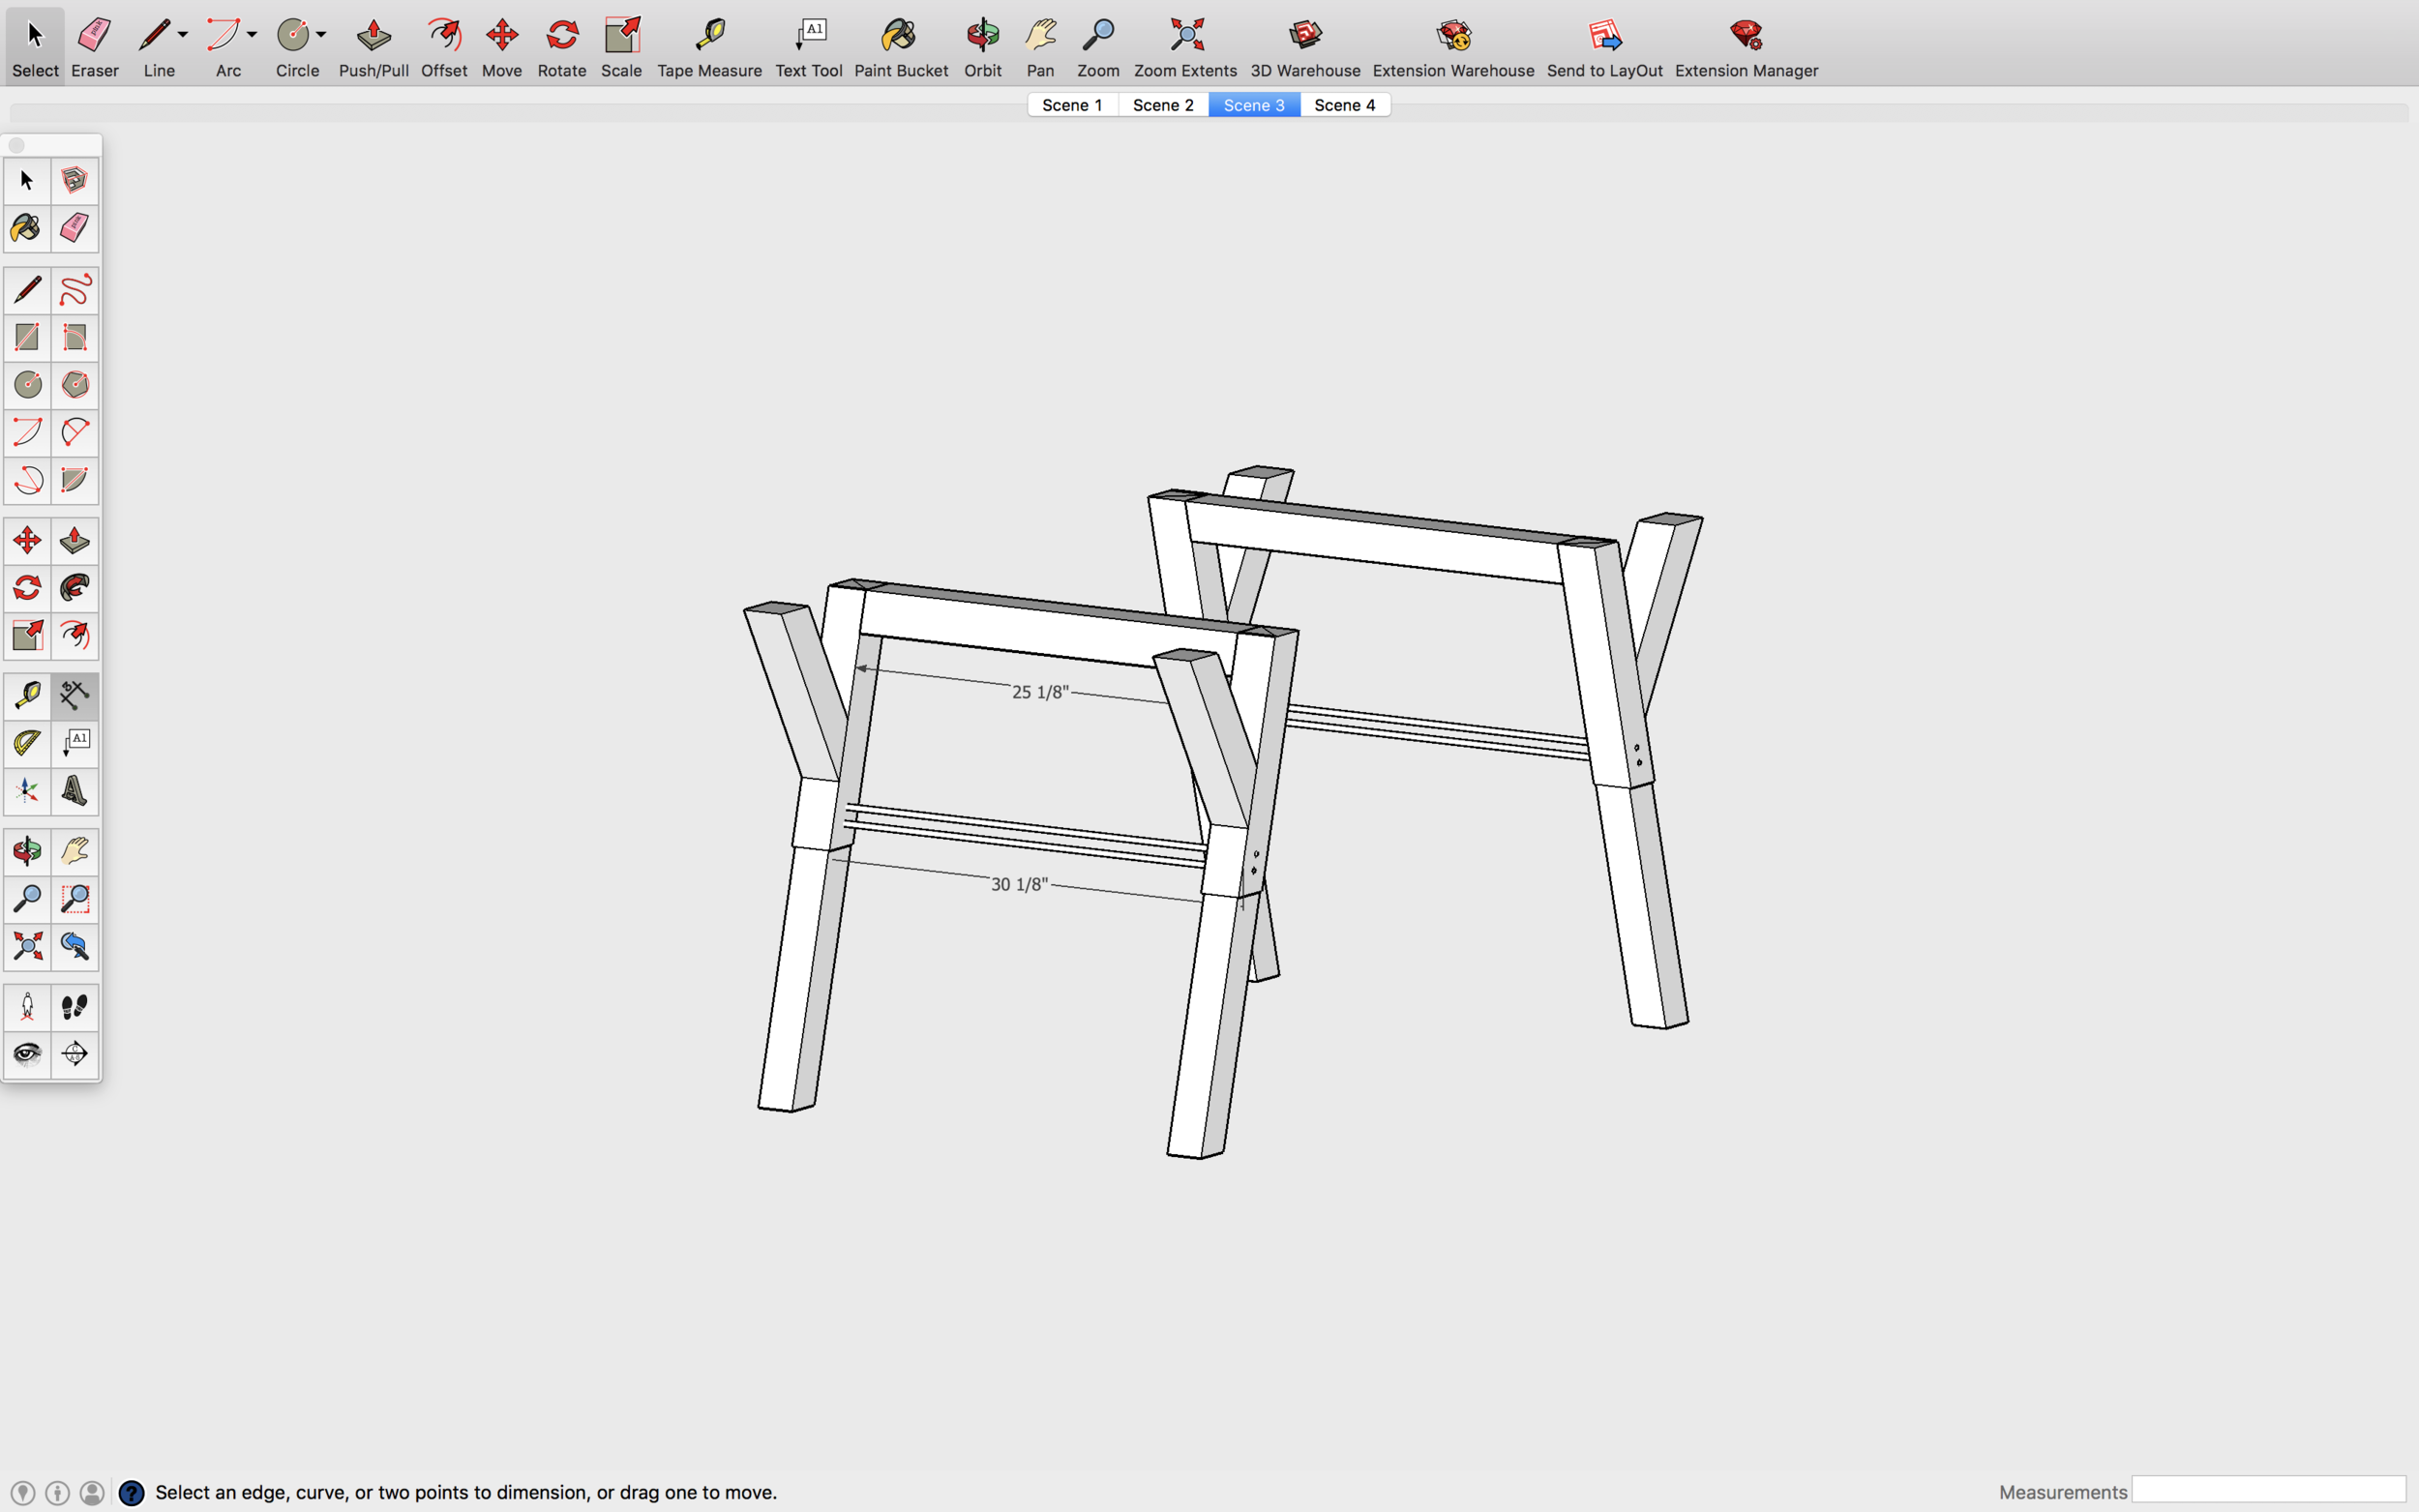
I designed the table first in Sketchup, which allowed me to work out all of the angle and help make everything proportionate. Not only that, but It allowed me to know the exact length to cut each piece without spending all day trying to do math I haven't done since High School. I'll have the model available to download below if you're interested in making the project yourself.
Overall, I'm really happy with how the table came out. It's definitely a step up in terms of design (in my opinion) and it was the first time I was able to incorporate this amount of angles into a project. The brass rods pair well with the white, but would also loo great with a black and walnut color scheme.
Materials and supplies:
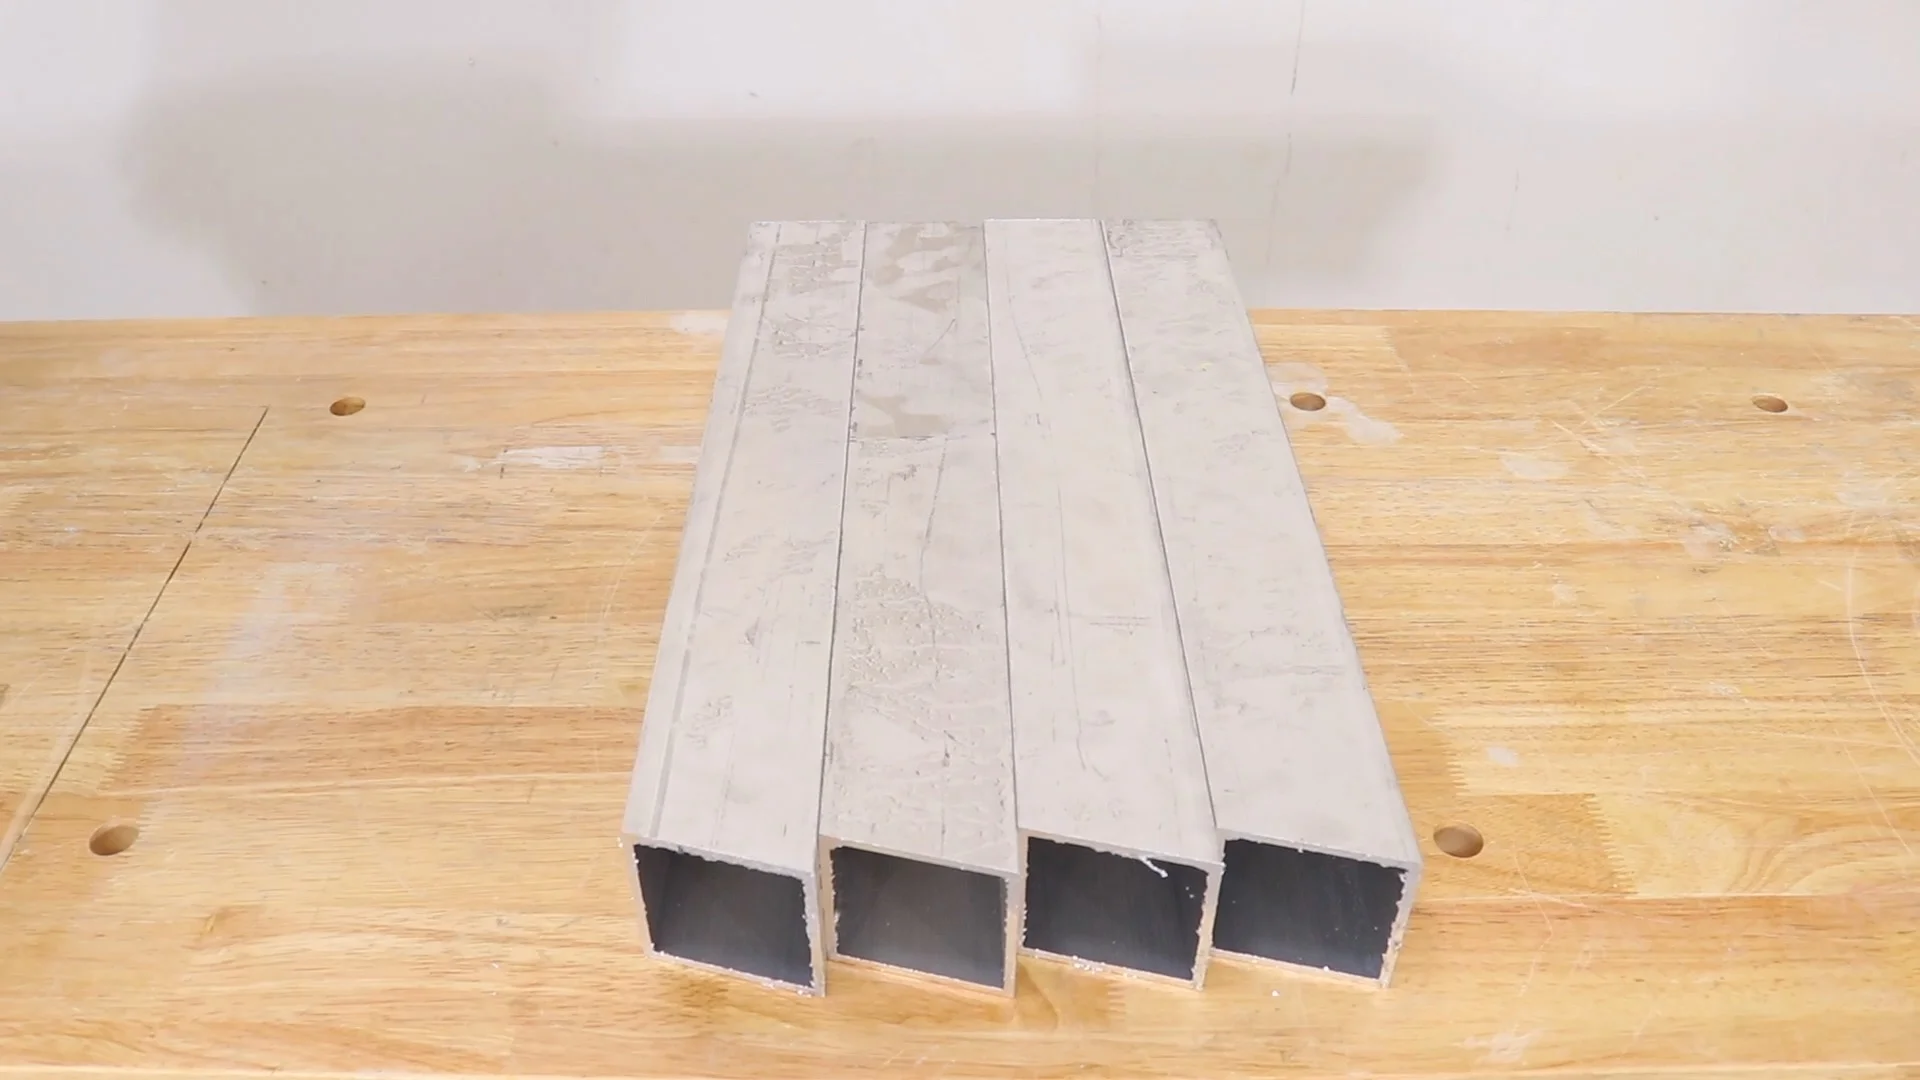
- 2 - 8' - 2.5" Square Aluminum Tubing:
- 3 - 8' - 2x6's:
- 2 - 6' - 5/16" Brass Rods
- 2 - 1/2" Plywood
- Wood Filler: http://amzn.to/2FQBfR8
- Screws I Used: https://goo.gl/ufGhs3
- Epoxy: http://amzn.to/2ETFutY
- White Spray Paint: http://amzn.to/2rgBKkf
- Wood Glue: http://amzn.to/2Fha9lF
- Wood Finish: http://amzn.to/2qI1JAD


The first thing I did was rip my 2x6's in half on the table saw. Then I glued them togeter face to face. Once the glue dried, I cleaned up one of the faces and ran them through the table saw until they fit into the inside of the aluminum tubing.
I cut the pieces of the legs about 6" oversize so that I would have enough wood left over to trim them to size once the legs were epoxied together.

I also cut the aluminum, for the tops of the legs oversize so that I'd be able to trim them later as well. Be sure to cut slowly when you're cutting aluminum. Once the wood was epoxied into the legs I could trim the wood and aluminun to size.
I clamped my pieces up before I screwed the pieces together. The first time I tried to attach the support piece to the leg slid down because of the 45 degree angle, so for all the rest of the legs I screwed a scrap piece of 2x4 behind the support so that it was locked in place and couldn't move.

After I cut my stretchers to length, I set my table saw to 15 degrees; the same angle as the legs, and trimmed one of the sides so that it will be able to sit flush against the table top. I attached the legs to the stretchers, then used Durham's water putty to fill the holes and clean the seams.
After the filler dried, I sanded everything to 220 grit and used masking tape to cover the wood on the legs. Then, I painted everything with 4 light coats of flat white spray paint. The secret to getting a good finish, in my books, is to apply two light coats, then sand after the 3rd and 4th coat lightly with 220 grit. the final coat should be really light.. just enough to remove any scratch marks. If you do thick coats it doesn't cure as solid and is more prone to getting gummy or being uneven...plus it's a lot more work to sand.
Before I cut my brass rod to length on my miter saw I googled it to make sure it was OK. From what I read, it's fine, but will dull your blade pretty quickly. It worked well for me and since I only made 4 cuts, it was worth it. I used epoxy to add a little extra strenth to the leg assembly and to help hold everything in place.
The table top is made up of two 1/2" plywood pieces glued together. I flipped my first piece upside down and used a paint roller to spread the wood glue acroos the surface. Then I put the second piece of plywoo don top of it and walked across the plywood to knock out as many air bubbles as possible. To help weigh everything down, I put a piece of 3/4" melamine on top of the flue-up , along wiht my workbench.
After the glue dried, I set my miter saw to 30 Degrees and cut the table to 3'x6'. after it was cut, I used my clock plane to make a chamfer around the edge to help softenthe edges visually. I appied 3 coats of minwax polycryic in a matte finish.
I attached the legs by pre-drilling three holes on the bottom side of each stretcher and screwing them into the bottom of the table top.


If you have any questions or find any issues with the article, feel free to get in touch.
more cool projects: