

EP. 30 DIY MID-CENTURY MODERN END TABLE
Today on Modern Builds, we're making an Mid-Century inspired end table working towards rounding out a full Mid-Mod furniture set.
Big thanks to BRUSSO Hardware: http://www.brusso.com/
MATERIALS AND SUPPLIES:
BRUSSO DP-101 Drawer Pull: http://www.brusso.com/dp-101/
2'x4' 3/4" MDF: http://amzn.to/246mDCR
1x6 common board (for drawer)
12" Tapered Legs: http://amzn.to/1WJme7n
Leg Hardware: http://amzn.to/1WJmjYO
Watco Danish Oil: http://amzn.to/1SBU7kk
Primer: http://amzn.to/1WgCdZZ
Paint: http://amzn.to/1MM7rqn
Wood Glue: http://amzn.to/1pRuFAC
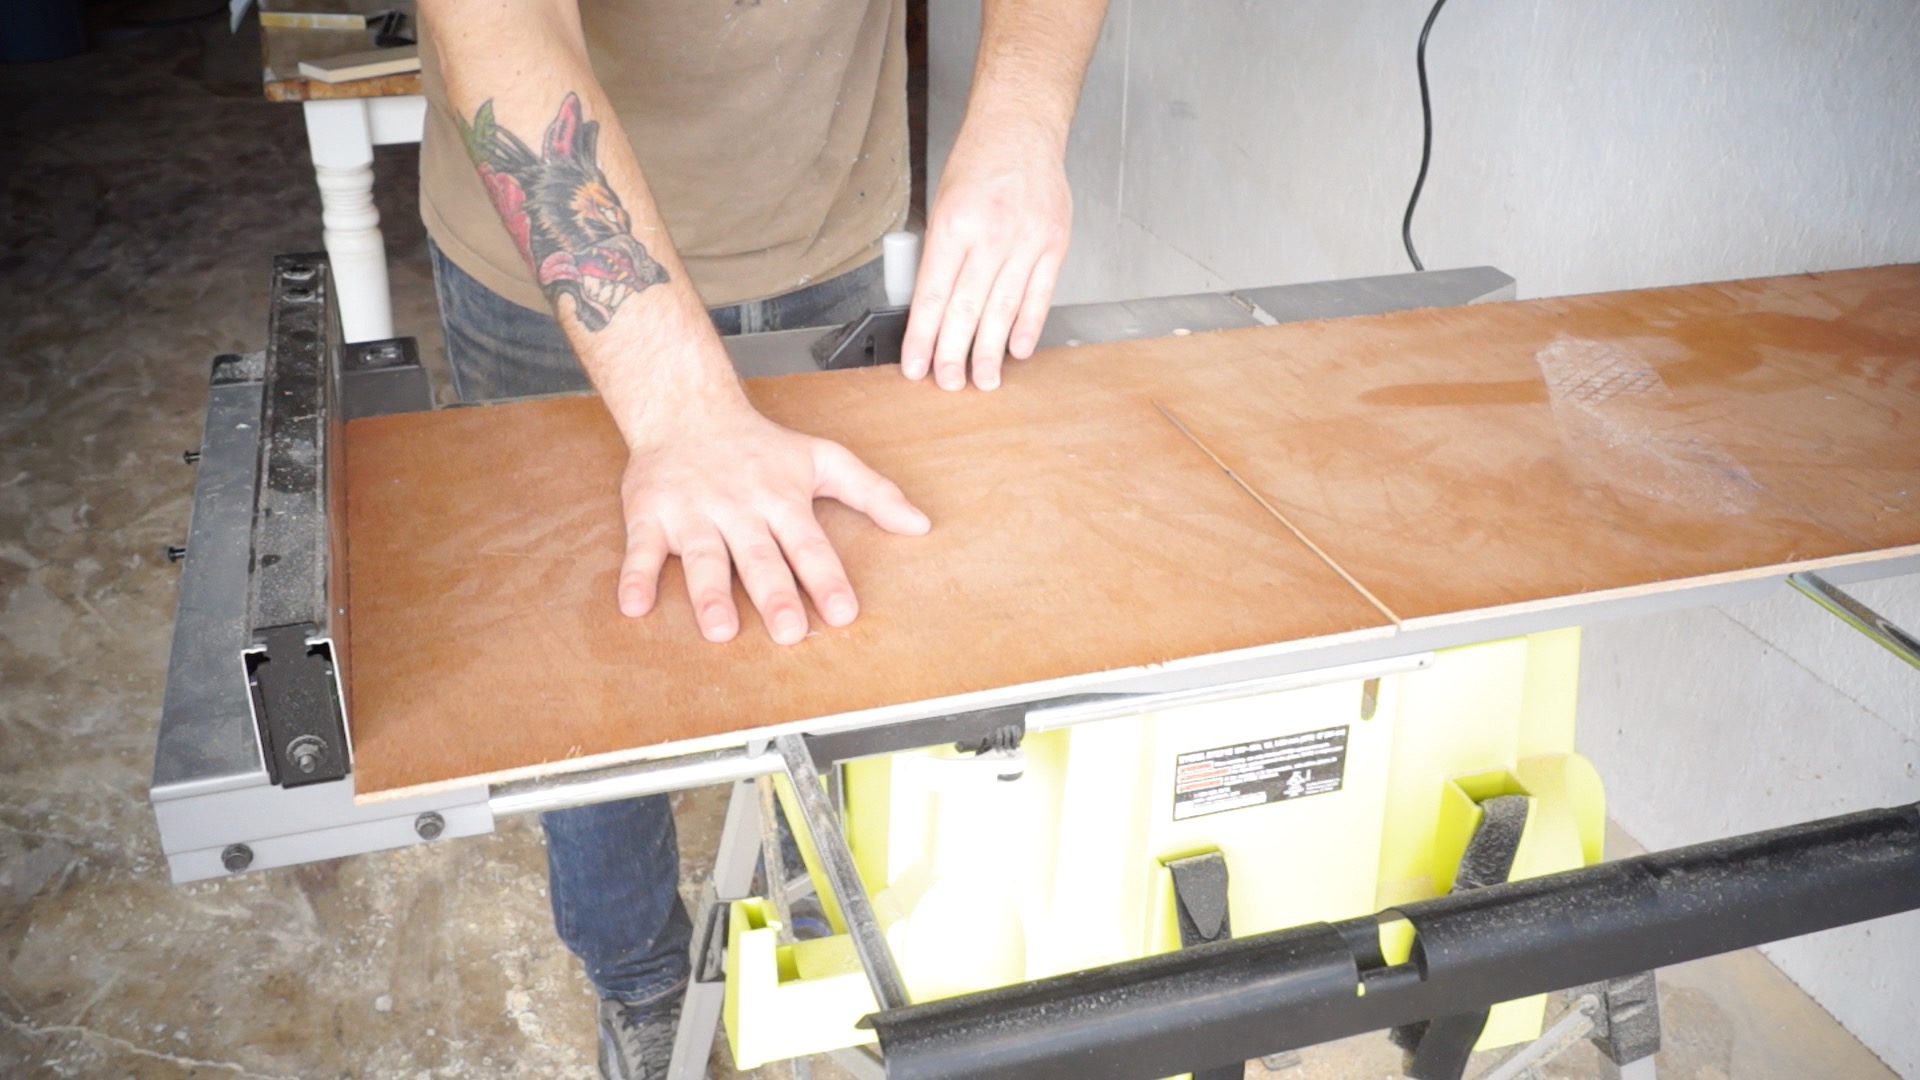
STEP ONE: MAKE THE BOX
This is the cut list for a 3x4" 2x4 quarter sheet of MDF. Keep blade width in mind on measurements. I cut everything with a table saw, but you could just as easily use a circular saw and a straight edge.

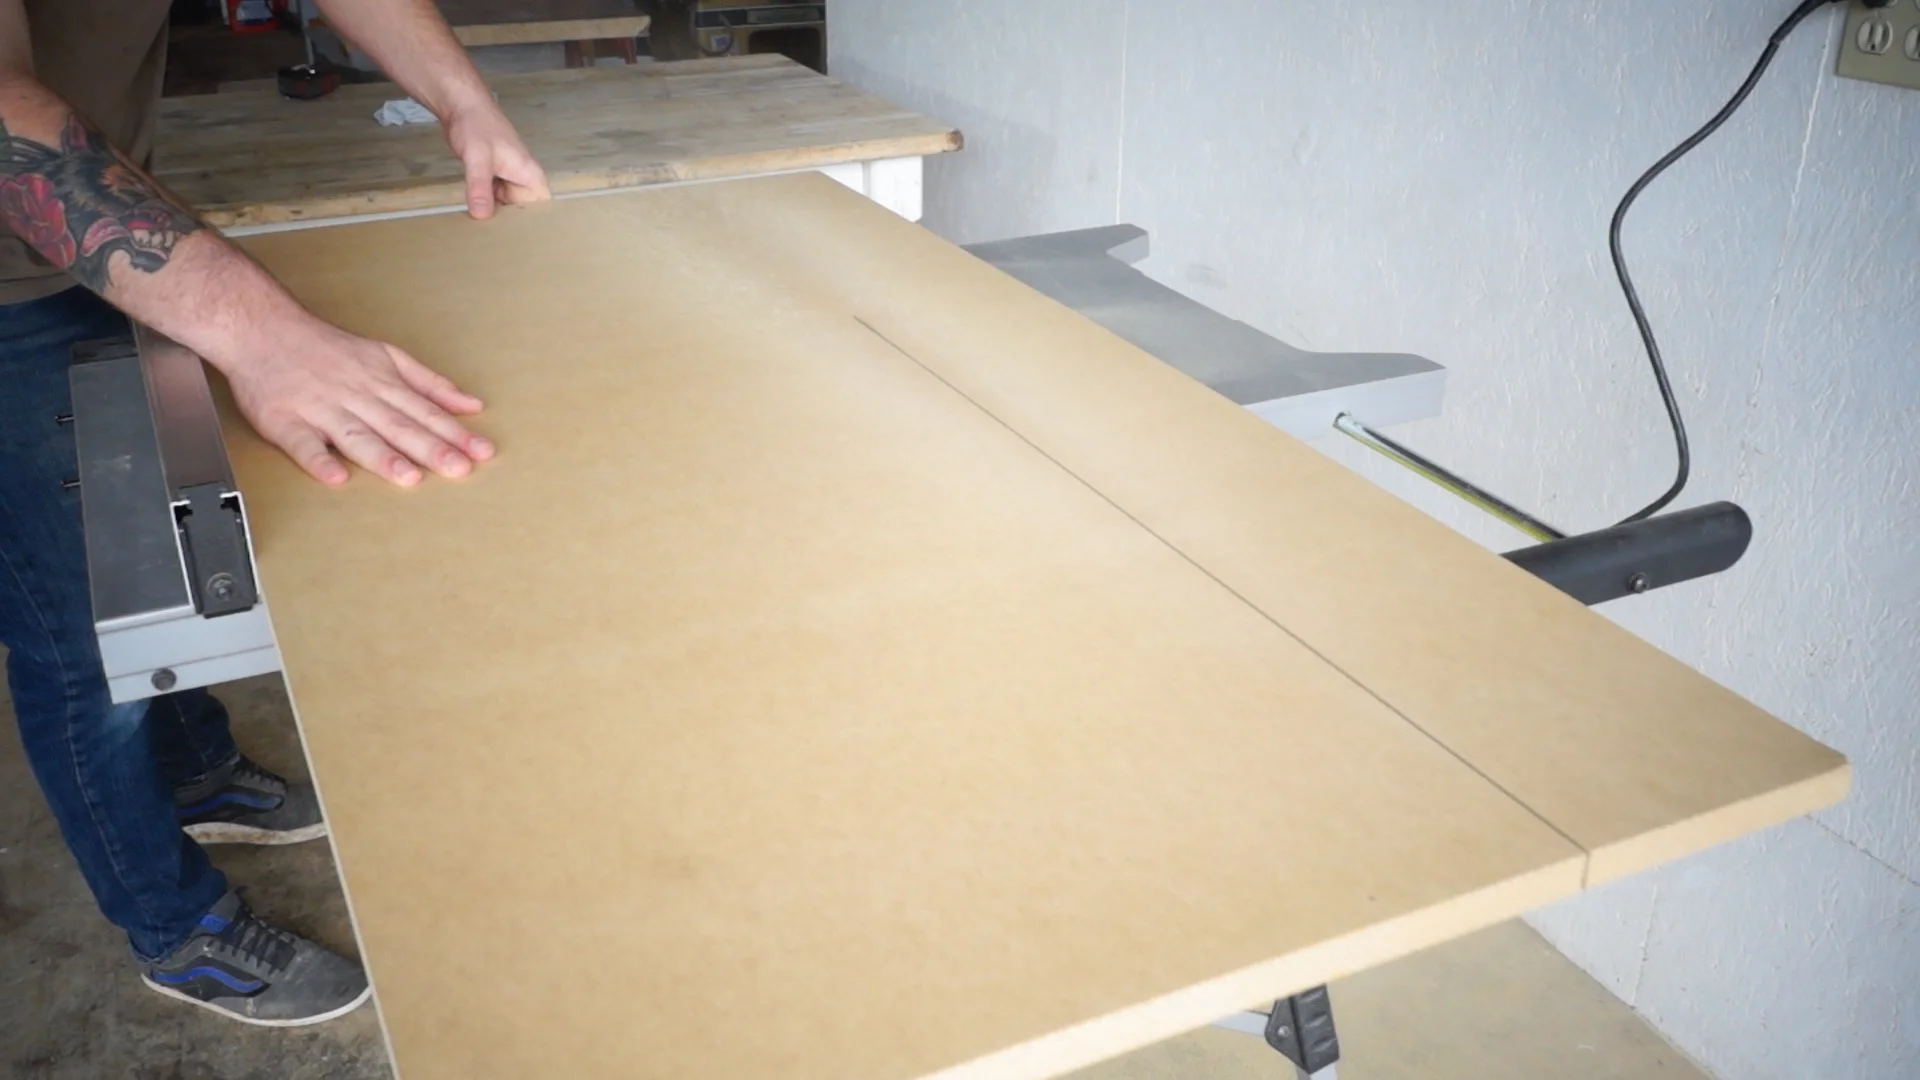

On any cross cuts, be sure to use a miter guide for extra control and safety.
On the cut for the back piece, instead of moving my fence, I put two pieces of 3/4" MDF to represent the space that will be taken up by the two side pieces in the glue up to guarantee a precise fit.

After all of the cuts were complete, I used glue and brad nails to put everything together.
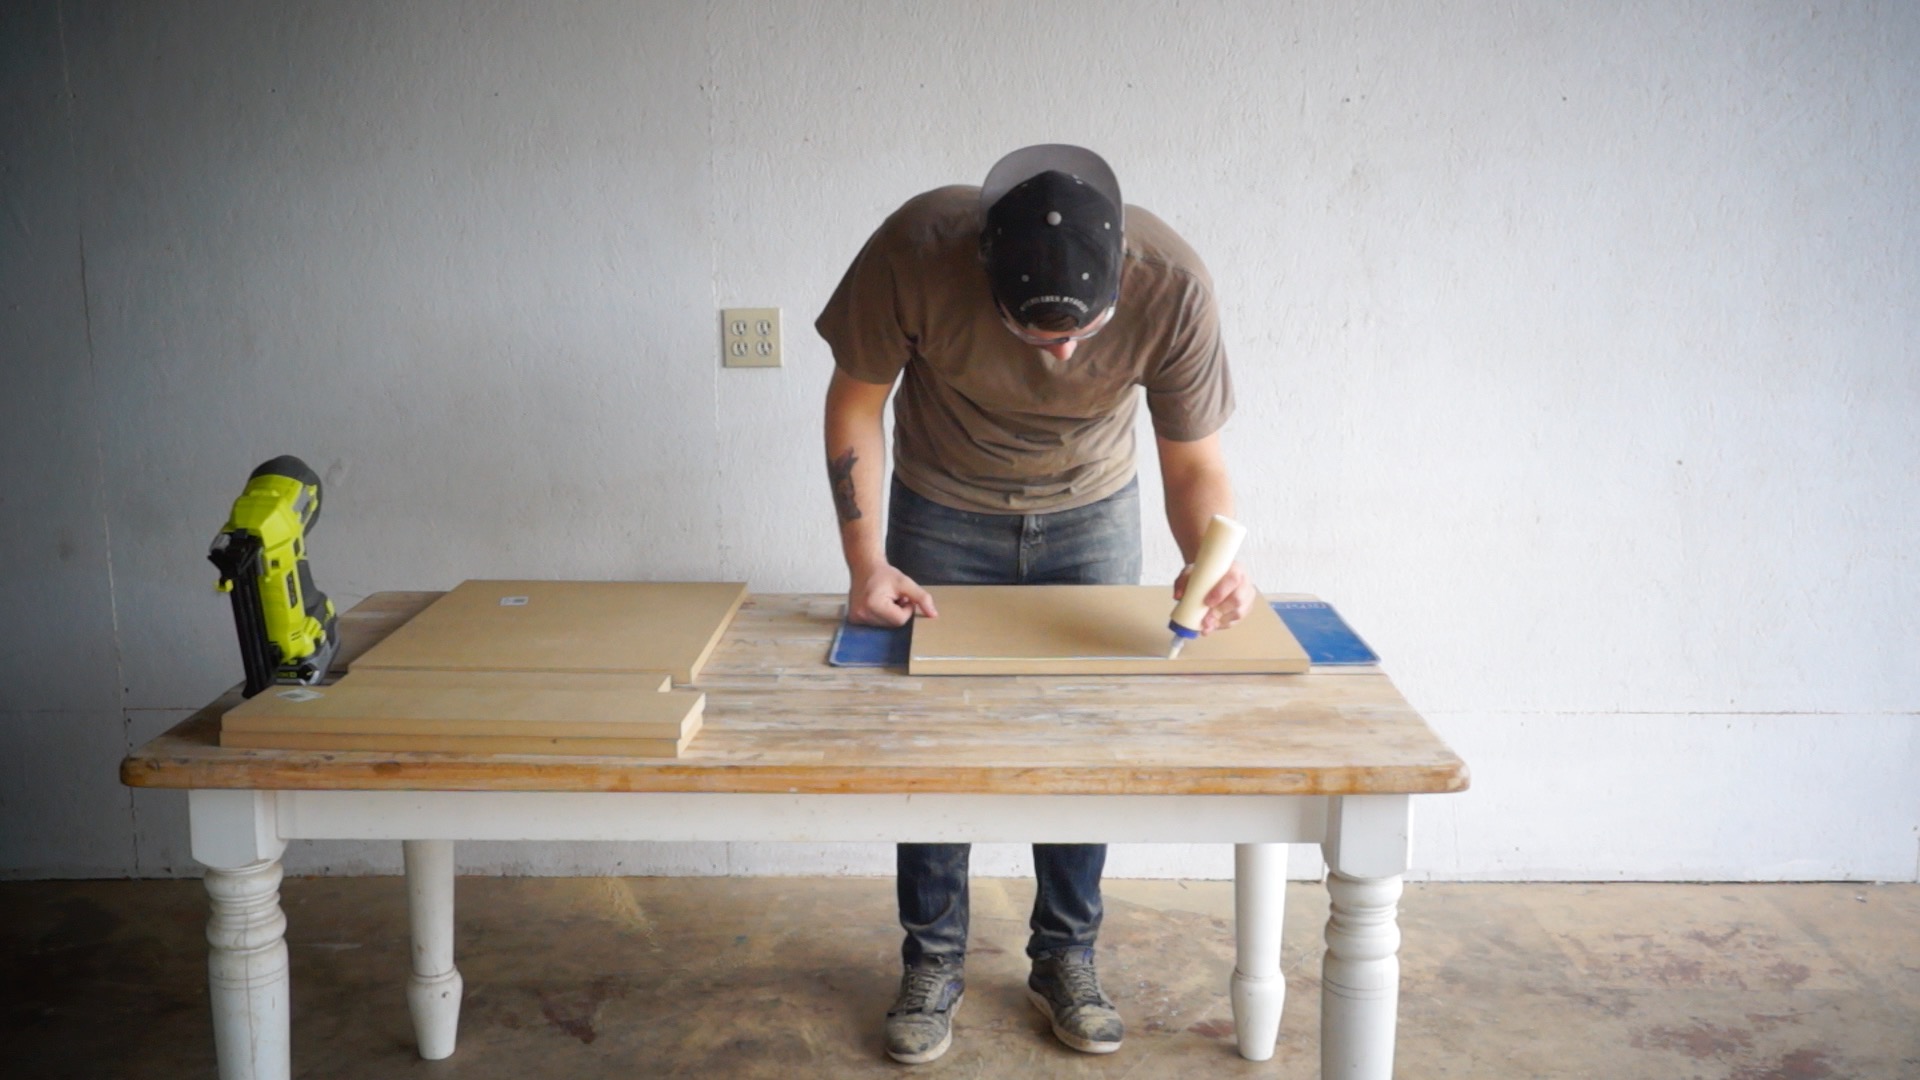


After the glue dried, I used wood putty in all of the brad nail holes as well along all of the seams of the MDF. Then I sanded all the way up to 220 grit.


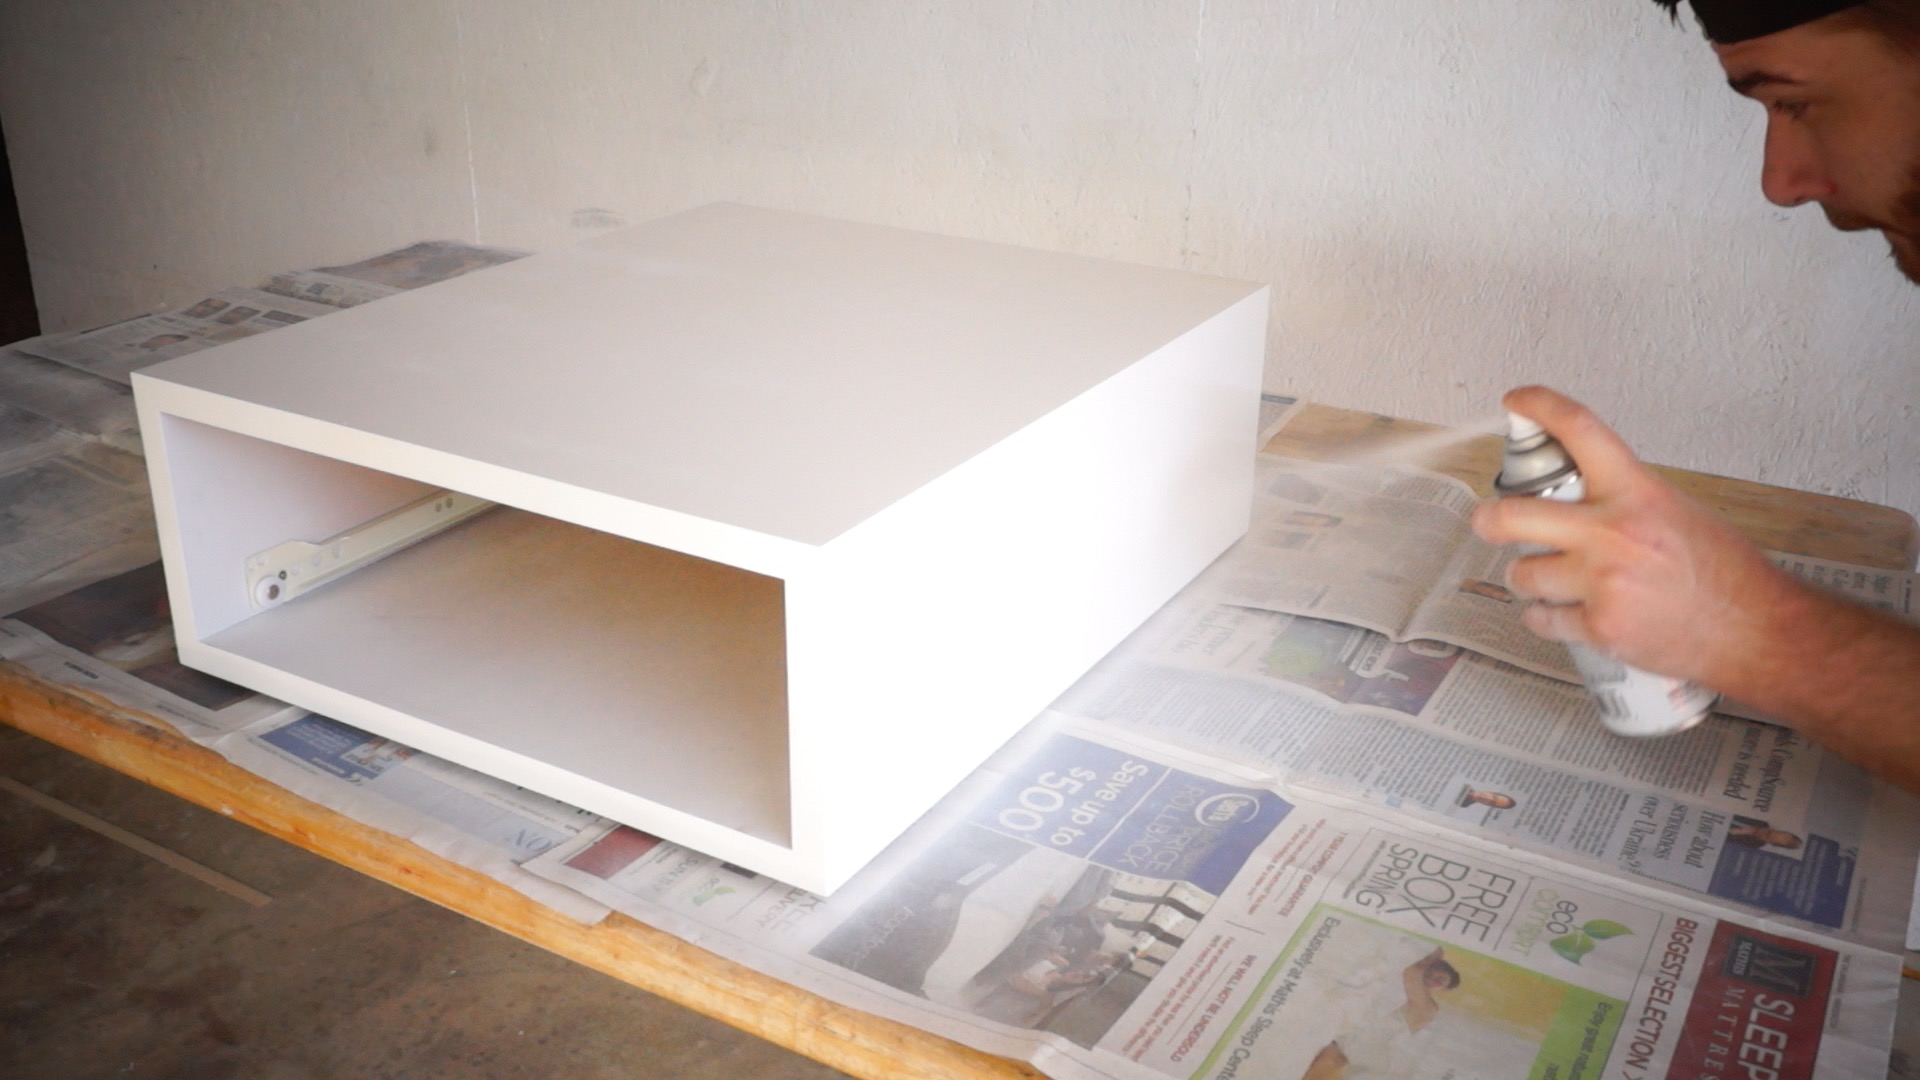
I put on three coats of spray on primer to the box. I ended up using two cans.


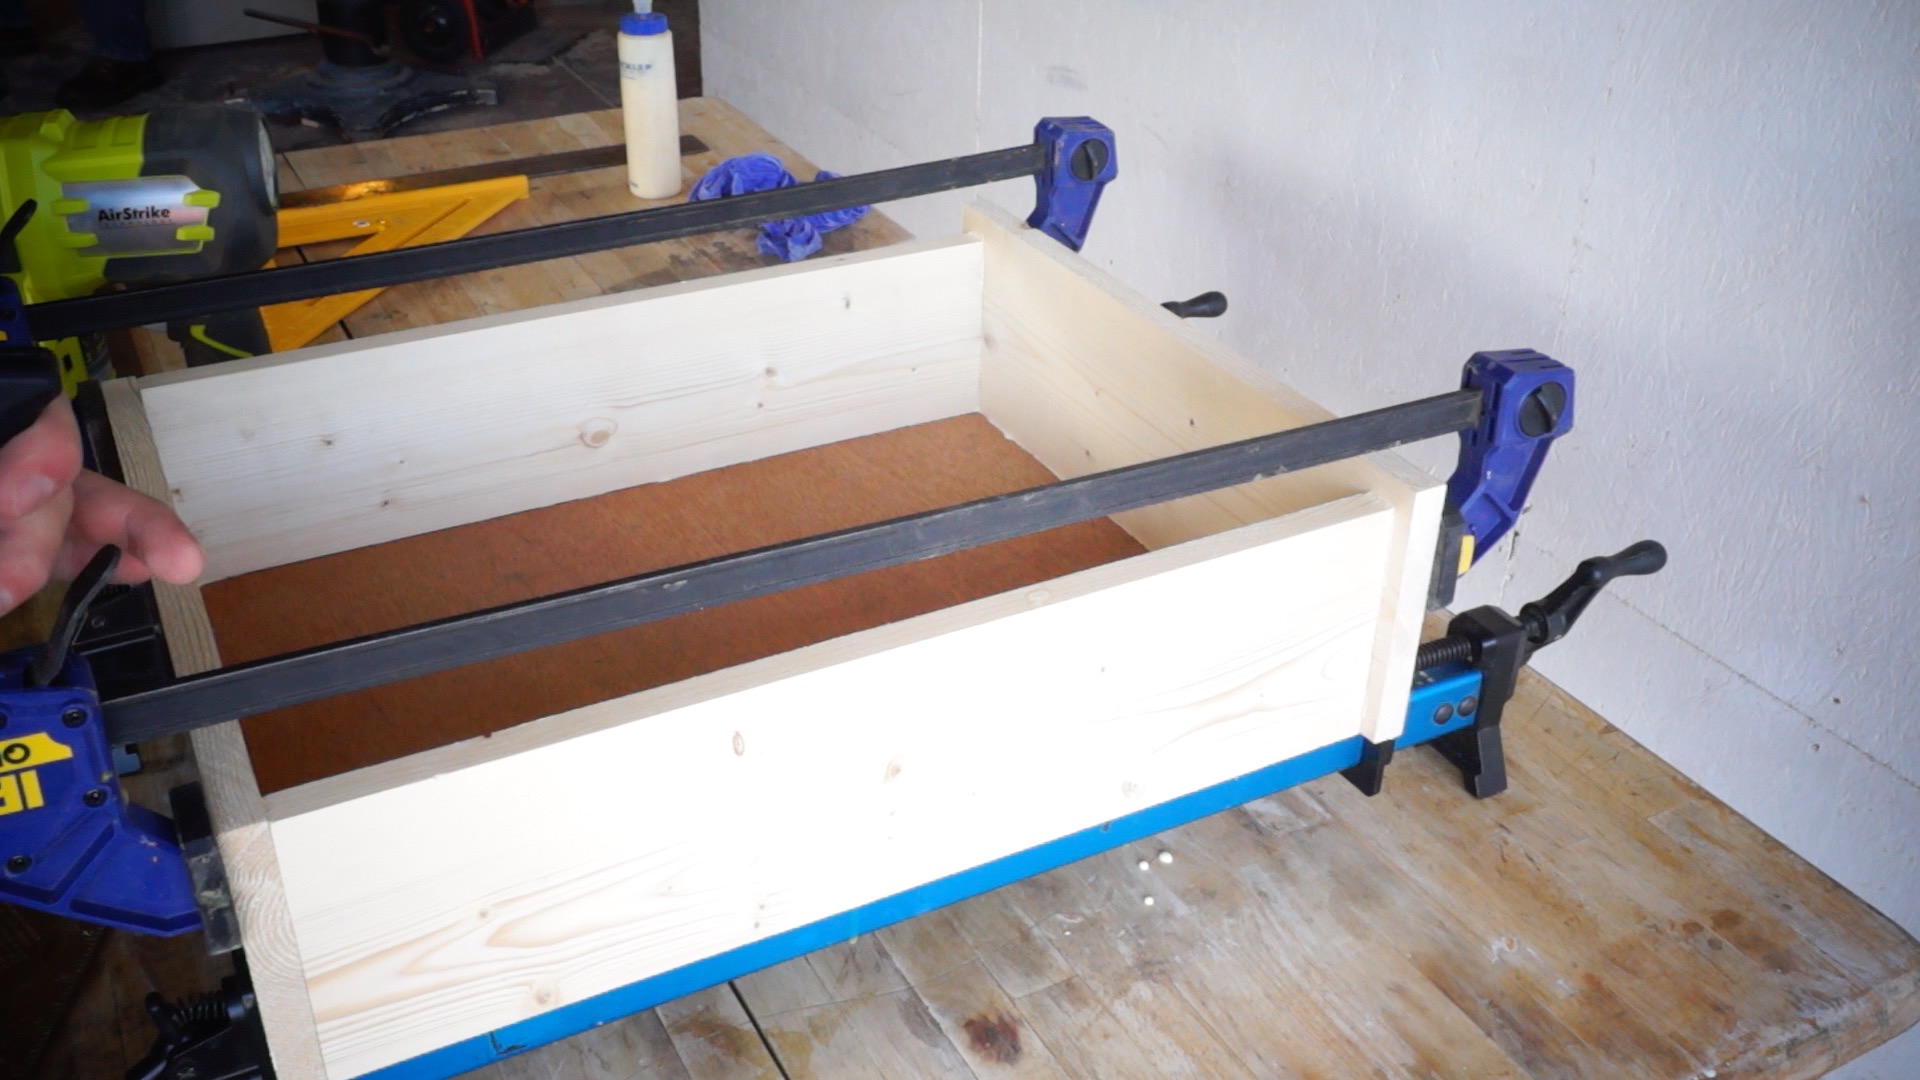
STEP TWO: MAKE THE DRAWER
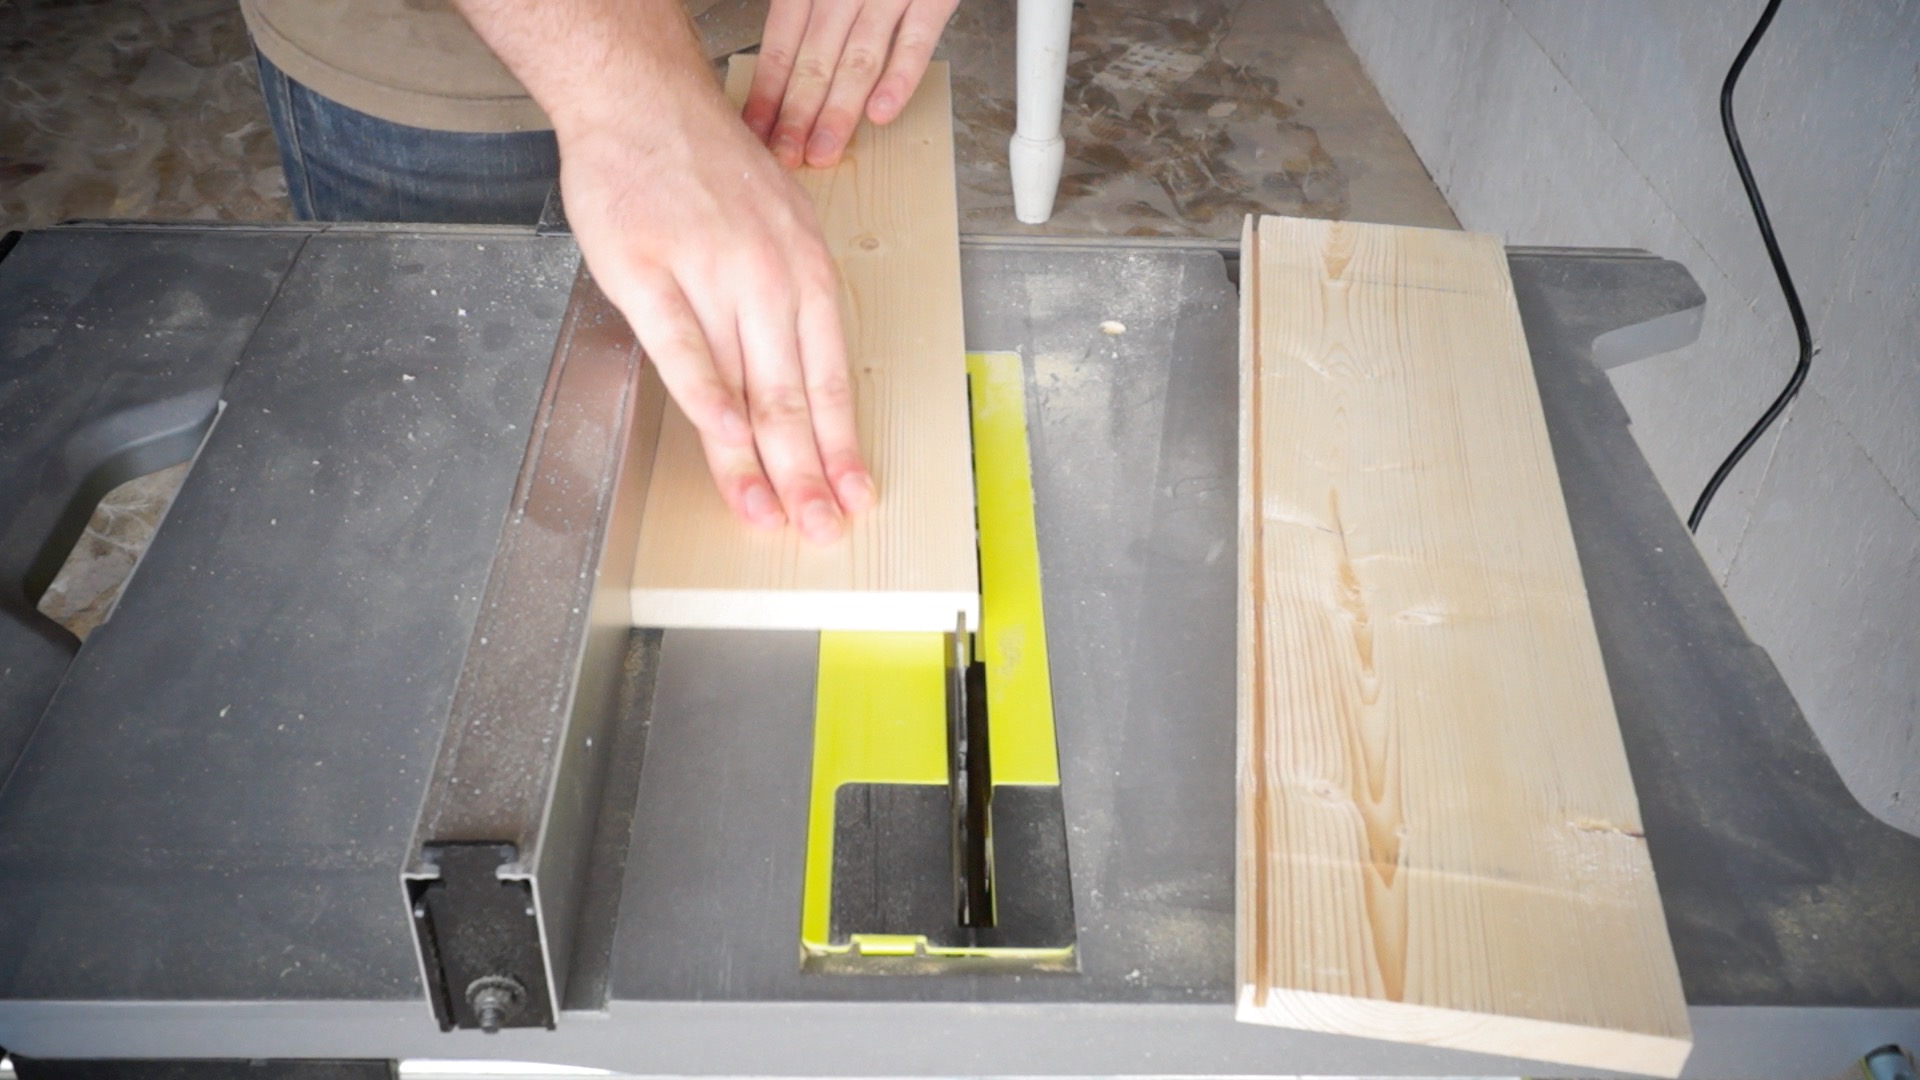
The drawer is made of 1x6 common board left over from my headboard project. Bottom is made of 1x8" plywood.I cut the boards to length, then to width on the table saw.


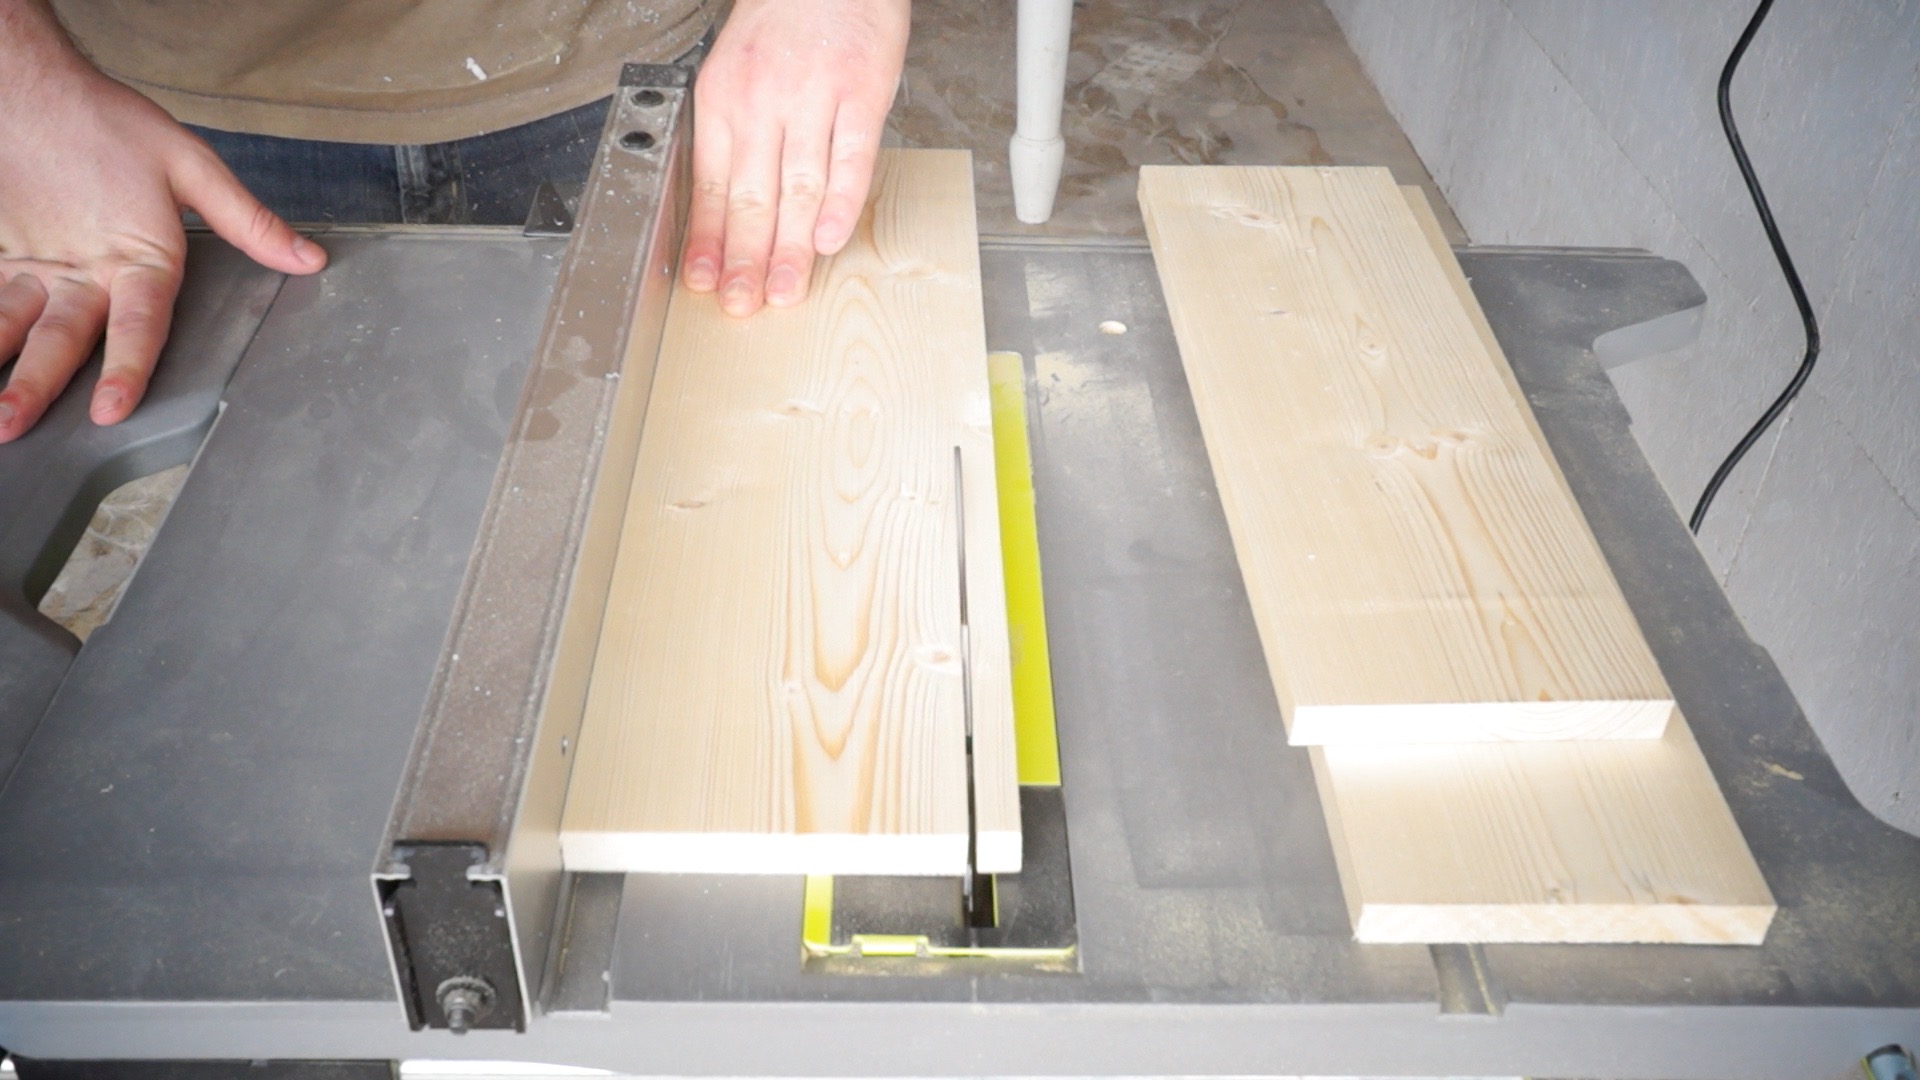
I cut a dado into the two side pieces to hold the plywood bottom. By not cutting the dado on the back and face I created a "hidden dado" that the plywood sits into. And by cutting the plywood to the exact same length as the side pieces there is no gap between the face and the plywood. because of this, the plywood can glue to wool across all of its edges.
I put the drawer together, first by putting the plywood in the dados cut into the sides. then I attached the back with brad nails, finally the face board could be clamped into place, making sure it is centered and square.


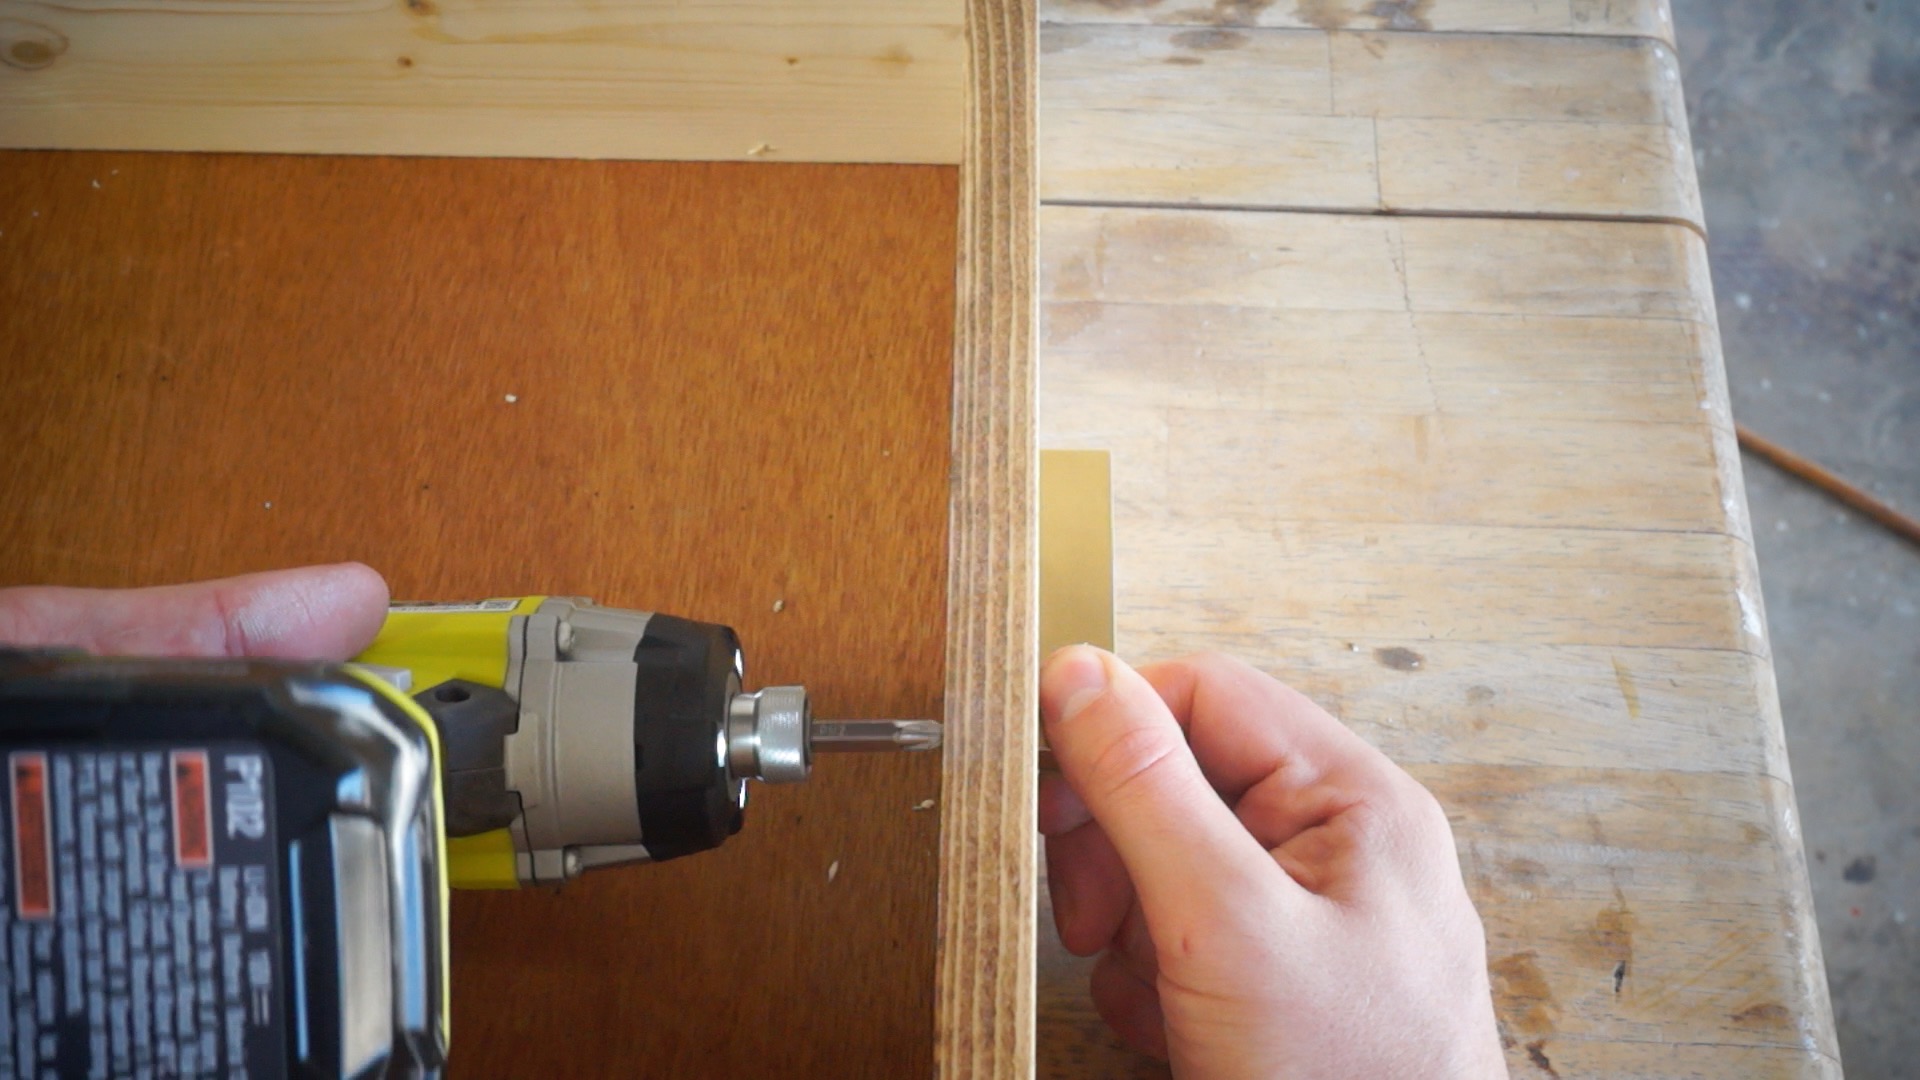
STEP THREE: ATTACH DRAWER SLIDES
I attached the drawer slides using spacer blocks cut from scrap MDF to ensure consistent fits.

I used the same technique for the slides inside the case. I also used playing cards to raise the glide up to center the face board in the opening of the case. I also used a 1x6 scrap to ensure the drawer face sat inside the opening far enough.

STEP FOUR: APPLY THE DANISH OIL
I used a Dark Walnut Danish oil for the exposed wood.


STEP FIVE: APPLY THE GOLD
The drawer handle I used was supplied by my new friends at BRUSSO HARDWARE. I chose a gold model DP-101

I also painted the metal bottoms on the legs gold to match the hardware.

I inset the leg hardware 1.5" on each edge.

STEP SIX: WRAP IT UP
I began by sanding the primer surface with 220 grit and the applying 2 coats of a semi gloss white.


That's all there is to it! I hope you enjoyed it and go out and make your own. If you do, don't forget to tag me in a picture of it!
MORE COOL PROJECTS

GET IN TOUCH