

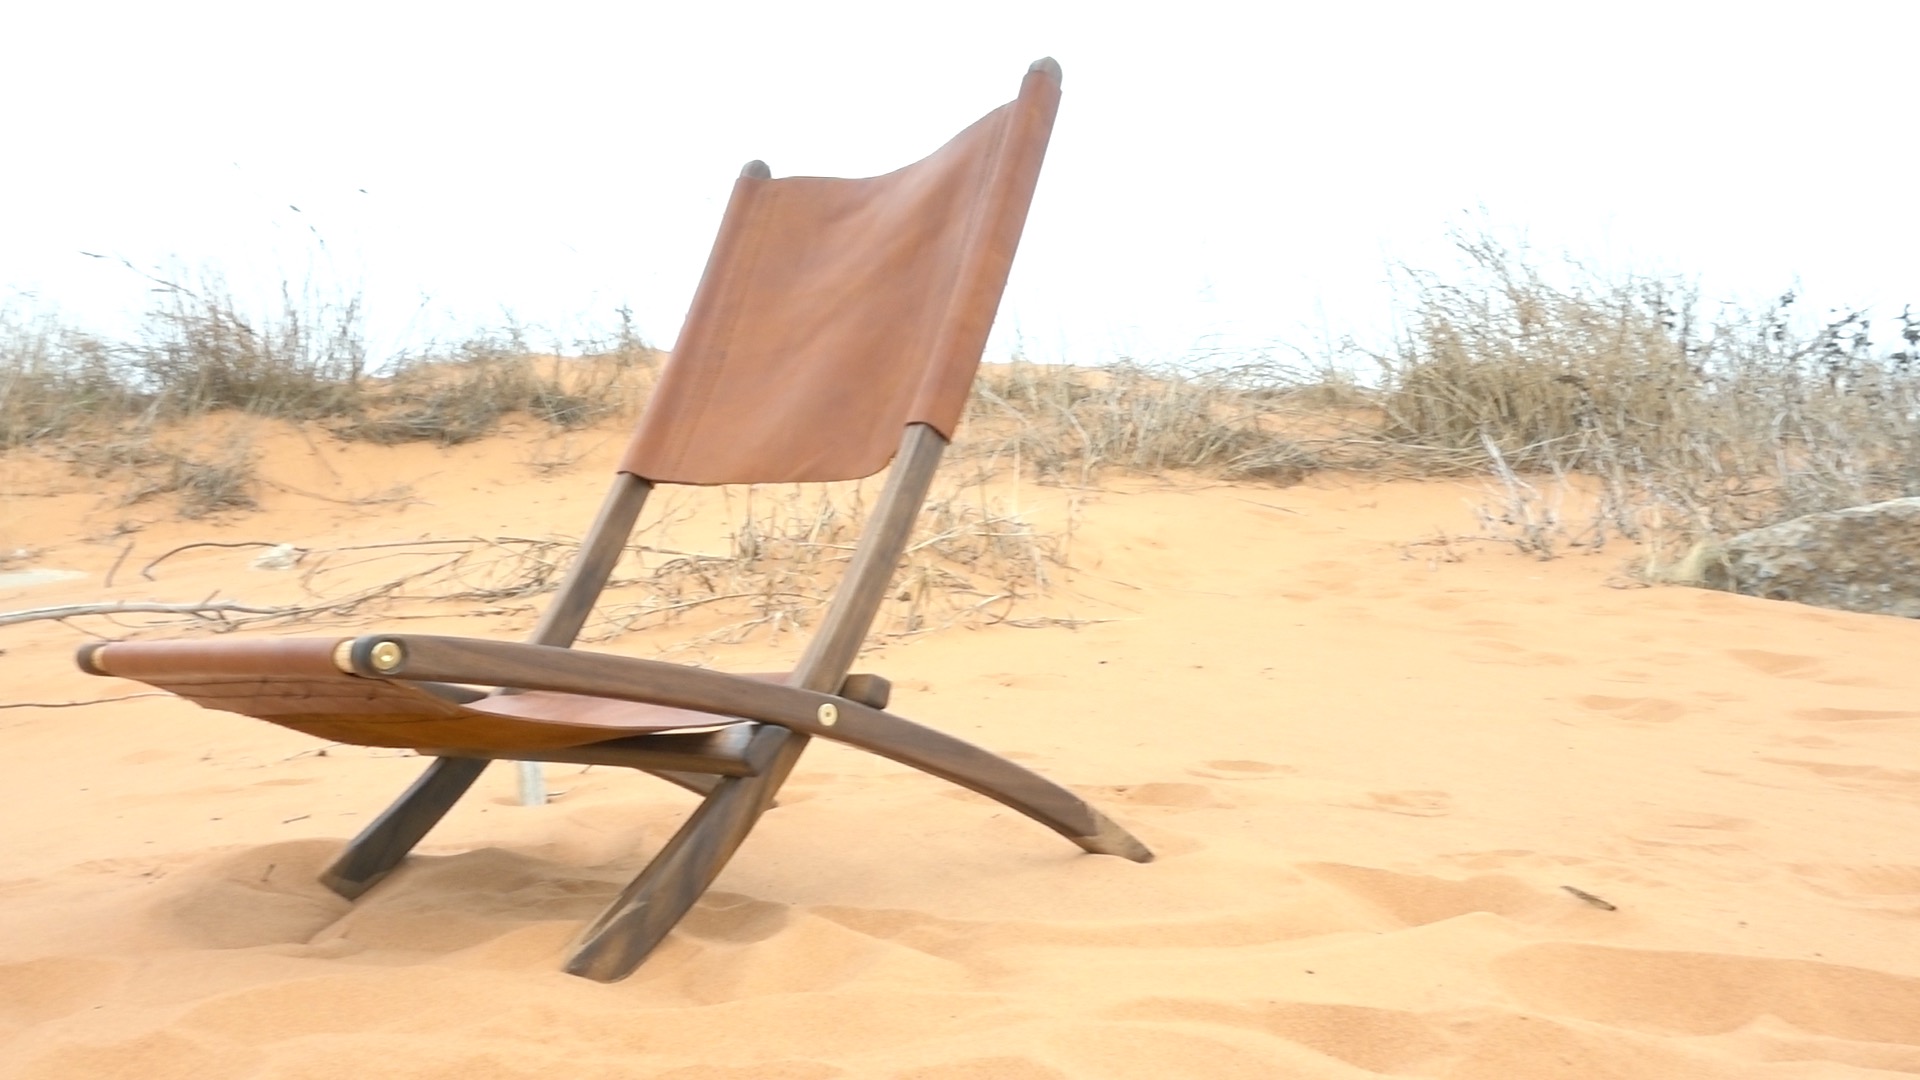
EP. 58 FOLDING WOOD AND LEATHER CHAIR

This week's project is a fun one; a wood framed leather slingback chair. Along with the written instructions and video, I've included the template for the chair itself.
MATERIALS AND SUPPLIES:
I Used a Walnut 1x8: Bought From Woodcraft
1x4" Brass Bolt: https://goo.gl/geCEns (Make Sure It's the Right Length)
1x4" Wingnut: https://goo.gl/9CF6Vg
1x4" Threaded Insert: https://goo.gl/iu20KJ
Oil Tanned Leather: Bought From Tandy Leather
Spray Adhesive: http://amzn.to/2ovqpKv
Epoxy: http://amzn.to/2nCGIkL
Contact Cement: http://amzn.to/2nCqw3i
Link to the Video I Learned to Stitch With: https://goo.gl/3wDOMk
Here's the updated template. I've made adjustments to the plan based on my experience building the chair. If you do this project and have any adjustment you think might help the design in functionality/aesthetics, let me know
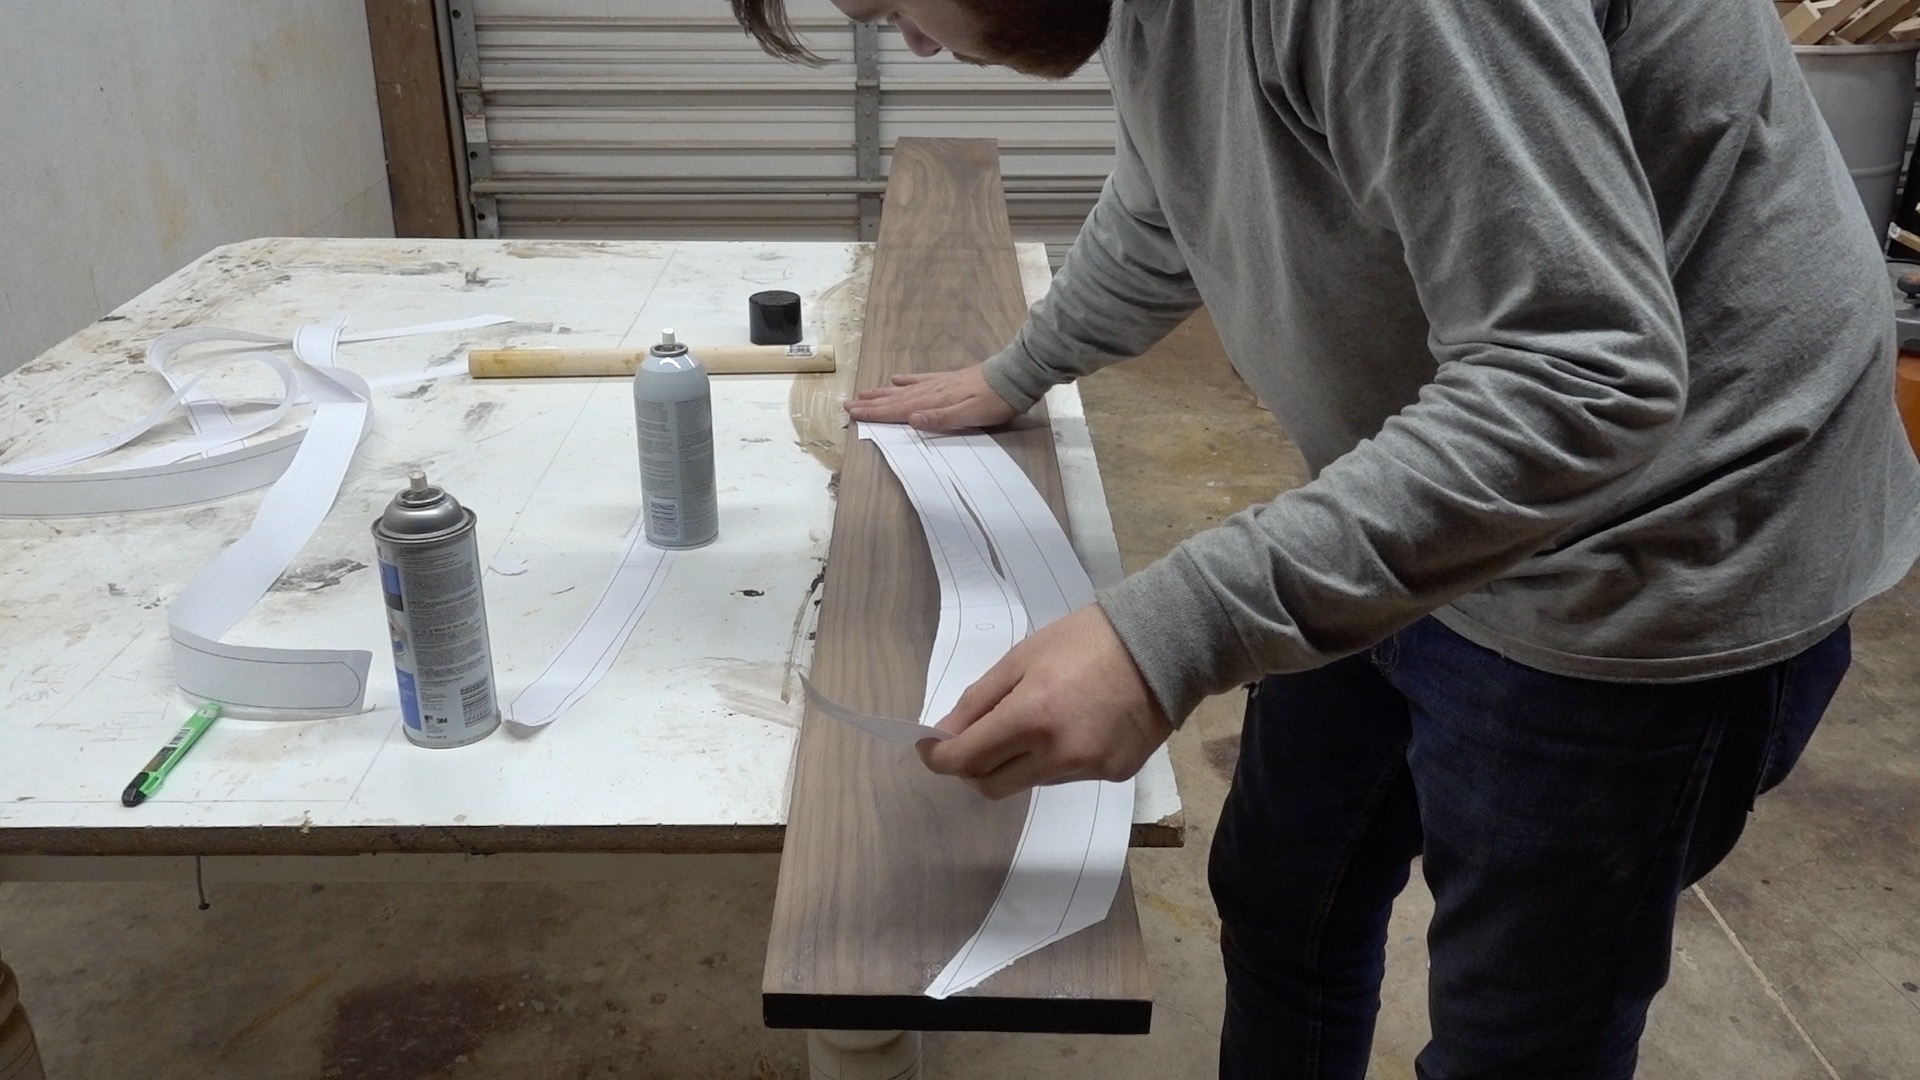
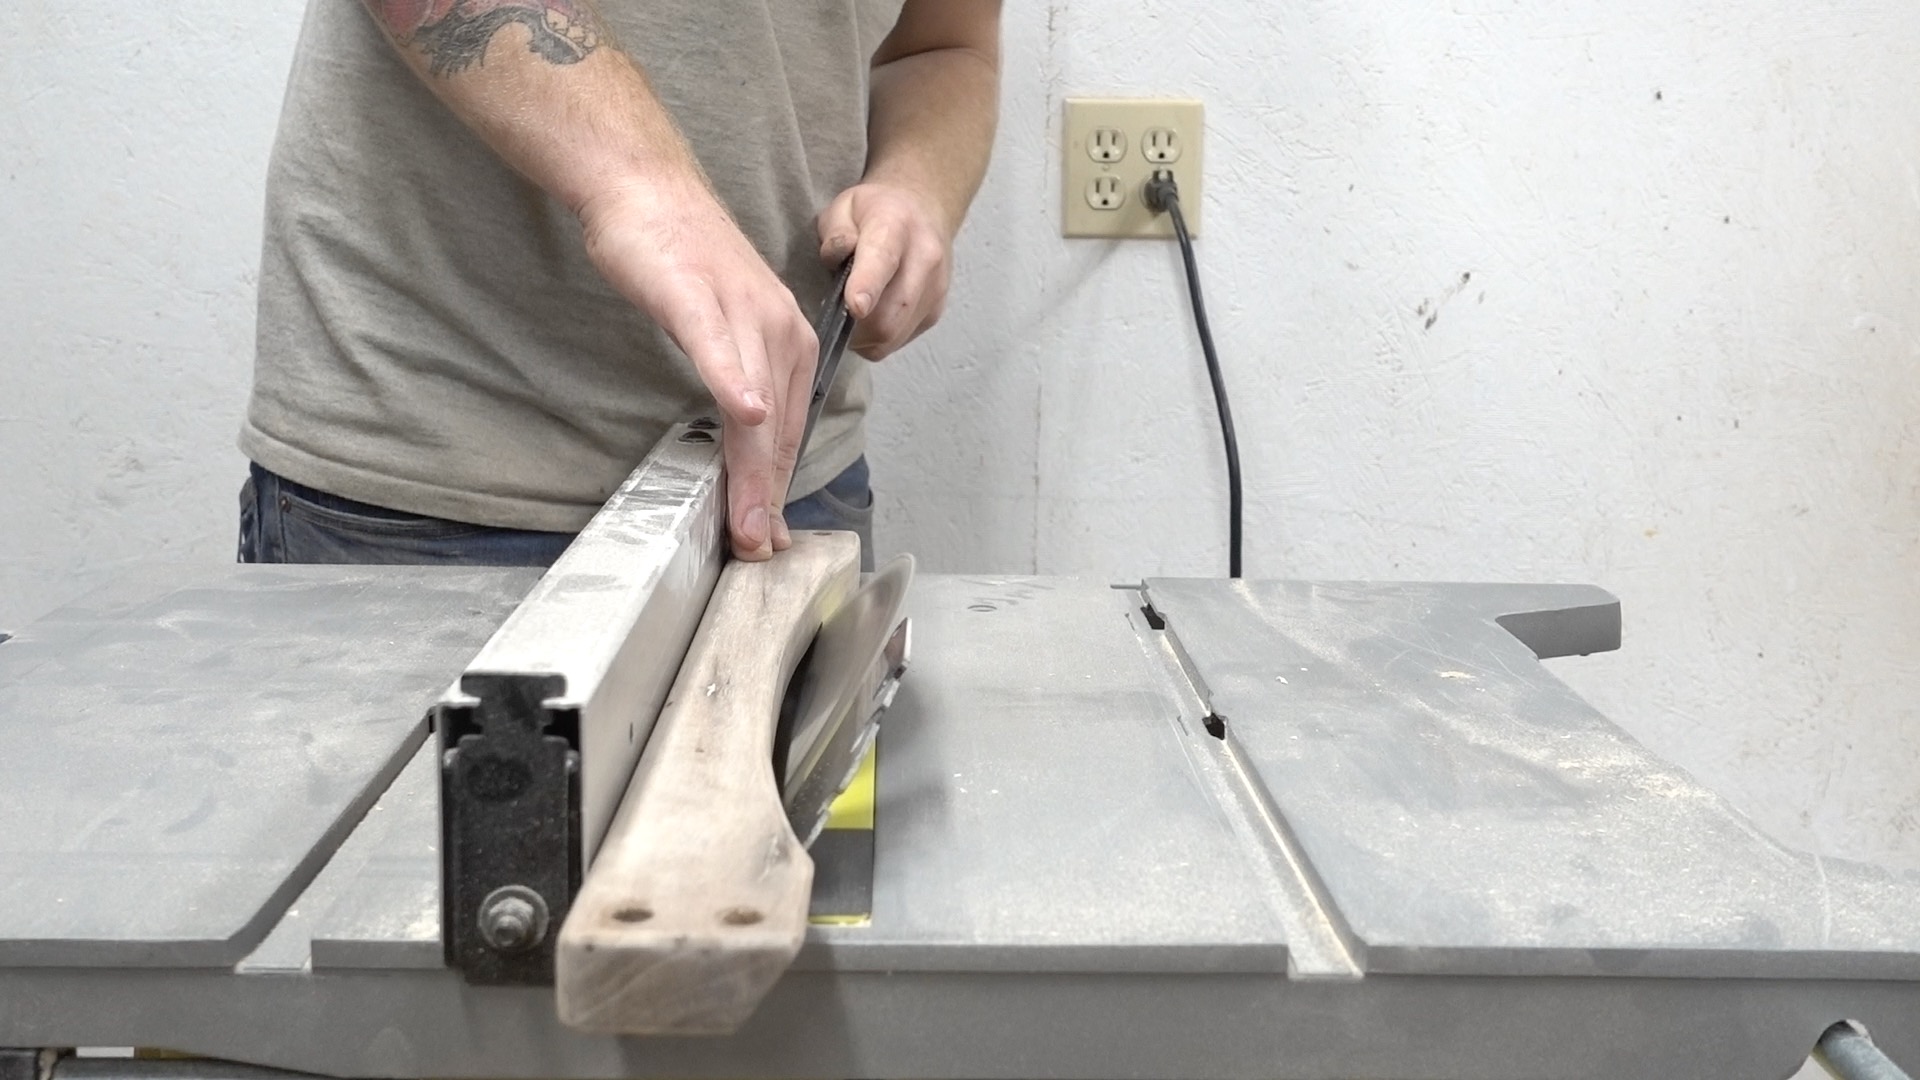
I applied the template with spray adhesive before I cut it out with the bandsaw.
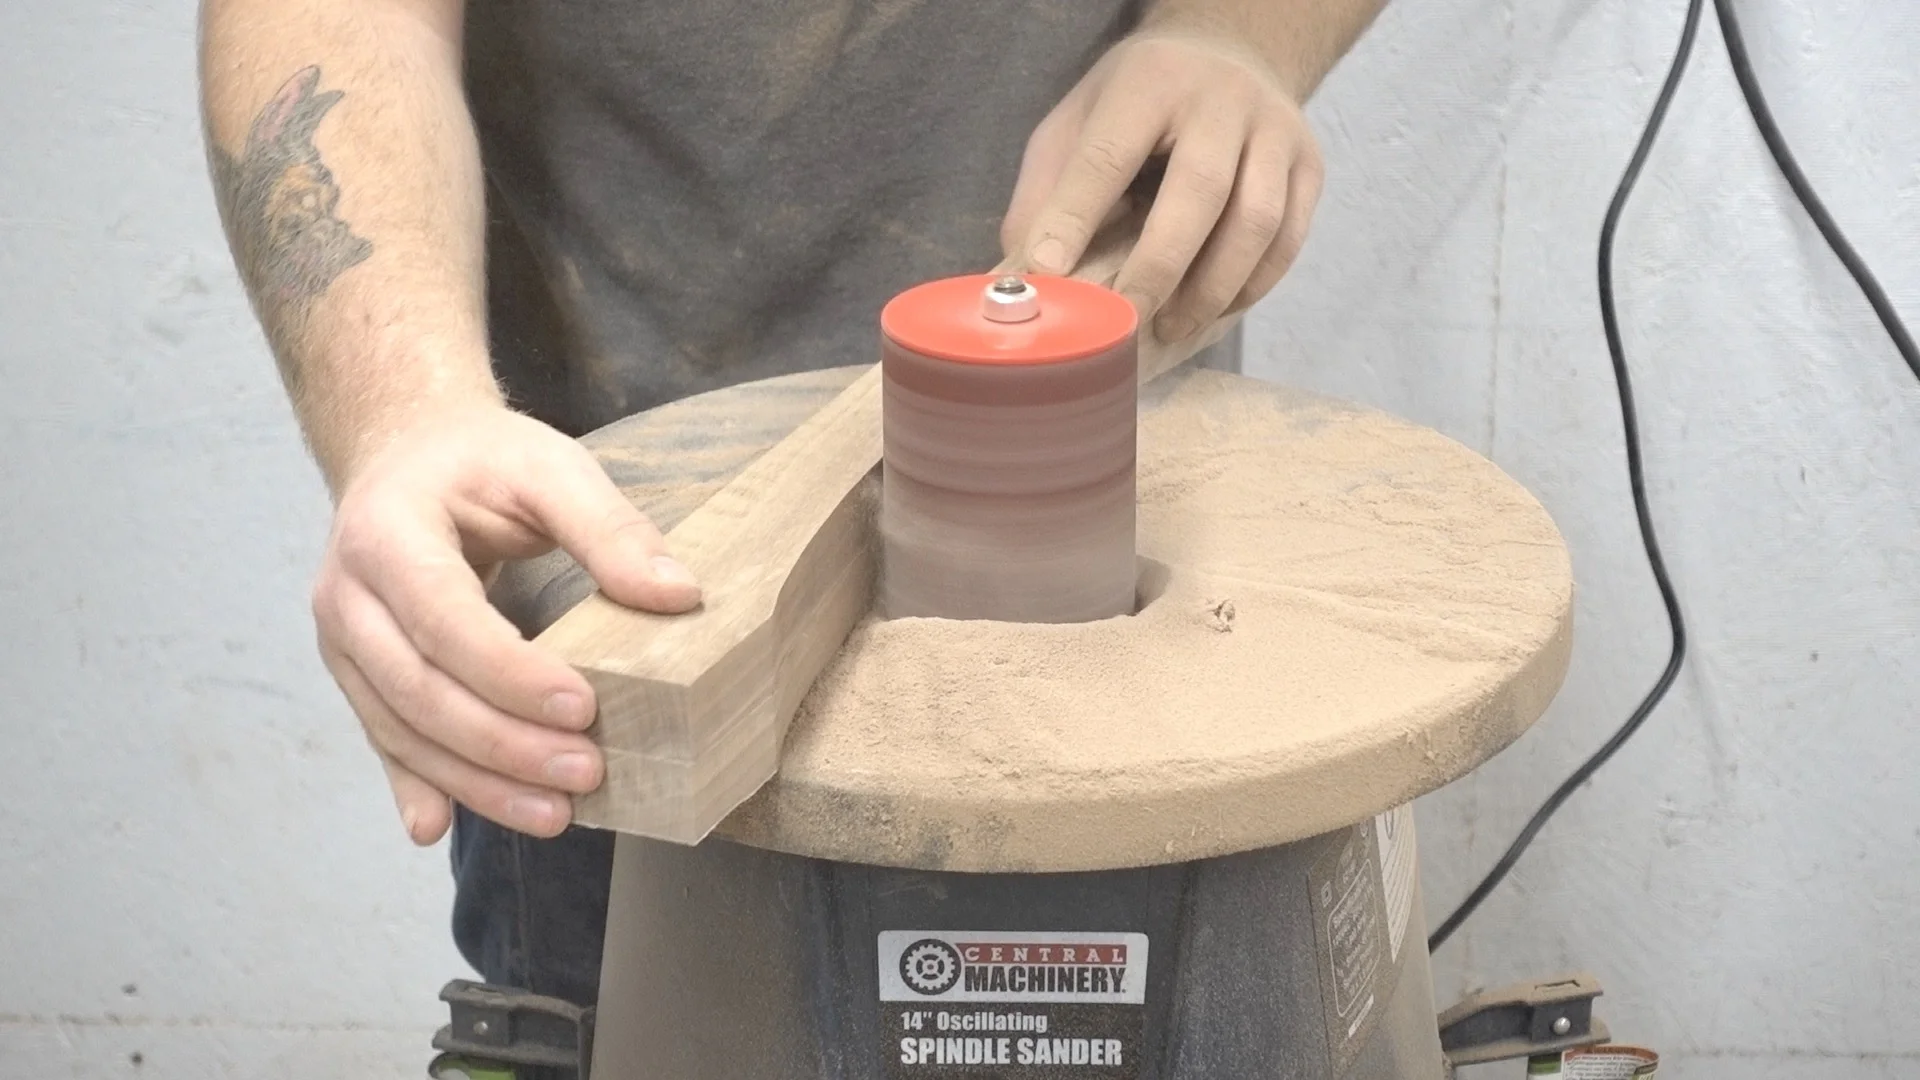
Using carpet tape to attach to pieces together is a great way to make things symmetrical when sanding.
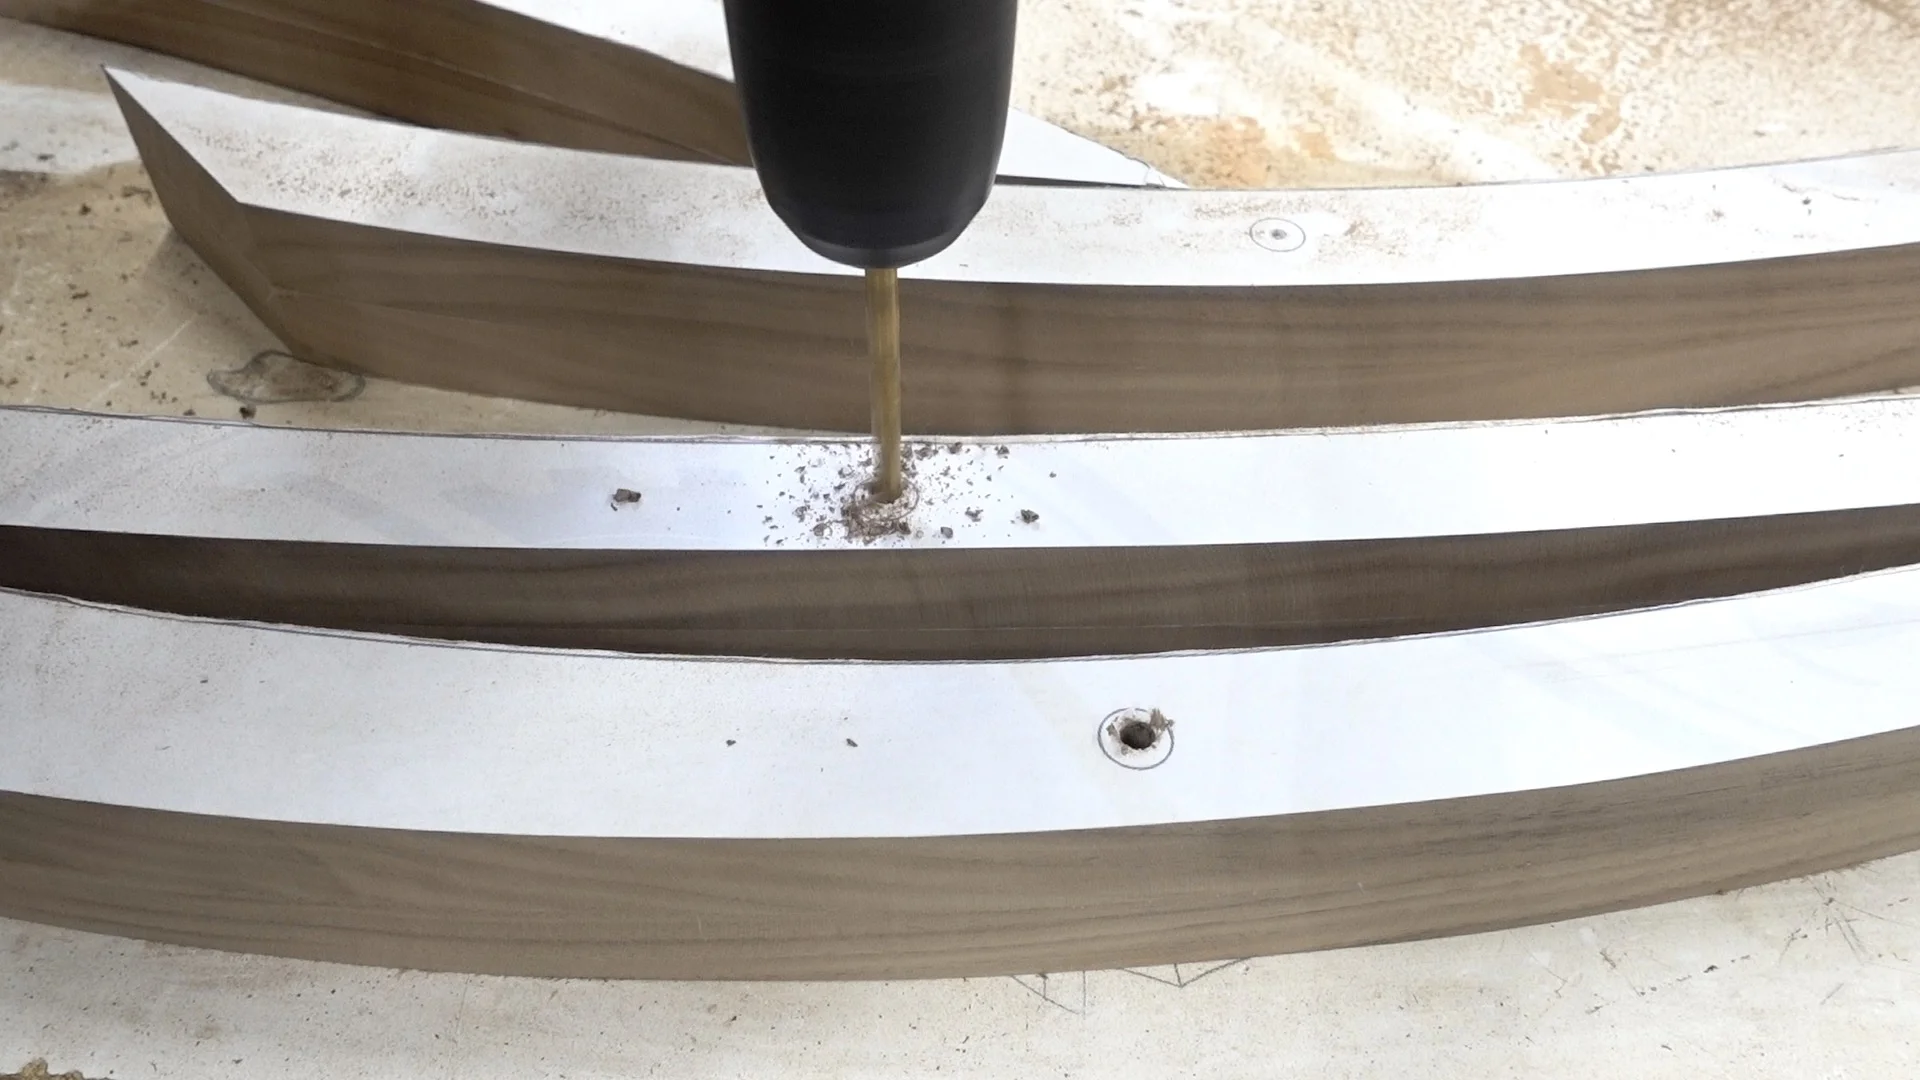
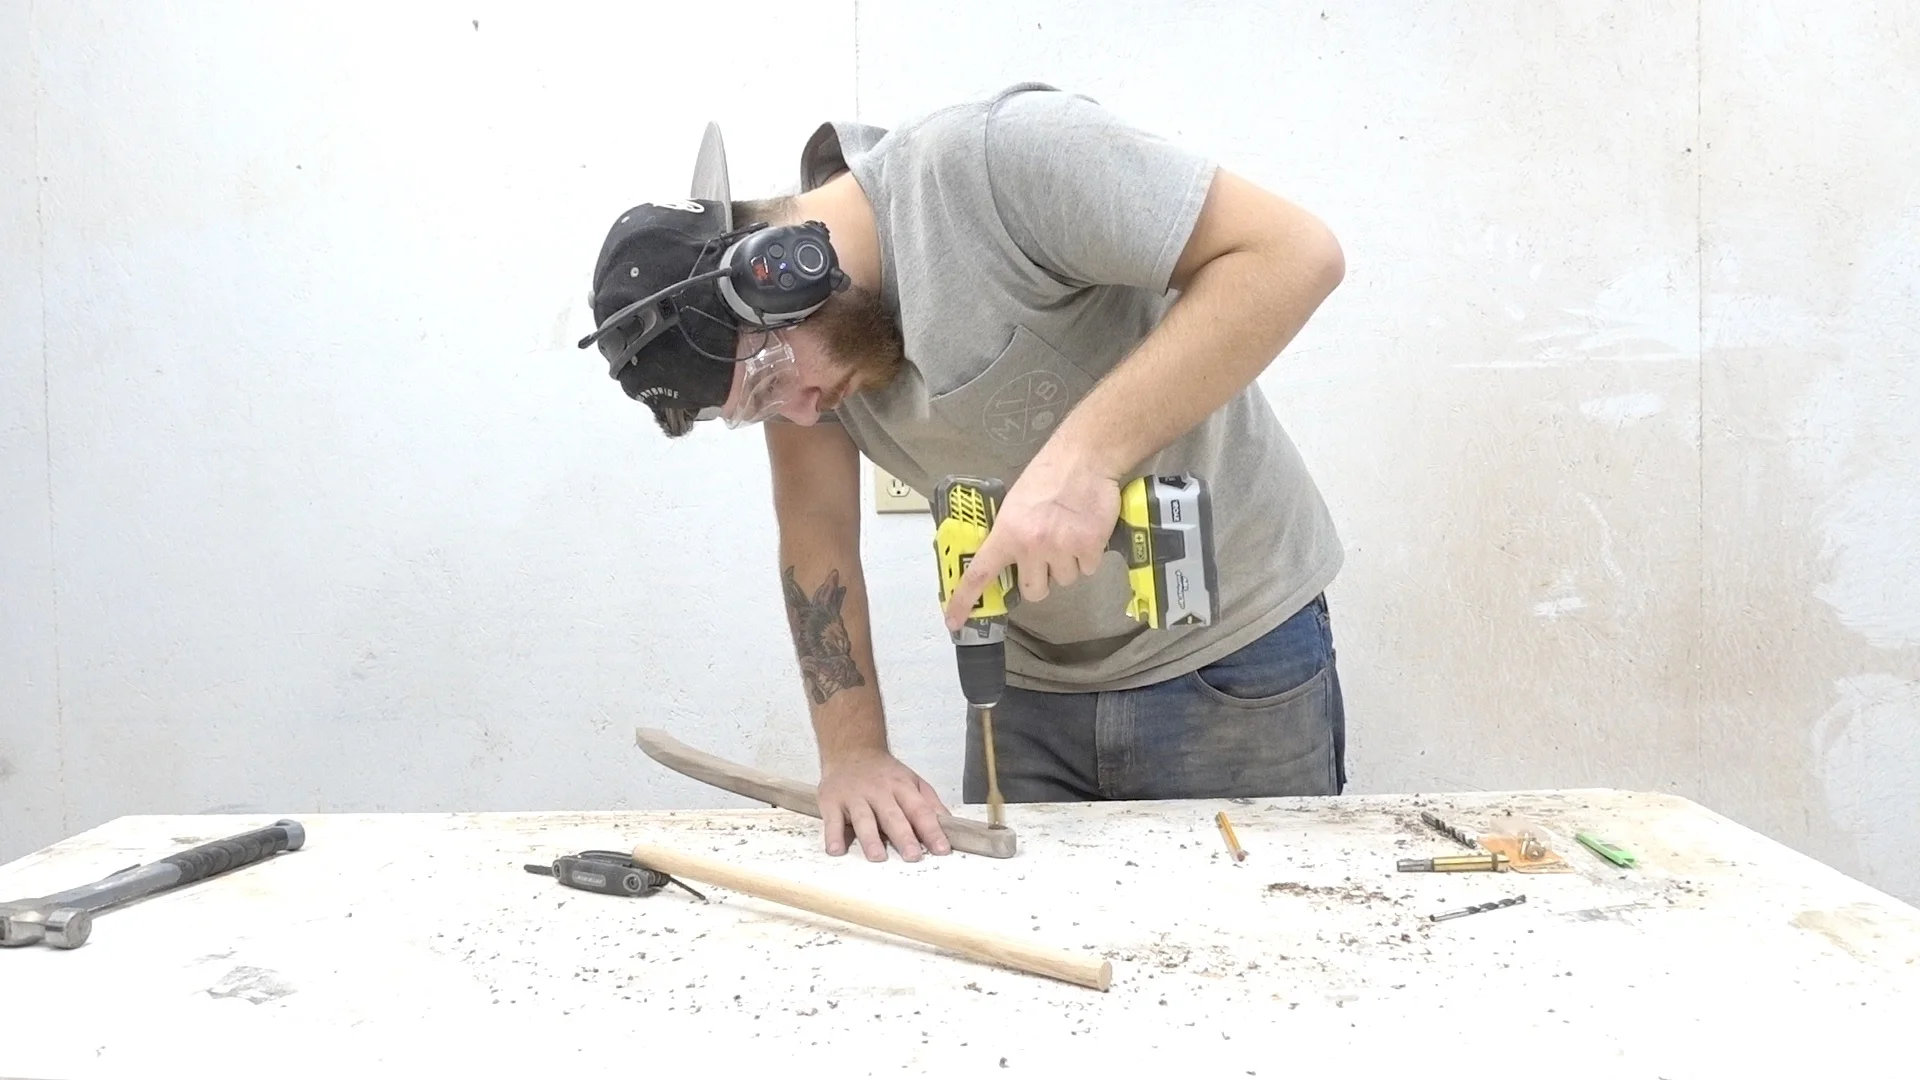
Use a center punch to make sure your holes are centered.
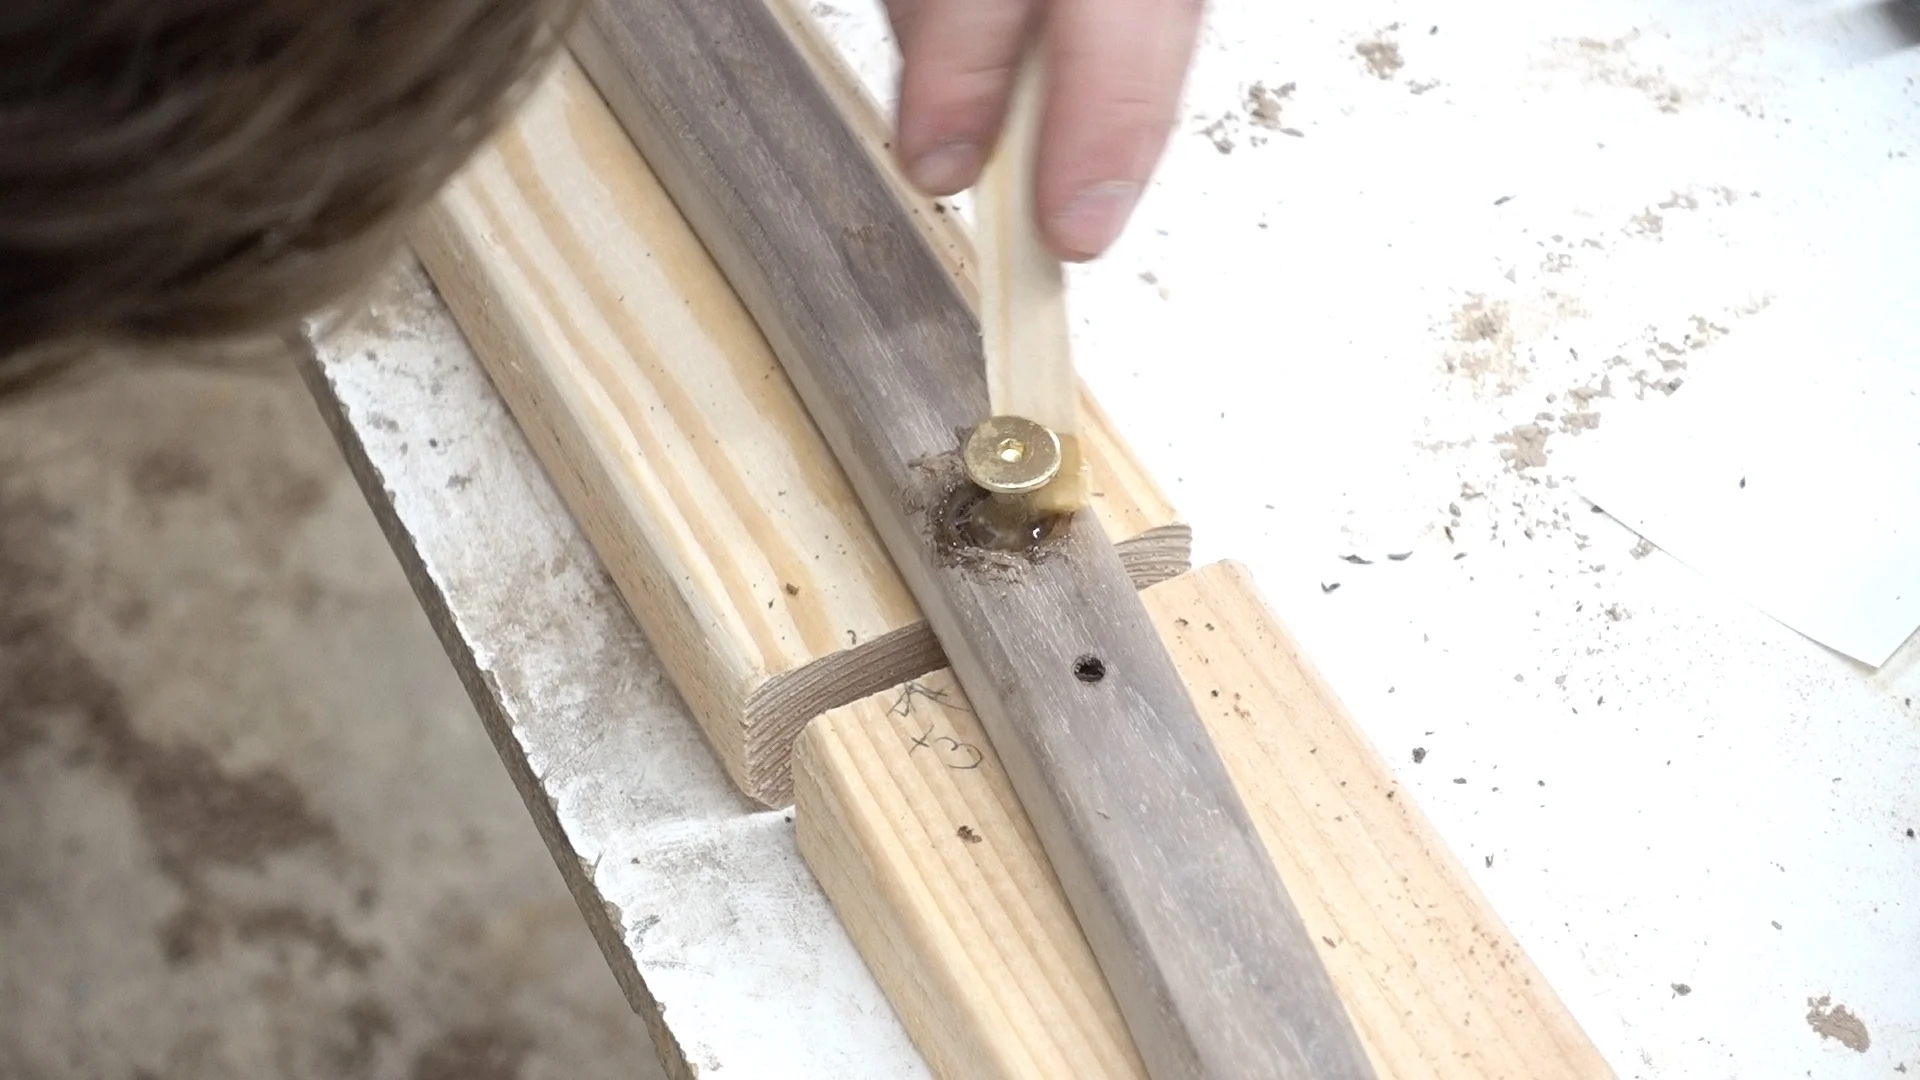
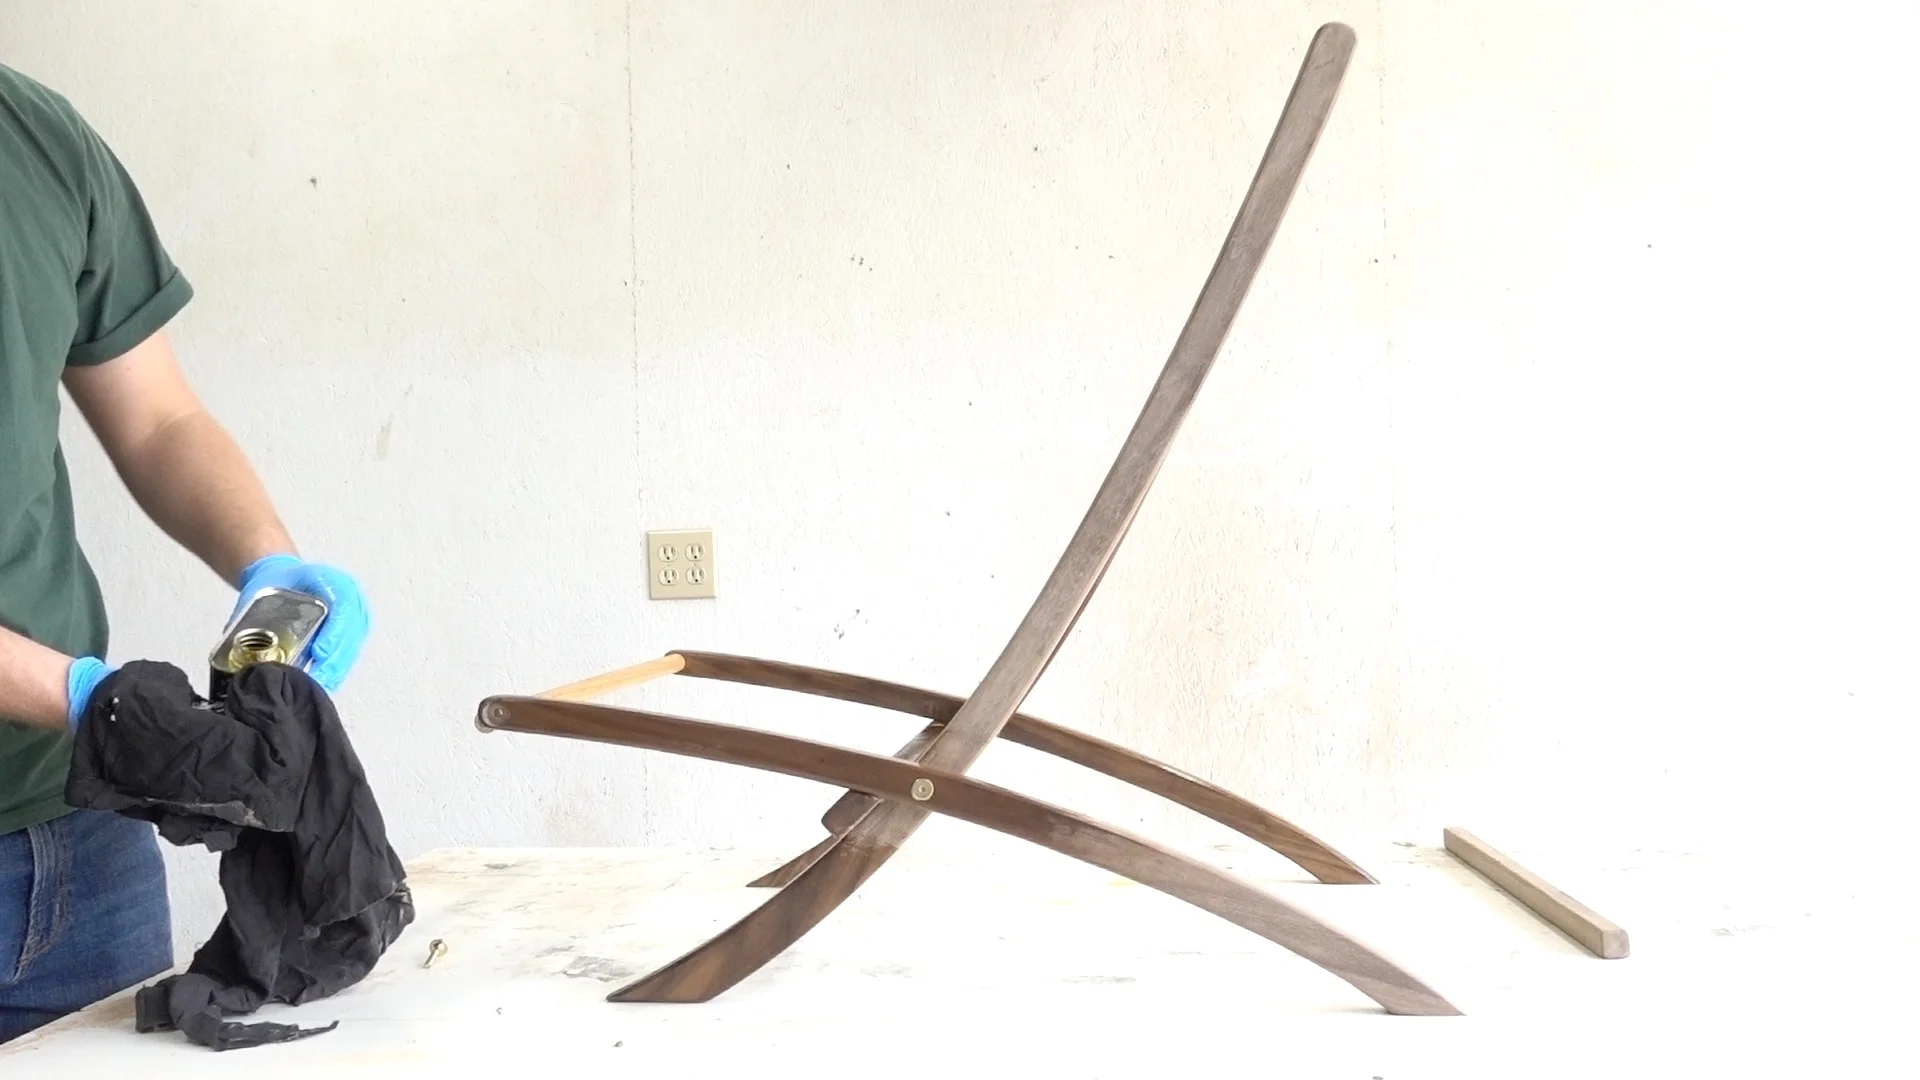
I used 5-minute epoxy to set my hardware in place.
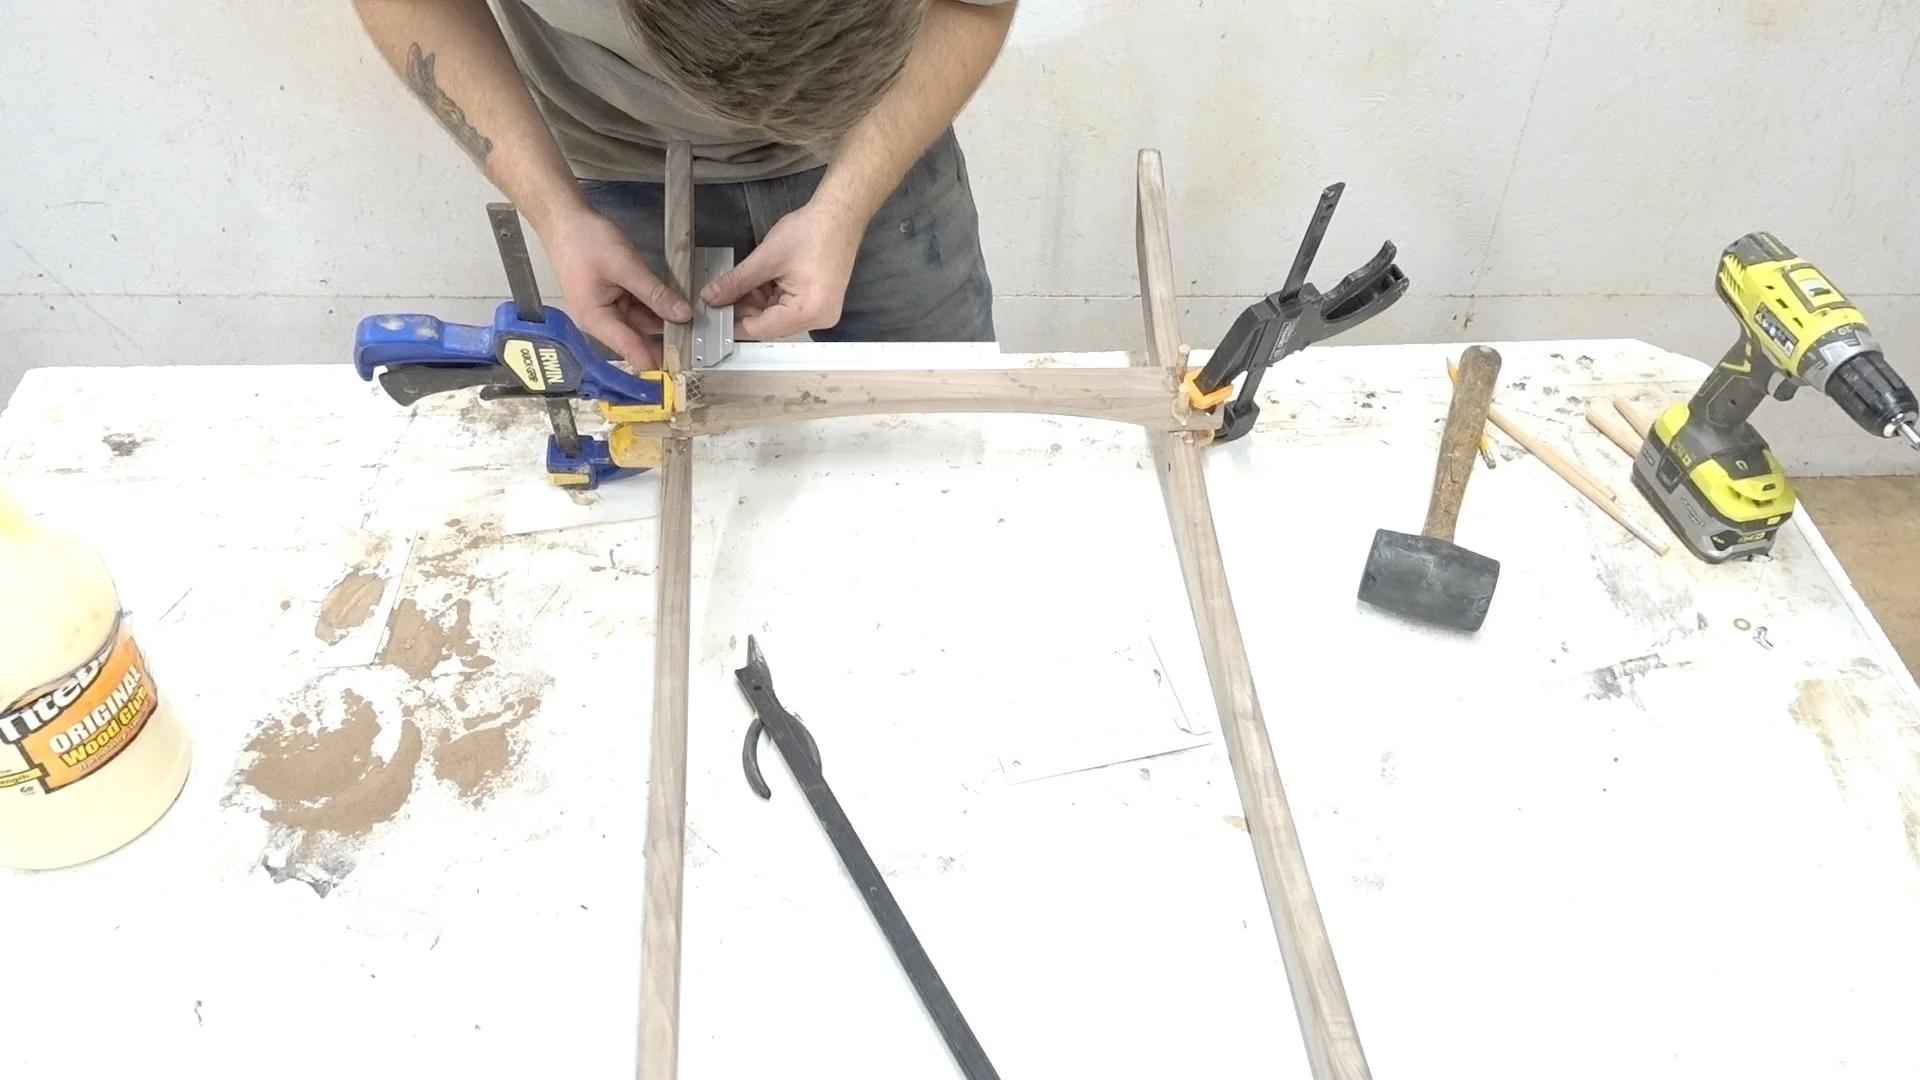
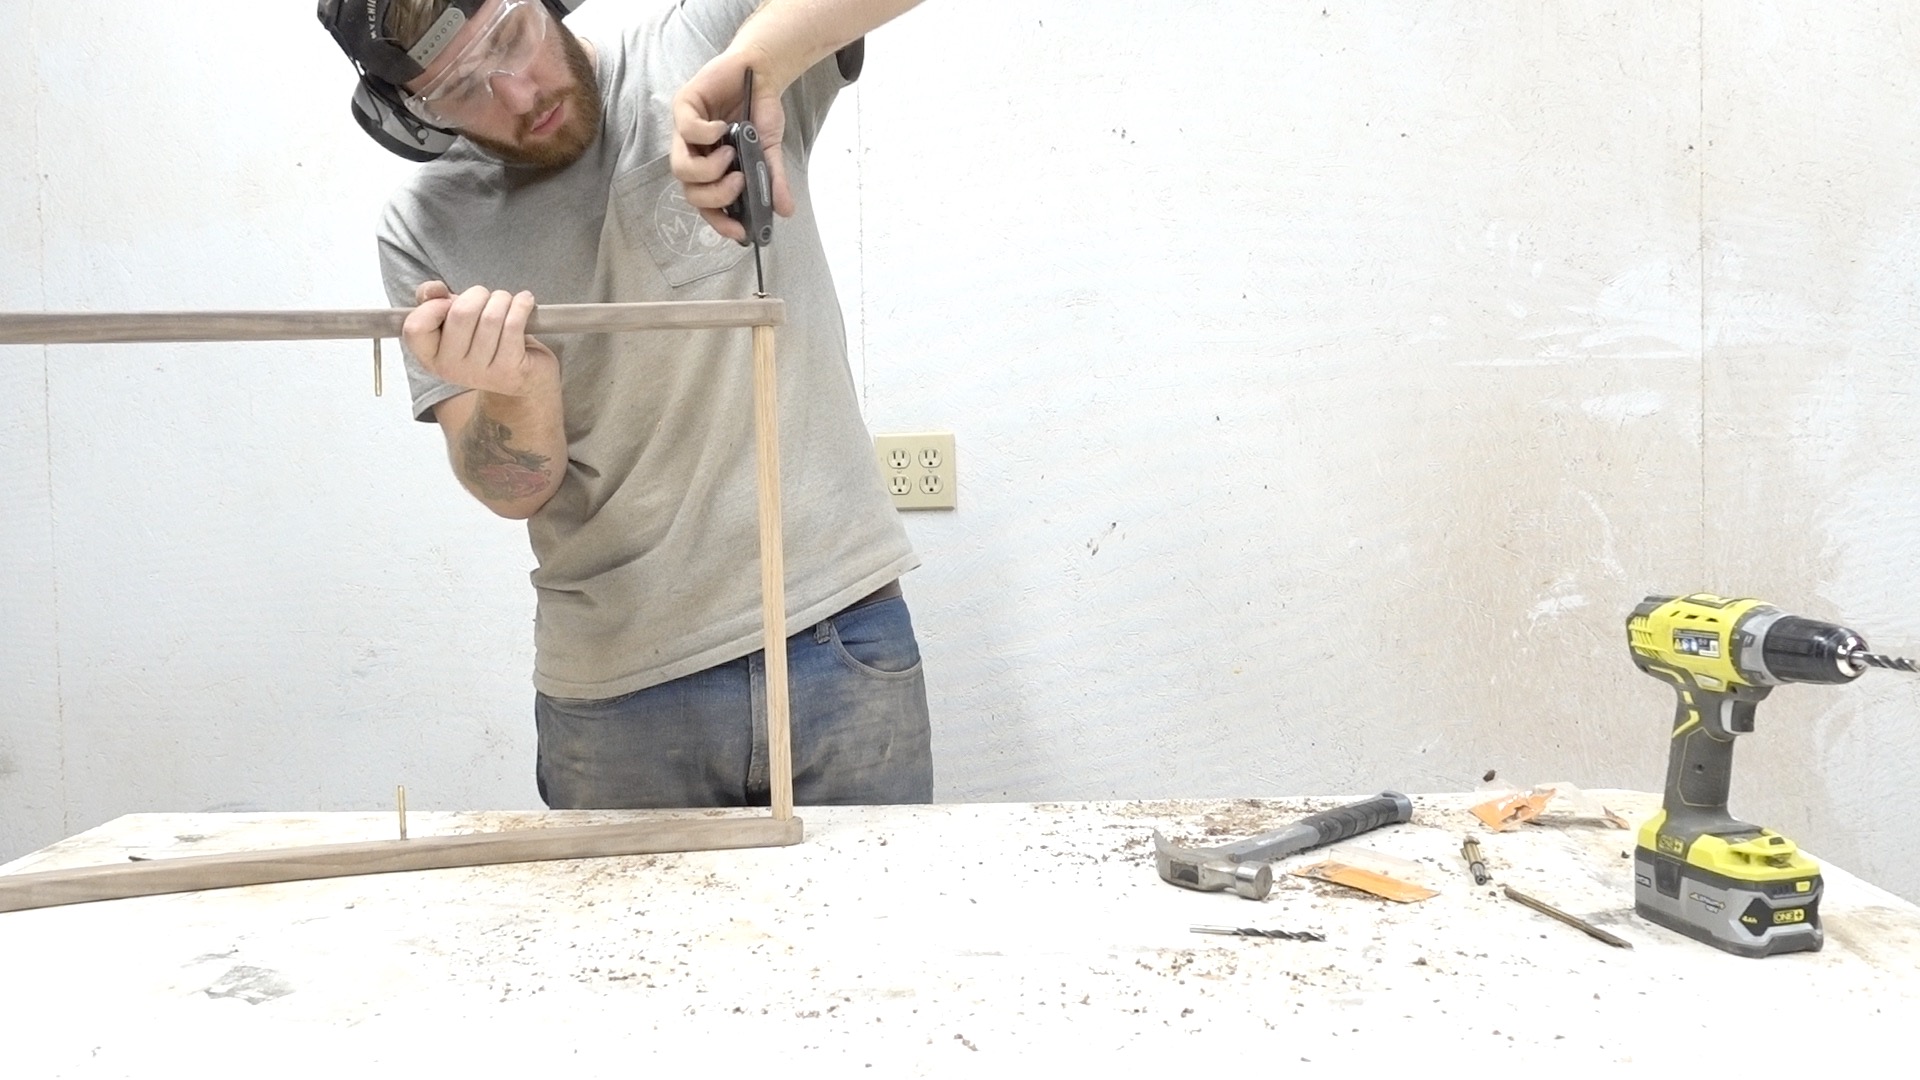
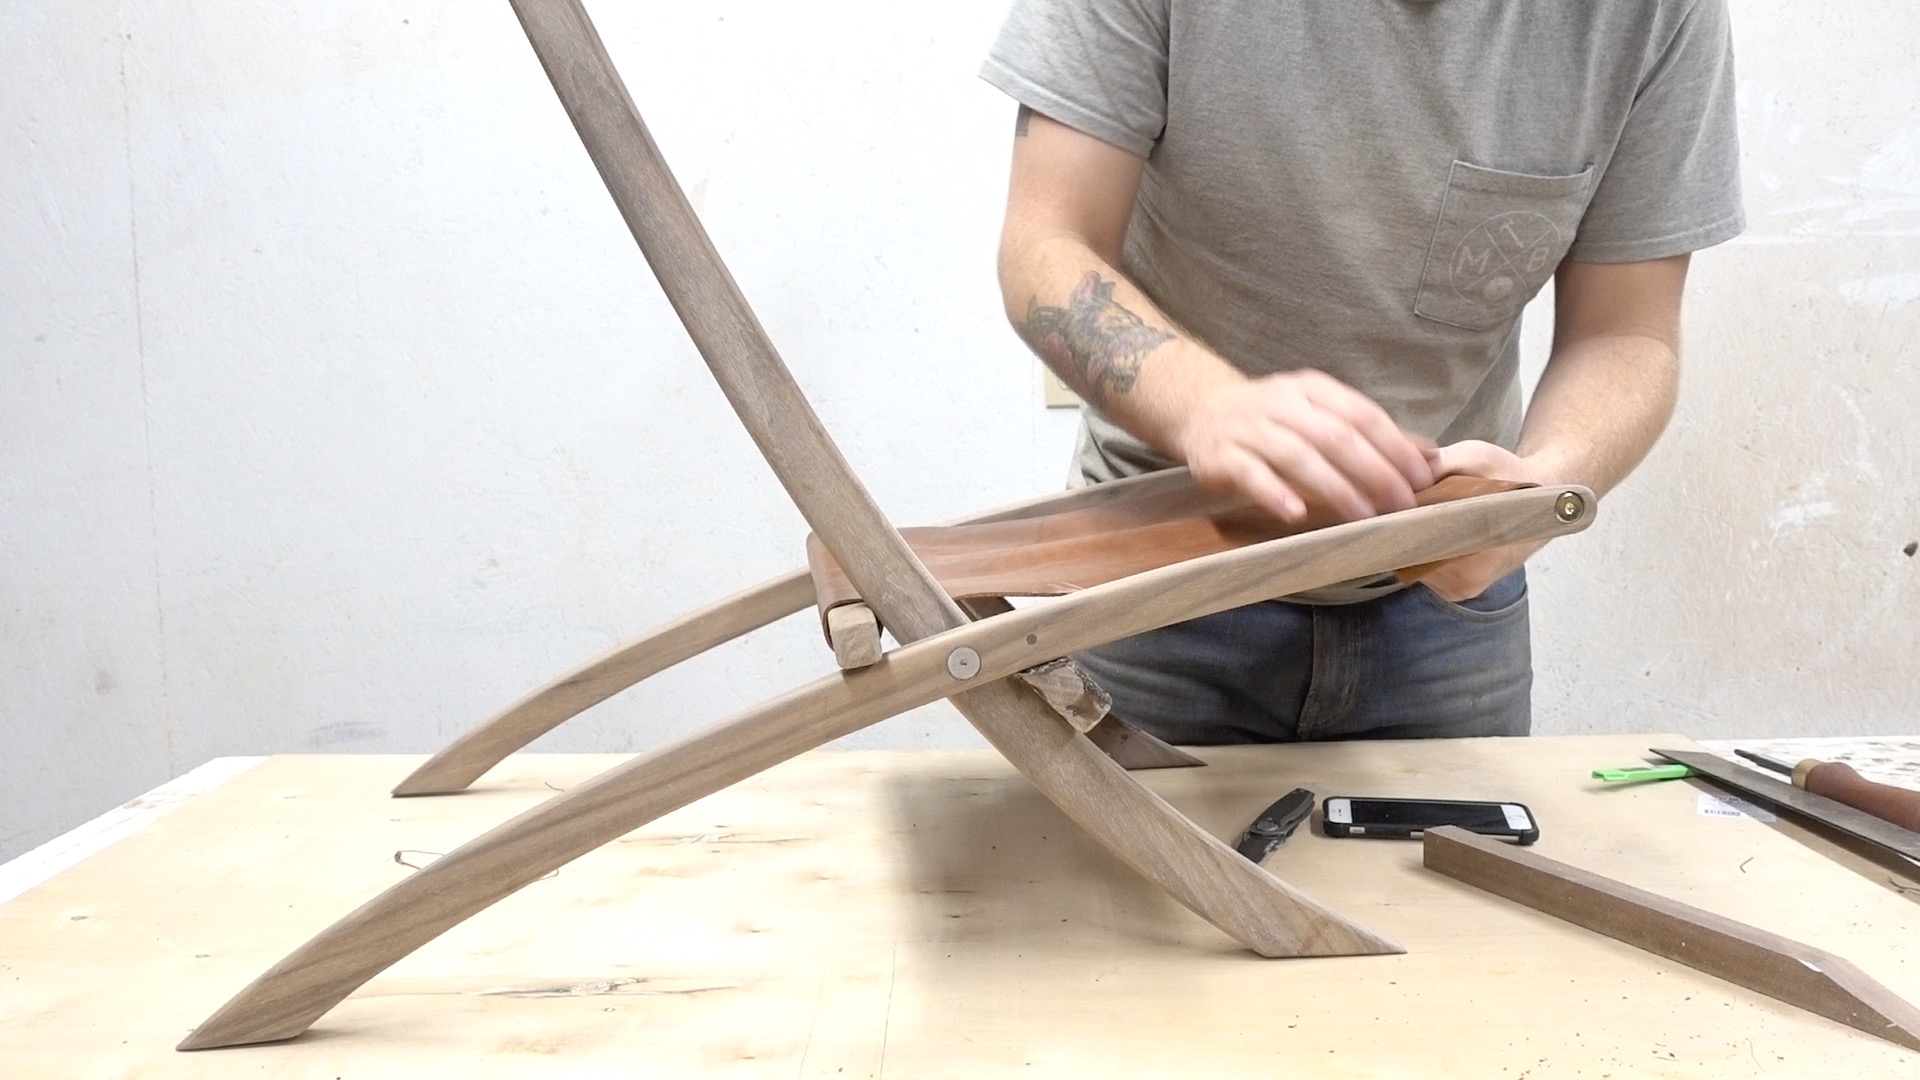
After I cut the angle on the horizontal brace, I pinned it to the slats using 1/4" dowels. Refer to the video on the clamping set up. Making sure everything is square here ensures everything else will be. (for the most part).
When you recess the head of the bolts be sure the bolt will sit below the surface of the frame, that way when you sand everything it won't damage the bolt's finish.
I'm not giving a ton of measurements for the leather because it need to be cut and stitched to fit. By this point of the process each chair will have its subtle differences and those need to be accounted for.
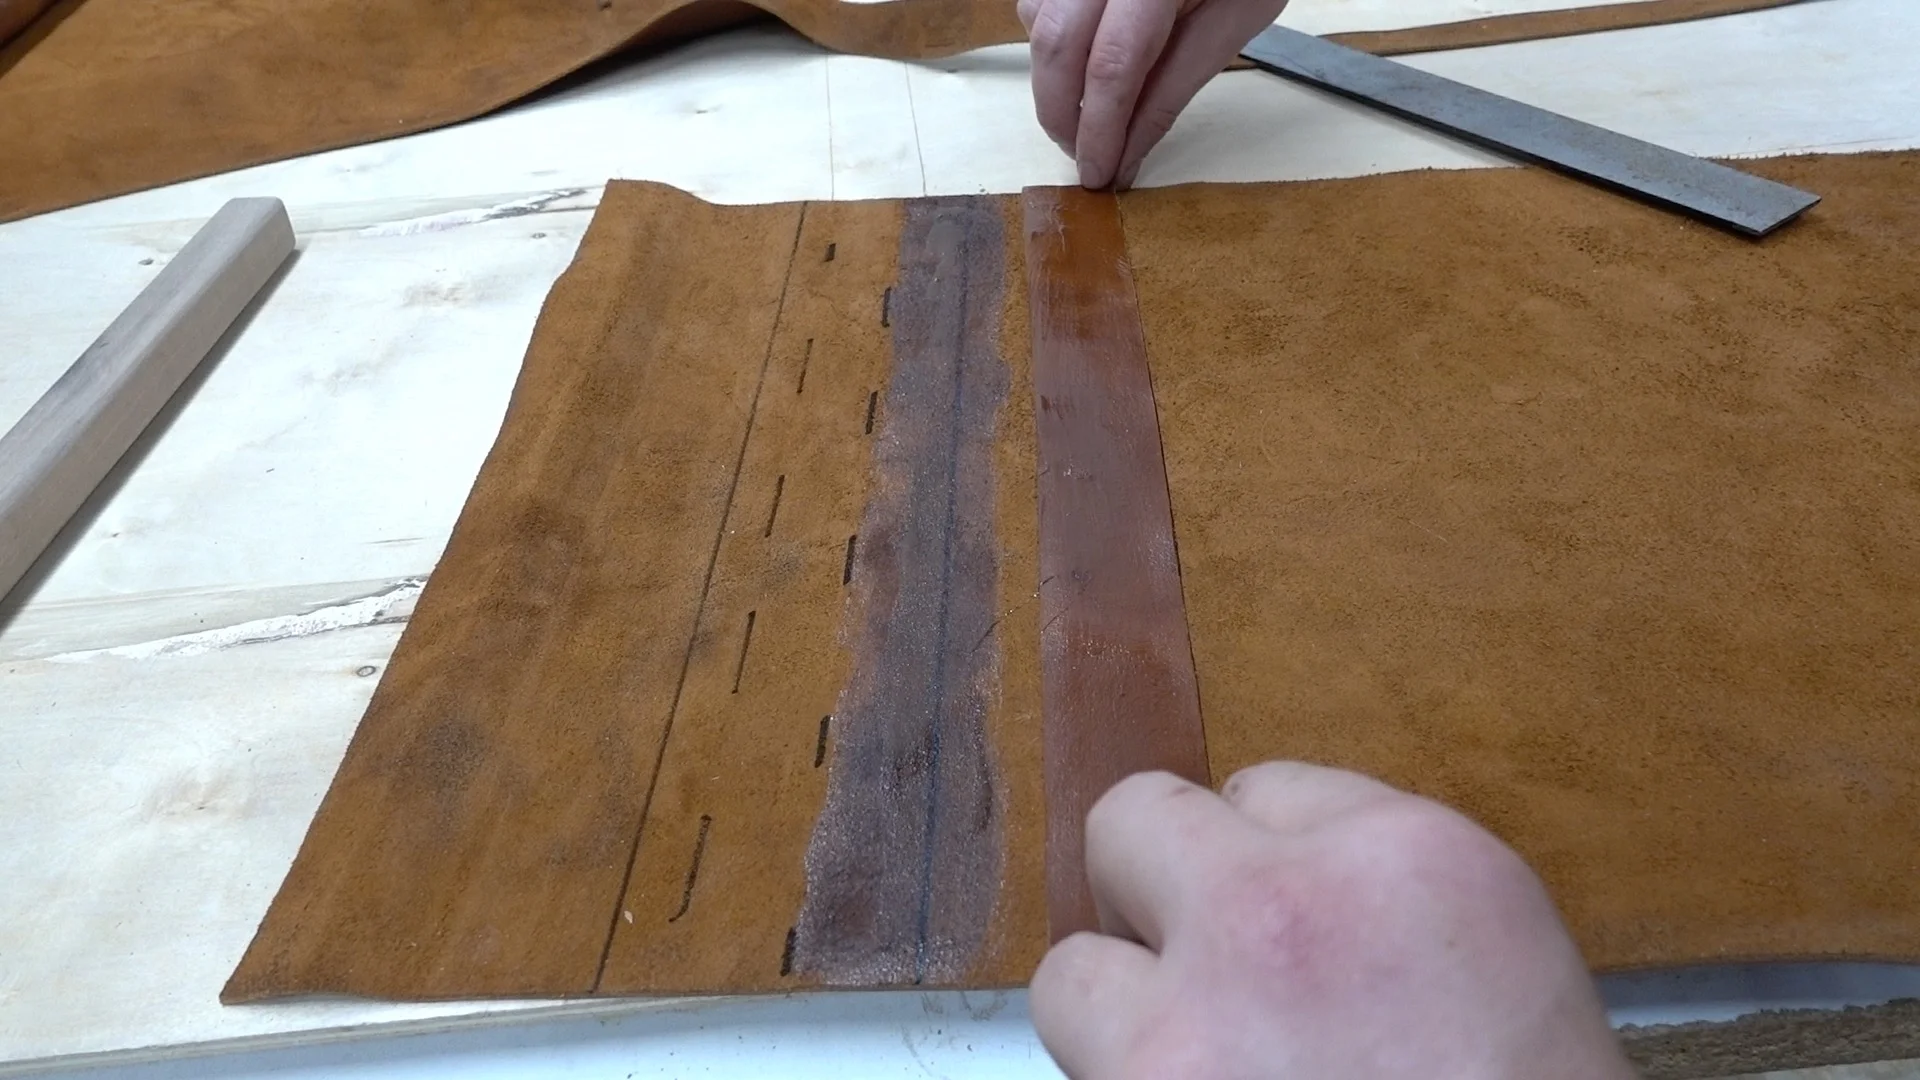
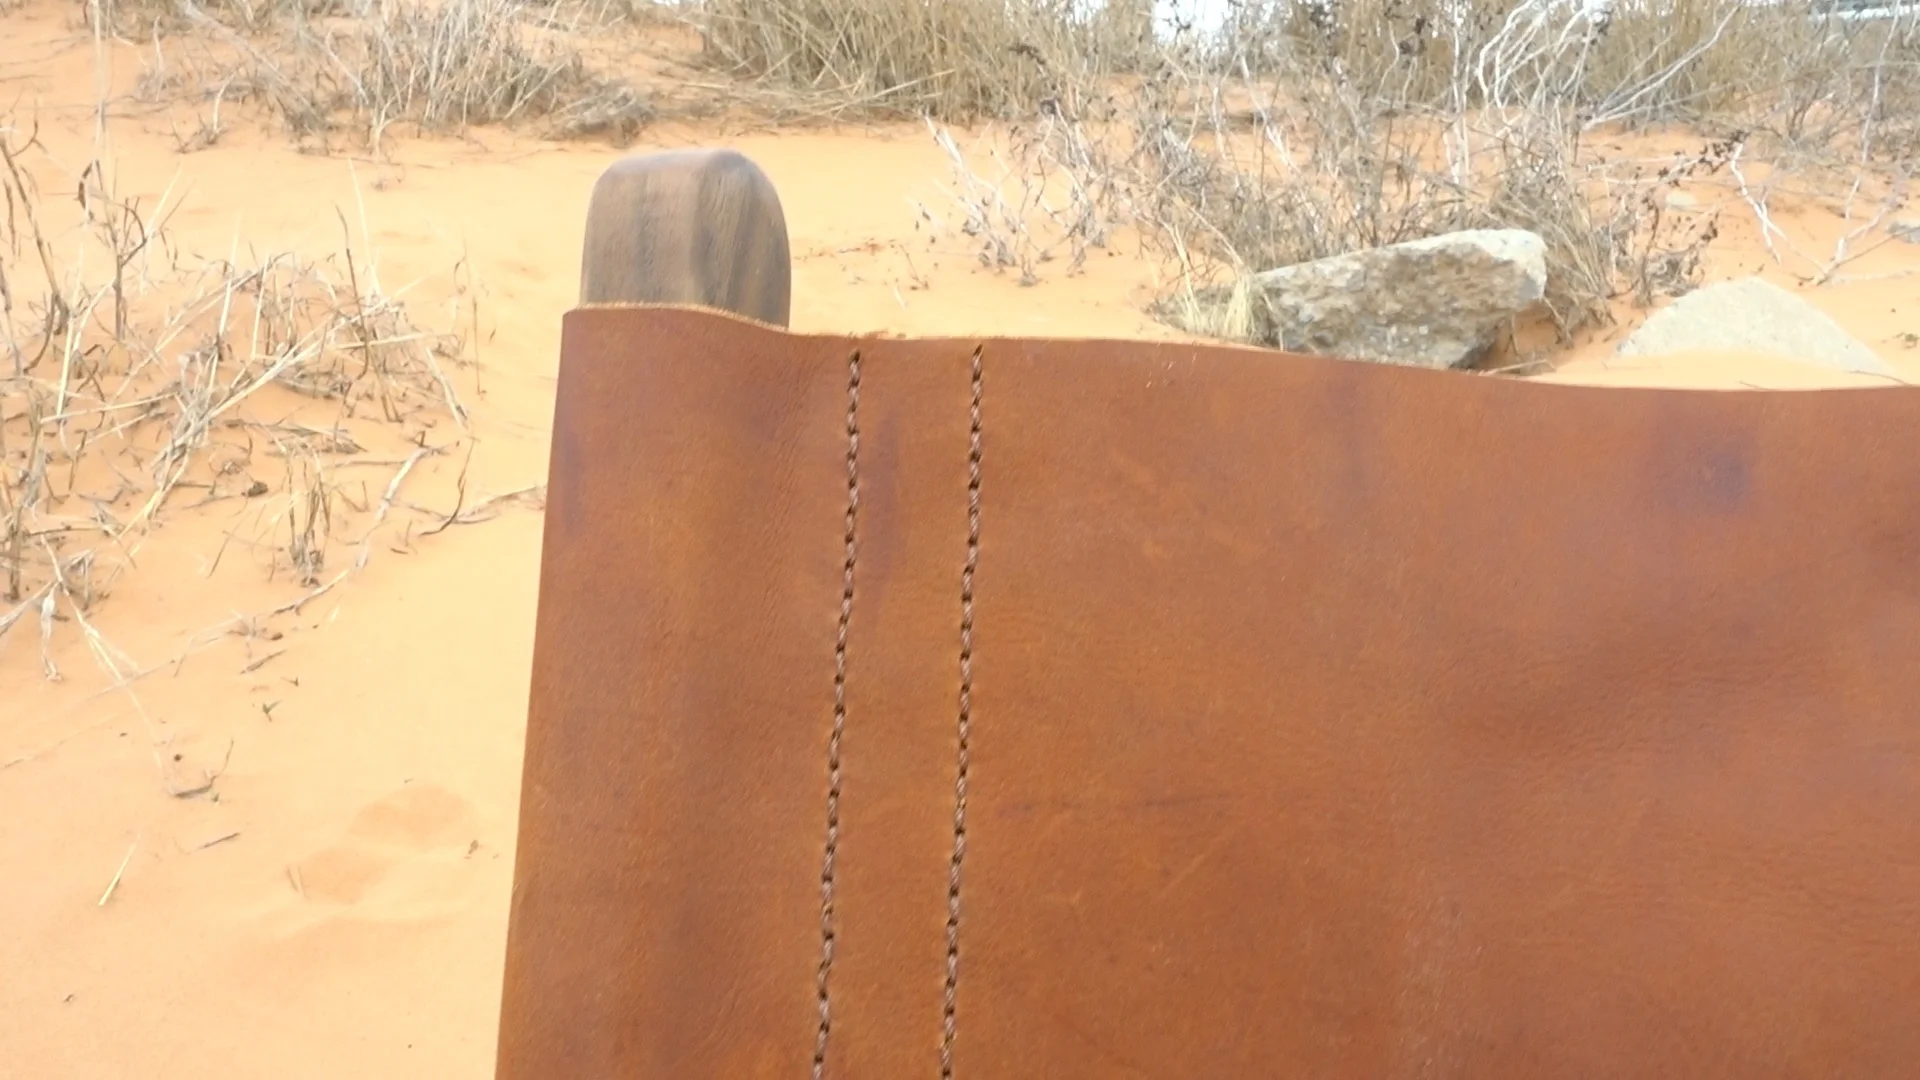
I used contact cement to help keep everything lined up during the stitchnign and to add some extra support.

I used a single needle saddle stitch for my chair. It's not the strongest in the world, but it's easy enough for a first timer like myself.
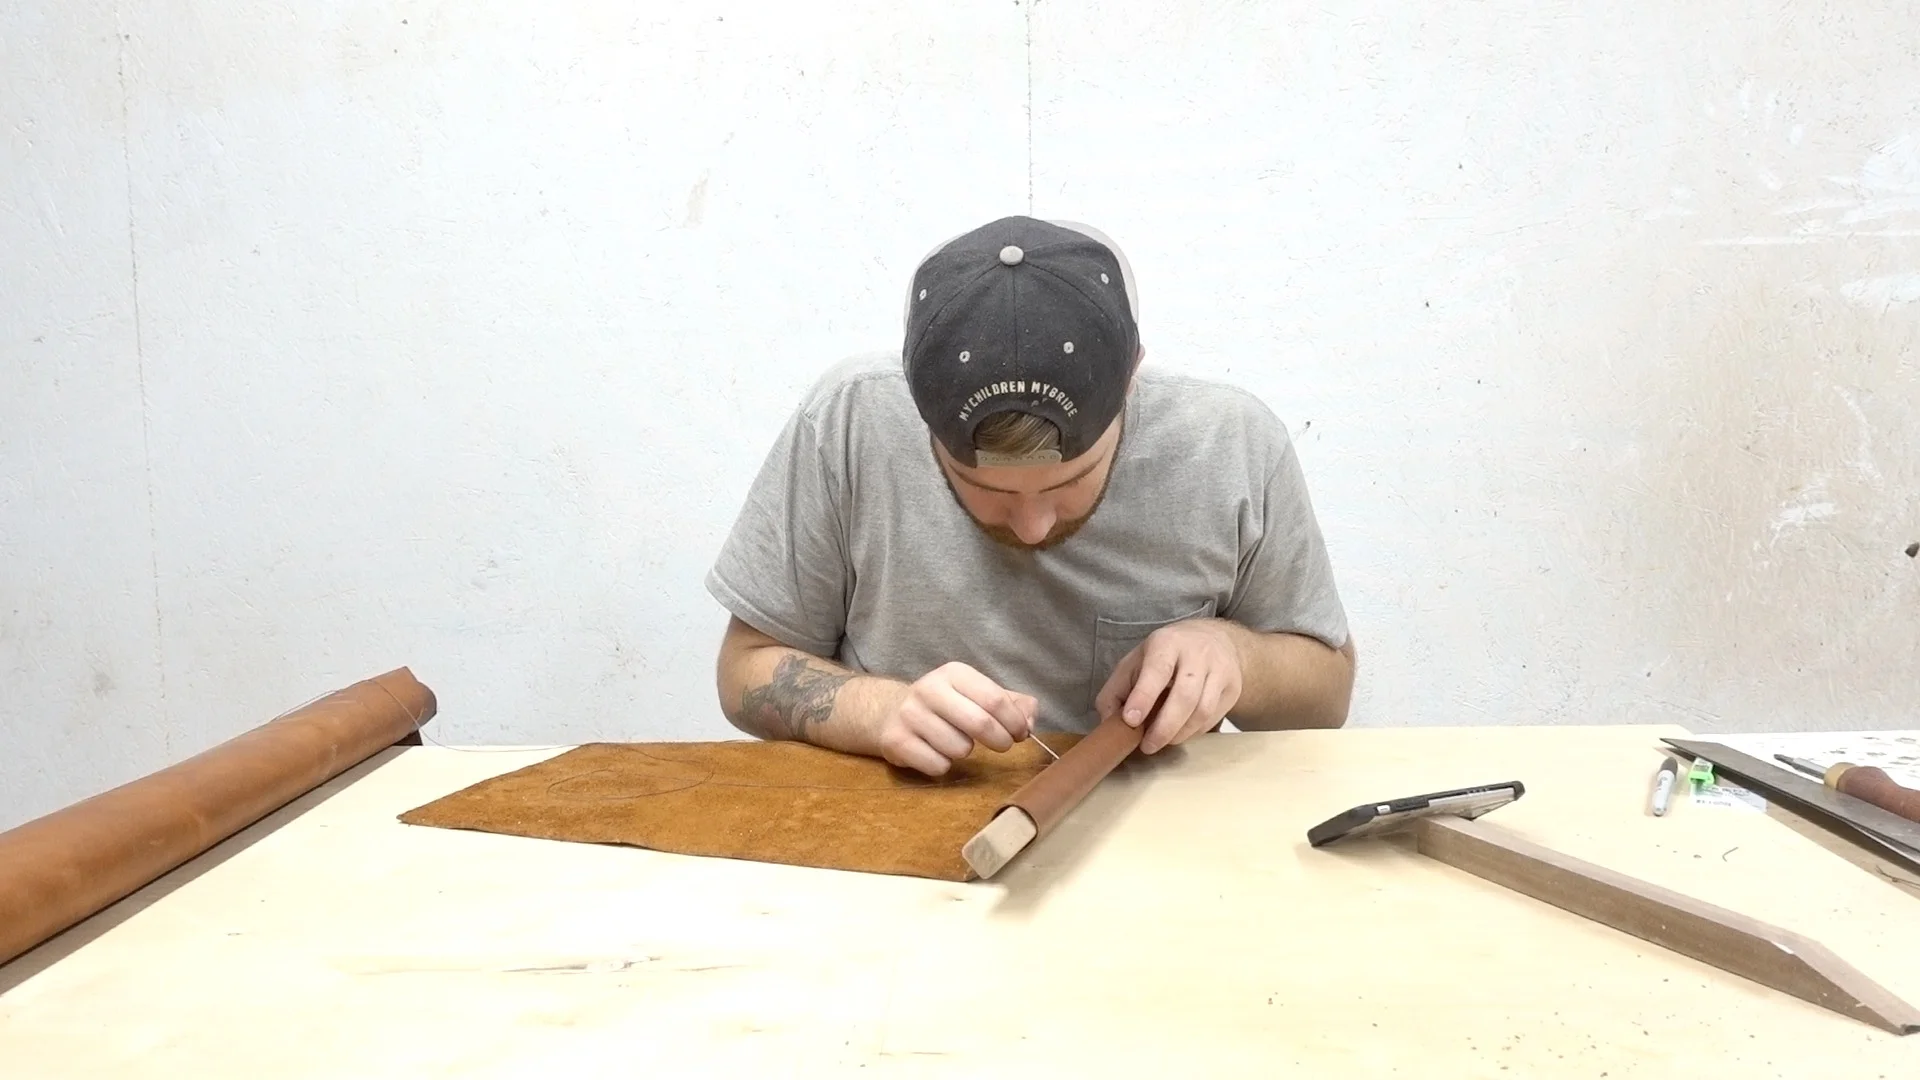
I put my seat and back in place and marked where my stitches should be. That' say i knew it'd be at least close to right.
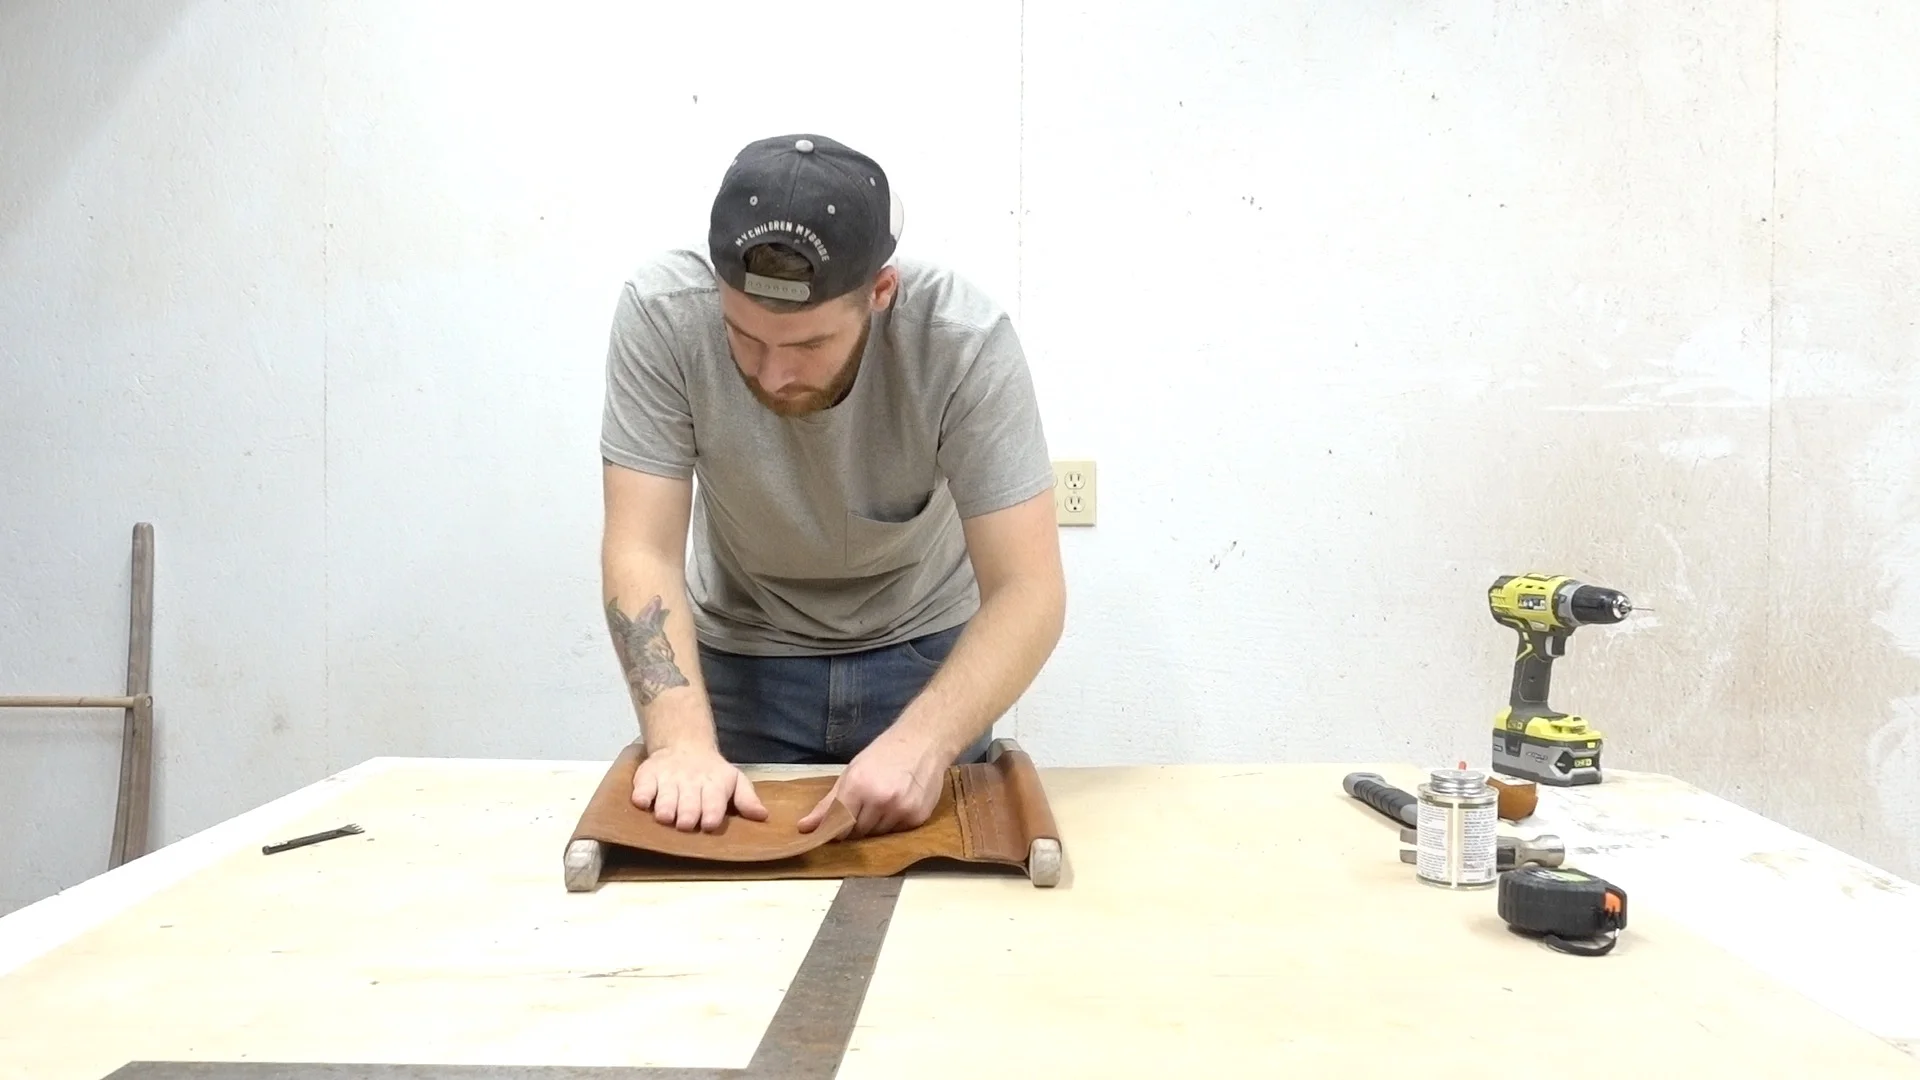
A coat of boiled linseed oil is a great one-step finish.


Thanks for looking, if there's anything else I can help with either contact me through email or instagram DM (for a quicker response) @modernbuilds
MORE COOL PROJECTS

GET IN TOUCH